python+matplotlib实现礼盒柱状图实例代码
2018-01-16 08:42
1001 查看
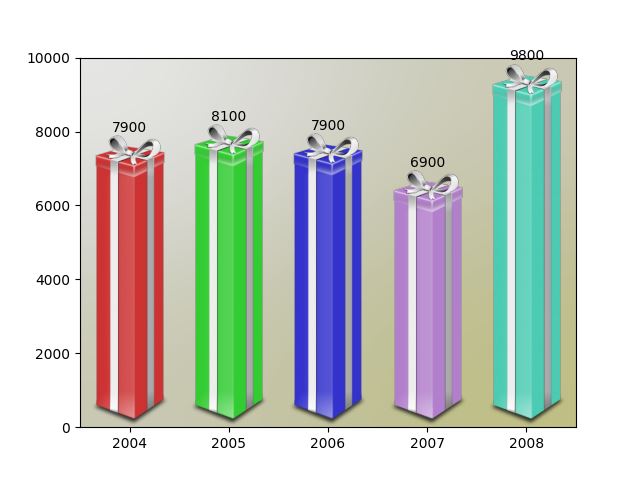
演示结果:
完整代码:
import matplotlib.pyplot as plt
import numpy as np
from matplotlib.image import BboxImage
from matplotlib._png import read_png
import matplotlib.colors
from matplotlib.cbook import get_sample_data
class RibbonBox(object):
original_image = read_png(get_sample_data("Minduka_Present_Blue_Pack.png",
asfileobj=False))
cut_location = 70
b_and_h = original_image[:, :, 2]
color = original_image[:, :, 2] - original_image[:, :, 0]
alpha = original_image[:, :, 3]
nx = original_image.shape[1]
def __init__(self, color):
rgb = matplotlib.colors.to_rgba(color)[:3]
im = np.empty(self.original_image.shape,
self.original_image.dtype)
im[:, :, :3] = self.b_and_h[:, :, np.newaxis]
im[:, :, :3] -= self.color[:, :, np.newaxis]*(1. - np.array(rgb))
im[:, :, 3] = self.alpha
self.im = im
def get_stretched_image(self, stretch_factor):
stretch_factor = max(stretch_factor, 1)
ny, nx, nch = self.im.shape
ny2 = int(ny*stretch_factor)
stretched_image = np.empty((ny2, nx, nch),
self.im.dtype)
cut = self.im[self.cut_location, :, :]
stretched_image[:, :, :] = cut
stretched_image[:self.cut_location, :, :] = \
self.im[:self.cut_location, :, :]
stretched_image[-(ny - self.cut_location):, :, :] = \
self.im[-(ny - self.cut_location):, :, :]
self._cached_im = stretched_image
return stretched_image
class RibbonBoxImage(BboxImage):
zorder = 1
def __init__(self, bbox, color,
cmap=None,
norm=None,
interpolation=None,
origin=None,
filternorm=1,
filterrad=4.0,
resample=False,
**kwargs
):
BboxImage.__init__(self, bbox,
cmap=cmap,
norm=norm,
interpolation=interpolation,
origin=origin,
filternorm=filternorm,
filterrad=filterrad,
resample=resample,
**kwargs
)
self._ribbonbox = RibbonBox(color)
self._cached_ny = None
def draw(self, renderer, *args, **kwargs):
bbox = self.get_window_extent(renderer)
stretch_factor = bbox.height / bbox.width
ny = int(stretch_factor*self._ribbonbox.nx)
if self._cached_ny != ny:
arr = self._ribbonbox.get_stretched_image(stretch_factor)
self.set_array(arr)
self._cached_ny = ny
BboxImage.draw(self, renderer, *args, **kwargs)
if 1:
from matplotlib.transforms import Bbox, TransformedBbox
from matplotlib.ticker import ScalarFormatter
# Fixing random state for reproducibility
np.random.seed(19680801)
fig, ax = plt.subplots()
years = np.arange(2004, 2009)
box_colors = [(0.8, 0.2, 0.2),
(0.2, 0.8, 0.2),
(0.2, 0.2, 0.8),
(0.7, 0.5, 0.8),
(0.3, 0.8, 0.7),
]
heights = np.random.random(years.shape) * 7000 + 3000
fmt = ScalarFormatter(useOffset=False)
ax.xaxis.set_major_formatter(fmt)
for year, h, bc in zip(years, heights, box_colors):
bbox0 = Bbox.from_extents(year - 0.4, 0., year + 0.4, h)
bbox = TransformedBbox(bbox0, ax.transData)
rb_patch = RibbonBoxImage(bbox, bc, interpolation="bicubic")
ax.add_artist(rb_patch)
ax.annotate(r"%d" % (int(h/100.)*100),
(year, h), va="bottom", ha="center")
patch_gradient = BboxImage(ax.bbox,
interpolation="bicubic",
zorder=0.1,
)
gradient = np.zeros((2, 2, 4), dtype=float)
gradient[:, :, :3] = [1, 1, 0.]
gradient[:, :, 3] = [[0.1, 0.3], [0.3, 0.5]] # alpha channel
patch_gradient.set_array(gradient)
ax.add_artist(patch_gradient)
ax.set_xlim(years[0] - 0.5, years[-1] + 0.5)
ax.set_ylim(0, 10000)
fig.savefig('ribbon_box.png')
plt.show()
总结
以上就是本文关于python+matplotlib实现礼盒柱状图实例代码的全部内容,希望对大家有所帮助。感兴趣的朋友可以继续参阅本站其他相关专题,如有不足之处,欢迎留言指出。感谢朋友们对本站的支持!
您可能感兴趣的文章:
- python使用matplotlib绘制柱状图教程
- python3+PyQt5实现柱状图
- Python实现绘制双柱状图并显示数值功能示例
- Python+matplotlib+numpy绘制精美的条形统计图
- Python基于Matplotlib库简单绘制折线图的方法示例
- python利用matplotlib库绘制饼图的方法示例
- Python使用matplotlib实现基础绘图功能示例
- Python使用matplotlib和pandas实现的画图操作【经典示例】
- Python实现正弦信号的时域波形和频谱图示例【基于matplotlib】
- Python画柱状统计图操作示例【基于matplotlib库】

相关文章推荐
- python+matplotlib实现动态绘制图片实例代码(交互式绘图)
- python+matplotlib绘制旋转椭圆实例代码
- Python+matplotlib实现计算两个信号的交叉谱密度实例
- python+matplotlib演示电偶极子实例代码
- python+matplotlib绘制饼图散点图实例代码
- python matplotlib画图实例代码分享
- Python+matplotlib实现华丽的文本框演示代码
- Python Matplotlib实现三维/四维数据的柱状图绘制
- python中Matplotlib实现绘制3D图的示例代码
- Python+matplotlib实现填充螺旋实例
- python—matplotlib数据可视化实例注解系列-----之柱状图
- Python使用Matplotlib实现Logos设计代码
- python之matplotlib学习绘制动态更新图实例代码
- python+matplotlib绘制3D条形图实例代码
- python数据挖掘课程 十.Pandas、Matplotlib、PCA绘图实用代码补充
- Python使用matplotlib实现在坐标系中画一个矩形的方法
- 【python数据挖掘课程】十.Pandas、Matplotlib、PCA绘图实用代码补充
- Matlab的Python实现Scipy和Matplotlib简介
- Python量化分析—指数基金定投及Matplotlib作图: 实现双Y轴和中文显示
- Python 3基础教程48-Matplotlib绘制散点图和柱状图