08 . Vue脚手架安装,使用,自定义配置和Element-UI导入使用
2020-11-21 13:38
911 查看
Vue脚手架
Vue脚手架可以快速生成Vue项目基础的架构。
安装3.x版本的Vue脚手架
/*
npm install -g @vue/cli@3.3
*/
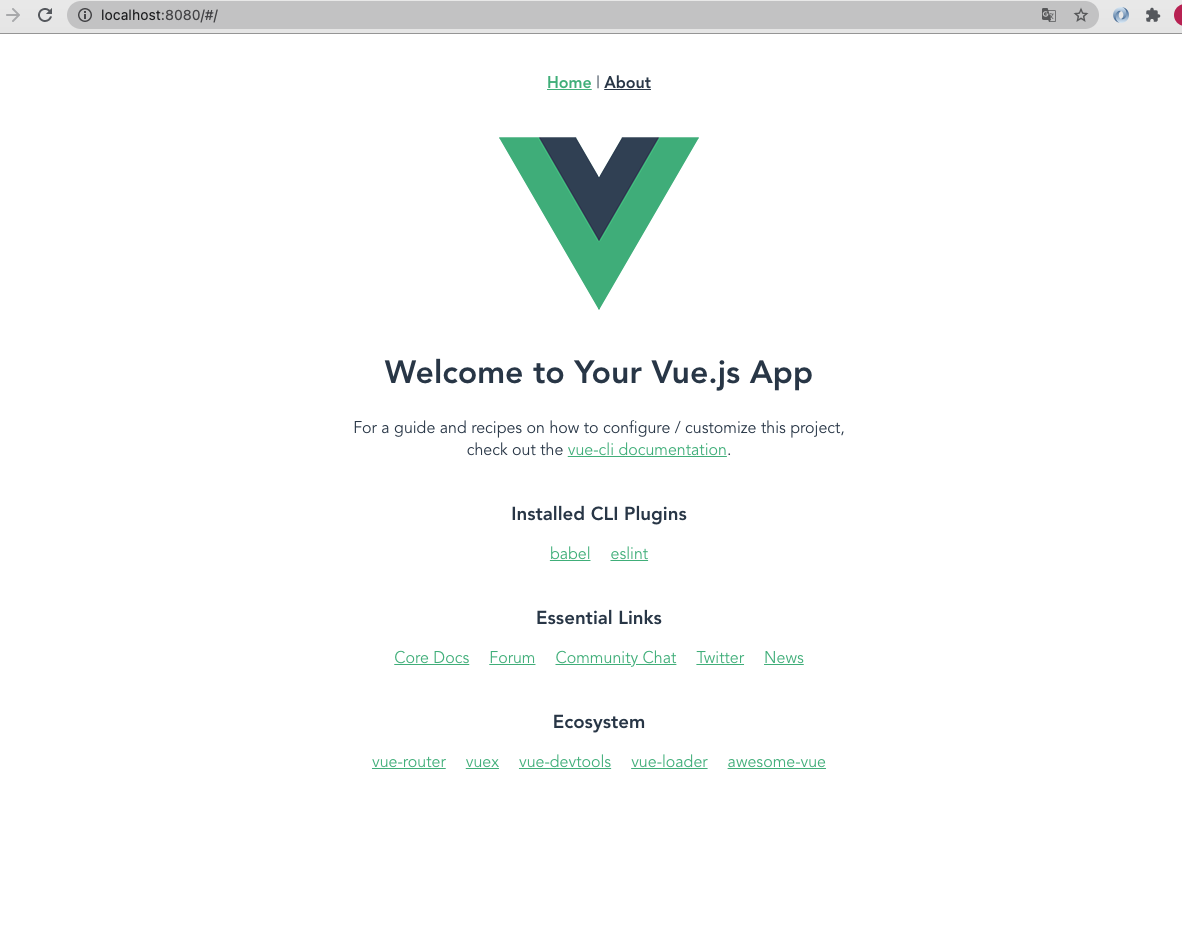
基于3.3版本的脚手架命令创建Vue项目
/*

1.  命令:vue create my-project
选择Manually select features(选择特性以创建项目)

2.  勾选特性可以用空格进行勾选。

? Please pick a preset: Manually select features
? Check the features needed for your project:
◉ Babel
◯ TypeScript
◯ Progressive Web App (PWA) Support
◉ Router
◯ Vuex
◯ CSS Pre-processors
❯◉ Linter / Formatter
◯ Unit Testing
◯ E2E Testing

3.  ? Use history mode for router? (Requires proper server setup for index fallback in production) (Y/n)  n
是否选用历史模式的路由:n

4.  ? Please pick a preset: Manually select features
? Check the features needed for your project: Babel, Router, Linter
? Use history mode for router? (Requires proper server setup for index fallback in production) No
? Pick a linter / formatter config:
ESLint with error prevention only
ESLint + Airbnb config
❯ ESLint + Standard config
ESLint + Prettier
ESLint选择:ESLint + Standard config

5.  ? Please pick a preset: Manually select features
? Check the features needed for your project: Babel, Router, Linter
? Use history mode for router? (Requires proper server setup for index fallback in production) No
? Pick a linter / formatter config: Standard
? Pick additional lint features: (Press <space> to select, <a> to toggle all, <i> to invert selection
)
❯◉ Lint on save
◯ Lint and fix on commit

何时进行ESLint语法校验:Lint on save

6. ? Please pick a preset: Manually select features
? Check the features needed for your project: Babel, Router, Linter
? Use history mode for router? (Requires proper server setup for index fallback in production) No
? Pick a linter / formatter config: Standard
? Pick additional lint features: (Press <space> to select, <a> to toggle all, <i> to invert selection
)Lint on save
? Where do you prefer placing config for Babel, PostCSS, ESLint, etc.?
In dedicated config files
❯ In package.json
babel,postcss等配置文件如何放置:In dedicated config files(单独使用文件进行配置)
是否保存为模板:n

使用哪个工具安装包:npm

cd 项目名
npm run dev
*/
基于UI界面创建Vue项目
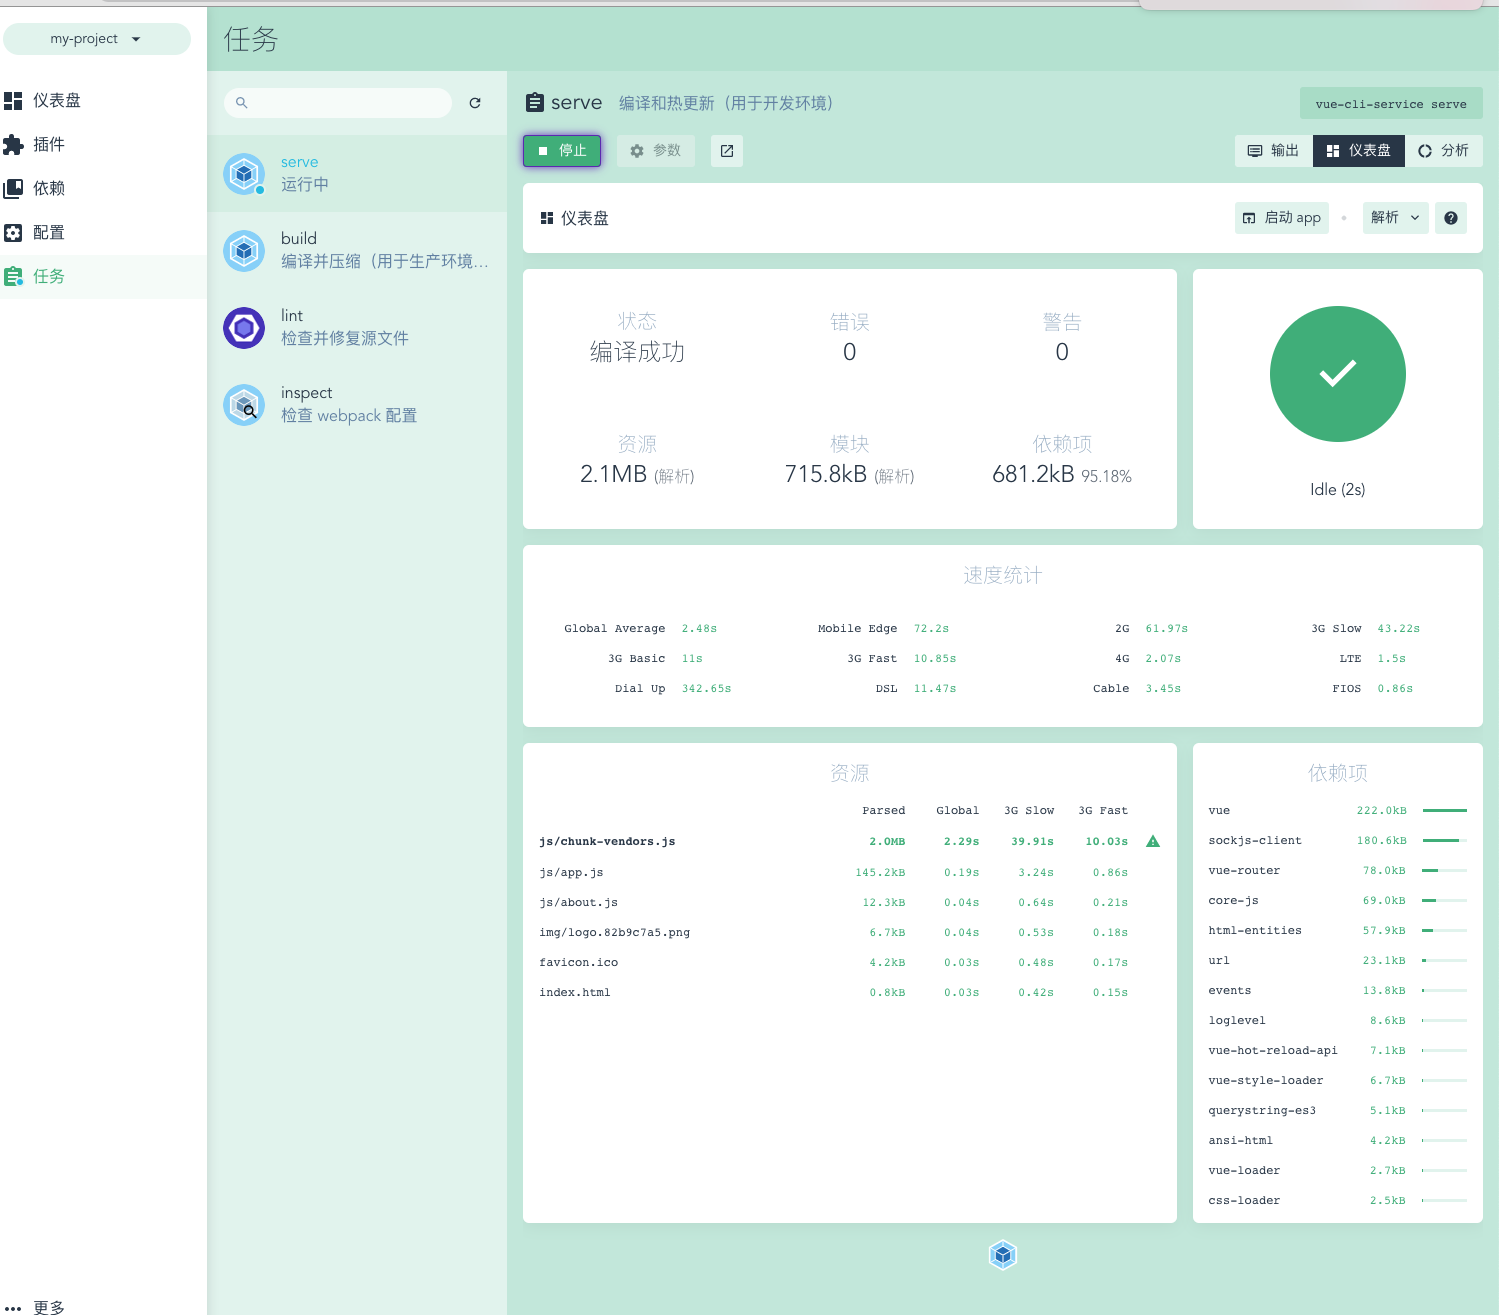
/*
命令:vue ui
在自动打开的创建项目网页中配置项目信息。
*/
基于2.x的旧模板,创建Vue项目
/*
npm install -g @vue/cli-init
vue init webpack my-project
*/
分析Vue脚手架生成的项目结构
/*
node_modules:依赖包目录
public:静态资源目录
src:源码目录
src/assets:资源目录
src/components:组件目录
src/views:视图组件目录
src/App.vue:根组件
src/main.js:入口js
src/router.js:路由js
babel.config.js:babel配置文件
.eslintrc.js:
*/
Vue脚手架的自定义配置
/*
A.通过 package.json 进行配置 [不推荐使用]
因为package.json主要用来管理包的配置信息, 为了方便维护,推荐将vue脚手架相关的配置,单独定义到vue.config.js配置文件中.
"vue":{
"devServer":{
"port":"9990",
"open":true
}
}
B.通过单独的配置文件进行配置,创建vue.config.js
module.exports = {
devServer:{
port:8888,
open:true
}
}
*/
Element-UI简介
Element-UI安装Element-UI:一套基于2.0的桌面端组件库
官网地址:http://element-cn.eleme.io/#/zh-CN
组件库
/*
npm install element-ui -S
*/
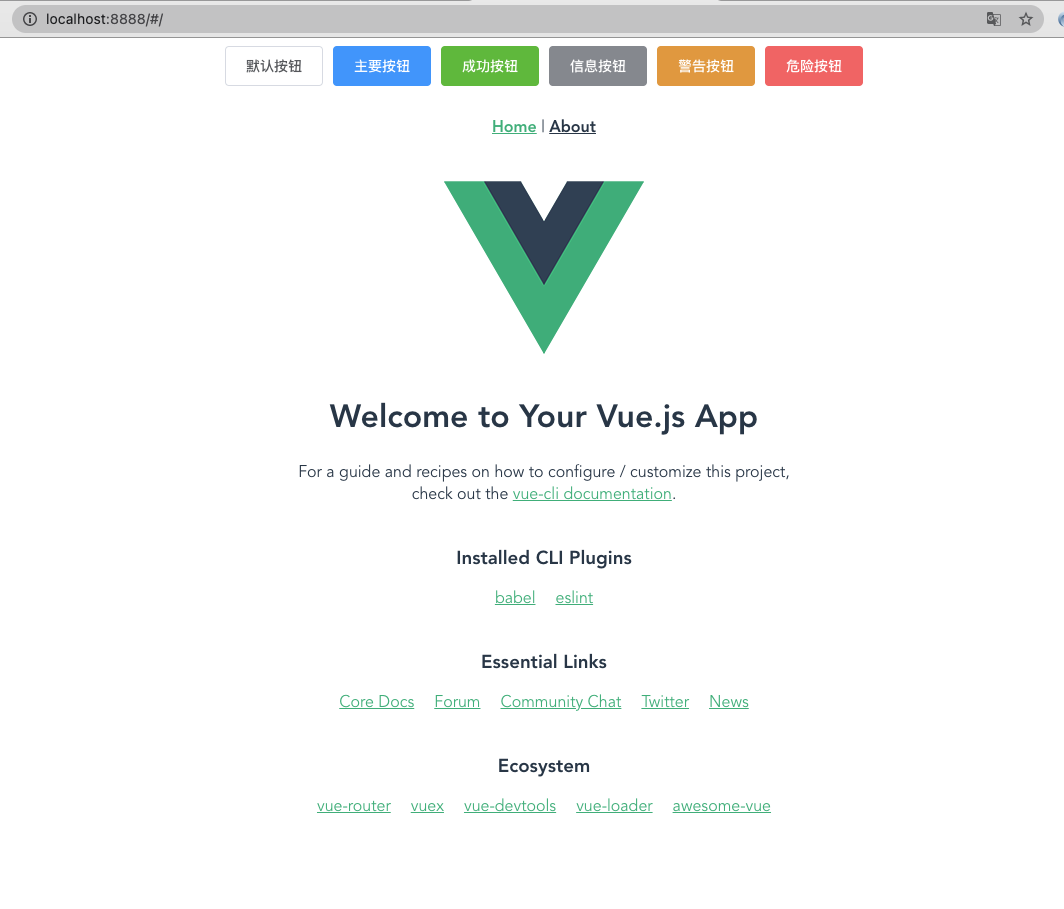
Element-UI导入使用
/*
import ElementUI from "element-ui";
import "element-ui/lib/theme-chalk/index.css";

Vue.use(ElementUI)
*/

// 复制一段element-ui代码到App.vue上
<el-row>
<el-button>默认按钮</el-button>
<el-button type="primary">主要按钮</el-button>
<el-button type="success">成功按钮</el-button>
<el-button type="info">信息按钮</el-button>
<el-button type="warning">警告按钮</el-button>
<el-button type="danger">危险按钮</el-button>
</el-row>
使用请看官网文档,很详细

相关文章推荐
- VUEelementUI的安装及使用
- 五分钟,VUE+Element UI部署安装和基本使用
- 使用vue-ui来创建项目并安装vue-cli-plugin-element插件
- vue elementUi安装脚手架(大全)
- laravel5.7+vue+element-ui配置及简单使用
- laravel5.4+vue+element-ui配置及简单使用
- vue 脚手架搭建新项目以及element-ui等vue组件的使用
- vue中如何安装使用element-ui?
- vue-cli安装element-ui及分页组件使用
- VUE-CLI脚手架的安装过程及最基本的配置使用
- vue 使用element-ui中的Notification自定义按钮并实现关闭功能及如何处理多个通知
- vue安装element-ui并使用
- Vue脚手架的使用和Element-ui的使用
- vue脚手架加载element-ui报错的解决方法
- 使用Advanced Installer制作IIS安装包(二:配置安装包依赖项和自定义dll)
- VUE 使用新版本 element-ui 组件库 Select 组件时, value 值为对象时的 BUG 处理
- webpack+vue 在使用element-ui时import 'element-ui/lib/theme-chalk/index.css‘失败
- vue-cli3脚手架的配置以及使用
- element-ui+vuex共享自定义方法进行表单验证 validator
- 在 vue-cli 脚手架中引用 jQuery、bootstrap 以及使用 sass、less 编写 css [vue-cli配置入门]