erui _ eruie 003如何使用Okta和模板将Auth添加到您的PWA中
本文最初发表于Okta开发人员博客。 感谢您支持使SitePoint成为可能的合作伙伴。
渐进式Web应用程序(PWA)是网络开发平台上的最新技术,它们及时出现是为了解决日益严重的问题。 当发布新功能时,许多公司都在努力使组织中孤立的开发团队保持最新。 一些公司甚至试图确定开发两个Web应用程序是否值得和 a mobile application. Not surprisingly, it’s a headache most companies are looking to avoid. PWAs can give companies a lot of the features they need from a mobile app without the need to manage multiple teams 和 codebases.
一个PWA在快速连接时性能出色,而在离线或通过Wi-Fi(有时称为Wi-Fi(有时称为“ Lie-Fi”)的速度不够快的情况下,仍然表现良好。 它是通过缓存和JavaScript“服务工作者”来实现的,JavaScript“服务工作者”拦截服务器调用并首先尝试从缓存中提供数据,然后当服务器最终响应时,它将用服务器中可能的“刷新”数据替换缓存的数据。
最近,离子性团队发布了一个新项目,名为模版. 模版 is a compiler that generates standards-compliant web components. Unlike most JavaScript frameworks, it doesn’t deliver a “framework” of code to the browser. It simply takes the code you write and uses its compiler to create vanilla components. You can also use 模版’s compiler 与您最喜欢的框架。 的模版 starter project is the easiest way to get started 与 模版 and produces a base application that scores nearly a 100% score on 灯塔的渐进式网络应用记分卡。
警告:模板尚未发布1。0版本(截至撰写本文时)。 因此请注意,如果继续,您将处于早期采用者的领域。 如果发现错误,提交问题。
git clone https://github.com/ionic-team/stencil-starter.git first-stencil
cd first-stencil
git remote rm origin
npm installYou may see a couple of warnings from
node-pre-gyparound
fsevents. There’s nothing to see here. This is just to get around a nasty little npm bug.
Next, add the Okta Auth SDK (via CDN) to the bottom of the
index.htmlpage, right before the closing
</body>tag.
<script src="https://ok1static.oktacdn.com/assets/js/sdk/okta-auth-js/1.8.0/okta-auth-js.min.js" type="text/javascript"></script>
If you’re like me, the next thing you’ll want to do is run
npm startand check the site with Lighthouse. If you do, you’ll notice that the score is kind of low. In particular, it doesn’t register a service worker or return a 200 when offline. That’s because it’s a development build, and generally, you don’t want the service worker intercepting server calls and returning cached data in development.
To ensure an accurate depiction of the kind of PWA you get out of the box with Stencil, make sure to run a production build using
npm run build. Once you do, you’ll see a
wwwfolder and inside that folder, you’ll see a
sw.jsfile. That’s your service worker!
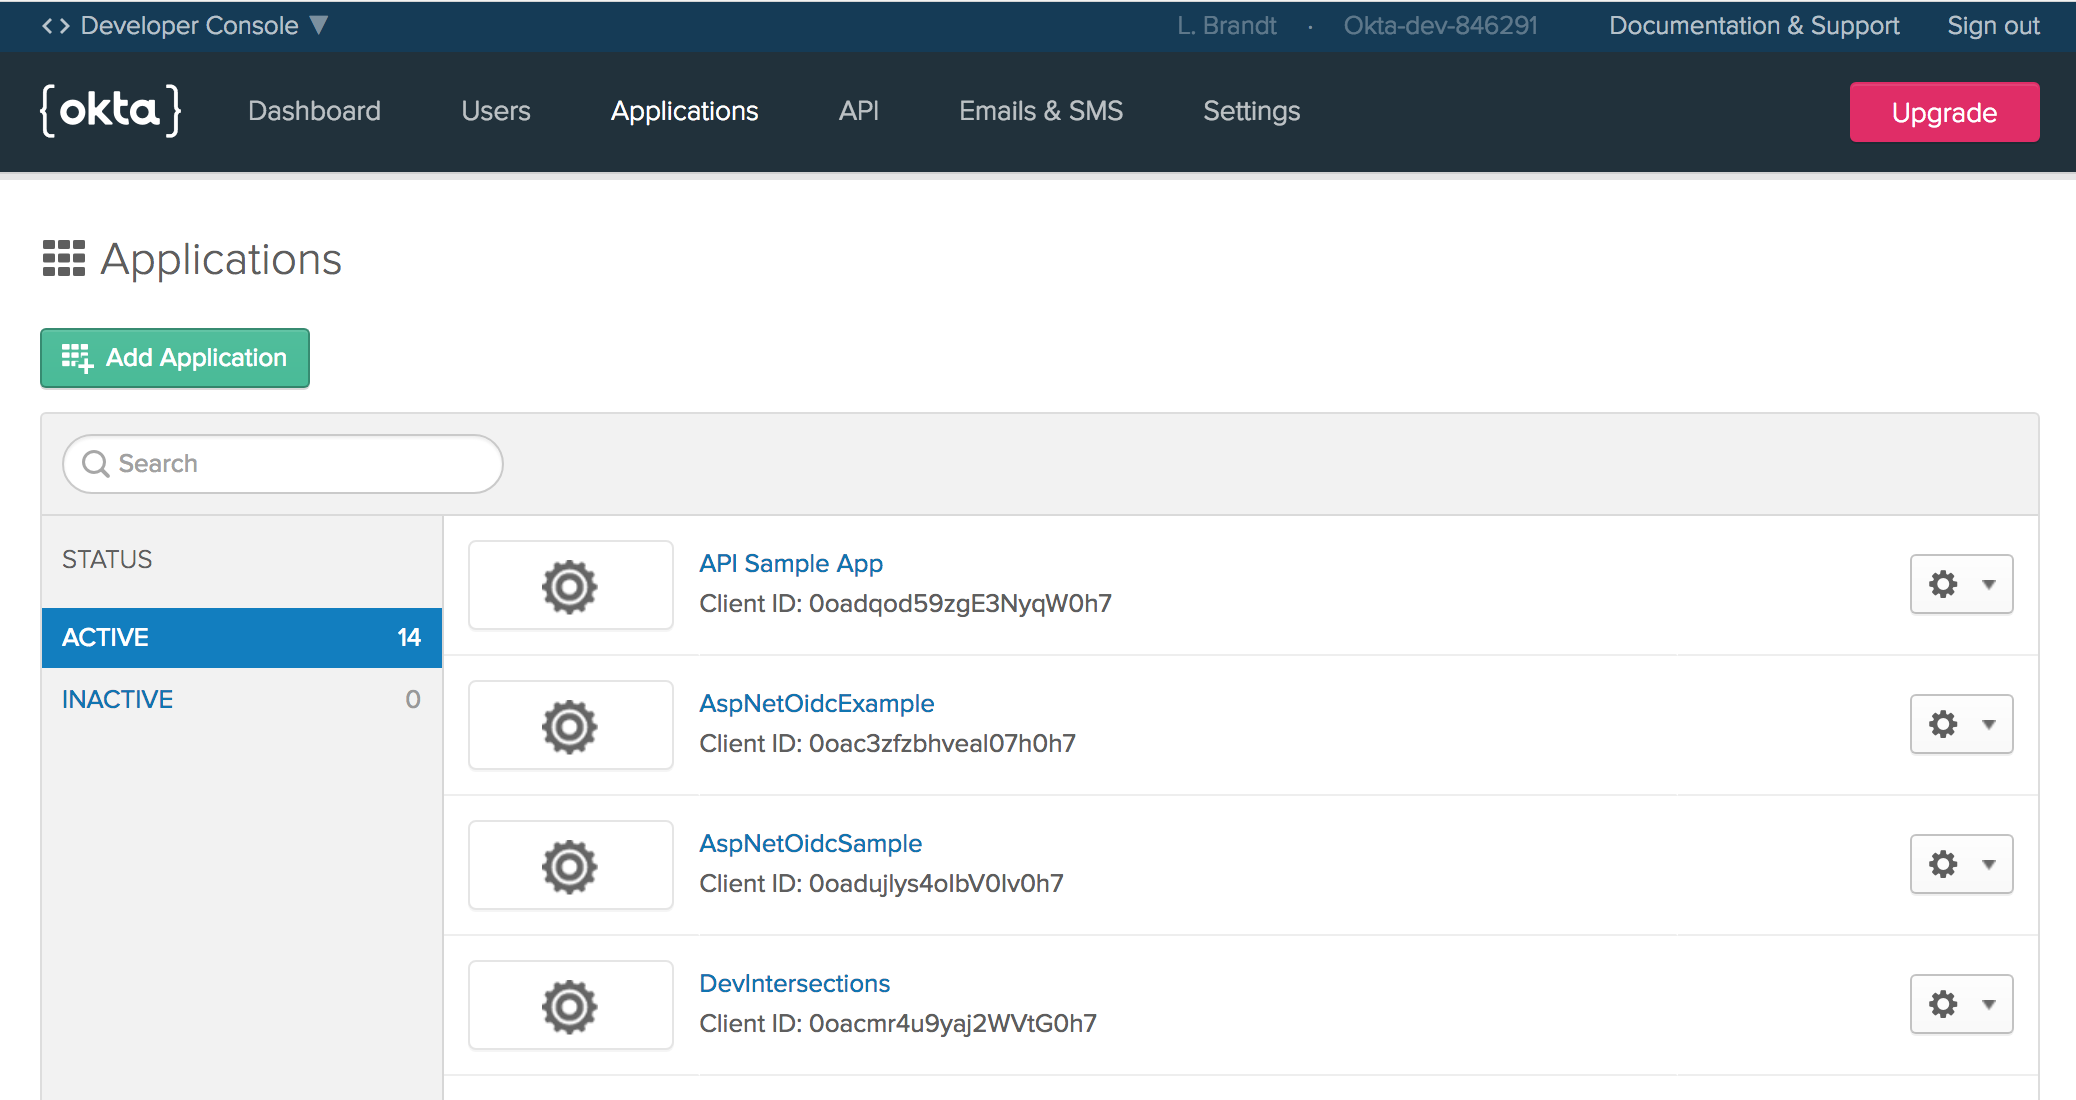
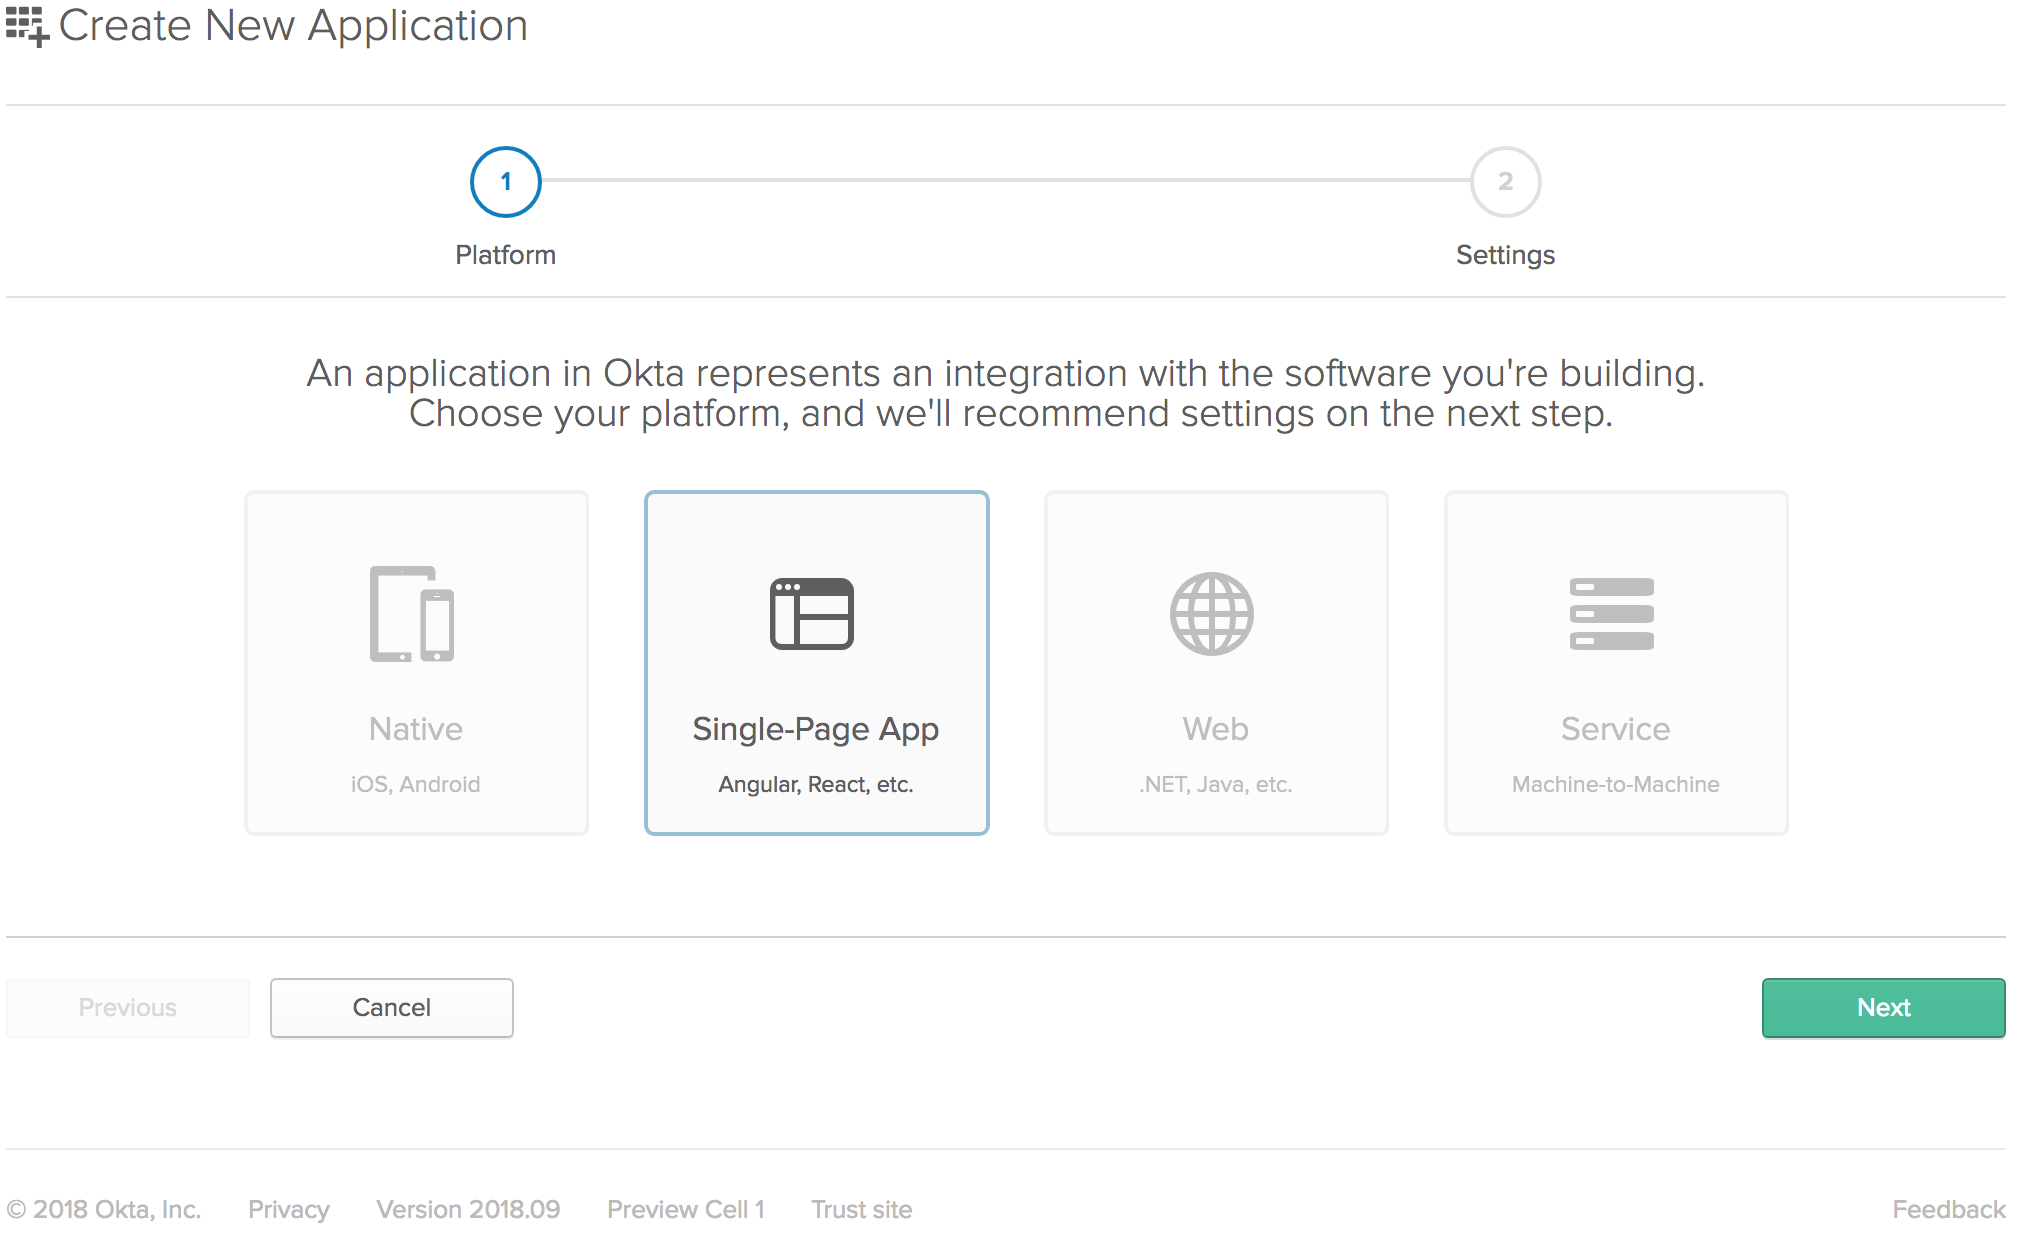
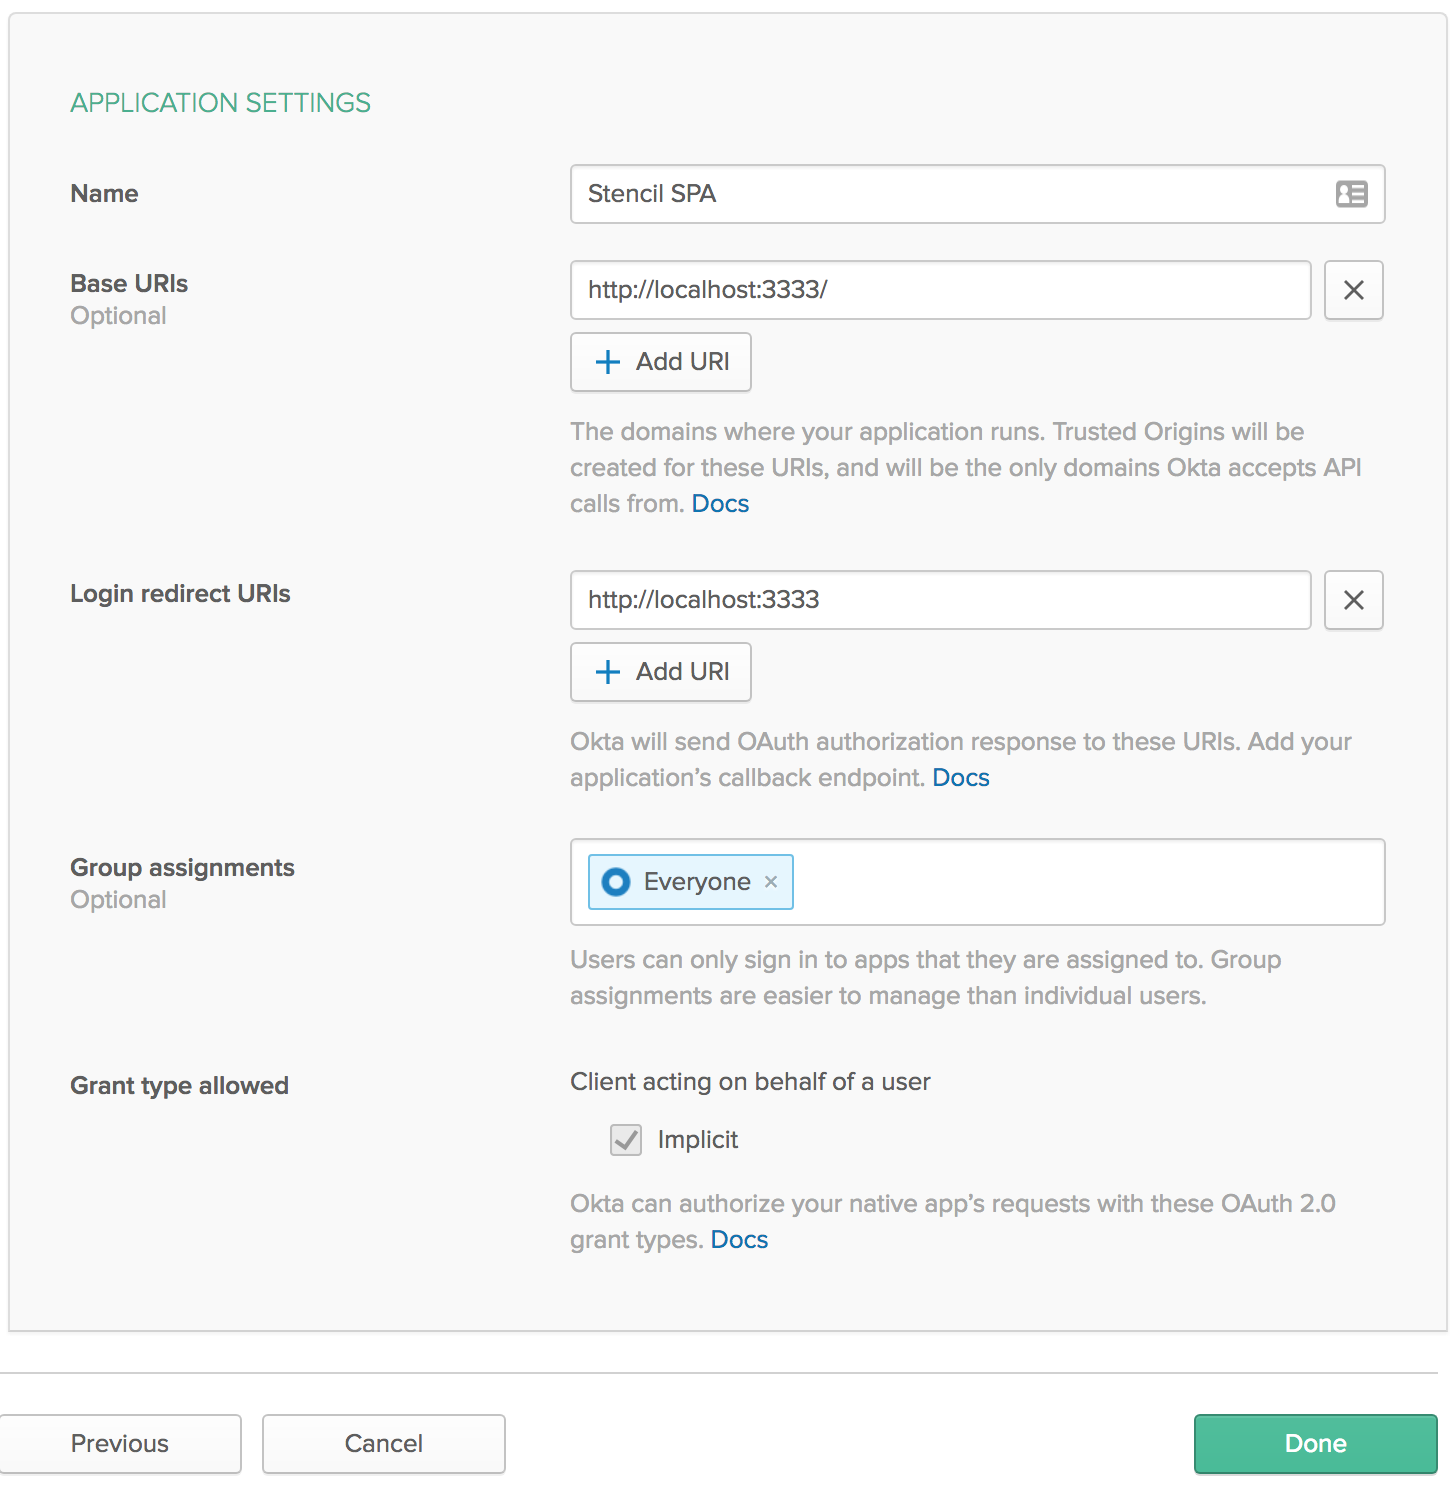
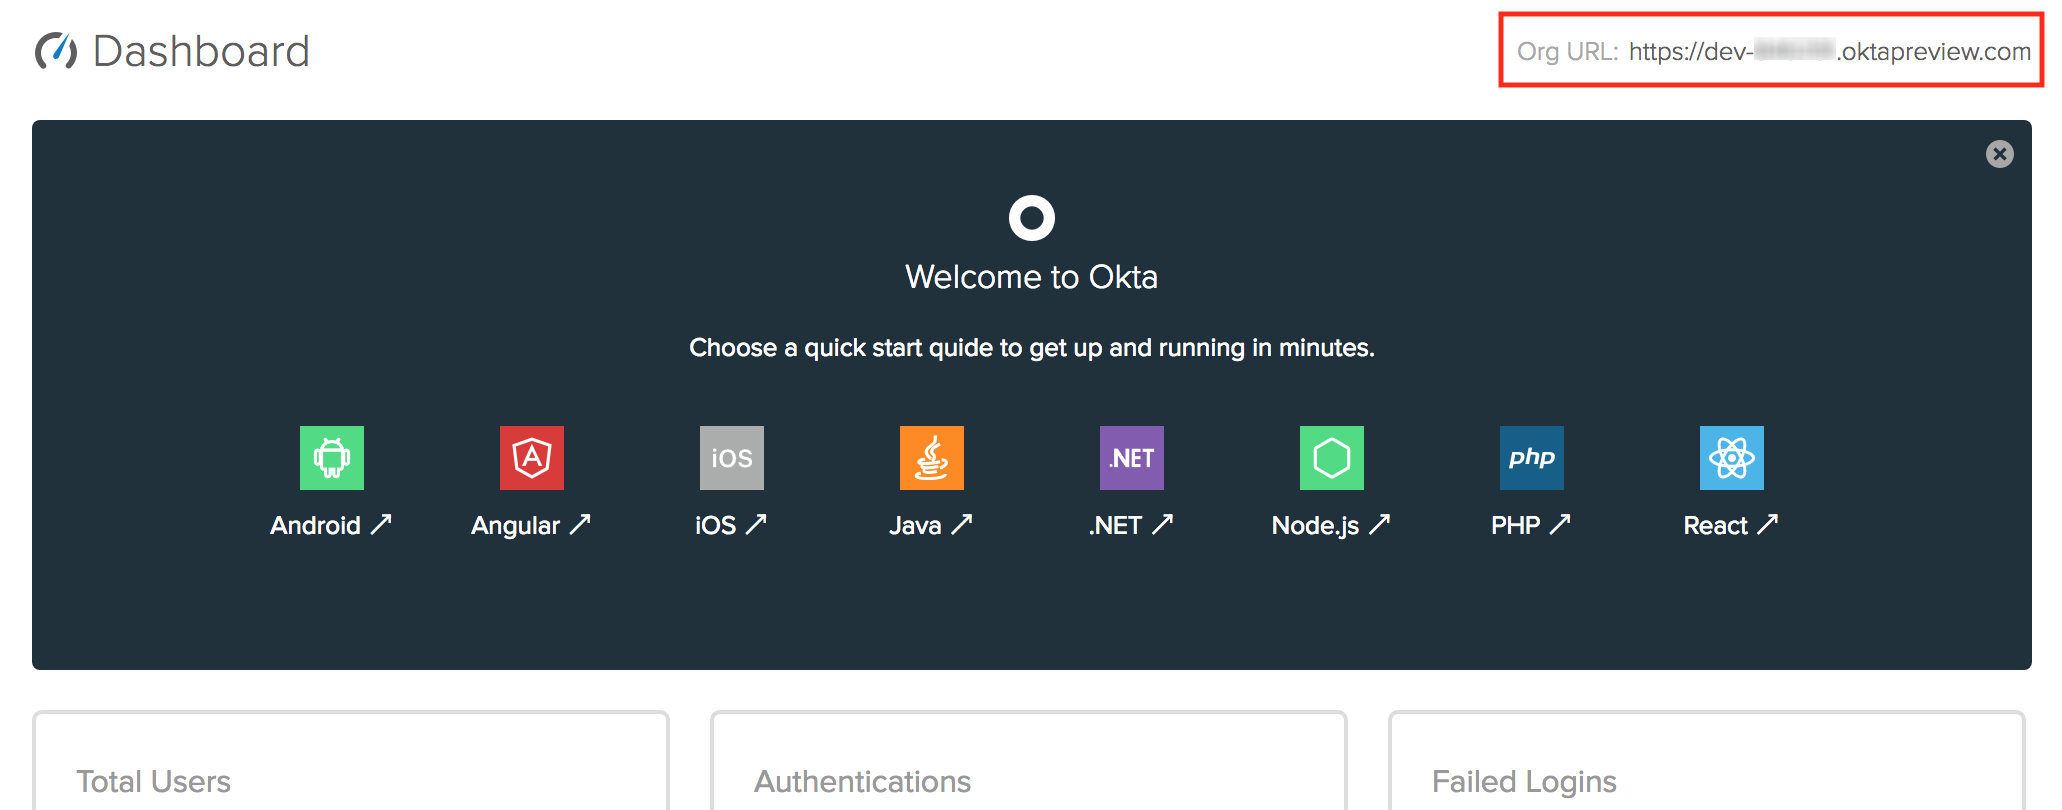
如果您尚未这样做,创建永久免费的开发者帐户。

In the
componentsfolder, add a new folder called
app-auth. This is where your login page component will go. You can call it whatever you want, I’m just following the naming conventions set out by the starter app here. I’d definitely recommend deciding on a naming convention early and sticking with it.
Inside the newly created
app-authfolder create two files:
app-auth.cssand
app-auth.tsx. Start by creating the shell of the
app-auth.tsxfile.
import { Component } from '@stencil/core';

@Component({
tag: 'app-auth',
styleUrl: 'app-auth.css'
})
export class AppAuth {
render() {
return <div>Hello</div>;
}
}
You’ll notice the
@Componentdecorator over the
AppAuthclass declaration like Angular, and then a
render()method at the bottom like React. To me, that’s the beauty of Stencil. It takes some of the best parts of both popular frameworks and uses them to compile reusable components!
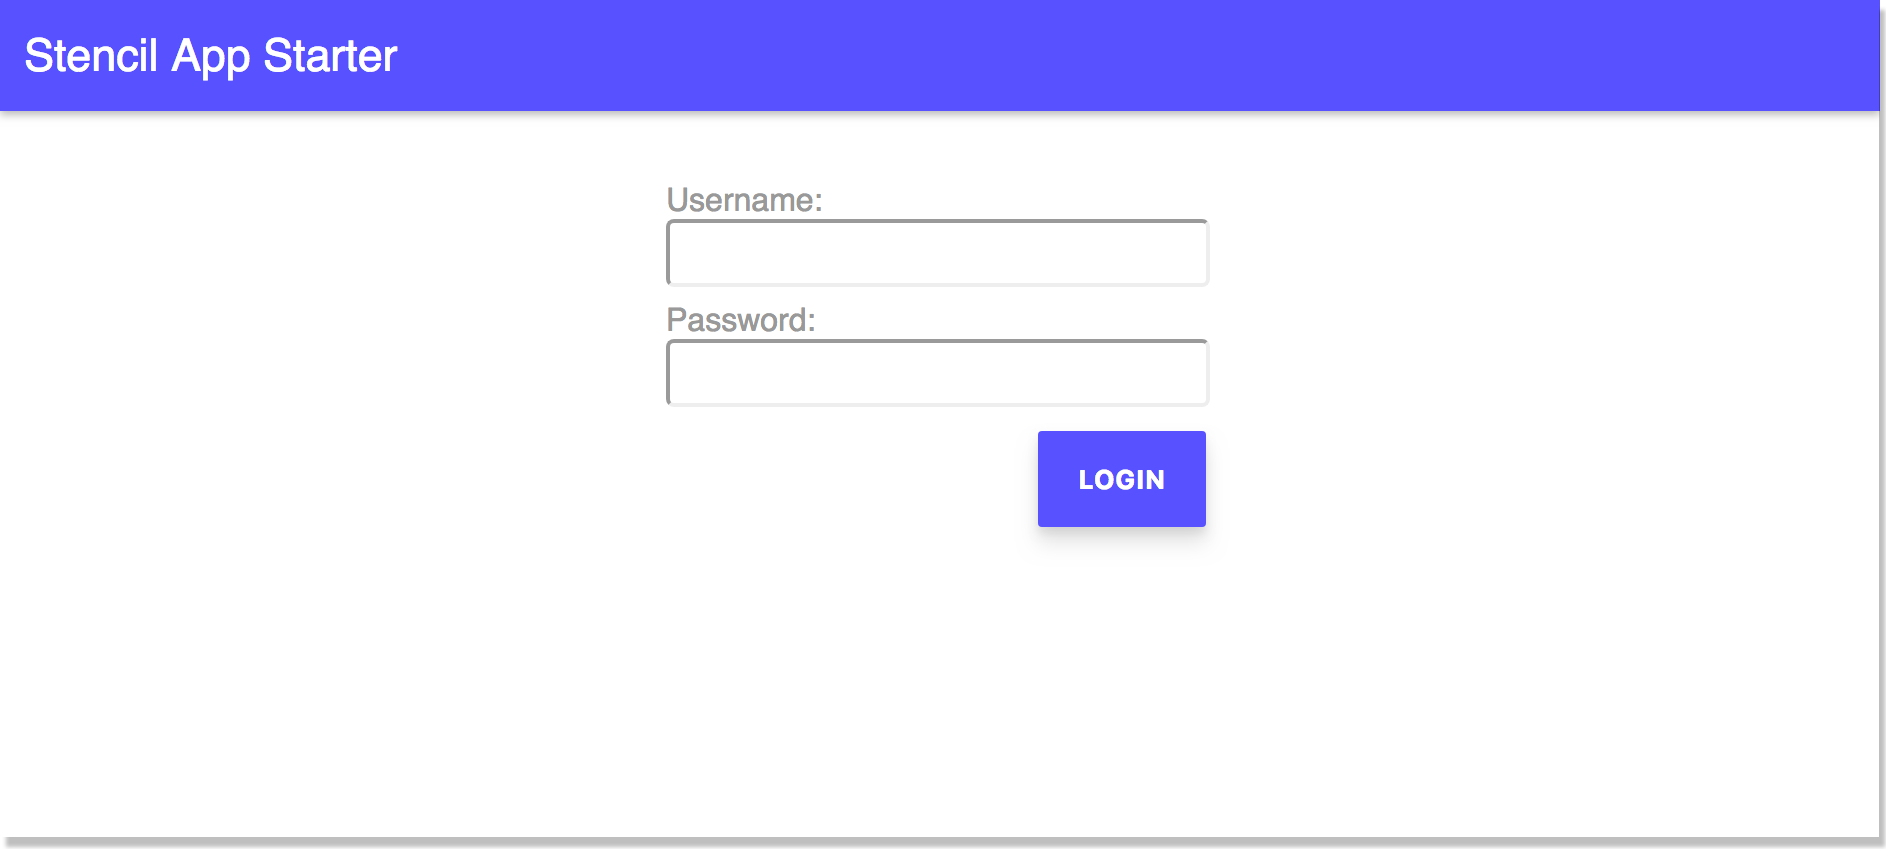
Next, you’ll add the JSX (that’s right, I said it) to the new component. Change the
render()method to:
render() {
return (
<form class="app-auth">
<div class="form-item">
<label>
Username:
<input type="text" name="username" autocomplete="username" />
</label>
</div>
<div class="form-item">
<label>
Password:
<input
type="password"
name="password"
autocomplete="current-password"
/>
</label>
</div>
<div class="form-actions">
<button type="button" onClick={() => this.login()}>
Login
</button>
</div>
</form>
);
}
This is just a regular JSX form, but the login button’s
onClickevent is currently wired to function that doesn’t exist.
Before you create that function, you’ll need to set up the
OktaAuthJavaScript object to call the Okta API for authentication. You’ll add the object to the component’s state, so right below the class declaration, add the following line:
@State() authClient: any;
You will also have to import the
@State()decorator. This is is used for values related to the internal state of the component. In the first
importstatement add State to the deconstruction list.
import { Component, State } from '@stencil/core'
You’ll also need to get the username and password values from the form itself, so add an
@Element()to the code right below that
@State()like you just created, so it read like this:
@State() authClient: any;@Element() host: HTMLElement;
Then also add the
@Element()decorator to the import so it reads:
import { Component, State, Element } from '@stencil/core';
One last thing that the
login()function will need is access to the router, so you can redirect the user to their profile page if their authentication is successful. You’ll need a class property, so add it right below the
@Element.
@State() authClient: any;@Element() host: HTMLElement;
@Prop() history: RouterHistory;
To import it, add the
@Prop()decorator to the main import and then import the
RouterHistoryfrom
@stencil/routerright below the core import statement. The
@Propdecorator is used to define properties that can be passed in to your component. In this case, it’s not a passed in value, but it could be if need be. Your final import section should read:
import { Component, Prop, State, Element, Listen } from '@stencil/core';import { RouterHistory } from '@stencil/router';
Finally, to use the
OktaAuthJavaScript library you brought in from the CDN, add a declaration for it right below the import statements.
declare const OktaAuth: any;
Now you included everything you’ll need to get the login function to authenticate users with your Okta organization. First, set up the
OktaAuthobject in the constructor of the
AppAuthclass. Right below the property for the
RouterHistoryobject, add:
constructor() {
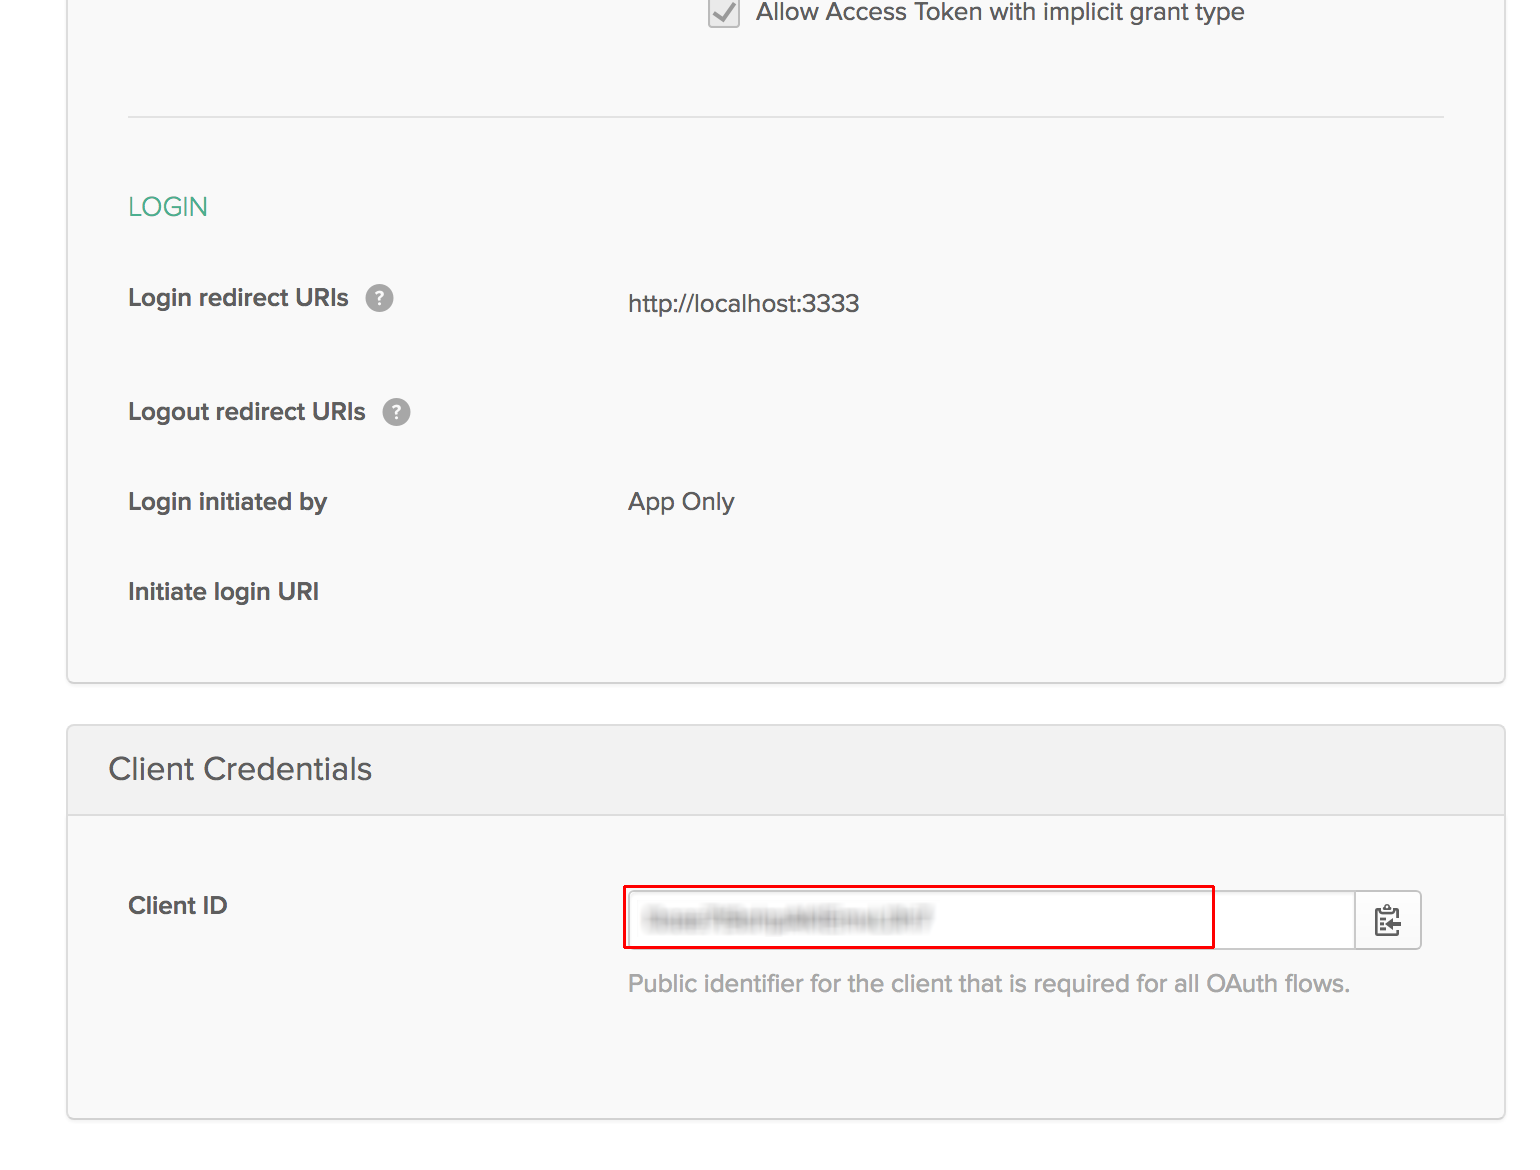
this.authClient = new OktaAuth({
clientId: '{yourClientId}',
url: 'https://{yourOktaDomain}.com',
issuer: 'default'
});
}
Now everything is set up for the
login()function, so you’ll create that next. Right above the
render()method, add a
login()function.
login() {
let inputs = this.host.querySelectorAll('input');
let user = {
username: inputs[0].value,
password: inputs[1].value
};

return this.authClient.signIn(user)
.then(res => {
if (res.status === 'SUCCESS') {
return this.authClient.token
.getWithoutPrompt({
responseType: 'id_token',
scopes: ['openid', 'profile', 'email'],
sessionToken: res.sessionToken,
redirectUri: 'http://localhost:3333'
})
.then(token => {
localStorage.setItem(
'okta_id_token',
JSON.stringify(token)
);
this.history.push('/profile', {});
});
} else {
throw `Unable to handle ${res.status} status code`;
}
})
.fail(function(err) {
console.error(err);
});
}
The first thing, is getting all the inputs inside the
formelement of the component. Then a user object is created with the username and password from their respective inputs.
Next the
authClientobject is used to call the
signIn()method with the user object that was created. It returns a promise, so you handle the
thencondition by getting the response and check to see if the response’s status is a 200. If it is, call the
authClient.token’s
getWithoutPrompt()method which also returns a promise. It takes a
responseTypeproperty which is set to
id_token, because that’s what you want to get from Okta. You’ve also asked for three scopes that will give you the openid, profile, and email data associated with the newly authenticated user. The method need the session token returned from the
signIn()method’s response. Finally, you’ve told the function to call back to the
redirectUri, which was set as a trusted redirect origin in Okta when you created your application.
In the
thencondition of this promise, you take the id token received and set it in local storage as
okta_id_token. If all that worked, the user is redirected to the profile page.
If the response had a status of anything other than 200, it merely throws an error that says it can’t handle any other statuses. Finally, the fail condition for the
signIn()method call simply logs any errors to the console.
To achieve this, add a method to take the user directly to the profile page if they’re already logged in. Like React components, Stencil components have lifecycle methods. Instead of
componentWillMount()for React, Stencil has a
componentWillLoad()method, so that’s what you’ll use here.
componentWillLoad() {
let idToken = localStorage.getItem('okta_id_token');
if (idToken) {
this.history.push('/profile', {});
}
}
The last thing that will make this login form easier to use is to add the ability to submit the form with the enter key. Stencil has some built-in listeners for key presses. In this case, use the ‘keydown.enter’ listener. Import the
@Listen()decorator in the very top import statement where you imported
Component.
import { Component, Prop, State, Element, Listen } from '@stencil/core';
Then add a handler for the ‘keydown.enter’ event just below the
componentWillLoad()function.
@Listen('keydown.enter')
handleEnter() {
this.login();
}
First, you’ll need a type to put the user’s claims in. So create a new file in the
app-profilefolder called
AppUser.tsx. The contents are simple, but long. I simply looked at all the claims in the token stored in
localStorageand created an interface that matched it. So the
AppUser.tsxfile is as follows:
interface AppUser {
sub: string;
name: string;
locale: string;
email: string;
ver: number;
iss: string;
aud: string;
iat: number;
exp: number;
jti: string;
amr: string[];
idp: string;
nonce: string;
nickname: string;
preferred_username: string;
given_name: string;
family_name: string;
zoneinfo: string;
updated_at: number;
email_verified: boolean;
auth_time: number;
}
Once you have a type to declare for your profile’s user object, update the
app-profile.tsxfile.
import { Component, Prop, State } from '@stencil/core';
import { RouterHistory } from '@stencil/router';
Remove the @Prop()line for
matchand replace is with:
@Prop() history: RouterHistory;
@State() user: AppUser;
@Prop({ context: 'isServer' }) private isServer: boolean;
The
isServerproperty is a special property. Because Stencil supports prerendering and
localStoragemay not be available during prerender, you’ll need to wrap the
localStoragecalls in an
if(!isServer){} to make sure it will build for production. This shouldn’t stop it from working, it’s just a work around for the build process.
For the
componentWillLoad()method, just read in the user information from the ‘okta_id_token’ in local storage:
componentWillLoad() {
if (!this.isServer) {
let token = JSON.parse(localStorage.getItem('okta_id_token'));
if (token) {
this.user = token.claims;
} else {
this.history.push('/login', {});
}
}
}
For the
render()method, change it to display the claims in a list.
render() {
if (this.user) {
let keys = Object.keys(this.user);
return <div class="app-profile">
<h2>User Claims</h2>
<ul>
{keys.map(key => <li><span>{key}</span>: {this.user[key]}</li>)}
</ul>
<button onClick={this.logout}>
Logout
</button>
</div>;
}
}
The only thing left is to add the
logout()method. This will just remove the token from local storage and reload the page, this will force the
componentWillLoad()to redirect the user to the login page.
logout() {
if (!this.isServer) {
localStorage.removeItem('okta_id_token');
location.reload();
}
}
In the
components/my-app/my-app.tsxfile add the route inside the
stencil-routercomponent so that the final section looks like this:
<stencil-router>
<stencil-route url="/" component="app-home" exact={true} />
<stencil-route url="/profile" component="app-profile" />
<stencil-route url="/login" component="app-auth" />
</stencil-router>
You’ll also need to update the route for the link on the home page. In
components/app-home/app-home.tsxupdate the
stencil-route-linkelement’s url to no longer pass in the url parameter.
<stencil-route-link url="/profile">
<button>
Profile page
</button>
</stencil-route-link>
As extra credit, you might want to add some styling to the login form and the profile page. Below is my style sheet for the login page that goes in
app-auth.css:
.app-auth {
width: 30%;
margin: 2rem auto;
}
.app-auth .form-item {
padding: .25rem;
}
.app-auth label {
width: 100%;
font-size: 1rem;
color: #999;
}

.app-auth label input {
width: 97%;
border-radius: .25rem;
font-size: 1.5rem;
}

.app-auth .form-actions {
text-align: right;
}
Finally, in
app-profile.cssjust some simple styles to bold the label of each item.
.app-profile {
padding: 10px;
}

.app-profile ul li span {
font-weight: bold;
}
要了解有关PWA的更多信息,请查看Matt Raible的PWA的终极指南在Okta开发人员博客上。
如果您想进一步了解Ionic应用,请查看Matt的博客文章,内容涉及建立离子应用。
您可以从中了解有关使用VueJS构建基本的CRUD应用的信息布兰登·巴黎(Brandon Parise)的帖子。
最后,在这里您可以看到如何使用Node和React设置用户注册!
与往常一样,如果您有任何疑问,可以在下面评论或在Twitter上打我@leebrandt并且不要忘记跟随@OktaDev获取来自我们社区的精彩内容以及有关Okta开发人员平台的所有新闻!
from: https://www.sitepoint.com//how-to-add-auth-to-your-pwa-with-okta-and-stencil/
 dangzhuang7815
 原创文章 0获赞 0访问量 321
关注
私信
原创文章 0获赞 0访问量 321
关注
私信

- 如何使用Okta和模板将Auth添加到您的PWA中
- erui _ eruie 003如何将JavaScript与MatchMedia一起使用媒体查询
- [备用]权限设计方案、如何使用session、MVC如何使用模板、DropdownList、怎么添加Bootstrape框架、使用ASP.NET MVC 4 Bootstrap Layout Template(VS2012)
- erui _ eruie 003如何使用Sencha Grid构建React 16 Web应用程序
- 使用PageOffice---如何在模板中添加数据区域
- 在VS.NET的"添加新选项"对话框中使用定义的代码生成器模板
- CP How-To:如何使用cPanel添加Parked Domains(绑定域名)
- GridView使用技巧之:如何在RowCommand里获取模板列里绑定的内容?
- 在OpenFOAM中如何解决既使用模板又要调用子类函数的方法
- 如何动态添加模板列,且模板列中动态写入lable的ID?
- [转]Ultra Fractal教程系列23——如何使用图层06——添加第三个图层
- 模板--为什么和如何在PHP中使用它们
- ASP.NET DEMO 14: 如何在 GridView/DataGrid 模板列中使用自动回发的 CheckBox/DropDownList
- 如何通过使用注册项 (.reg) 文件添加、修改或删除注册表子项和值
- QuickCSharp框架开发(20)------授权部分的代码以及如何使用授权 添加用户、角色与分配资源部分的代码暂且省略
- 模板中如何使用$smarty变量get,post,request,cookies,session,server,env
- 如何在模板的内容页中添加javascript代码?
- 如何添加一个自定义的columnstyles 到设计器中,以便在设计时直接使用他们?
- 使用asp.net 2.0的CreateUserwizard控件如何向自己的数据表中添加数据