Grafana之快速部署Zabbix数据源(第二篇)
Zabbix是当前主流开源的企业级分布式监控系统。Zabbix特点是:安装部署较简单,且默认自带了多种监控告警模板。也具备较强的仪表盘展示功能;提供API接口,支持脚本调用;支持自定义编写插件以及监控模板。
一、安装zabbix软件包
环境说明:
# cat /etc/redhat-release
CentOS Linux release 7.7.1908 (Core)
uname -a
Linux monitor01 3.10.0-1062.18.1.el7.x86_64 #1 SMP Tue Mar 17 23:49:17 UTC 2020 x86_64 x86_64 x86_64 GNU/Linux
确保防火墙、selinux已经关闭
# systemctl stop Firewalld
# systemctl disable Firewalld
# sed -i 's/SELINUX=enforcing/SELINUX=disabled/g' /etc/selinux/config
# setenforce 0
修改用户资源限制
# cat /etc/security/limits.conf
root soft nofile 65535
root hard nofile 65535
* soft nproc 65535
* hard nproc 65535
* soft nofile 65535
* hard nofile 65535
* hard core unlimited
* soft core unlimited
安装zabbix yum源
# rpm -Uvh https://repo.zabbix.com/zabbix/4.4/rhel/7/x86_64/zabbix-release-4.4-1.el7.noarch.rpm
安装epel源,用于支持nginx
# yum install epel-release
安装zabbix相关软件包
# yum search zabbix
# yum -y install zabbix-*
或者只安装以下组件
# for pkgs in zabbix-server-mysql zabbix-web-mysql zabbix-web-mysql zabbix-agent zabbix-get zabbix-web zabbix-sender zabbix-nginx-conf ;do yum -y install $pkgs;done
zabbix-agent-4.4.7-1.el7.x86_64
zabbix-get-4.4.7-1.el7.x86_64
zabbix-release-4.4-1.el7.noarch
zabbix-server-mysql-4.4.7-1.el7.x86_64
zabbix-web-4.4.7-1.el7.noarch
zabbix-sender-4.4.7-1.el7.x86_64
zabbix-nginx-conf-4.4.7-1.el7.noarch
zabbix-web-mysql-4.4.7-1.el7.noarch
二、安装mariadb并初始化导入zabbix表结构数据
安装mariadb数据库并启动
# yum -y install mariadb-*
# systemctl enable mariadb
# systemctl start mariadb
创建zabbix数据库
create database zabbix character set utf8 collate utf8_bin;
grant all privileges on zabbix.* to 'zabbix'@'localhost' identified by 'zabbix@123';
flush privileges;
quit;
导入数据
# zcat /usr/share/doc/zabbix-server-mysql-*/create.sql.gz |mysql -uzabbix -p'zabbix@123' -b zabbix
三、修改zabbix_server.conf并启动zabbix_server
# cat /etc/zabbix/zabbix_server.conf |grep -v "^#" |grep -v "^$" |grep -v grep
LogFile=/var/log/zabbix/zabbix_server.log
LogFileSize=0
DebugLevel=3
PidFile=/var/run/zabbix/zabbix_server.pid
SocketDir=/var/run/zabbix
DBName=zabbix
DBUser=zabbix
DBPassword=zabbix@123
StartPollers=16
StartPollersUnreachable=4
StartTrappers=10
StartPingers=8
SNMPTrapperFile=/var/log/snmptrap/snmptrap.log
CacheSize=1024M
StartDBSyncers=8
HistoryCacheSize=1024M
HistoryIndexCacheSize=256M
TrendCacheSize=1024M
Timeout=4
AlertScriptsPath=/usr/lib/zabbix/alertscripts
ExternalScripts=/usr/lib/zabbix/externalscripts
LogSlowQueries=3000
StatsAllowedIP=127.0.0.1
# systemctl enable zabbix-server
# systemctl start zabbix-server
四、修改nginx/php-fpm配置,将server端口配置为8080,端口配置没有特殊要求,只要未被占用都可配置。若想使用80端口,则需要注释或修改nginx.conf的server {}段配置
# vi /etc/nginx/conf.d/zabbix.conf
listen 8080;
server_name monitor.com;
修改php时区
# vi /etc/php-fpm.d/zabbix.conf
php_value[date.timezone] = Asia/Shanghai
# systemctl enable php-fpm
# systemctl restart php-fpm
# systemctl enable nginx
# systemctl start nginx
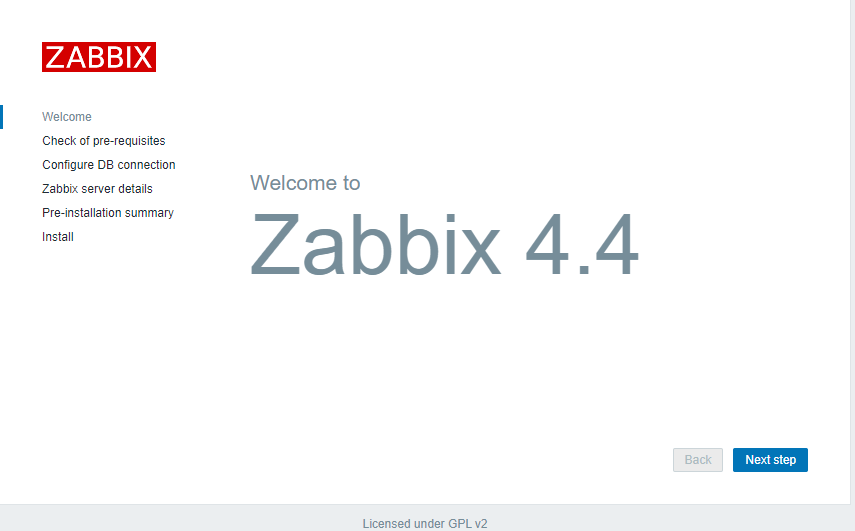
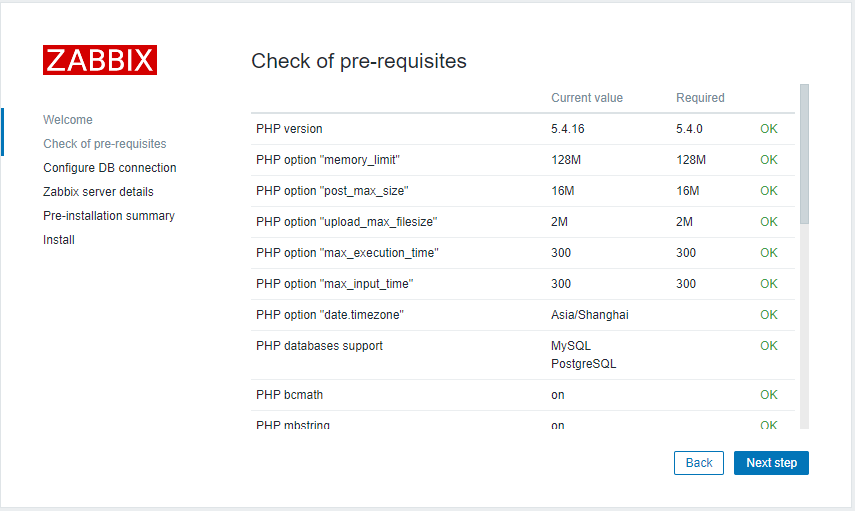
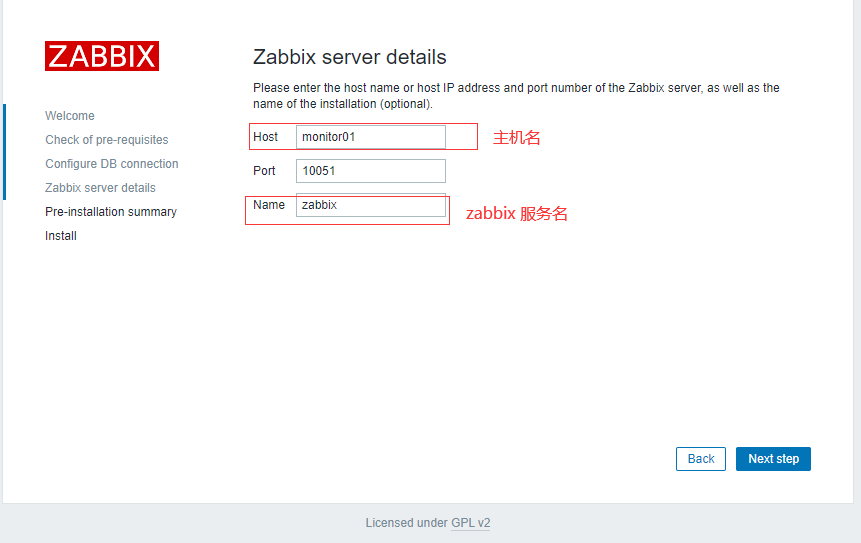
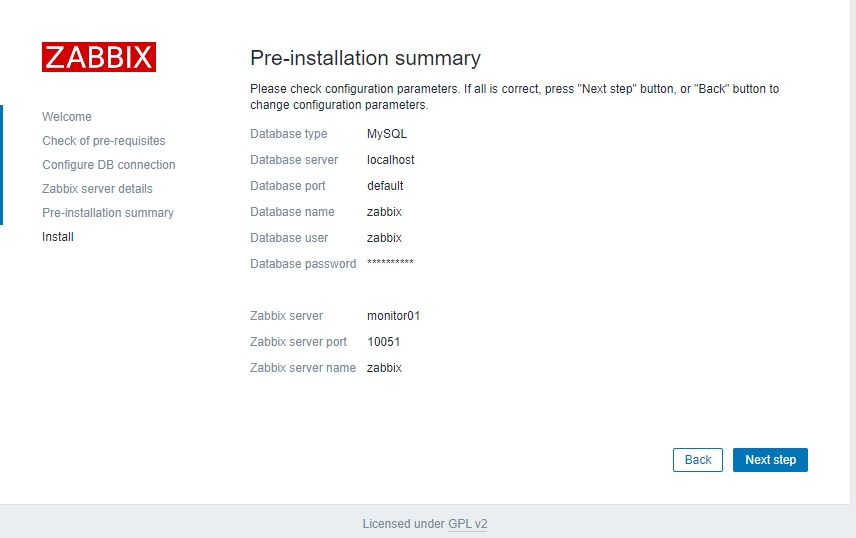
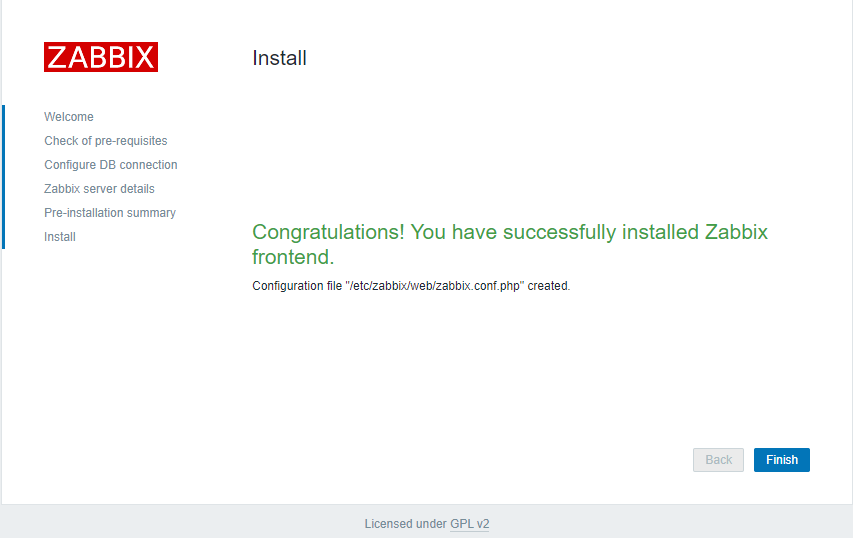
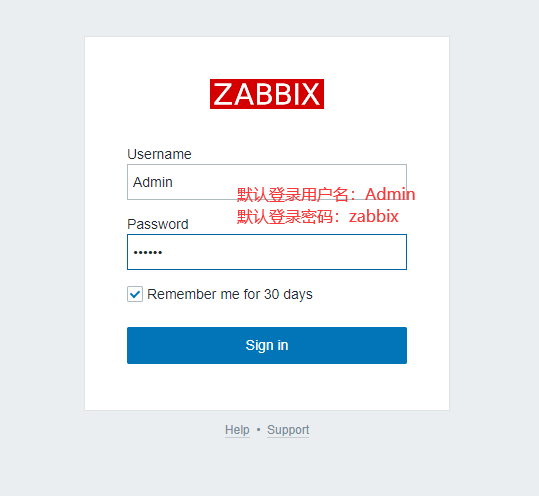
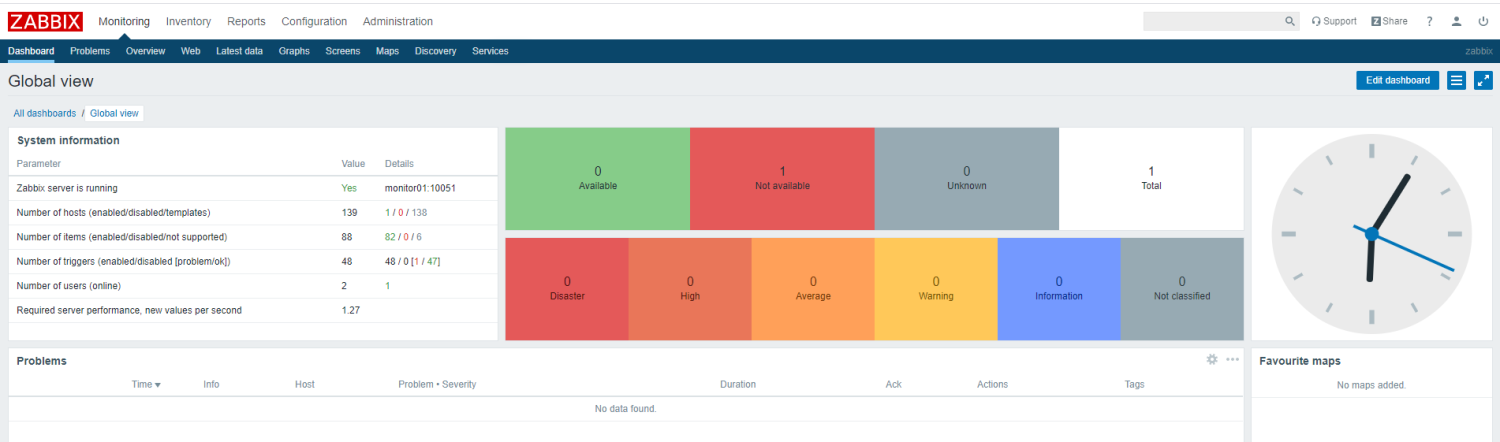
五、设置并登录zabbix系统
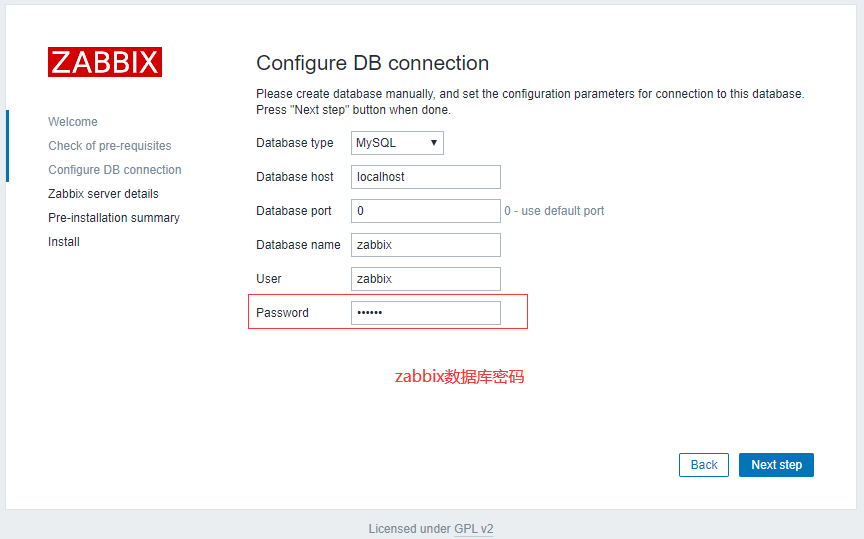
Zabbix 服务名是可选设置
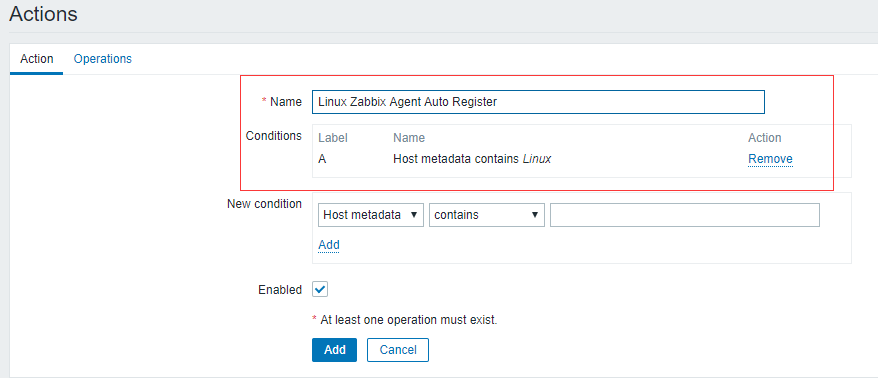
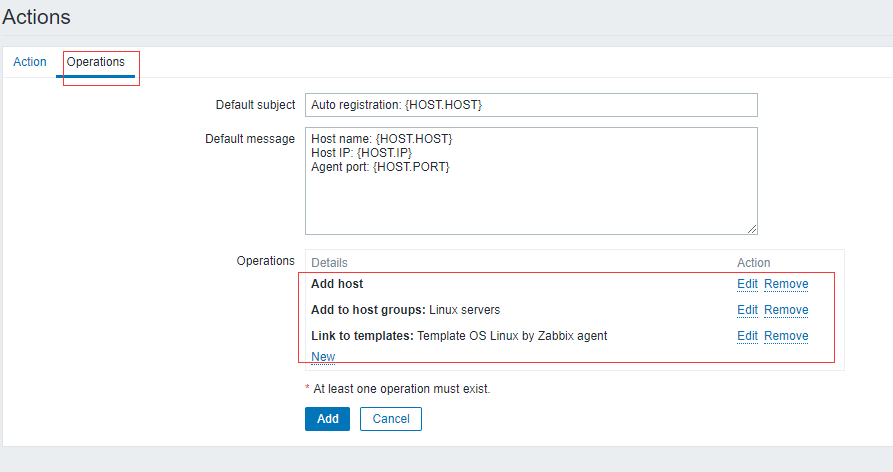
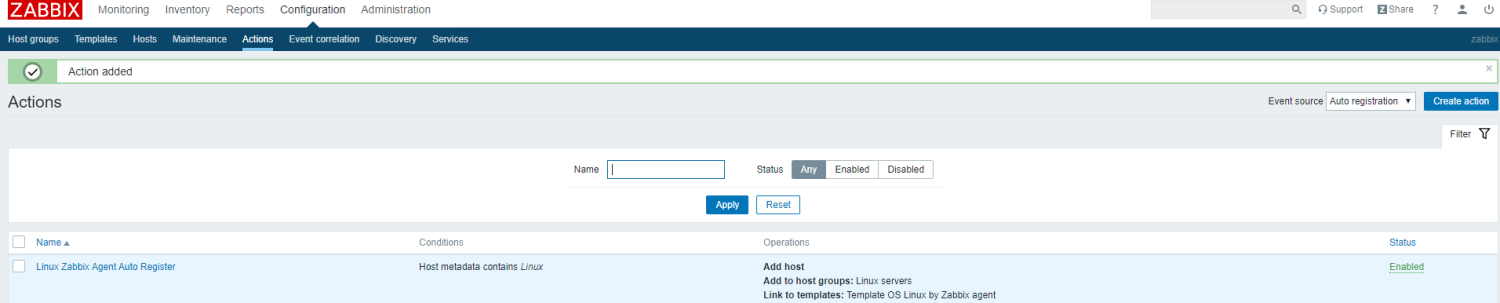
配置action,实现使安装有Zabbix Agent的Linux自动注册到Zabbix Server端。
步骤:configuration>>action>>Event source(选择Auto registration)>>Create Action,我们按如下步骤来定义个action

六、安装zabbix-agent
# rpm -Uvh https://repo.zabbix.com/zabbix/4.4/rhel/7/x86_64/zabbix-release-4.4-1.el7.noarch.rpm
# yum -y install zabbix-agent
修改zabbix-agent配置,monitor01为Zabbix Server主机的hostname,所有Zabbix agent主机上都要添加Zabbix Server主机的hostname。
# sed -i "s/Server=127.0.0.1/Server=monitor01/g" /etc/zabbix/zabbix_agentd.conf
# sed -i "s/ServerActive=127.0.0.1/ServerActive=monitor01/g" /etc/zabbix/zabbix_agentd.conf
# sed -i "s#Hostname=Zabbix server#Hostname=$(hostname)#g" /etc/zabbix/zabbix_agentd.conf
# sed -i "s#\# HostMetadataItem=#HostMetadataItem=system.uname#g" /etc/zabbix/zabbix_agentd.conf
启动zabbix-agent
# systemctl enable zabbix-agent
# systemctl restart zabbix-agent
如果有几十上百个节点,我们就需要借助Ansible或SaltStack等批量部署工具来快速部署了。
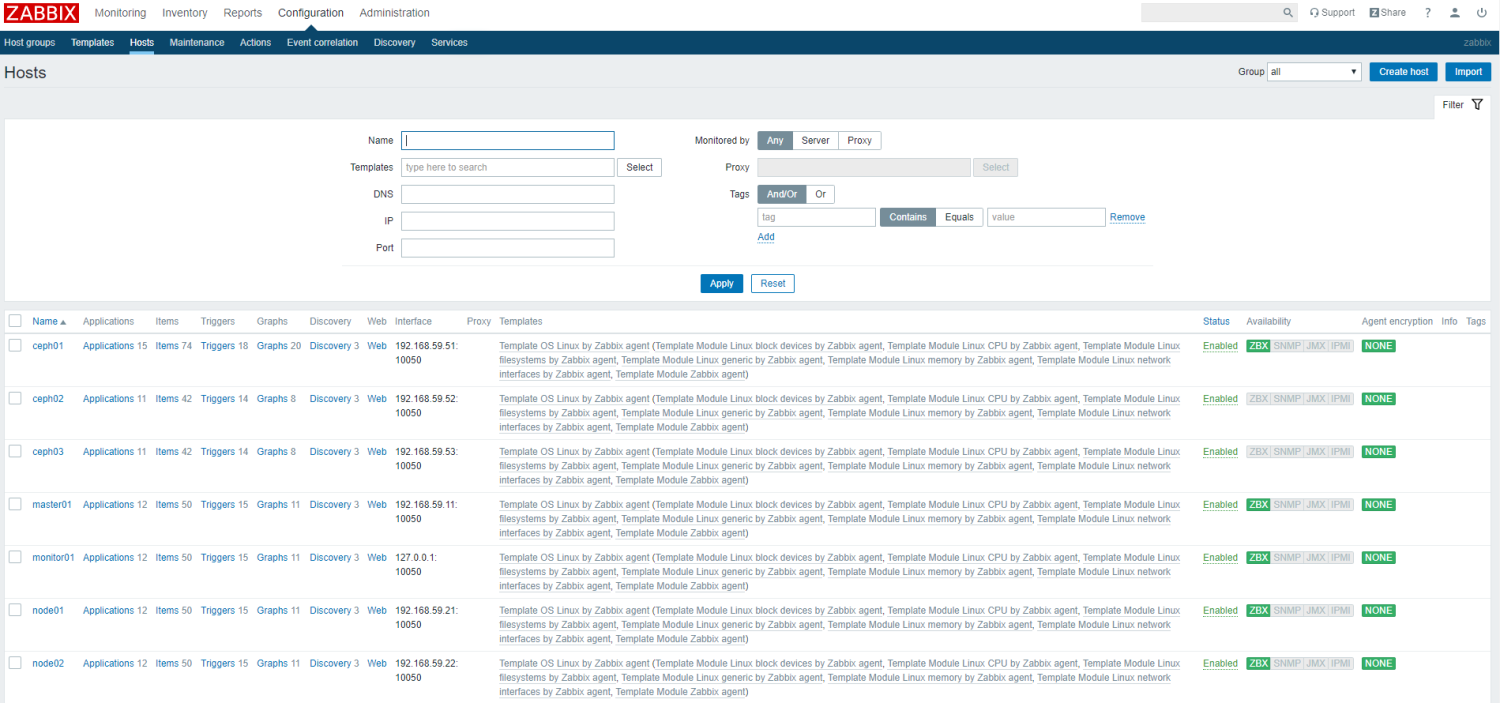
安装Zabbix Agent后的主机会自动注册到Zabbix Server上,并且Availability显示为一绿色的
 就表示添加成功了。
由于本系列教程讲述的重点是Grafana的使用,Zabbix仅是为Grafana提供要展示数据的接口,所以不再重点讲述,后续在讲解Grafana使用时会再穿插讲解一些Zabbix使用技巧。

- Zabbix+Grafana部署
- 一次在CentOS7上安装部署Zabbix3.0版本及快速进行基本配置的实例 推荐
- 一、Grafana + Zabbix 部署分布式监控系统
- Zabbix快速部署及自定义Item监控Nginx状态原理
- Grafana + Zabbix --- 部署分布式监控系统
- Zabbix快速部署
- Lnmp + Zabbix 3.4 快速部署
- zabbix的快速安装部署
- zabbix系列-Grafana4.6.3+Zabbix 的安装部署
- Grafana + Zabbix --- 部署分布式监控系统
- Docker监控快速部署,cAdvisor+InfluxDB+Grafana
- Grafana + Zabbix + MySQL --- 部署分布式监控系统
- zabbix-agent快速安装部署
- Zabbix快速部署
- grafana-zabbix部署和使用
- 裸机云快速部署利器Ubuntu MAAS:单机安装及测试系列教程第二篇
- zabbix+grafana部署
- 快速部署ZABBIX服务
- Zabbix与Grafana 环境部署