Ubuntu16.04下配置VScode的C/C++开发环境
1. Vscode安装
Visual studio code是微软发布的一个运行于 Mac OS X、Windows和 Linux 之上的,针对于编写现代 Web 和云应用的跨平台源代码编辑器。第一种方式是从VScode官网下载.deb文件,然后双击该文件会打开软件中心进行安装。

另一种方式是通过Terminal进行安装,首先输入下面三条语句安装umake:
sudo add-apt-repository ppa:ubuntu-desktop/ubuntu-make sudo apt-get update sudo apt-get install ubuntu-make
然后通过umake来安装VScode:
umake web visual-studio-code
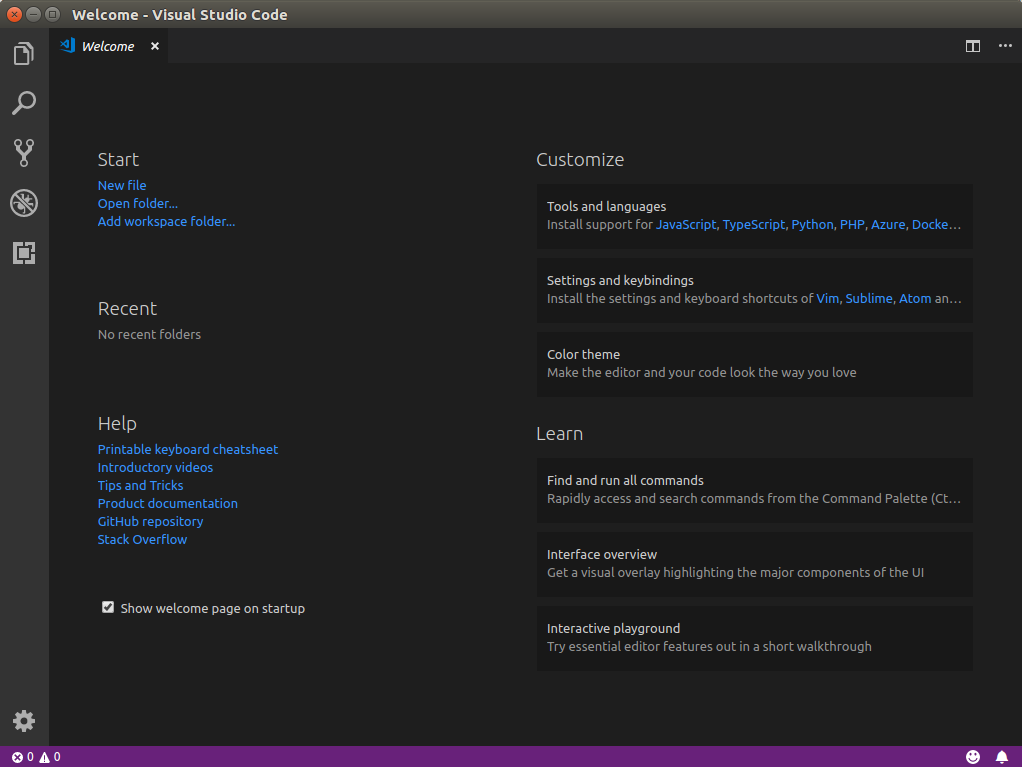
安装完毕后即可打开VScode,主界面如下:
2. Vscode环境配置
(1)安装c/c++插件
首先通过左边栏的Extension栏目安装C++插件,操作如下图:
(2)建立工程
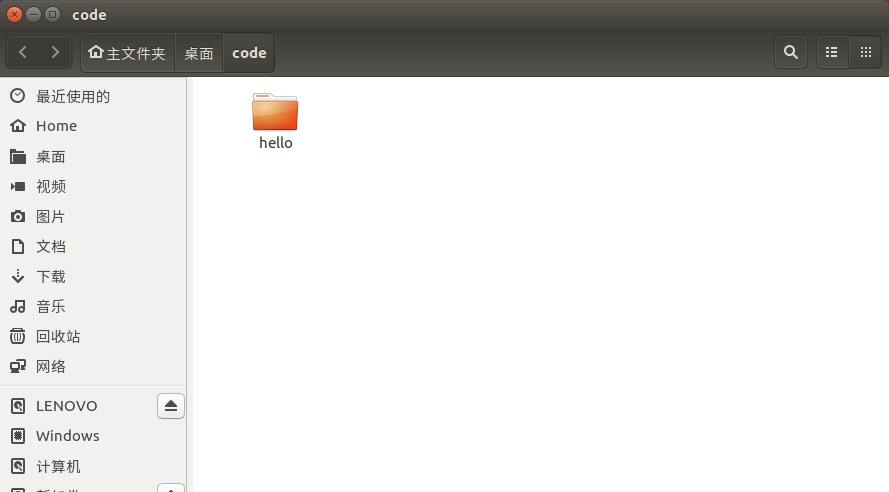
由于VScode是以文件夹的形式管理工程的,因此我们首先新建一个文件夹,我这里取名叫hello。
然后通过VScode打开此文件夹:
新建main.cpp文件并输入程序:
(3)更改配置文件(launch.json)
点击左侧的Debug按钮,选择添加配置(Add configuration),然后选择C++(GDB/LLDB),将自动生成launch.json文件,具体操作如下:

生成的默认json文件如下:
// Use IntelliSense to learn about possible attributes.
// Hover to view descriptions of existing attributes.
// For more information, visit: https://go.microsoft.com/fwlink/?linkid=830387
"version": "0.2.0",
"configurations": [
{
"name": "(gdb) Launch",
"type": "cppdbg",
"request": "launch","program": "enter program name, for example ${workspaceFolder}/a.out",
"args": [],
"stopAtEntry": false,
"cwd": "${workspaceFolder}",
"environment": [],
"externalConsole": true,
"MIMode": "gdb",
"setupCommands": [
{
"description": "Enable pretty-printing for gdb",
"text": "-enable-pretty-printing",
"ignoreFailures": true
}
]
}
]
}
注意:这里需要将program项的内容改为调试时运行的程序,将其改为main.out即可。具体更改如下:
"program": "enter program name, for example ${workspaceFolder}/a.out",
改为
"program": "${workspaceFolder}/main.out",
该语句指的是当前工作文件夹下的main.out文件,更改完毕的launch.json文件见附录。
(4)添加构建(编译、链接等)任务(tasks.json)
为了方便在VScode里编译C++代码,我们可以将类似g++ -g main.cpp等g++命令写入VScode的任务系统。首先,利用快捷键ctrl+shift+p打开命令行,输入Tasks: Run task,会出现如下提示:
No task to run found. configure tasks...
回车,然后依次选择如下:
Create tasks.json file from template
Others Example to run an arbitrary external command.
生成默认的tasks.json文件如下:
{
// See https://go.microsoft.com/fwlink/?LinkId=733558
// for the documentation about the tasks.json format
"version": "2.0.0",
"tasks": [
{
"label": "echo",
"type": "shell",
"command": "echo Hello"
}
]
}
这里的label为任务名,我们将”label"= "echo"改为”label"= "build"。由于我们的指令是g++,这里将”command“=”echo Hello“改为”command“=”g++“。然后添加g++的参数args。如果我们的g++指令为:g++ -g main.cpp,这里可以把参数设置为如下:
{
"tasks": [
{
"label": "build",
"type": "shell",
"command": "g++",
"args": ["-g", "${file}"]
}
]
}
如果我们想配置g++指令为:g++ -g main.cpp -std=c++11 -o main.out,则参数可设置为:
{
"tasks": [
{
"label": "build",
"type": "shell",
"command": "g++",
"args": ["-g", "${file}", "-std=c++11", "-o", "${fileBasenameNoExtension}.out"]
}
]
}
我们可以通过举一反三来配置不同的g++指令。完整的tasks.json文件可参考附录。
(5)简单断点调试
经过上述配置之后就可以对我们写的程序进行简单的配置。在进行下面的操作前,我们应当保证launch.json和tasks.json的正确性并且已经成功保存。
使用快捷键ctrl+shift+p调出命令行,选择执行我们的build任务,build成功后,点击开始调试。具体操作如下:
值得注意的是,这里如果每次更改了程序需要重新build,然后再进行调试;如果直接进行调试则运行的是上次build的结果。通过在launc.json作如下更改可以使得每次调试之前会自动进行build:
这里在launch.json文件中添加了”preLaunchTask“=”build",也就是添加一个launch之间的任务,任务名为build,这个build就是我们在tasks.json中设置的任务名。
3.总结及注意事项
本文对Ubuntu16.04系统下配置基于VScode的C/C++开发环境进行了简单的介绍,主要步骤为:
1.安装VScode,可以通过在官网下载和命令行的方式进行安装。(顺便提一下,在命令行安装的过程中可能会让你输入a)
2.新建C/C++工程,VScode以文件夹为管理工程的方式,因此需要建立一个文件夹来保存工程。
3.配置launch.json文件,它是一个启动配置文件。需要进行修改地方的是指定运行的文件,其次我们还可以在里面添加build任务。
4.配置tasks.json文件,这个文件用来方便用户自定义任务,我们可以通过这个文件来添加g++/gcc或者是make命令,方便我们编译程序。
5.上述四个流程完了之后我们就可以进行基础的C/C++开发与调试了。
4. 附录
这里给出一个较完整的配置文件和任务文件,笔者的系统的Ubuntu16.04 LTS,测试时间是2018/11/14。由于版本不同可能会有所变化,因此该配置仅供参考!
(1)launch.json
{
// Use IntelliSense to learn about possible attributes.
// Hover to view descriptions of existing attributes.
// For more information, visit: https://go.microsoft.com/fwlink/?linkid=830387
"version": "0.2.0",
"configurations": [
{
"name": "(gdb) Launch",
"type": "cppdbg",
"request": "launch",
"program": "${workspaceFolder}/${fileBasenameNoExtension}.out",
"args": [],
"stopAtEntry": false,
"cwd": "${workspaceFolder}",
"environment": [],
"externalConsole": true,
"MIMode": "gdb",
"preLaunchTask": "build",
"setupCommands": [
{
"description": "Enable pretty-printing for gdb",
"text": "-enable-pretty-printing",
"ignoreFailures": true
}
]
}
]
}
(2)tasks.json
{
// See https://go.microsoft.com/fwlink/?LinkId=733558
// for the documentation about the tasks.json format
"version": "2.0.0",
"tasks": [
{
"label": "build",
"type": "shell",
"command": "g++",
"args": ["-g", "${file}", "-std=c++11", "-o", "${fileBasenameNoExtension}.out"]
}
]
}
总结
到此这篇关于Ubuntu16.04下配置VScode的C/C++开发环境的文章就介绍到这了,更多相关Ubuntu16.04下配置VScode的C/C++开发环境内容请搜索脚本之家以前的文章或继续浏览下面的相关文章希望大家以后多多支持脚本之家!
您可能感兴趣的文章:

- ubuntu 16.04 VSCode 配置C++开发环境
- vscode的C++开发环境配置-win10下Linux子系统
- VSCode 配置C/C++ 开发环境 (超详细的,能解决大多数的安装配置问题)
- vscode配置c/c++开发环境
- ubuntu下vscode配置c++环境C/C++ Compile Run
- VSCode 配置C/C++开发环境
- ubuntu /elementary os下vscode 配置go开发环境
- C++程序调用Python的函数(简单应用)及Ubuntu16.04下codeblocks的环境配置
- 20171231 Ubuntu+Anaconda+VSCode配置多Python开发环境
- Ubuntu下配置code::blocks + freeglut开发环境
- 在 Ubuntu 下配置 C/C++ 开发环境【转】
- ubuntu下配置eclipse开发c++环境补充
- linux 下 VNC Server安装配置及 eclipse CDT C/C++ 开发环境搭建(我用的是阿里云服务器 ubuntu 12.04 64-bit,无图形化界面)
- VS配置OpenCV开发环境(c++):How & Why
- ubuntu 16.04LTS 下Code::Blocks + Opencv3.3开发环境配置
- Ubuntu 16.04配置VSCode编译C++
- Ubuntu下配置C/C++开发环境
- Ubuntu常用软件及C/C++开发环境的安装和配置
- 在VSCode中配置GO开发环境用户设置
- 在Ubuntu下配置C/C++ 开发环境 —— HelloWorld !