利用SpringBoot简单快速搭建WEB项目入门
2019-06-13 21:16
791 查看
我们在WEB应用开发过程中,我们常常用到的语言是JAVA语言。作为WEB应用中的霸主级别中
的存在,却常常被嘲讽。“人生苦短,我用python”是python程序员们引以为傲的格言。人们经常
将JAVA与时代新宠Python作比较,至今网上还流传着python代码都在review了而JAVA还在搭框架解决jar包冲突。今天为了给我们JAVA程序员扳回一局。今天,我要向大家介绍的如何快速SpringBoot快速搭建一个SSM项目。
介绍SpringBoot
首先,我们访问Spring Boot官方网站https://spring.io/projects/spring-boot 可以看到官网对他的介绍:
1.创建独立的Spring应用程序

2.直接嵌入Tomcat,Jetty或Undertow(无需部署WAR文件)

3.提供自以为是的“入门”依赖项以简化构建配置

4.尽可能自动配置Spring和第三方库

5.提供生产就绪功能,例如指标,运行状况检查和外部化配置

6.绝对没有代码生成,也不需要XML配置
快速搭建SSM框架
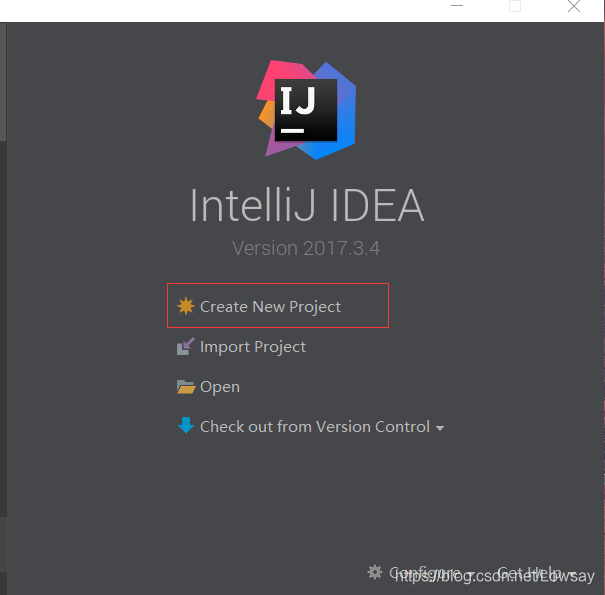
工具:IntellJ IDEA MAVEN
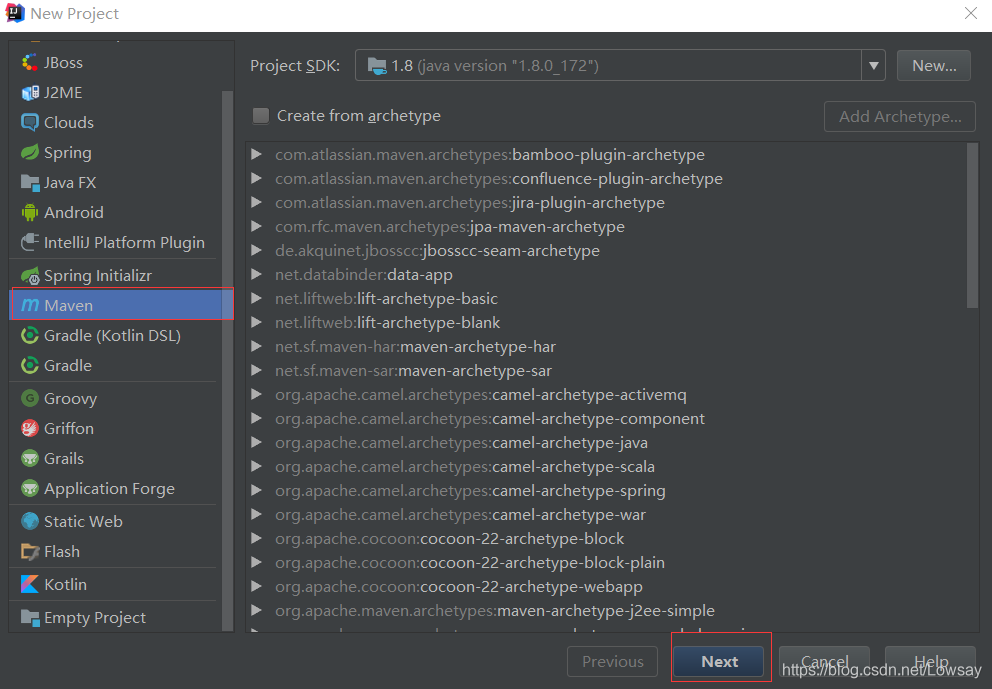
首先,我们创建一个普通的maven工程,点击:
第二步,填入项目名称与项目域名,就会生成一个maven项目:
第三步,打开pom文件引入springboot坐标,引入springboot启动类,jdk版本信息,javaweb启动类
<project xmlns="http://maven.apache.org/POM/4.0.0"
xmlns:xsi="http://www.w3.org/2001/XMLSchema-instance"
xsi:schemaLocation="http://maven.apache.org/POM/4.0.0 http://maven.apache.org/xsd/maven-4.0.0.xsd">
<modelVersion>4.0.0</modelVersion>
<groupId>cn.xindazj</groupId>
<artifactId>xindazj-portal</artifactId>
<version>1.0-SNAPSHOT</version>
<packaging>war</packaging>
<packaging>war</packaging>
<parent>
<groupId>org.springframework.boot</groupId>
<artifactId>spring-boot-starter-parent</artifactId>
<version>2.1.2.RELEASE</version>
</parent>
<properties>
<java.version>1.8</java.version>
</properties>
<dependencies>
<dependency>
<groupId>org.springframework.boot</groupId>
<artifactId>spring-boot-starter-web</artifactId>
</dependency>
<dependency>
<groupId>org.springframework.boot</groupId>
<artifactId>spring-boot-starter-jdbc</artifactId>
</dependency>
<dependency>
<groupId>mysql</groupId>
<artifactId>mysql-connector-java</artifactId>
</dependency>
<dependency>
<groupId>org.projectlombok</groupId>
<artifactId>lombok</artifactId>
</dependency>
<!--mybatis -->
<dependency>
<groupId>org.mybatis</groupId>
<artifactId>mybatis</artifactId>
<version>3.4.0</version>
</dependency>
<!--分页插件pagehelper-->
<dependency>
<groupId>com.github.pagehelper</groupId>
<artifactId>pagehelper</artifactId>
<version>4.1.3</version>
</dependency>
<!-- 通用mapper -->
<dependency>
<groupId>tk.mybatis</groupId>
<artifactId>mapper-spring-boot-starter</artifactId>
<version>2.0.2</version>
</dependency>
<dependency>
<groupId>org.springframework.boot</groupId>
<artifactId>spring-boot-starter-thymeleaf</artifactId>
</dependency>
<!-- 缓存 -->
<dependency>
<groupId>redis.clients</groupId>
<artifactId>jedis</artifactId>
</dependency>
<dependency>
<groupId>org.springframework.data</groupId>
<artifactId>spring-data-redis</artifactId>
</dependency>
<!--json解析工具-->
<dependency>
<groupId>com.alibaba</groupId>
<artifactId>fastjson</artifactId>
<version>1.2.28</version>
</dependency>
</dependencies>
</project>
第四步,对ssm,连接数据库进行相关配置,这里我将只介绍一种yml方式配置(启动类上@Bean注入,相关配置类重写 properties都可以进行配置)。在resources目录下新建一个application.yml:
server:
port: 80
#jdbc
spring:
datasource:
url: jdbc:mysql://localhost:3306/xindadb?serverTimezone=GMT%2B8
username: root
password: root
#mybatis
mybatis:
type-aliases-package: cn.xindazj.pojo
第五步,进行启动类的编写:
import com.alibaba.fastjson.serializer.SerializerFeature;
import com.alibaba.fastjson.support.config.FastJsonConfig;
import com.alibaba.fastjson.support.spring.FastJsonHttpMessageConverter;
import com.github.pagehelper.PageHelper;
import org.springframework.boot.SpringApplication;
import org.springframework.boot.autoconfigure.SpringBootApplication;
import org.springframework.boot.autoconfigure.http.HttpMessageConverters;
import org.springframework.context.annotation.Bean;
import org.springframework.http.converter.HttpMessageConverter;
import tk.mybatis.spring.annotation.MapperScan;

import java.util.Properties;

@SpringBootApplication
@MapperScan("cn.xindazj.mapper")
public class Application {
public static void main(String[] args) {
SpringApplication.run(Application.class, args);
}

//配置mybatis的分页插件pageHelper
@Bean
public PageHelper pageHelper(){
PageHelper pageHelper = new PageHelper();
Properties properties = new Properties();
properties.setProperty("offsetAsPageNum","true");
properties.setProperty("rowBoundsWithCount","true");
properties.setProperty("reasonable","false");
properties.setProperty("dialect","mysql");    //配置mysql数据库的方言
pageHelper.setProperties(properties);
return pageHelper;
}

@Bean//使用@Bean注入fastJsonHttpMessageConvert
public HttpMessageConverters fastJsonHttpMessageConverters(){
//1.需要定义一个Convert转换消息的对象
FastJsonHttpMessageConverter fastConverter=new FastJsonHttpMessageConverter();
//2.添加fastjson的配置信息,比如是否要格式化返回的json数据
FastJsonConfig fastJsonConfig=new FastJsonConfig();
fastJsonConfig.setSerializerFeatures(SerializerFeature.PrettyFormat);
//3.在convert中添加配置信息
fastConverter.setFastJsonConfig(fastJsonConfig);
HttpMessageConverter<?> converter=fastConverter;
return new HttpMessageConverters(converter);
}
}
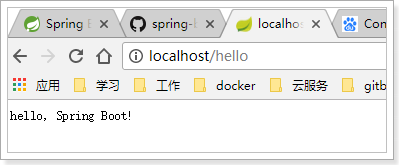
最后,对新搭建的项目进行访问测试:
总结
spring boot是自动配置的管理,将极大的减少我们因为jar包冲突,简化框架搭建,摆脱繁重的配置文件xml等,是JAVA划时代的变化。是不是很激动,让我们赶快试一试吧。这是我第一次发博客,由于自身能力尚浅,可能会存在很多错误之处,还希望csdn的大神们多指导,多批评。

相关文章推荐
- springboot入门,简单能跑的项目快速搭建
- 【SpringBoot教程二】:RESTfull API简单项目的快速搭建
- 003,spring boot RESTfull API简单项目的快速搭建
- 【SpringBoot探索一】SpringBoot快速搭建基础web项目
- Spring Boot-RESTfull API简单项目的快速搭建
- SpringBoot入门-02(第一个简单的SpringBoot项目搭建)
- 通过Spring Boot + Mybatis + Redis快速搭建现代化Web项目
- 004-Spring boot 快速入门-项目搭建与启动、SpringBootApplication
- 快速搭建第一个简单的SpringBoot项目
- SpringBoot之Helloword 快速搭建一个web项目(图文)
- SpringBoot之1分钟快速搭建Web项目(一)
- SpringBoot最简单的入门项目的搭建
- 简单搭建 Spring Boot Web项目(一)
- 用Spring Boot搭建简单web项目
- springboot (1) 快速搭建简单项目
- Spring Boot(二):快速搭建web项目或微服务
- 快速搭建一个简单的springboot项目
- Spring Boot -- RESTFul API 简单项目的快速搭建
- 简单搭建Spring Boot Web项目(三)
- idea+maven+springboot搭建web简单项目经历小计(RestController)