spring boot + vue cli 3 整合开发(附带简单的项目实战)
2018-09-24 22:27
871 查看
随着webpack的流行 现在大部分项目都是前后端分离. 但总有一些小项目在初期就只有1-2个后端做开发, 而且 vue 确实很容易上手 webpack的压缩和性能优化也确实好用. 因此做了个小Demo 有朋友喜欢的话可以多多讨论.
使用IDE : idea
系统 : win10(用mac的朋友可能需要修改一部分内容)
demo: https://github.com/xiongmaowang/spring-vue
项目结构如图:
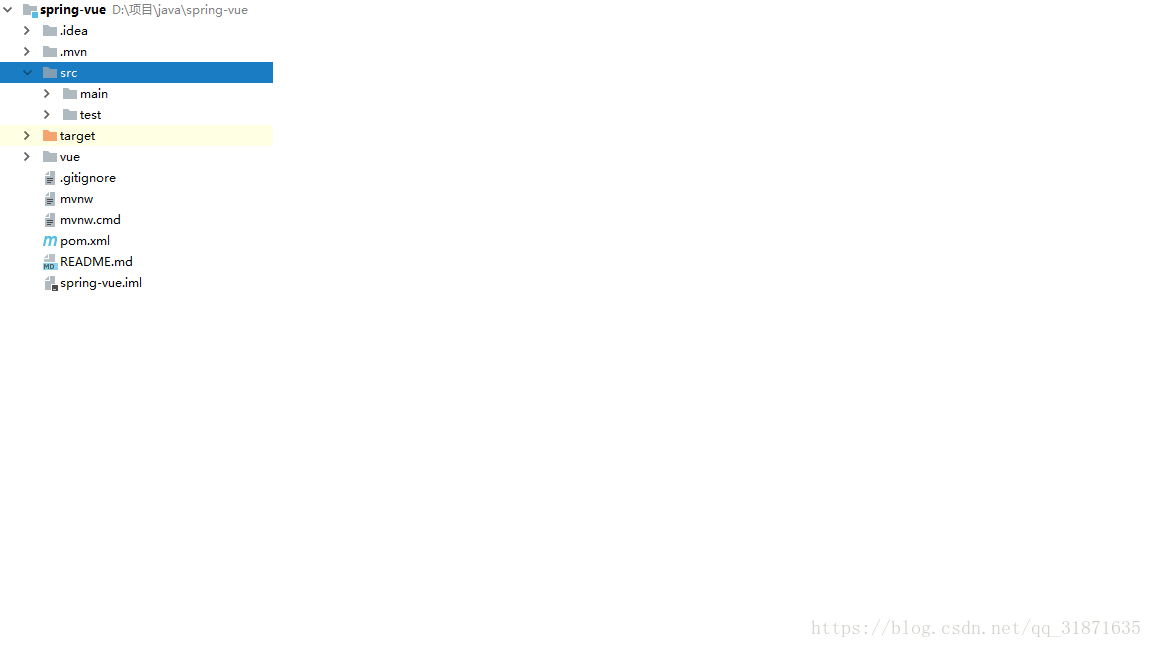
添加了vue 文件夹作为vue项目路径
目的
- 让项目打包一键化
- 让项目运行一键化
- 根据文件目录生成router
让项目打包一键化
创建 maven plugin 用于maven编译时运行 vue 项目
核心代码如下
@Mojo( name = "compile",defaultPhase = LifecyclePhase.GENERATE_RESOURCES)
public class CompileMojo extends AbstractMojo {
@Override
public void execute() throws MojoExecutionException {
//根据项目路径运行 yarn build命令
Process run = Runtime.getRuntime().exec(new String[]{"cmd","/c","yarn build"},null ,Global.projectPath.resolve("vue").toFile());
try {
run.waitFor();
} catch (InterruptedException e) {
e.printStackTrace();
}
}
}
这样执行compile以上的命令之后将会在 项目路径/vue 上运行打包命令.
可以使用我的maven仓库
http://47.98.117.200:8081/nexus/content/repositories/releases
项目的pom文件上加上
<plugin>
<groupId>com.xmw</groupId>
<artifactId>cmd</artifactId>
<version>1.1</version>
<executions>
<execution>
<id>compile</id>
<goals>
<goal>compile</goal>
</goals>
</execution>
</executions>
</plugin>
然后我们更改vue项目的配置文件 (vue.config.js ).
module.exports = {
//打包后输出到spring boot 项目的output上
outputDir:"../target/classes/static"
}
让项目开发环境运行一键化
让 springboot 运行的时候执行 cmd命令
@Component
public class StartRunner implements CommandLineRunner {
@Value("${spring.profiles.active}")
private String profile;
@Override
public void run(String... args) {
try {
if("dev".equals(profile)){
if(Files.exists(GlobalUtil.vuePath)){
if(!nodeIsRun()){
CmdUtil.run(GlobalUtil.vuePath, "start","cmd.exe","/k","yarn serve --open");
}
}
}
}catch (Exception e){
e.printStackTrace();
}
}
}
当然我们开发的时候 肯定会频繁重启spring boot 项目. 为了避免重复启动 我们可以根据 cmd命令判断 node 是否运行.
private static boolean nodeIsRun(){
BufferedReader br=null;
boolean result = false;
try {
Process p = CmdUtil.run(null,"tasklist | findstr \"node.exe\"");
br=new BufferedReader(new InputStreamReader(p.getInputStream(), Charset.forName("GBK")));
String line=null;
while((line=br.readLine())!=null){
result = true;
}
} catch (Exception e) {
e.printStackTrace();
}  finally{
if(br!=null){
try{
br.close();
}catch(Exception e){
e.printStackTrace();
}
}
}
return result;
}
我们其实可以用Run/Debug Configuration 的 Befor launch 设置命令后去运行.但我更加喜欢上面这个选项
…待补
阅读更多
相关文章推荐
- SpringBoot+Maven项目实战(6):整合Log4j和Aop,实现简单的日志记录
- Spring boot+Shiro+ spring MVC+swagger UI +Mybatis+mysql+Vue +Element UI 之三 vue简单页面实战
- Spring Boot整合RabbitMQ开发实战详解
- Spring Boot整合Dubbo开发系列(一)----一个简单的示例
- 使用Gradle整合SpringBoot+Vue.js-开发调试与打包
- spring boot + vue + element-ui全栈开发入门——项目部署
- 一个简单的SpringBoot整合Mybatis项目
- SpringBoot+Maven项目实战(3):整合Freemark模板
- springboot+rabbitMq整合开发实战二:模拟用户下单的过程
- spring boot + vue + element-ui全栈开发入门——前后端整合开发
- 整合阿里dubbo服务的项目搭建实战(springboot)
- 踩坑之旅:springboot+vue+webpack项目实战(一)
- Spring Boot 整合JDBC 实现后端项目开发
- Spring 开发简单项目实战
- springboot+rabbitMq整合开发实战一
- CK1956-2017年最新项目实战Spring Boot视频微服务整合Mybatis
- 【备忘】2017年最新 项目实战 Spring Boot视频教程 微服务整合Mybatis
- 基于vue-cli网上商城项目实战开发——搭建一个完整的SPA项目开发框架(一)
- CK1956-2017年最新项目实战Spring Boot视频微服务整合Mybatis
- spring整合mina开发web项目和简单mina客户端的使用