PHP 图像居中裁剪函数
2017-02-09 06:12
507 查看
图像居中裁减的大致思路:
1.首先将图像进行缩放,使得缩放后的图像能够恰好覆盖裁减区域。(imagecopyresampled — 重采样拷贝部分图像并调整大小)
2.将缩放后的图像放置在裁减区域中间。(imagecopy — 拷贝图像的一部分)
3.裁减图像并保存。(imagejpeg | imagepng | imagegif — 输出图象到浏览器或文件)
==================缩放裁剪函数====================
/**
* 居中裁剪图片
* @param string $source [原图路径]
* @param int $width [设置宽度]
* @param int $height [设置高度]
* @param string $target [目标路径]
* @return bool [裁剪结果]
*/
function image_center_crop($source, $width, $height, $target)
{
if (!file_exists($source)) return false;
/* 根据类型载入图像 */
switch (exif_imagetype($source)) {
case IMAGETYPE_JPEG:
$image = imagecreatefromjpeg($source);
break;
case IMAGETYPE_PNG:
$image = imagecreatefrompng($source);
break;
case IMAGETYPE_GIF:
$image = imagecreatefromgif($source);
break;
}
if (!isset($image)) return false;
/* 获取图像尺寸信息 */
$target_w = $width;
$target_h = $height;
$source_w = imagesx($image);
$source_h = imagesy($image);
/* 计算裁剪宽度和高度 */
$judge = (($source_w / $source_h) > ($target_w / $target_h));
$resize_w = $judge ? ($source_w * $target_h) / $source_h : $target_w;
$resize_h = !$judge ? ($source_h * $target_w) / $source_w : $target_h;
$start_x = $judge ? ($resize_w - $target_w) / 2 : 0;
$start_y = !$judge ? ($resize_h - $target_h) / 2 : 0;
/* 绘制居中缩放图像 */
$resize_img = imagecreatetruecolor($resize_w, $resize_h);
imagecopyresampled($resize_img, $image, 0, 0, 0, 0, $resize_w, $resize_h, $source_w, $source_h);
$target_img = imagecreatetruecolor($target_w, $target_h);
imagecopy($target_img, $resize_img, 0, 0, $start_x, $start_y, $resize_w, $resize_h);
/* 将图片保存至文件 */
if (!file_exists(dirname($target))) mkdir(dirname($target), 0777, true);
switch (exif_imagetype($source)) {
case IMAGETYPE_JPEG:
imagejpeg($target_img, $target);
break;
case IMAGETYPE_PNG:
imagepng($target_img, $target);
break;
case IMAGETYPE_GIF:
imagegif($target_img, $target);
break;
}
return boolval(file_exists($target));
}==================函数使用方式====================
// 原始图片的路径
$source = '../source/img/middle.jpg';
$width = 480; // 裁剪后的宽度
$height = 480;// 裁剪后的高度
// 裁剪后的图片存放目录
$target = '../source/temp/resize.jpg';
// 裁剪后保存到目标文件夹
if (image_center_crop($source, $width, $height, $target)) {
echo "<img src='$target'>";
}==================图片裁剪效果====================

原图:1440*900
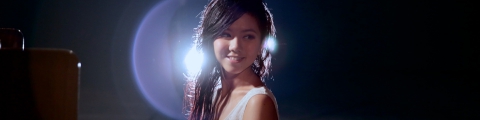
裁剪后:480*120
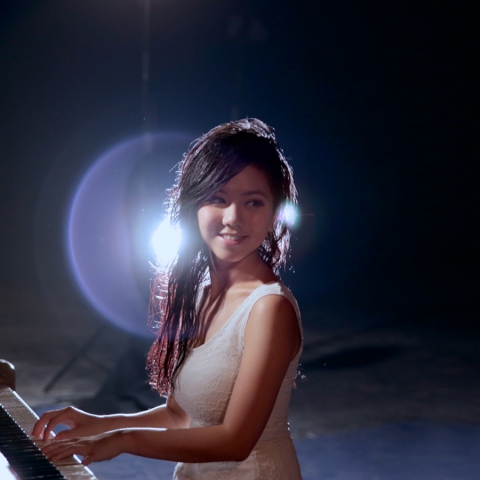
裁剪后:480*480

裁剪后:480*720

相关文章推荐
- bootpack.c中的PIC0_MIR遮断问题
- Laravel 使用Voyager导致多个数据库连接总是返回默认连接?
- 执行vagrant ssh命令时出现`ssh` executable not found in any directories in the %PATH%.提示的解决办法
- yii2 with()
- yii2 sql log
- PHP匿名函数、闭包、function use
- PHP调试开发环境配置
- PHP 代码复用trait
- laravel5.3 一对多表 分页查询
- html上的数据怎么交给php处理
- YII2中使用with关联查询时,附带关联查询条件
- 用PHP把html带连字符的属性转换为驼峰命名
- wordpress配置SMTP服务发送邮件(qq邮箱)
- androd—Intent操作ContentProvider获取电话号码
- php生成md5签名原理
- PHP的错误处理
- phpstrom 识别ECMAScript6
- ContentProvider补充(获取系统数据)
- Thinkphp框架的网站lnmp无法页面跳转配置
- ajax php 点击加载更多