IOS-React Native 使用CocoaPods集成到原生项目中
2016-11-16 12:24
555 查看
本人亲测
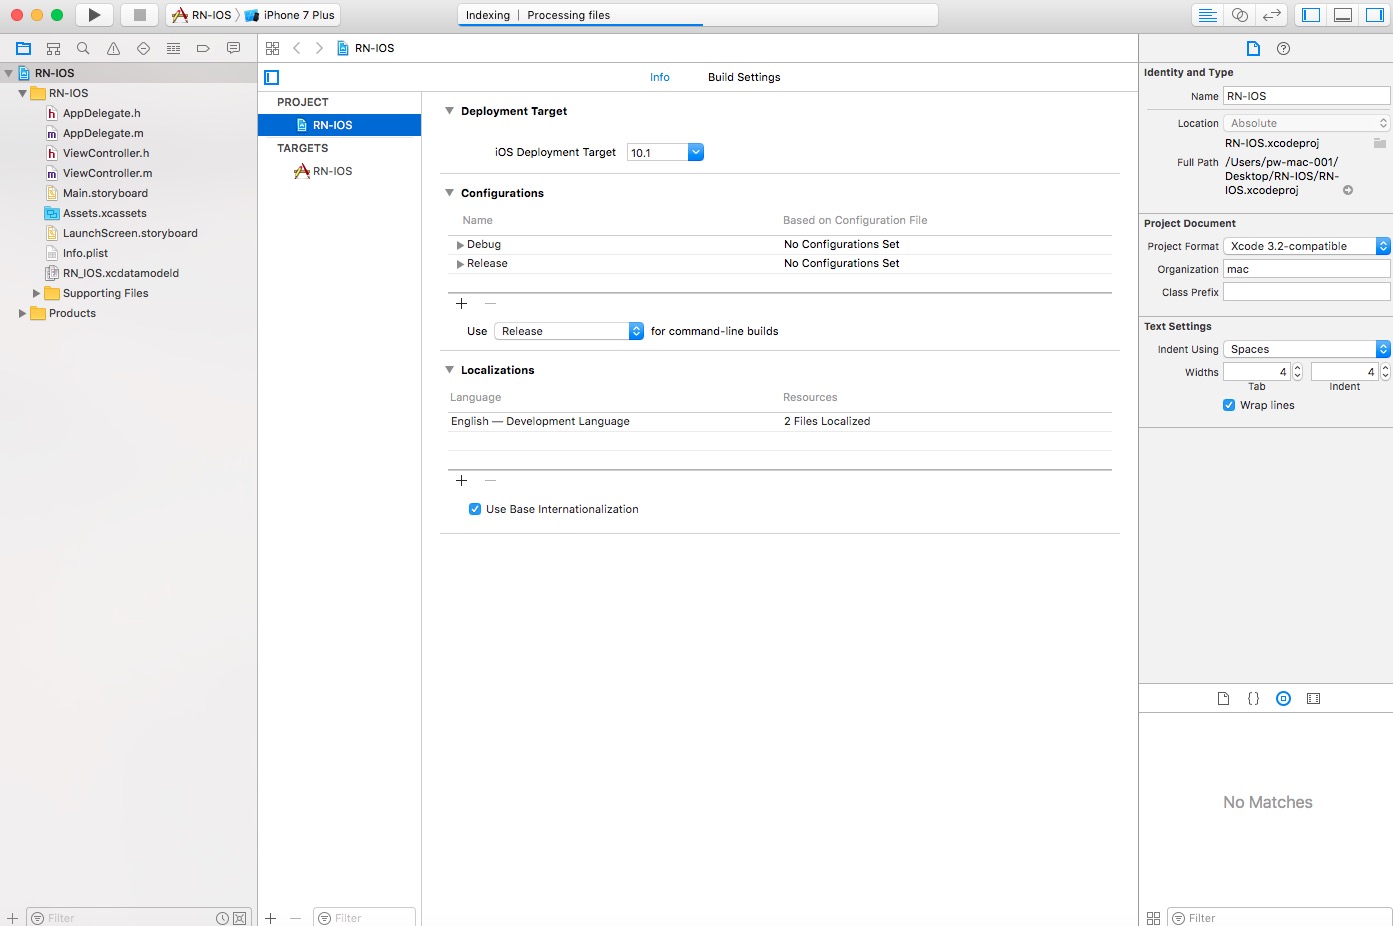
1, 用Xcode创建一个ios项目
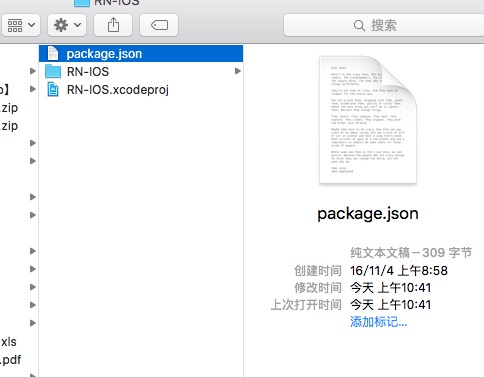
2, 我们在RN-IOS 项目目录建一个package.json文件,用于初始化react-native。
//{
“name”: “AwesomeProject”,
“version”: “0.0.1”,
“private”: true,
“scripts”: {
“start”: “node node_modules/react-native/local-cli/cli.js start”,
“test”: “jest”
},
“dependencies”: {
“react”: “15.3.2”,
“react-native”: “0.36.1”
},
“jest”: {
“preset”: “jest-react-native”
}
}
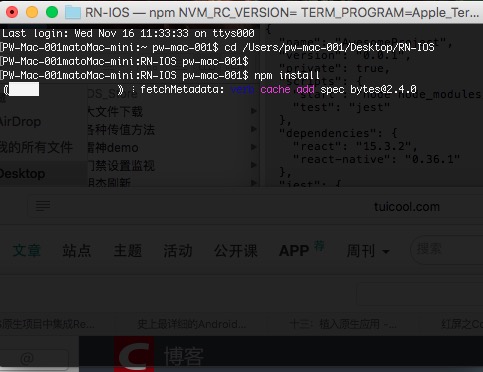
**3,执行安装: 打开终端 cd 你的RN-IOS路径 (直接把文件拖进去)
然后 npm install
安装成功后,RN-IOS目录会产生一个node_modules,里面就是react-native依赖的所有项目包。**

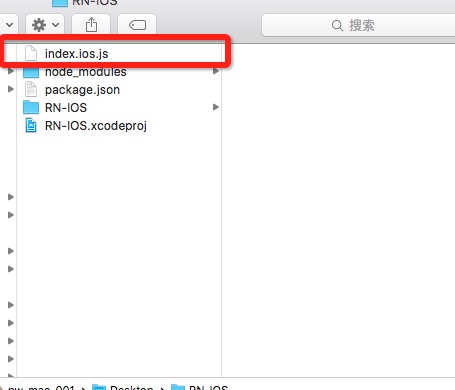
4,创建index.ios.js文件
/**
* Sample React Native App
* https://github.com/facebook/react-native
* @flow
*/
import React, { Component } from ‘react’;
import {
AppRegistry,
StyleSheet,
Text,
View
} from ‘react-native’;
export default class RN-IOS extends Component {
render() {
return (
Welcome to React Native!
To get started, 222222edit index.ios.js
Press Cmd+R to reload,{‘\n’}
Cmd+D or shake for dev menu
);
}
}
const styles = StyleSheet.create({
container: {
flex: 1,
justifyContent: ‘center’,
alignItems: ‘center’,
backgroundColor: ‘#F5FCFF’,
},
welcome: {
fontSize: 20,
textAlign: ‘center’,
margin: 10,
},
instructions: {
textAlign: ‘center’,
color: ‘#333333’,
marginBottom: 5,
},
});
AppRegistry.registerComponent(‘RN-IOS’, () => RN-IOS);
5,使用Cocoapods集成react-native
vim Podfile (创建Podfile文件,进去后 i 进入编辑状态,然后粘贴下边代码,然后Esc + : wq 保存退出)
platform:ios, ‘7.0’
target ‘RN-IOS’ do
pod ‘React’, :path => ‘./node_modules/react-native’, :subspecs => [
‘Core’,
‘RCTNetwork’,
‘RCTText’,
‘RCTWebSocket’,
]
end
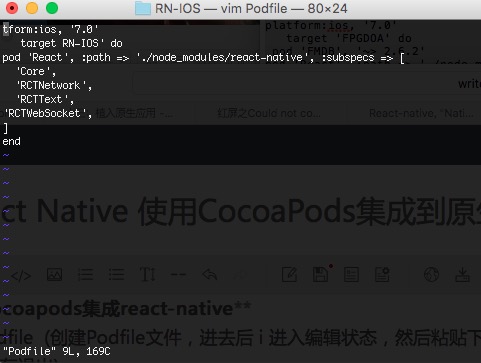
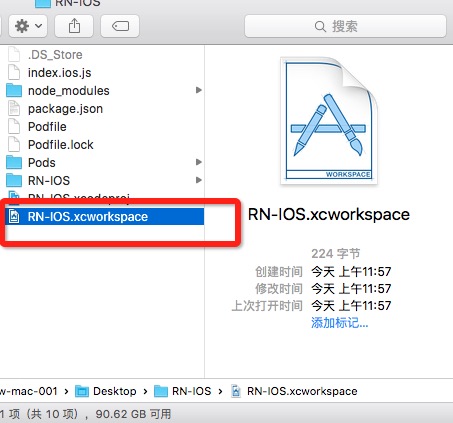
最后执行 pod install ,就完成了react-native工程包的集成。
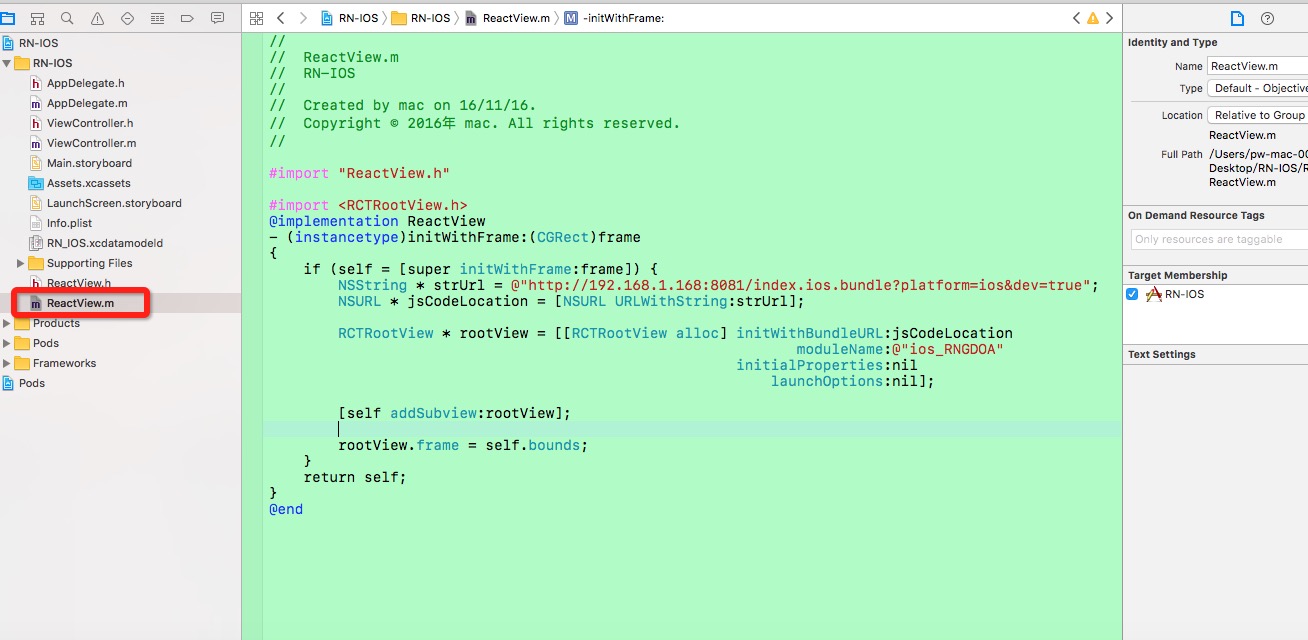
6,添加react-native应用
打开项目,创建一个ReactView,继承与UIView,
1, 用Xcode创建一个ios项目
2, 我们在RN-IOS 项目目录建一个package.json文件,用于初始化react-native。
//{
“name”: “AwesomeProject”,
“version”: “0.0.1”,
“private”: true,
“scripts”: {
“start”: “node node_modules/react-native/local-cli/cli.js start”,
“test”: “jest”
},
“dependencies”: {
“react”: “15.3.2”,
“react-native”: “0.36.1”
},
“jest”: {
“preset”: “jest-react-native”
}
}
**3,执行安装: 打开终端 cd 你的RN-IOS路径 (直接把文件拖进去)
然后 npm install
安装成功后,RN-IOS目录会产生一个node_modules,里面就是react-native依赖的所有项目包。**
4,创建index.ios.js文件
/**
* Sample React Native App
* https://github.com/facebook/react-native
* @flow
*/
import React, { Component } from ‘react’;
import {
AppRegistry,
StyleSheet,
Text,
View
} from ‘react-native’;
export default class RN-IOS extends Component {
render() {
return (
Welcome to React Native!
To get started, 222222edit index.ios.js
Press Cmd+R to reload,{‘\n’}
Cmd+D or shake for dev menu
);
}
}
const styles = StyleSheet.create({
container: {
flex: 1,
justifyContent: ‘center’,
alignItems: ‘center’,
backgroundColor: ‘#F5FCFF’,
},
welcome: {
fontSize: 20,
textAlign: ‘center’,
margin: 10,
},
instructions: {
textAlign: ‘center’,
color: ‘#333333’,
marginBottom: 5,
},
});
AppRegistry.registerComponent(‘RN-IOS’, () => RN-IOS);
5,使用Cocoapods集成react-native
vim Podfile (创建Podfile文件,进去后 i 进入编辑状态,然后粘贴下边代码,然后Esc + : wq 保存退出)
platform:ios, ‘7.0’
target ‘RN-IOS’ do
pod ‘React’, :path => ‘./node_modules/react-native’, :subspecs => [
‘Core’,
‘RCTNetwork’,
‘RCTText’,
‘RCTWebSocket’,
]
end
最后执行 pod install ,就完成了react-native工程包的集成。
6,添加react-native应用
打开项目,创建一个ReactView,继承与UIView,
import “ReactView.h”
import

相关文章推荐
- IOS与React Native混编,将RN框架使用CocoaPods集成到原生项目中
- React Native集成到原生项目(IOS)
- iOS原生项目中集成React Native
- React Native集成到IOS原生项目
- iOS原生项目中集成React Native
- React Native 集成到原生项目(iOS)
- iOS原生项目中集成React Native
- iOS原生项目中集成React Native
- React Native项目集成iOS原生模块
- React Native 集成到原生项目(iOS)
- iOS平台软件开发工具(一)-新建的工程使用CocoaPods工具集成第三方框架
- 安装Cocoapods(MAC 10.11.1 安装不成功修正完毕)使用命令写文件夹以及写入需要的第三方类库信息并集成到项目中
- 为iOS项目集成CocoaPods支持
- 使用CocoaPods在现有项目集成React-Native
- 使用CocoaPods管理iOS项目中的依赖库
- 使用CocoaPods来管理iOS项目的依赖库
- 【React Native】在原生项目中集成之坑点总结
- iOS项目使用Carthage来集成开源库的framework
- ios项目中安装和使用CocoaPods
- iOS开发笔记--使用CocoaPods来管理iOS项目的依赖库