Qt学习之四:使用Qt+OpenCV创建GUI应用
2016-09-04 22:04
465 查看
1、Qt项目文件(.pro)
描述一个Qt项目,当处于编译状态时,这个文件将会被软件工具qmake调用。文件中的每个变量和一系列的值相联系。qmake可以识别的变量有:
2、准备工作
(1)首先启动Qt Creator,建立Qt5 GUI Applicaiton;创建新的项目,除了通用的项目文件(.pro)以及main.cpp外,还有两个mainwindow文件定义GUI窗口的内容。
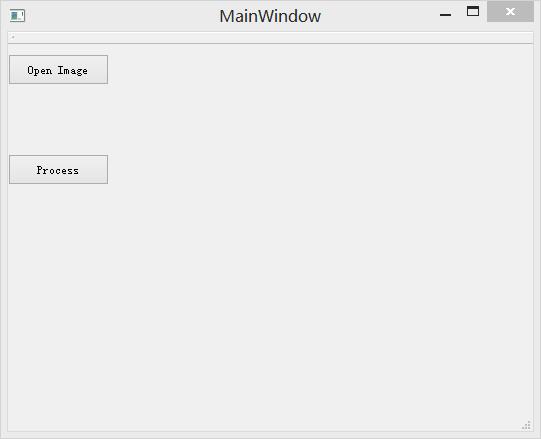
(2)通过ui设计Open Image和Process的QPushButton按钮。
(3)主窗口的头文件为:定义图像变量image和2个私有槽函数。
(4)主窗口函数定义中包含OpenCV代码。
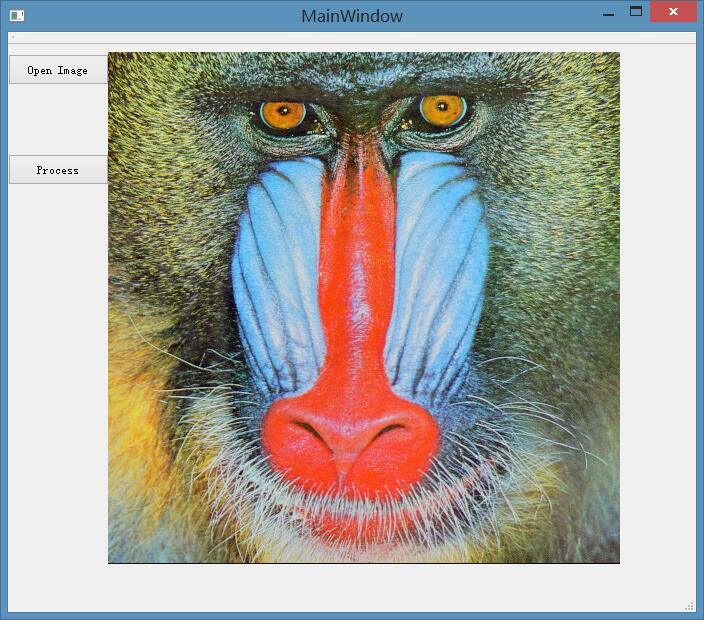
3、GUI显示图像:
描述一个Qt项目,当处于编译状态时,这个文件将会被软件工具qmake调用。文件中的每个变量和一系列的值相联系。qmake可以识别的变量有:
* TEMPLATE:定义项目的类型(应用程序app、库 等)
* CONFIG: 指定编译器的不同选项。
* HEADERS: 列出项目的头文件。
* SOURCES: 列出项目的源文件(.cpp)
* QT: 声明所需的Qt扩展模块及类,。默认包含核心模块及GUI模块。如果你希望移除他们其中之一,可以使用-=语句。
* INCLUDEPATH: 指定用于搜索头文件的文件夹。
* LIBS:包含链接时的库文件列表。使用-L指定文件夹路径,-l指定库的名称。
2、准备工作
(1)首先启动Qt Creator,建立Qt5 GUI Applicaiton;创建新的项目,除了通用的项目文件(.pro)以及main.cpp外,还有两个mainwindow文件定义GUI窗口的内容。
(2)通过ui设计Open Image和Process的QPushButton按钮。
(3)主窗口的头文件为:定义图像变量image和2个私有槽函数。
#ifndef MAINWINDOW_H

#define MAINWINDOW_H

#include <QMainWindow>
#include <QFileDialog>
#include <QLabel>
#include <opencv2/core/core.hpp>
#include <opencv2/highgui/highgui.hpp>

namespace Ui {

class MainWindow;

}

class MainWindow : public QMainWindow
{

Q_OBJECT

public:

explicit MainWindow(QWidget *parent = 0);

~MainWindow();

private slots:

void on_pushButton_clicked();

void on_pushButton_2_clicked();

private:

Ui::MainWindow *ui;

cv::Mat image;//定义图像变量
};

#endif // MAINWINDOW_H
(4)主窗口函数定义中包含OpenCV代码。
#include "mainwindow.h"
#include "ui_mainwindow.h"
#include <QString>
#include <QMessageBox>
#include <QTextCodec>
#include <opencv2/imgproc/imgproc.hpp>
#include <opencv2/highgui/highgui.hpp>
#include <opencv2/opencv.hpp>
#include <QFileDialog>
MainWindow::MainWindow(QWidget *parent) :
QMainWindow(parent),
ui(new Ui::MainWindow)
{
ui->setupUi(this);
//ui->pushButton_2->setEnabled(false);
}
MainWindow::~MainWindow()
{
delete ui;
}
void MainWindow::on_pushButton_clicked()
{
QString filename = QFileDialog::getOpenFileName(this,tr("Open Image"),".",
tr("Image Files(*.png *.jpg *.jpeg *.bmp)"));
if(filename.length() == 0) {
QMessageBox::information(NULL, tr("Path"), tr("You didn't select any files."));
} else {
QMessageBox::information(NULL, tr("Path"), tr("You selected ") + filename);
}
//QTextCodec *code = QTextCodec::codecForName("gb18030");
//std::string name =code->fromUnicode(filename).data();
std::string str = filename.toStdString();
image = cv::imread(str);
//image = cv::imread(filename.toLatin1().data());
// if(!image.data)
// {
// QMessageBox msgBox;
// msgBox.setText(tr("image data is null!"));
// msgBox.exec();
// }
// else
// {
// // ui->pushButton_2->setEnabled(true);
// cv::namedWindow("Original Image");
// cv::imshow("Original Image",image);
// }
cvtColor(image,image,CV_RGB2BGR);
QImage img = QImage((const unsigned char*)(image.data), image.cols, image.rows, QImage::Format_RGB888);
QLabel *label = new QLabel(this);
label->move(100, 20);//图像在窗口中所处的位置;
label->setPixmap(QPixmap::fromImage(img));
label->resize(label->pixmap()->size());
label->show();
}
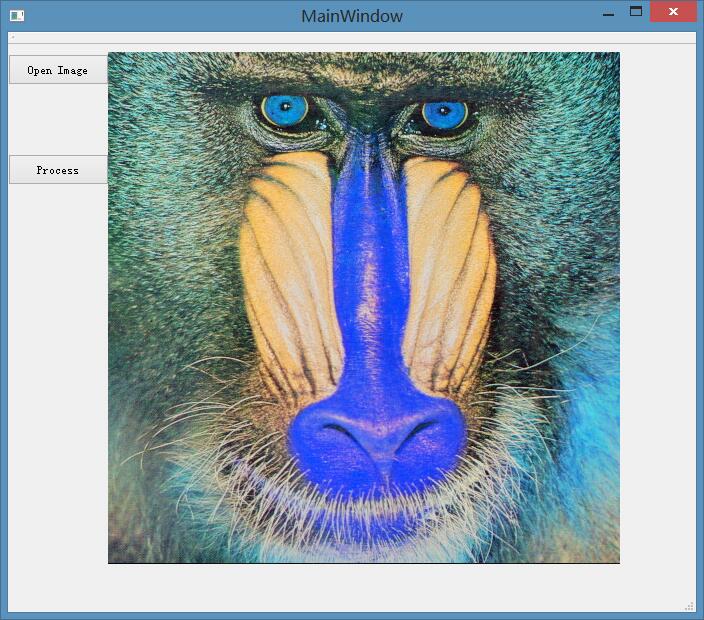
void MainWindow::on_pushButton_2_clicked()
{
cv::flip(image,image,1);
cv::cvtColor(image,image,CV_BGR2RGB);
QImage img = QImage((const unsigned char*)(image.data),image.cols,image.rows,QImage::Format_RGB888);
QLabel *label = new QLabel(this);
label->move(100,20);
label->setPixmap(QPixmap::fromImage(img));
label->resize(label->pixmap()->size());
label->show();
//cv::namedWindow("Output Image");
//cv::imshow("Output Image",image);
}3、GUI显示图像:

相关文章推荐
- 【Oencv2计算机视觉学习笔记(二)】使用Qt创建GUI应用
- 使用Qt创建第一个OpenCV的Gui应用
- Symbian学习笔记(4):在GUI应用中使用图像
- 使用Qt创建一个OpenCV工程
- opencv学习(2)滑动条的创建和使用
- SpringBoot入门学习一(如何使用IDEA创建一个SpringBoot应用)
- Symbian学习笔记(4):在GUI应用中使用图像
- 【Ubuntu+OpenCV】HighGUI之trackbar(滑动条)的创建--学习笔记【2】
- 使用JHipster创建一个应用 -JHipster学习(二)
- C++/GUI/Qt学习——如何在Console中使用cin、cout、cerr
- 如何创建和使用动态链接库与Linux下QT添加链接库使用Opencv的方法
- [Erlang 学习笔记] 使用 rebar 创建 application(basho- lager 应用实例)
- OpenCV 2 学习笔记(13): 算法的基本设计模式<4> :使用Model-View-Controller模式创建一个应用程序
- 设计模式学习(十四)————抽象工厂模式(使用Qt框架的反射技术——根据字符串动态创建类来实现)
- Symbian学习笔记(4)——在GUI应用中使用图像
- 基础学习笔记之opencv(7):ubuntu下opencv在Qt中的使用
- iOS+QT5.2: 使用QT5.2创建跨平台的iOS应用
- 使用QT创建PythonGUI程序
- QT之GUI学习笔记(三)——API文档的使用
- Qt上的OpenCV学习日记①之工程创建