如何使用Camera照相机API来选择前后相机来拍照
2016-05-30 11:47
344 查看
在我们先前的文章"如何在Ubuntu手机中使用前置照相机"对如何使用前置照相机给出了一个解决方案.事实上,在我们最新的Camera
API中 (QtMultiMedia 5.6),已经有新的API来完成这个功能了.我们不再需要额外的C++代码来完成这个功能.
在新的Camera API中,我们可以指定:
通过这个API,我们可以得到一个Camera的如下信息:
基于上面的信息,我们做了如下的一个简单的照相机应用:
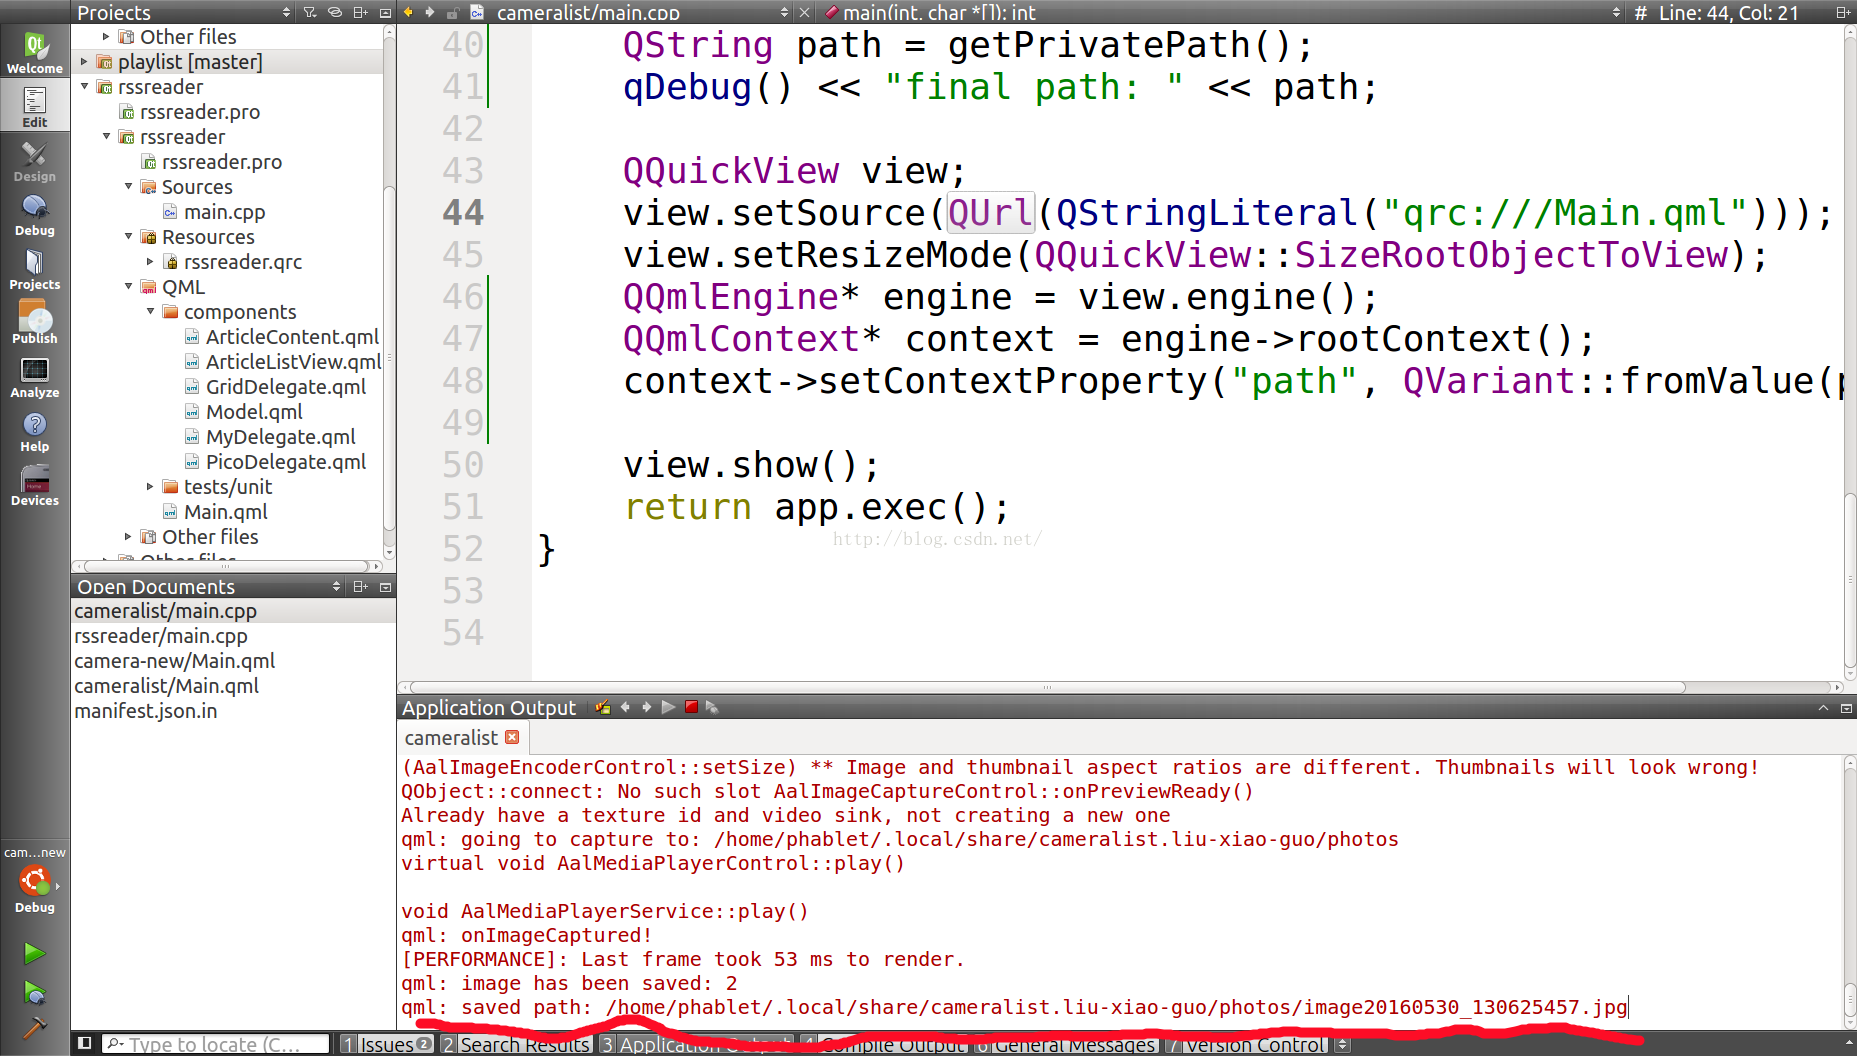
由于我们希望存储当前相机的所照的照片,我们必须得到能够存储照片的位置信息.我们在我们的Main.cpp中使用了如下的方法:
通过这样的方法,我们可以在我们的QML的代码中直接引用path来存储我们的照片.
运行我们的应用:

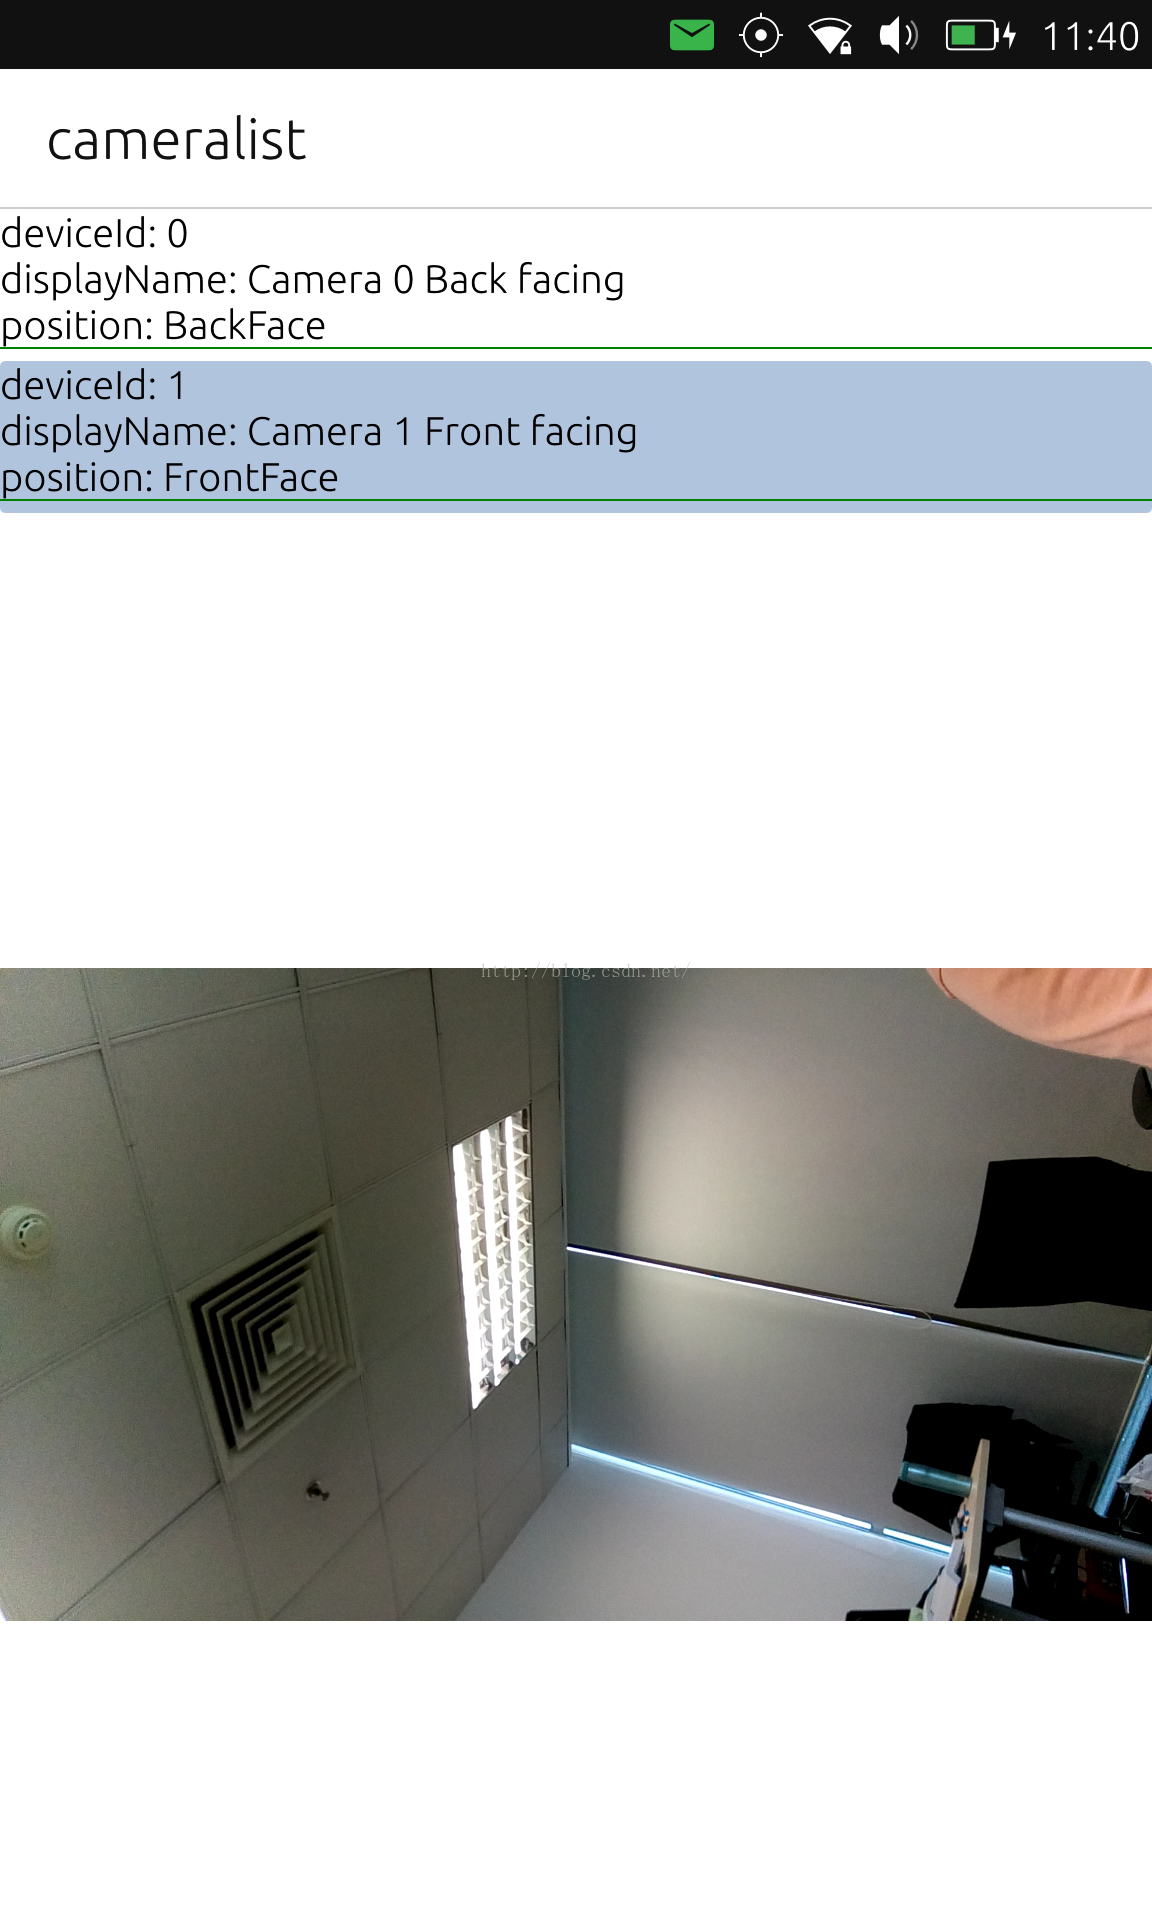
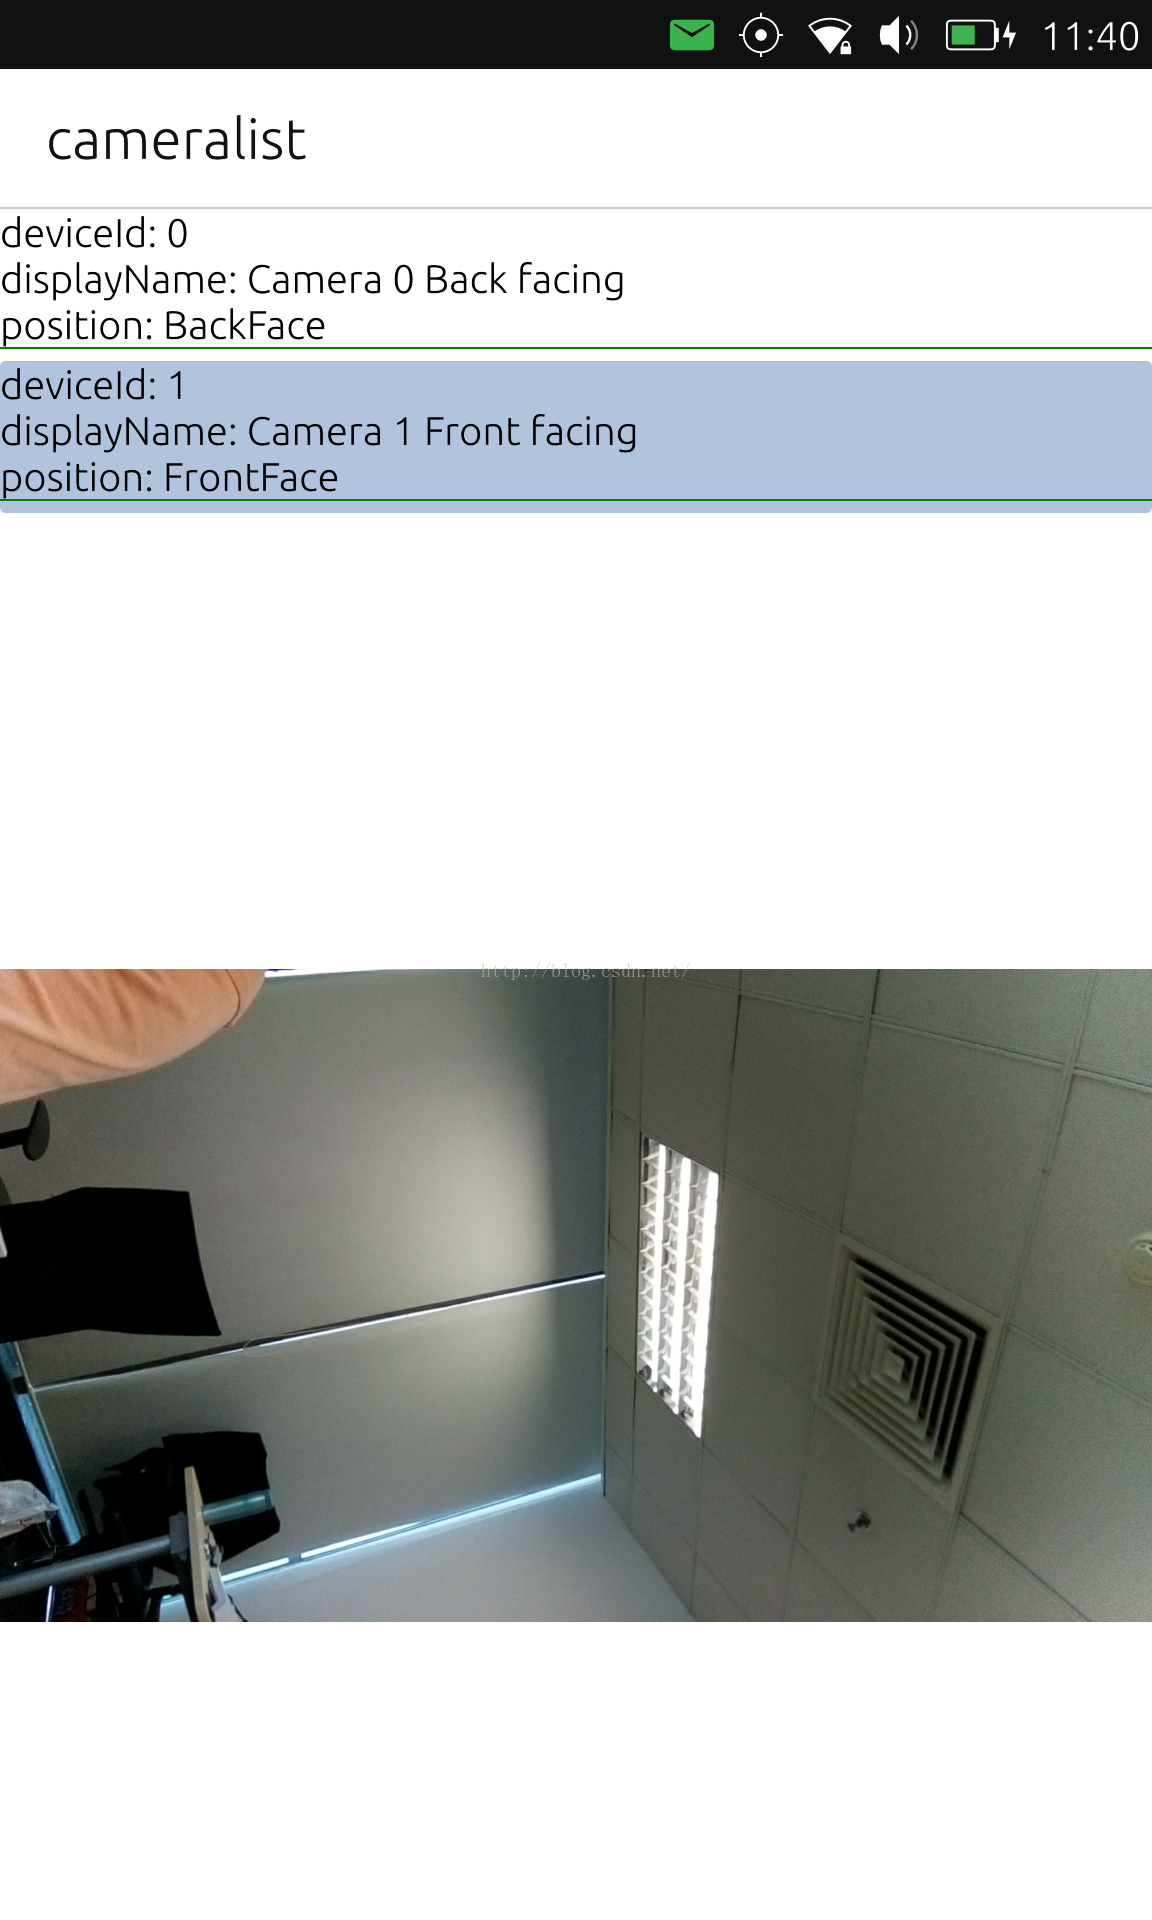
从上面的图中,我们可以看到所有相机的列表信息.我们可以随意选择我们所需要的相机,并进行拍摄.当然我们也可以进行录像的动作.具体的实现,可以参阅文章"在Ubuntu手机平台中使用Camera API来录像".
整个项目的源码在:https://github.com/liu-xiao-guo/cameralist
API中 (QtMultiMedia 5.6),已经有新的API来完成这个功能了.我们不再需要额外的C++代码来完成这个功能.
在新的Camera API中,我们可以指定:
deviceId : string来使得我们的Camera来选择我们需要的前后相机.那么我们如何得到这个deviceId呢?在新的QtMultiMedia的接口中,我们可以通过如下的API来得到所有的Camera的描述信息:
QtMultimedia.availableCameras
通过这个API,我们可以得到一个Camera的如下信息:
基于上面的信息,我们做了如下的一个简单的照相机应用:
Main.qml
import QtQuick 2.4
import Ubuntu.Components 1.3
import QtMultimedia 5.6

MainView {
// objectName for functional testing purposes (autopilot-qt5)
objectName: "mainView"

// Note! applicationName needs to match the "name" field of the click manifest
applicationName: "cameralist.liu-xiao-guo"

width: units.gu(60)
height: units.gu(85)

Camera {
id: camera

imageProcessing.whiteBalanceMode: CameraImageProcessing.WhiteBalanceFlash

exposure {
exposureCompensation: -1.0
exposureMode: Camera.ExposurePortrait
}

flash.mode: Camera.FlashRedEyeReduction

imageCapture {
id: capture
onImageCaptured: {
console.log("onImageCaptured!")
// Show the preview in an Image
photoPreview.source = preview
}

onImageSaved: {
console.log("image has been saved: " + requestId);
console.log("saved path: " + path);
}
}
}

Component {
id: highlight
Rectangle {
width: parent.width
height: listview.delegate.height
color: "lightsteelblue"; radius: 5
Behavior on y {
SpringAnimation {
spring: 3
damping: 0.2
}
}
}
}

Page {
id: page
header: PageHeader {
id: pageHeader
title: i18n.tr("cameralist")
}

Item {
anchors {
left: parent.left
right: parent.right
bottom: parent.bottom
top: pageHeader.bottom
}

Column {
anchors.fill: parent

ListView {
id: listview
width: page.width
height: units.gu(20)

model: QtMultimedia.availableCameras
highlight:highlight
delegate: Item {
id: delegate
width: listview.width
height: layout.childrenRect.height + units.gu(0.5)

Column {
id: layout
width: parent.width

Text {
text: "deviceId: " + modelData.deviceId
}

Text {
text: "displayName: " + modelData.displayName
}

Text {
text: {
switch(modelData.position) {
case Camera.UnspecifiedPosition:
return "position: UnspecifiedPosition"
case Camera.BackFace:
return "position: BackFace";
case Camera.FrontFace:
return "position: FrontFace"
default:
return "Unknown"
}
}
}

Rectangle {
width: parent.width
height: units.gu(0.1)
color: "green"
}

}

MouseArea {
anchors.fill: parent
onClicked: {
camera.deviceId = modelData.deviceId
listview.currentIndex = index
}
}
}
}

VideoOutput {
id: output
source: camera
width: parent.width
height: parent.height - listview.height
focus : visible

MouseArea {
anchors.fill: parent
onClicked: {
console.log("going to capture to: " + path)
capture.captureToLocation(path);
output.visible = false
photoPreview.visible = true
}
}
}

Image {
id: photoPreview
width: parent.width
height: parent.height - listview.height
fillMode: Image.PreserveAspectFit

MouseArea {
anchors.fill: parent
onClicked: {
photoPreview.visible = false
output.visible = true
}
}

Component.onCompleted: {
visible = false
}
}
}
}
}
}
由于我们希望存储当前相机的所照的照片,我们必须得到能够存储照片的位置信息.我们在我们的Main.cpp中使用了如下的方法:
main.cpp
QString getPrivatePath()
{
QString writablePath = QStandardPaths::
writableLocation(QStandardPaths::DataLocation);
qDebug() << "writablePath: " << writablePath;

QString absolutePath = QDir(writablePath).absolutePath();
qDebug() << "absoluePath: " << absolutePath;

absolutePath += ".liu-xiao-guo/photos";

// We need to make sure we have the path for storage
QDir dir(absolutePath);
if ( dir.mkpath(absolutePath) ) {
qDebug() << "Successfully created the path!";
} else {
qDebug() << "Fails to create the path!";
}

qDebug() << "private path: " << absolutePath;

return absolutePath;
}
QString path = getPrivatePath();
qDebug() << "final path: " << path;
...
context->setContextProperty("path", QVariant::fromValue(path));通过这样的方法,我们可以在我们的QML的代码中直接引用path来存储我们的照片.
运行我们的应用:
从上面的图中,我们可以看到所有相机的列表信息.我们可以随意选择我们所需要的相机,并进行拍摄.当然我们也可以进行录像的动作.具体的实现,可以参阅文章"在Ubuntu手机平台中使用Camera API来录像".
整个项目的源码在:https://github.com/liu-xiao-guo/cameralist

相关文章推荐
- Java利用反射实现对象转json
- 判断设备是否安装了app
- Android 文件转换大小
- store.js - 实现本地存储(LocalStorage)
- 集中式或者分布式服务器日志管理
- VS2013配置OpenGL
- C#——数据库操作——参数化SQL语句:sqlparameter的使用
- Docker容器内存监控
- Lua面向对象实现
- Ollydbg中断方法浅探
- UITableViewCell上的按钮点击事件处理
- 线段树模板合集--单点替换,区间替换,区间增加3种情况
- faster-rcnn 之训练脚本解析:./tools/train_faster_rcnn_alt_opt.py
- JAVA设计模式-单一职责原则
- AD域
- [置顶] Linux网络底层收发探究
- Android小知识——手机屏幕的适配
- Glassfish源码编译 step by step
- Android小知识——动画的旋转
- SharePoint 2003 用REST方式访问列表 Filter等高级操作。