实现自定义侧滑菜单效果
2016-05-16 15:54
387 查看
看了郭大神的
Android滑动菜单特效实现,仿人人客户端侧滑效果,史上最简单的侧滑实现博文后,对实现侧滑菜单有了基本的实现思路,然后通过自己的思路整理一遍
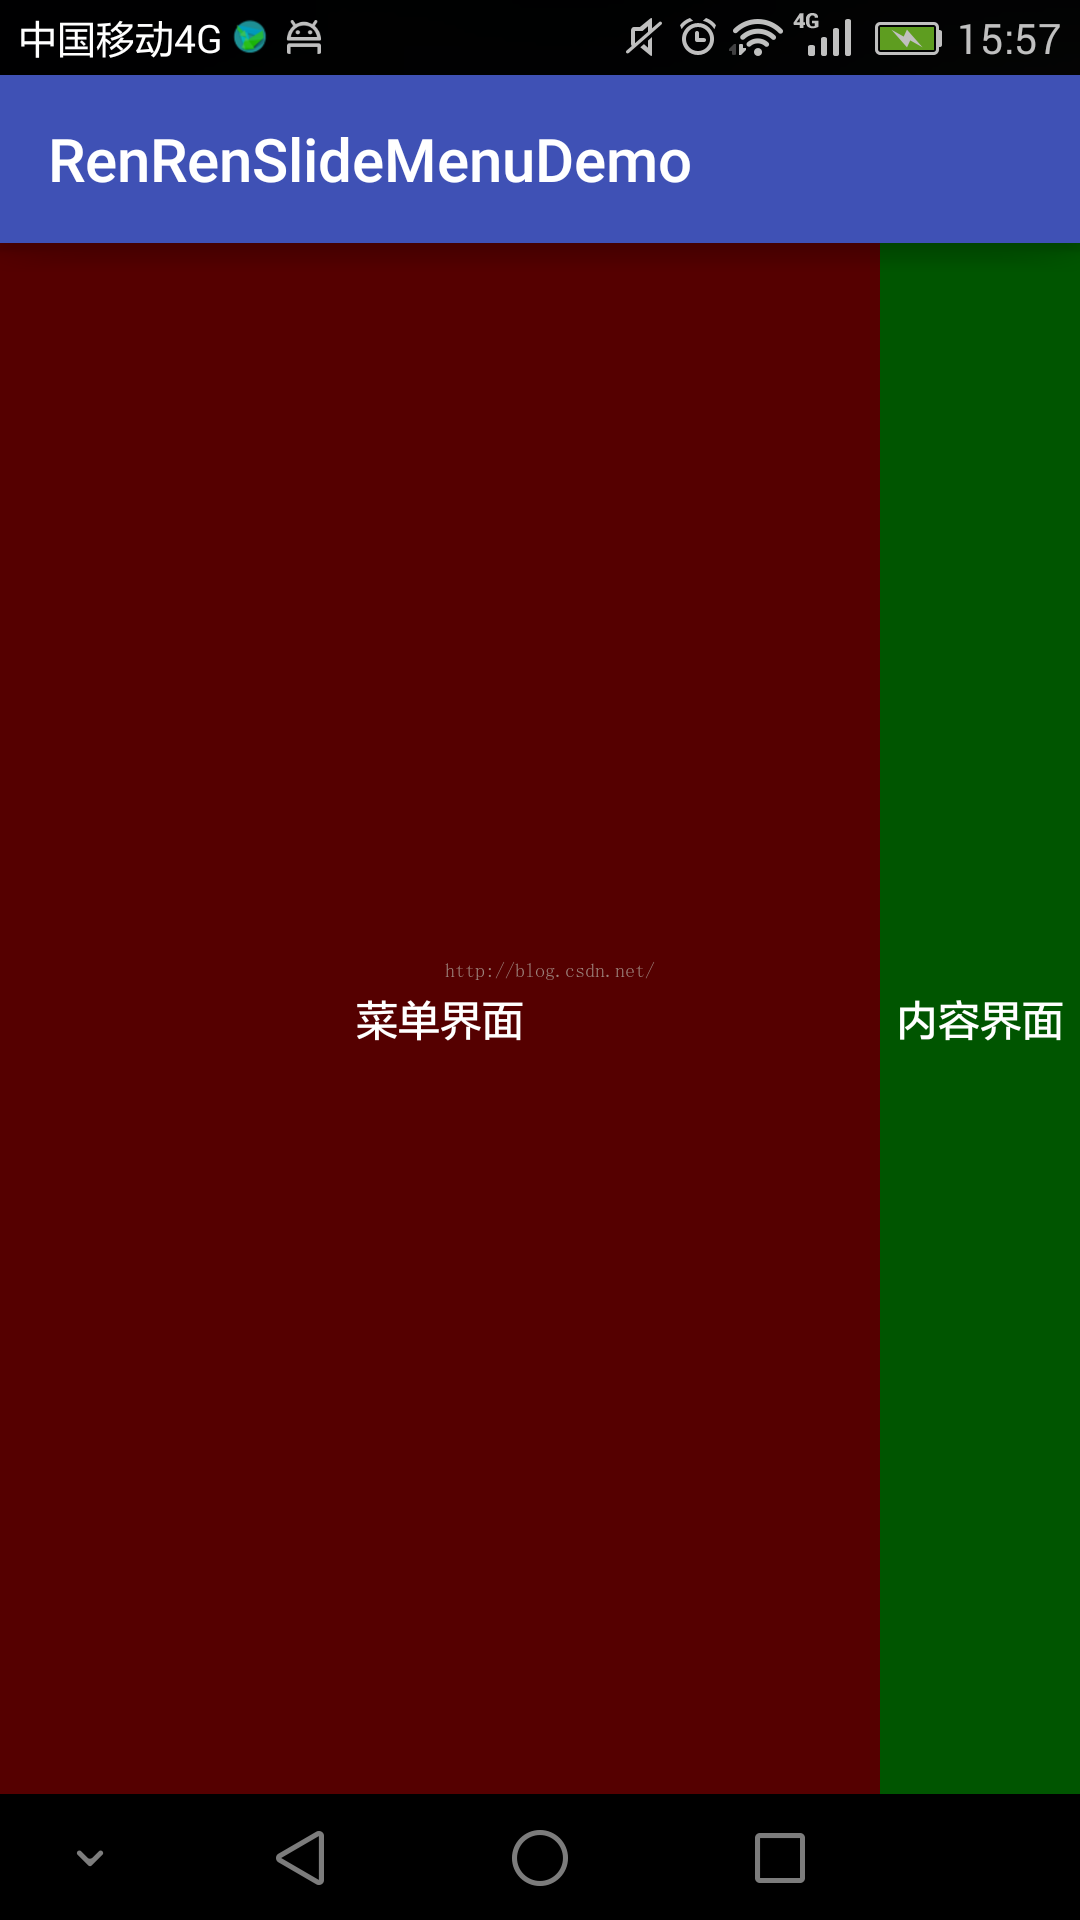
实现思路:
一个activity内并排显示两个布局,在左边的布局为菜单布局,在右边的布局为内容布局;在初始化界面的时候,将菜单布局完全隐藏,把内容布局显示在可视视图中;在用户滑动的过程中通过水平滑动的距离,动态修改菜单和内容的布局(这里通过修改左边距的值实现)实现侧滑效果。
实现思路:
一个activity内并排显示两个布局,在左边的布局为菜单布局,在右边的布局为内容布局;在初始化界面的时候,将菜单布局完全隐藏,把内容布局显示在可视视图中;在用户滑动的过程中通过水平滑动的距离,动态修改菜单和内容的布局(这里通过修改左边距的值实现)实现侧滑效果。
MainActivity中代码实现
package com.example.qdq.renrenslidemenudemo;

import android.content.Context;
import android.os.Bundle;
import android.support.v7.app.AppCompatActivity;
import android.view.MotionEvent;
import android.view.VelocityTracker;
import android.view.View;
import android.view.WindowManager;
import android.widget.LinearLayout;

public class MainActivity extends AppCompatActivity implements View.OnTouchListener{
private int screenWidth;//屏幕宽度
private LinearLayout menu_layout;
private LinearLayout content_layout;
private LinearLayout.LayoutParams menu_params;
private LinearLayout.LayoutParams content_params;
private int downX;//手指按下屏幕的x坐标
private int moveX;//手指在屏幕上移动的x坐标
private int upX;//手指离开屏幕时的x坐标
private int menuLastMarginX;//手指停止滑动时菜单的左边距
private int contentLastMarginX;//手指停止滑动时内容的左边距

private int minContentWidth=200;//内容的最小宽度
private static int SPEED=200;//滑动速度
private VelocityTracker tracker;
@Override
protected void onCreate(Bundle savedInstanceState) {
super.onCreate(savedInstanceState);
setContentView(R.layout.activity_main);
menu_layout= (LinearLayout) findViewById(R.id.menu_layout);
content_layout= (LinearLayout) findViewById(R.id.content_layout);
initValues();
}
/**
* 初始化一些关键性数据。包括获取屏幕的宽度,给content布局重新设置宽度,给menu布局重新设置宽度和偏移距离等。
*/
private void initValues() {
//获取屏幕宽度
WindowManager windowManager= (WindowManager) getSystemService(Context.WINDOW_SERVICE);
screenWidth=windowManager.getDefaultDisplay().getWidth();
//获取布局参数
menu_params= (LinearLayout.LayoutParams) menu_layout.getLayoutParams();
content_params= (LinearLayout.LayoutParams) content_layout.getLayoutParams();
//将菜单布局移除屏幕(左移),将内容布局显示在屏幕上(左移)
requestLayout(-screenWidth,-screenWidth);
//记录最后一次的leftMargin属性值
menuLastMarginX=menu_params.leftMargin;
contentLastMarginX=content_params.leftMargin;

content_layout.setOnTouchListener(this);
}
@Override
public boolean onTouch(View v, MotionEvent event) {
createVelocityTracker(event);
switch (event.getAction()) {
case MotionEvent.ACTION_DOWN:
downX= (int) event.getRawX();
break;
case MotionEvent.ACTION_MOVE:
moveX= (int) event.getRawX();
updateUI(moveX-downX);
break;
case MotionEvent.ACTION_UP:
upX= (int) event.getRawX();
//首先判断滑动速度
if(getScrollVelocity()>SPEED){
if(upX-downX>0){//向右;这里可以使用动画实现滑动效果
requestLayout(-minContentWidth,-minContentWidth);
}else if(upX-downX<0){//向左;<span style="font-family: Arial, Helvetica, sans-serif;">这里可以使用动画实现滑动效果</span>
requestLayout(-screenWidth,-screenWidth);
}
}
recycleVelocity();
//记录最后一次的leftMargin属性值
menuLastMarginX=menu_params.leftMargin;
contentLastMarginX=content_params.leftMargin;
break;
}
return true;
}
/**
* (一)当手指左滑并且content宽度大于设定的最小宽度时;
* (二)当向右滑并且content宽度小于屏幕宽度时
* 以上两种情况下需要更新界面布局
*/
private void updateUI(int distance){
//获取当前内容显示宽度
int contentWidth=Math.abs(content_params.leftMargin);
//判断是否符合条件
if(contentWidth>minContentWidth&&distance>0||distance<0&&contentWidth<screenWidth){
requestLayout(distance+menuLastMarginX,distance+contentLastMarginX);
}
}
/**
* 重新请求布局
* @param menuPadLeft 菜单左边距
* @param contentPadLeft 内容左边距
*/
private void requestLayout(int menuPadLeft,int contentPadLeft){
//设置菜单布局
menu_params.leftMargin=menuPadLeft;
menu_layout.setLayoutParams(menu_params);
//设置内容布局
content_params.leftMargin=contentPadLeft;
content_layout.setLayoutParams(content_params);
}
/**
* 创建VelocityTracker对象,并将触摸content界面的滑动事件加入到VelocityTracker当中。
* @param motionEvent
*/
private void createVelocityTracker(MotionEvent motionEvent){
if(tracker==null){
tracker=VelocityTracker.obtain();
}
tracker.addMovement(motionEvent);
}
/**
* 获取1s内移动的像素值
* @return 速度
*/
private int getScrollVelocity(){
tracker.computeCurrentVelocity(1000);
int speed= (int) tracker.getXVelocity();
return Math.abs(speed);
}
/**
* 回收资源
*/
private void recycleVelocity(){
if(tracker!=null){
tracker.recycle();
tracker=null;
}
}
}activity_main.xml中代码<?xml version="1.0" encoding="utf-8"?> <LinearLayout xmlns:android="http://schemas.android.com/apk/res/android" xmlns:tools="http://schemas.android.com/tools" android:layout_width="match_parent" android:layout_height="match_parent" android:orientation="horizontal" tools:context="com.example.qdq.renrenslidemenudemo.MainActivity"> <LinearLayout android:id="@+id/menu_layout" android:layout_width="match_parent" android:layout_height="match_parent" android:orientation="horizontal" android:background="#550000"> <TextView android:layout_width="match_parent" android:layout_height="match_parent" android:gravity="center" android:textColor="#ffffff" android:text="菜单界面"/> </LinearLayout> <LinearLayout android:id="@+id/content_layout" android:layout_width="match_parent" android:layout_height="match_parent" android:orientation="horizontal" android:background="#005500"> <TextView android:layout_width="match_parent" android:layout_height="match_parent" android:gravity="center" android:textColor="#ffffff" android:text="内容界面"/> </LinearLayout> </LinearLayout>

相关文章推荐
- Android开源组件SlidingMenu侧滑菜单使用介绍
- 代码分析Android实现侧滑菜单
- Android使用自定义控件HorizontalScrollView打造史上最简单的侧滑菜单
- Android 抽屉效果的导航菜单实现
- Android SlidingMenu 的实现
- Android侧滑菜单栏简单实现
- [Android]类QQ,百度贴吧侧滑缩放菜单问题解析
- Android Navigation的使用
- Elyar的Android笔记(七):Android侧滑菜单
- Android类似qq消息滑动菜单
- slidingMenu侧滑菜单的学习
- Android Studio实现侧滑菜单
- 侧滑菜单(slidingMenu左右滑动)
- 侧滑菜单学习
- Android 高仿 QQ5.0 侧滑菜单效果 自定义控件来袭
- SlidingMenu+Fragment实现侧滑菜单
- 开源项目SlidingMenu简单使用指南
- android 使用DrawerLayout实现侧滑菜单
- [AndroidUI]使用DrawerLayout实现侧滑菜单
- Android自定义控件——侧滑菜单