IOS处女做--天气预报
2016-01-31 11:48
405 查看
内容:
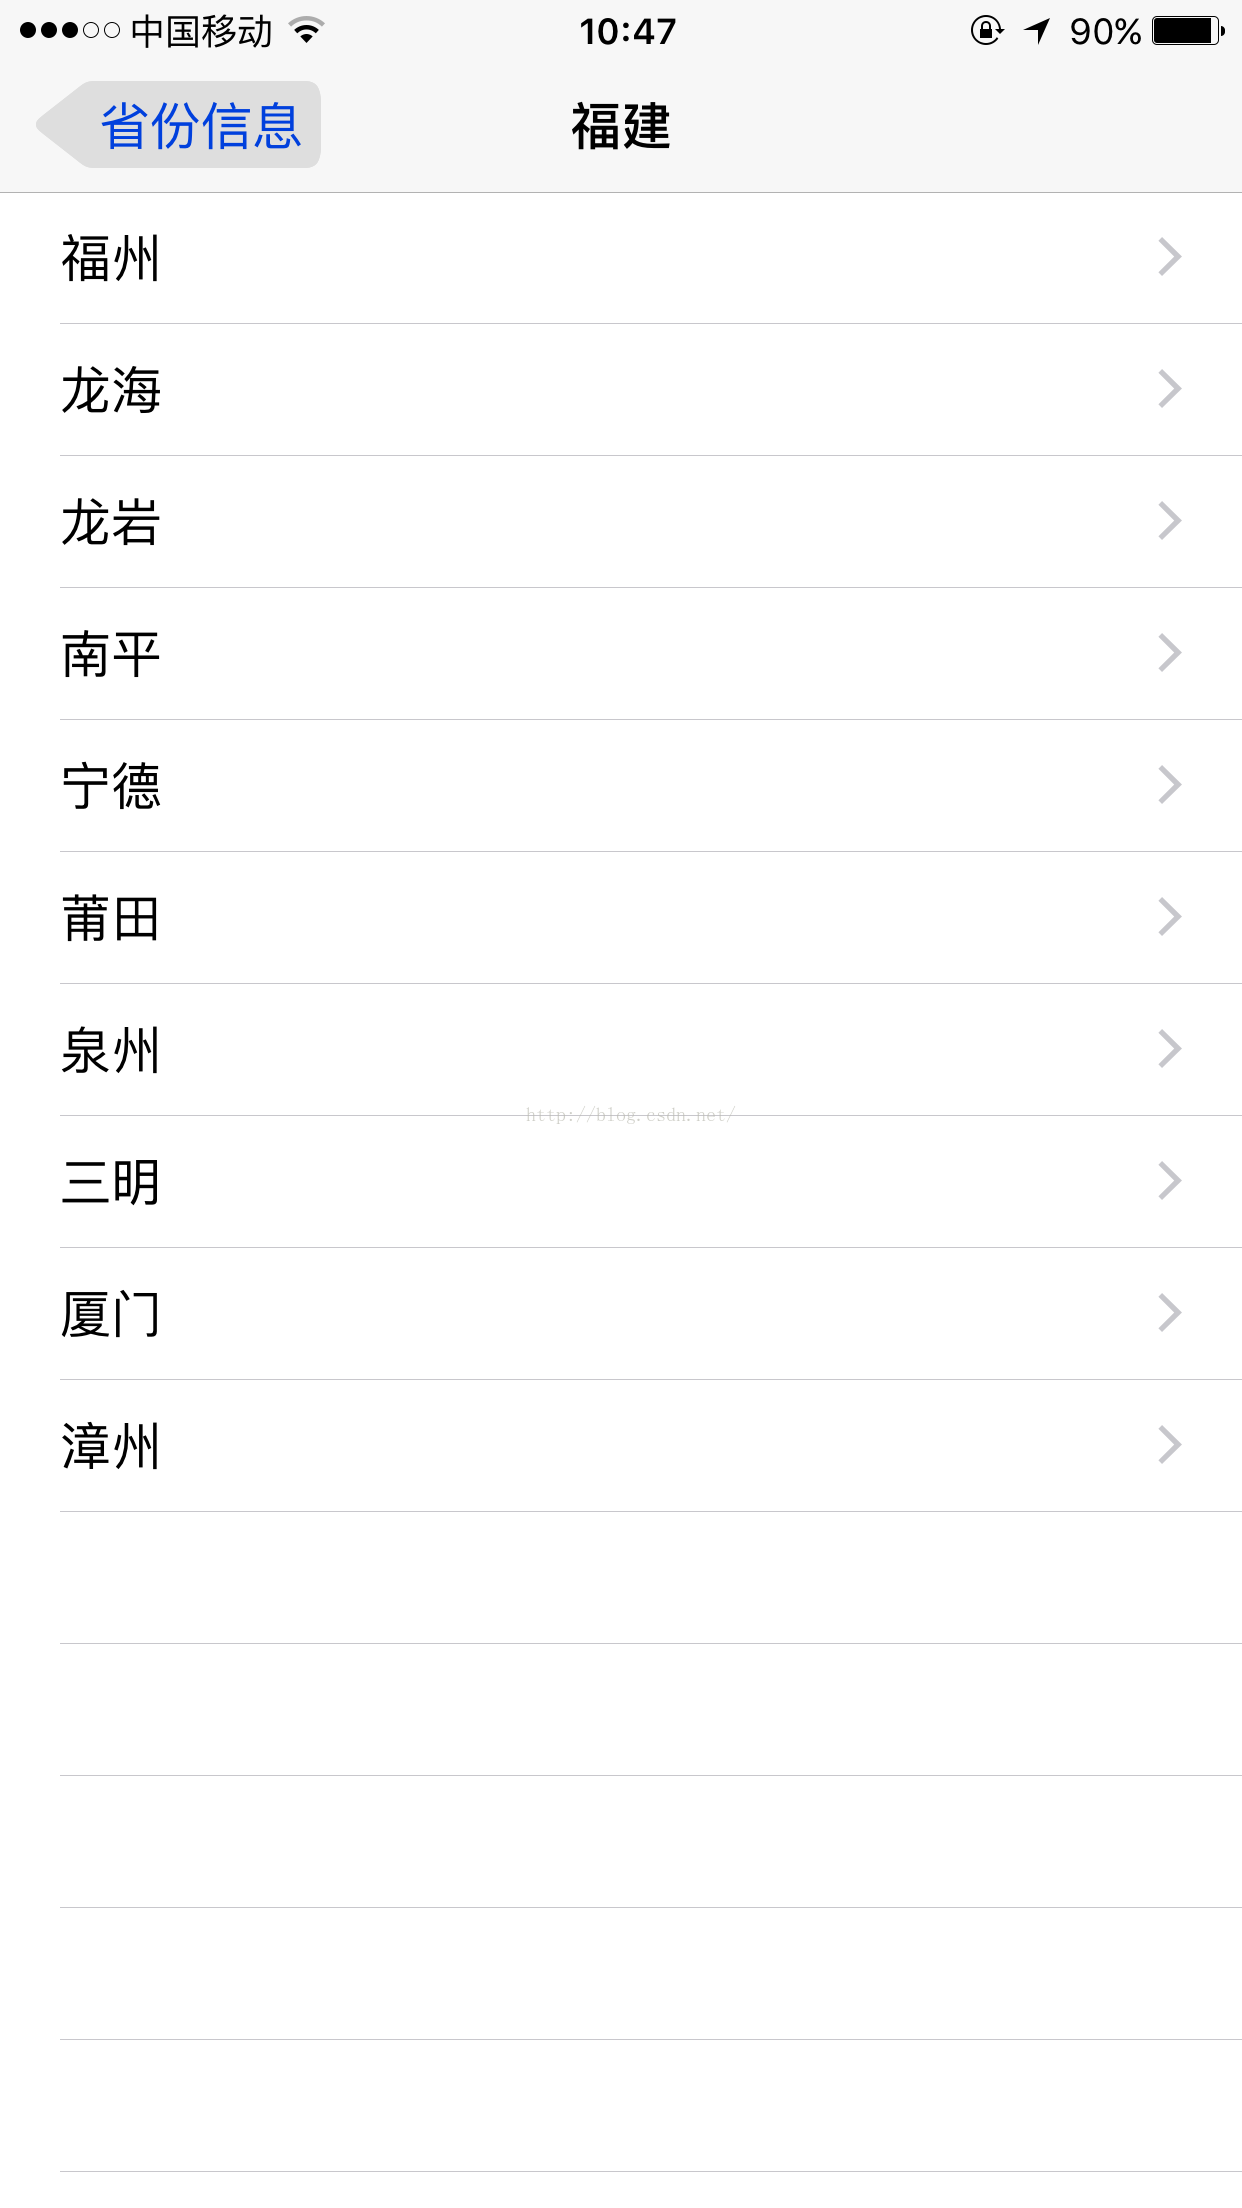
先贴几张效果图吧


1、使用坐标反编译出地址
开始定位
2、我使用的一些控件
在这个app中我用到了imageview,button,label等
总结一下tableview的使用

一开始准备使用自定义的单元格,最后想想没有必要就没写
设置表行数
设置单元格
选择表示图行时触发
3、在两个ViewController之间传值
使用model的方法
4、在屏幕适配的方面,我主要使用pin

5、文件的读取
我将省份,城市存在文件中(网上下的,要的话可以在下面回复额)
6、使用的API
http://apis.baidu.com/apistore/weatherservice/citylist
具体使用的代码度娘有(灰常的方便)!!
把城市名转化为UTF8
总结:
由于第一次制作app存在着许多的不足,比如:数据的持久化这一方面,使用segue传值虽然方便但也有一些缺陷,随着水平的上升我也会去把这个软件做的完善

。在做app的同时我感觉对objective-C的掌握以及对ios平台也有了一定的理解,和光观看书相比,实践提升更快更有效!!
最后还是感觉Google挺好用哒

先贴几张效果图吧
1、使用坐标反编译出地址
开始定位
[self.locationManger startUpdatingLocation];定位服务管理初始化
self.locationManger = [[CLLocationManager alloc] init];
self.locationManger.delegate = self;
self.locationManger.desiredAccuracy = kCLLocationAccuracyBest;//据说比较耗电额
self.locationManger.distanceFilter = 1000.0f;//1000m
定位失败
- (void)locationManager:(CLLocationManager *)manager didFailWithError:(NSError *)error{
NSLog(@"%@",error);
[self showAlert];    //弹出警告框!
} 定位成功- (void)locationManager:(CLLocationManager *)manager didUpdateLocations:(NSArray<CLLocation *> *)locations{
CLLocation *currLocation = [locations lastObject];
[self reverseGeocode:currLocation]; //地址反编译!
} 地址反编译- (void)reverseGeocode:(CLLocation *) currLocation{
CLGeocoder *geocoder = [[CLGeocoder alloc] init];
[geocoder reverseGeocodeLocation:currLocation completionHandler:^(NSArray *placemarks,NSError *error){
if ([placemarks count]>0) {
CLPlacemark *placemark = placemarks[0];
NSDictionary *addressDictionary = placemark.addressDictionary;
NSString *city = [addressDictionary objectForKey:(NSString *)kABPersonAddressCityKey];
//为了方便我分别提取了“市”,“省”之前的字
NSString *state = [addressDictionary objectForKey:(NSString *)kABPersonAddressStateKey];
NSRange range = [state rangeOfString:@"省"];
state = [state substringToIndex:range.location];
_nowProvince = state;
self.labelProvince.text = _nowProvince;
range = [city rangeOfString:@"市"];
city = [city substringToIndex:range.location];
_nowCity = city;
self.labelCity.text = _nowCity;
}
}];
}2、我使用的一些控件
在这个app中我用到了imageview,button,label等
总结一下tableview的使用
一开始准备使用自定义的单元格,最后想想没有必要就没写
设置表行数
-(NSInteger)tableView:(UITableView *)tableView numberOfRowsInSection:(NSInteger)section{
return [self.listData count];
}
设置单元格
-(UITableViewCell *)tableView:(UITableView *)tableView cellForRowAtIndexPath:(NSIndexPath *)indexPath{
static NSString * CellIdentifier = @"CellIdentifier";
UITableViewCell *cell = [tableView dequeueReusableCellWithIdentifier:CellIdentifier forIndexPath:indexPath];
NSInteger row = [indexPath row];
cell.textLabel.text = [[self.listData objectAtIndex:row]objectForKey:@"city"];
return cell;
}
注意:将cell的Accessory设置为Discolure XXX选择表示图行时触发
-(void)prepareForSegue:(UIStoryboardSegue *)segue sender:(id)sender{
if ([segue.identifier isEqualToString:@"SendData"]) {
ViewController *receive = segue.destinationViewController;
NSInteger selectedIndex = [[self.tableView indexPathForSelectedRow]row];
NSString *selectedName = [[self.listData objectAtIndex:selectedIndex]objectForKey:@"city"];
receive.nowProvince = self.province;
receive.nowCity = selectedName;
}
}
3、在两个ViewController之间传值
使用model的方法
- (void)prepareForSegue:(UIStoryboardSegue *)segue sender:(id)sender{
if ([segue.identifier isEqualToString:@"ForeInfo"]) {
DetailViewController *receive;
receive = segue.destinationViewController;
receive.listData = [self.listData objectForKey:@"forecast"];
}
}
4、在屏幕适配的方面,我主要使用pin
5、文件的读取
我将省份,城市存在文件中(网上下的,要的话可以在下面回复额)
NSBundle *bundle = [NSBundle mainBundle];
NSString *path = [bundle pathForResource:@"ProvincesAndCities" ofType:@"plist"];
self.arrayData = [[NSArray alloc] initWithContentsOfFile:path];
6、使用的API
http://apis.baidu.com/apistore/weatherservice/citylist
具体使用的代码度娘有(灰常的方便)!!
把城市名转化为UTF8
NSURL *url = [NSURL URLWithString:[_nowCity stringByAddingPercentEscapesUsingEncoding:NSUTF8StringEncoding]];
httpArg = [[NSString alloc] initWithFormat:@"cityname=%@",url];</strong>
总结:
由于第一次制作app存在着许多的不足,比如:数据的持久化这一方面,使用segue传值虽然方便但也有一些缺陷,随着水平的上升我也会去把这个软件做的完善
。在做app的同时我感觉对objective-C的掌握以及对ios平台也有了一定的理解,和光观看书相比,实践提升更快更有效!!
最后还是感觉Google挺好用哒

相关文章推荐
- 峰回路转,Firefox 浏览器即将重返 iOS 平台
- 峰回路转,Firefox 浏览器即将重返 iOS 平台
- 不可修补的 iOS 漏洞可能导致 iPhone 4s 到 iPhone X 永久越狱
- iOS 12.4 系统遭黑客破解,漏洞危及数百万用户
- 每日安全资讯:NSO,一家专业入侵 iPhone 的神秘公司
- [转][源代码]Comex公布JailbreakMe 3.0源代码
- 讲解iOS开发中基本的定位功能实现
- js判断客户端是iOS还是Android等移动终端的方法
- IOS开发环境windows化攻略
- 浅析iOS应用开发中线程间的通信与线程安全问题
- 检测iOS设备是否越狱的方法
- .net平台推送ios消息的实现方法
- 探讨Android与iOS,我们将何去何从?
- Android、iOS和Windows Phone中的推送技术详解
- IOS 改变键盘颜色代码
- 举例详解iOS开发过程中的沙盒机制与文件
- Android和IOS的浏览器中检测是否安装某个客户端的方法
- 分享一个iOS下实现基本绘画板功能的简单方法
- javascript实现阻止iOS APP中的链接打开Safari浏览器