IOS开发(25)之删除UITableView的Cell
2013-04-28 14:02
465 查看
1 前言
今天我们来学习一下怎样从UITableView中滑动删除Cell数据。2 代码实例
ZYViewController.h#import <UIKit/UIKit.h> @interface ZYViewController : UIViewController<UITableViewDelegate,UITableViewDataSource>//添加代理 @property(nonatomic,strong) UITableView *myTableView; @property(nonatomic,strong) NSMutableArray *arryOfRows; @end
ZYViewController.m
@synthesize myTableView;
@synthesize arryOfRows;
- (void)viewDidLoad
{
[super viewDidLoad];
// Do any additional setup after loading the view, typically from a nib.
self.view.backgroundColor = [UIColor whiteColor];
myTableView = [[UITableView alloc] initWithFrame:self.view.bounds style:UITableViewStylePlain];//设置列表样式为简单的样式 还有一个样式为UITableViewStyleGrouped为分组模式 UITableViewStylePlain为普通的样式
self.myTableView.delegate = self;//设置代理为自身
myTableView.dataSource = self;//设置数据源为自身
self.myTableView.autoresizingMask = UIViewAutoresizingFlexibleWidth|UIViewAutoresizingFlexibleHeight;//确保TablView能够正确的调整大小
arryOfRows = [[NSMutableArray alloc] initWithObjects:@"a",@"b",@"c", nil];//初始化表格数据
[self.view addSubview:myTableView];
}
//设置每行的高度
-(CGFloat) tableView:(UITableView *)tableView heightForRowAtIndexPath:(NSIndexPath *)indexPath{
CGFloat result = 20.0f;
if ([tableView isEqual:self.myTableView]) {
// result = 40.0f;
result = 80.0f;
}
return result;
}
////允许数据源告知必须加载到Table View中的表的Section数。
//-(NSInteger)numberOfSectionsInTableView:(UITableView *)tableView{
// NSInteger result = 0;
// if([tableView isEqual:myTableView]){
// result = 3;//一共三个section
// }
// return result;
//}
//设置每个Section呈现多少行
-(NSInteger)tableView:(UITableView *)tableView numberOfRowsInSection:(NSInteger)section{
return [self.arryOfRows count];
}
//每行对应的数据
-(UITableViewCell *) tableView:(UITableView *)tableView cellForRowAtIndexPath:(NSIndexPath *)indexPath{
UITableViewCell *result = nil;
if ([tableView isEqual:myTableView]) {
static NSString *tableViewCellIdentifier = @"MyCells";//设置Cell标识
result = [tableView dequeueReusableCellWithIdentifier:tableViewCellIdentifier];//通过标示符返回一个可重用的表视图单元格对象
if (result == nil) {
result = [[UITableViewCell alloc] initWithStyle:UITableViewCellStyleDefault reuseIdentifier:tableViewCellIdentifier];//初始化一个表格单元格样式和重用的标识符,并将它返回给调用者。
}
//indexPath.section 表示section的索引 indexPath.row表示行数的索引
result.textLabel.text = [arryOfRows objectAtIndex:indexPath.row];
}
return result;
}
//点击某一行时候触发的事件
-(void)tableView:(UITableView *)tableView didSelectRowAtIndexPath:(NSIndexPath *)indexPath{
if ([tableView isEqual:myTableView]) {
NSLog(@"%@",[NSString stringWithFormat:@"Cell %ld in Section %ld is selected",(long)indexPath.row,(long)indexPath.section]);
}
}
//要求委托方的编辑风格在表视图的一个特定的位置。
-(UITableViewCellEditingStyle)tableView:(UITableView *)tableView editingStyleForRowAtIndexPath:(NSIndexPath *)indexPath{
UITableViewCellEditingStyle result = UITableViewCellEditingStyleNone;//默认没有编辑风格
if ([tableView isEqual:myTableView]) {
result = UITableViewCellEditingStyleDelete;//设置编辑风格为删除风格
}
return result;
}
-(void)setEditing:(BOOL)editing animated:(BOOL)animated{//设置是否显示一个可编辑视图的视图控制器。
[super setEditing:editing animated:animated];
[self.myTableView setEditing:editing animated:animated];//切换接收者的进入和退出编辑模式。
}
-(void)tableView:(UITableView *)tableView commitEditingStyle:(UITableViewCellEditingStyle)editingStyle forRowAtIndexPath:(NSIndexPath *)indexPath{//请求数据源提交的插入或删除指定行接收者。
if (editingStyle ==UITableViewCellEditingStyleDelete) {//如果编辑样式为删除样式
if (indexPath.row<[self.arryOfRows count]) {
[self.arryOfRows removeObjectAtIndex:indexPath.row];//移除数据源的数据
[tableView deleteRowsAtIndexPaths:[NSArray arrayWithObject:indexPath] withRowAnimation:UITableViewRowAnimationLeft];//移除tableView中的数据
}
}
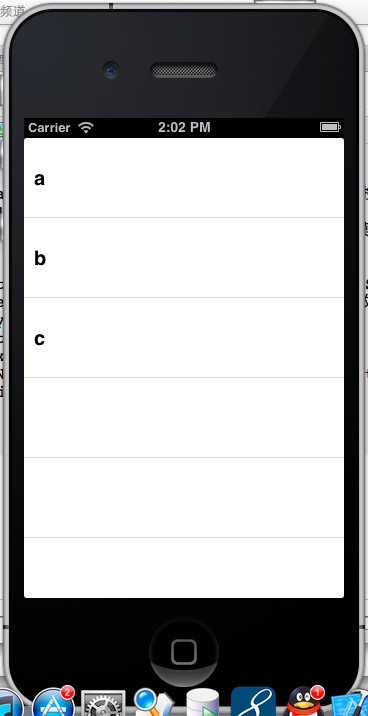
}运行结果:
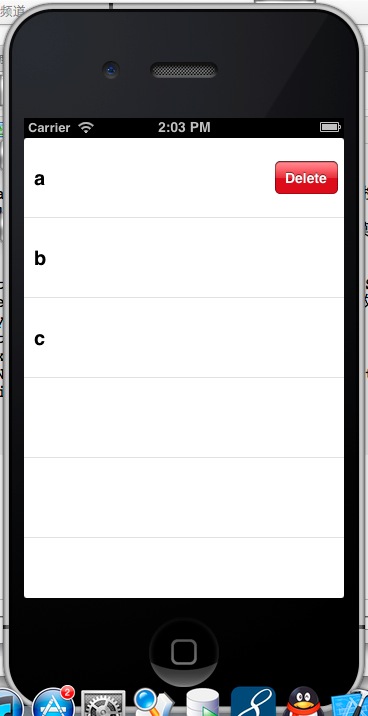
滑动后效果:
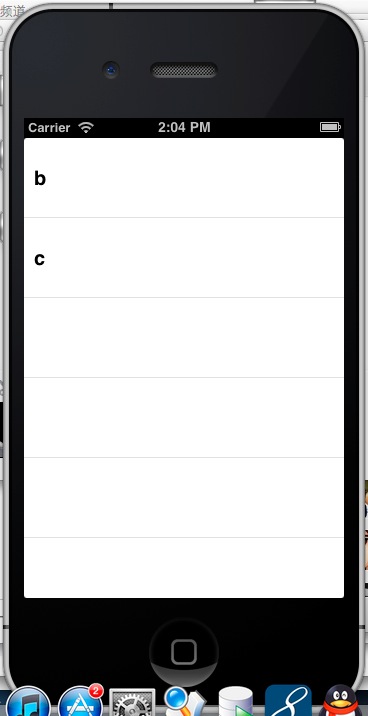
删除后效果:
3 结语
以上就是所有内容,希望对大家有所帮助。Demo实例:http://download.csdn.net/detail/u010013695/5321669

相关文章推荐
- iOS项目开发小技巧 (三) --UITableView实现Cell左划删除等自定义功能
- iOS开发中实现UITableView的Cell左划删除等自定义功能
- iOS开发:UITableView实现侧滑删除cell的功能
- iOS开发:UITableView编辑——cell的删除和移动
- iOS 开发 UItableView中滑动删除 cell
- iOS开发之高级视图—— UITableView(四)自定义Cell
- iOS开发之高级视图—— UITableView操作——删除
- [IOS]UITableView实现Cell的滑动删除
- IOS学习笔记(10)UITableView展示数据 cell删除 构建页眉页脚
- iOS开发:XIB之UITableView自定义cell
- iOS开发-------模拟团购网站(UITableView 表格视图)以及自定义cell
- IOS 开发之UITableView 删除表格单元写法
- ios之UITableView批量选中cell并实现删除cell的简单方法
- IOS开发(28)UITableView之移动Section和Cell
- IOS开发中UITableView(表视图)的滚动优化及自定义Cell
- iOS App中UITableView左滑出现删除按钮及其cell的重用
- [IOS] iphone开发之UITableView之UITableViewCell [待续中。。。]
- iOS开发:UITableView的优化技巧-异步绘制Cell
- iOS开发—去除UITableView多余Cell的横线
- iOS UITableView 左滑删除cell