在vue 中使用input type=file 获取上传图片,并转为base64码放在img 的src中,实现预览效果
2020-06-29 04:39
417 查看
<!--页面部分-->
<template>
<div class="hello">
<p class="title">{{ action }}</p>
<p class="selectfile">请选择预览图片</p>
<input class="select" ref="imgInput" type="file" accept="image/*" @change="uploadImg($event)">

<ul v-show="isUpload">
<p class="green" v-if="imgUrl.length!==0">图片预览</p>
<li v-for="(list,index) in imgUrl" :key="list">
<img ref="imgimg" :src="list.url" alt="">
<button class="remove" @click="remove(index)">删除</button>
</li>
</ul>
</div>
</template>
<!--js部分-->
<script>
export default {
name: 'Home',
data () {
return {
action: 'Welcome to my album !',
isUpload:false,
imgUrl:[],
}
},
methods: {
uploadImg(e){
console.log(e.target.files);
this.isUpload=true;
let file=e.target.files[0];
let url='';
var reader = new FileReader();
reader.readAsDataURL(file);
let that=this;
reader.onload = function (e) {
url=this.result.substring(this.result.indexOf(',')+1);
// that.imgUrl='data:image/png;base64,'+url
// that.$refs['imgimg'].setAttribute('src','data:image/png;base64,'+url);
that.imgUrl.push({
id:that.imgUrl.length+1,
url:'data:image/png;base64,'+url
})
}
},
remove(index){
this.imgUrl.splice(index,1)
}
},
}
</script>
<!--样式部分-->
<style scoped>
.green{
color: #42b983
}
ul {
list-style-type: none;
padding: 0;
}
img{
width: 400px;
}
.title{
font-size: 40px;
background: linear-gradient(to right, red, blue);
-webkit-background-clip: text;
color: transparent;
font-weight: 800
}
.remove{
position: relative;
bottom: 120px;
left: 70px;
border-radius: 4px;
background-color: darkred;
border: 1px solid gray;
color: white;
width: 50px;
height: 25px;
text-align: center
}
.select{
opacity:0;
z-index: 111;
position: relative;
top: -50px;
left: 0%;
height: 50px;
width: 163px;
}
.selectfile{
color: white;
padding: 10px 20px;
width: 120px;
background-color: #4180d6;
z-index: 1;
margin: 0 auto;
border-radius: 4px;
}
</style>
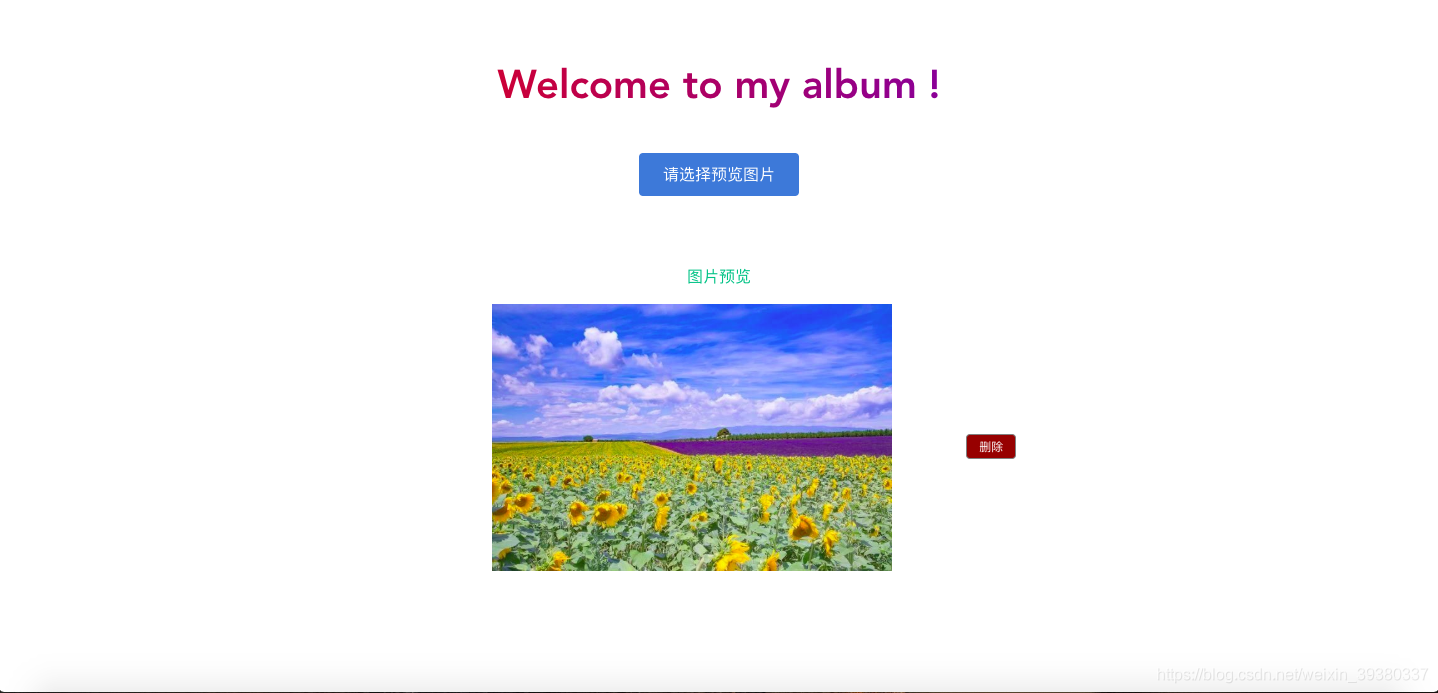
效果展示图

相关文章推荐
- 简单获取input file 选中的图片,并在一个div的img里面赋值src实现预览图片(可实现多张图片上传和预览移除)
- JavaScript使用FileReader实现图片上传预览效果
- 使用Vue实现图片上传及实时预览效果
- HTML使用FileReader对象的readAsDataURL()方法实现图片的上传预览效果
- 简单获取input file 选中的图片,并在一个div的img里面赋值src实现预览图片
- 原生js FileReader对象实现图片上传本地预览效果
- “上传图片到服务器”之SWFUpload与imgAreaSelect的使用----实现切图效果
- JavaScript使用FileReader对象实现图片上传预览
- 使用input type=file上传图片时,不经过后台就进行图片预览
- 使用iframe实现图片上传预览效果
- 使用DataTransfer对象实现图片拖拽上传并预览效果
- javascript实现input file上传图片预览效果
- html5的FileReader实现图片上传预览并生成base64
- 使用input[type=file]原生实现图片的预览和上传
- vue2.0 使用element-ui里的upload组件实现图片预览效果
- 原生javascript FileReader对象实现图片上传本地预览效果
- vue2.0 使用element-ui里的upload组件实现图片预览效果方法
- javascript实现input file上传图片预览效果
- jquery javascript 实现上传图片及图片大小验证、图片预览效果代码
- 使用Qt实现简单的图片预览效果