Openstack Mitaka安装手顺(10)编排服务
10、编排服务
这个部分将描述如何在控制节点上安装及配置 Orchestration 服务,即heat。
10.1、先决条件:创建数据库,服务凭证和API端点。流程同时需要在认证服务中添加额外信息。
10.1.1、完成下面的步骤以创建数据库:
用数据库连接客户端以 root 用户连接到数据库服务器:
$ mysql -u root -p
CREATE DATABASE heat;
GRANT ALL PRIVILEGES ON heat.* TO 'heat'@'localhost' IDENTIFIED BY 'P@sswrd';
GRANT ALL PRIVILEGES ON heat.* TO 'heat'@'%' IDENTIFIED BY 'P@ssw0rd';
10.1.2、获得 admin 凭证来获取只有管理员能执行的命令的访问权限:
$ . admin-openrc
10.1.3、要创建服务证书,完成这些步骤:
创建``heat`` 用户:
$ openstack user create --domain default --password-prompt heat
添加 admin 角色到 heat 用户上。
$ openstack role add --project service --user heat admin
注解:这个命令执行后没有输出。
创建``heat`` 和 heat-cfn 服务实体:
$ openstack service create --name heat --description "Orchestration" orchestration
$ openstack service create --name heat-cfn --description "Orchestration" cloudformation
10.1.4、创建 Orchestration 服务的 API 端点:
$ openstack endpoint create --region RegionOne orchestration public http://controller:8004/v1/%\(tenant_id\)s
$ openstack endpoint create --region RegionOne orchestration internal http://controller:8004/v1/%\(tenant_id\)s
$ openstack endpoint create --region RegionOne orchestration admin http://controller:8004/v1/%\(tenant_id\)s
$ openstack endpoint create --region RegionOne cloudformation public http://controller:8000/v1
$ openstack endpoint create --region RegionOne cloudformation internal http://controller:8000/v1
$ openstack endpoint create --region RegionOne cloudformation admin http://controller:8000/v1
控制节点防火墙开放端口:8000、8004
# firewall-cmd --permanent --add-port=8000/tcp
# firewall-cmd --permanent --add-port=8004/tcp
# firewall-cmd --reload
确认端口开放成功
# firewall-cmd --list-all
10.1.5、为了管理栈,在认证服务中Orchestration需要更多信息。为了添加这些信息,完成下面的步骤:
为栈创建 heat 包含项目和用户的域:
$ openstack domain create --description "Stack projects and users" heat
在 heat 域中创建管理项目和用户的``heat_domain_admin``用户:
$ openstack user create --domain heat --password-prompt heat_domain_admin
添加``admin``角色到 heat 域 中的``heat_domain_admin``用户,启用``heat_domain_admin``用户管理栈的管理权限:
$ openstack role add --domain heat --user-domain heat --user heat_domain_admin admin
注解:这个命令执行后没有输出。
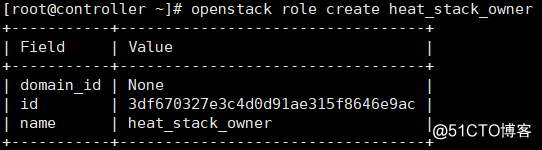
创建 heat_stack_owner 角色:
$ openstack role create heat_stack_owner
添加``heat_stack_owner`` 角色到``demo`` 项目和用户,启用``demo`` 用户管理栈。
$ openstack role add --project demo --user demo heat_stack_owner
注解:这个命令执行后没有输出。
注解:你必须添加 heat_stack_owner 角色到每个管理栈的用户。
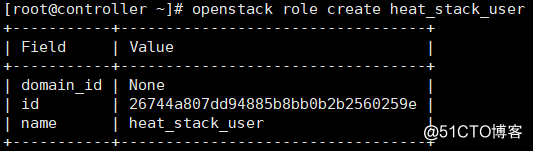
创建 heat_stack_user 角色:
$ openstack role create heat_stack_user
注解:Orchestration 自动地分配 heat_stack_user角色给在 stack 部署过程中创建的用户。
默认情况下,这个角色会限制 API 的操作。为了避免冲突,请不要为用户添加 heat_stack_owner角色。
10.2、安全并配置组件
10.2.1、安装软件包:
# yum install -y openstack-heat-api openstack-heat-api-cfn openstack-heat-engine
10.2.2、编辑文件 vi /etc/heat/heat.conf 并完成如下动作:
在 [database] 部分,配置数据库访问:
connection = mysql+pymysql://heat:P@ssw0rd@controller/heat
在 [DEFAULT]部分,配置
rpc_backend = rabbit
heat_metadata_server_url = http://controller:8000
heat_waitcondition_server_url = http://controller:8000/v1/waitcondition
stack_domain_admin = heat_domain_admin
stack_domain_admin_password = P@ssw0rd
stack_user_domain_name = heat
在[oslo_messaging_rabbit]”部分,配置 “RabbitMQ” 消息队列访问:
rabbit_host = controller
rabbit_userid = openstack
rabbit_password = P@ssw0rd
在 [keystone_authtoken] 部分,配置认证服务访问
[keystone_authtoken]
auth_uri = http://controller:5000
auth_url = http://controller:35357
memcached_servers = controller:11211
auth_type = password
project_domain_name = default
user_domain_name = default
project_name = service
username = heat
password = P@ssw0rd
注解:本段为全新配置,默认配置文档都没有这个部分
在 [trustee] 部分,配置认证服务访问
auth_plugin = password
auth_url = http://controller:35357
username = heat
password = P@ssw0rd
user_domain_name = default
在 [clients_keystone] 部分,配置认证服务访问
auth_uri = http://controller:35357
在 [ec2authtoken] 部分,配置认证服务访问
auth_uri = http://controller:5000/v2.0
10.2.3、同步Orchestration数据库:
# su -s /bin/sh -c "heat-manage db_sync" heat
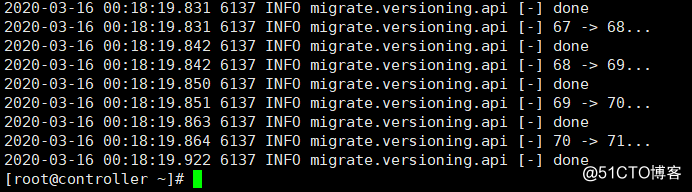
注解:忽略输出中任何不推荐使用的信息。
10.3、完成安装,启动 Orchestration 服务并将其设置为随系统启动:
# systemctl enable openstack-heat-api openstack-heat-api-cfn openstack-heat-engine
# systemctl start openstack-heat-api openstack-heat-api-cfn openstack-heat-engine
# systemctl status openstack-heat-api openstack-heat-api-cfn openstack-heat-engine
10.4、验证操作,在控制节点上执行这些命令:
10.4.1、source 租户``admin`的凭证脚本:
$ . admin-openrc
10.4.2、列出服务组件,以验证是否成功启动并注册了每个进程:
$ openstack orchestration service list

注解:该输出显示表明在控制节点上有应该四个``heat-engine``组件。

- openstack-mitaka之编排服务(controller安装部署)
- openstack-mitaka之计算服务controller节点的安装配置与部署
- OpenStack-M版(Mitaka)搭建基于(Centos7.2)+++十、Openstack对象存储服务(swift)完成安装
- openstack-mitaka之计算服务管理安装配置部署(计算节点安装部署)
- openstack-mitaka之Telemetry服务(blockstorage节点安装部署)
- openstack-mitaka之Telemetry服务(blockstorage节点安装部署)
- openstack-mitaka之块存储服务安装部署(controller)
- openstack-mitaka之镜像服务管理安装配置部署
- openstack-mitaka之Telemetry服务(controller安装部署)
- openstack-mitaka安装文档-块存储服务
- OpenStack-M版(Mitaka)搭建基于(Centos7.2)+++十二、Openstack编排服务服务(heat)
- OpenStack-M版(Mitaka)搭建基于(Centos7.2)+++十二、Openstack编排服务服务(heat)
- openstack-mitaka文件共享服务(controller安装与部署)
- openstack-mitaka之Telemetry服务(controller安装部署)
- openstack-mitaka安装文档-Compute服务安装
- openstack-mitaka之Telemetry服务(computer节点安装部署)
- openstack-mitaka之认证服务管理安装配置部署
- openstack-mitaka安装文档-Identity服务安装
- Openstack Mitaka安装手顺(11)Telemetry服务
- openstack-mitaka安装文档-Networking服务安装