Asp.net core下利用EF core实现从数据实现多租户(1)
前言
随着互联网的的高速发展,大多数的公司由于一开始使用的传统的硬件/软件架构,导致在业务不断发展的同时,系统也逐渐地逼近传统结构的极限。
于是,系统也急需进行结构上的升级换代。
在服务端,系统的I/O是很大的瓶颈。其中数据库的I/O最容易成为限制系统效率的一环。在优化数据库I/O这一环中,可以从优化系统调用数据库效率、数据库自身效率等多方面入手。
一般情况下,通过升级数据库服务器的硬件是最容易达到的。但是服务器资源不可能无限扩大,于是从调用数据库的效率方面入手是目前主流的优化方向。
于是读写分离、分库分表成为了软件系统的重要一环。并且需要在传统的系统架构下,是需要做强入侵性的修改。
什么是多租户:
多租户的英文是Multiple Tenancy,很多人把多租户和Saas划上等号,其实这还是有区别的。我们今天不讨论Sass这种如此广泛的议题。
现在很多的系统都是to B的,它们面向的是组织、公司和商业机构等。每个机构会有独立的组织架构,独立的订单结构,独立的服务等级和收费。
这就造成了各个机构间的数据是天然独立的,特别是部分的公司对数据的独立和安全性会有较高要求,往往数据是需要独立存储的。
由于多租户数据的天然独立,造成了系统可以根据机构的不同进行分库分表。所以这里讨论的多租户,仅限于数据层面的!
写这篇文章原因
其实由于一个群的朋友问到了相关的问题,由于当时我并没有dotnet环境,所以简单地写了几句代码,我本身是不知道代码是否正确的。
在我有空的时候,试了一下原来是可实施的。我贴上当时随手写的核心代码,其中connenctionResolver是需要自己创建的。
这代码是能用的,如果对于asp.net core很熟悉的人,把这段代码放入到ConfigureServices方法内即可。
但是我还是强烈建议大家跟着我的介绍逐步实施。
services.AddDbContext<MyContext>((serviceProvider, options)=>
{
var connenctionResolver = serviceProvider.GetService<IConnectionResolver>();
options.UseSqlServer(connenctionResolver.ConnectionString);
});
系列文章目录
主线文章
Asp.net core下利用EF core实现从数据实现多租户(1) (本文)
Asp.net core下利用EF core实现从数据实现多租户(2) : 按表分离
Asp.net core下利用EF core实现从数据实现多租户(3): 按Schema分离 附加:EF Migration 操作
附加文章
EF core (code first) 通过自定义 Migration History 实现多租户使用同一数据库时更新数据库结构
EF core (code first) 通过自动迁移实现多租户数据分离 :按Schema分离数据
实施
项目介绍
这个Demo,主要通过根据http request header来获取不同的租户的标识,从而达到区分租户最终实现数据的隔离。
项目依赖:
1. .net core app 3.1。在机器上安装好.net core SDK, 版本3.1
2. Mysql. 使用 Pomelo.EntityFrameworkCore.MySql 包
3. EF core,Microsoft.EntityFrameworkCore, 版本3.1.1。这里必须要用3.1的,因为ef core3.0是面向.net standard 2.1.
项目中必须对象是什么:
1. DbContext和对应数据库对象
2. ConnenctionResolver, 用于获取连接字符串
3. TenantInfo, 用于表示租户信息
4. TenantInfoMiddleware,用于在asp.net core管道根据http的内容从而解析出TenantInfo
5. Controller, 用于实施对应的
实施步骤
1. 创建TenanInfo 和 TenantInfoMiddleware. TenanInfo 作为租户的信息,通过IOC创建,并且在TenantInfoMiddleware通过解析http request header,修改TenantInfo
using System;

namespace kiwiho.Course.MultipleTenancy.EFcore.Api.Infrastructure
{
public class TenantInfo
{
public string Name { get; set; }
}
}
using System;
using System.Threading.Tasks;
using Microsoft.AspNetCore.Http;
using Microsoft.Extensions.DependencyInjection;

namespace kiwiho.Course.MultipleTenancy.EFcore.Api.Infrastructure
{
public class TenantInfoMiddleware
{
private readonly RequestDelegate _next;

public TenantInfoMiddleware(RequestDelegate next)
{
_next = next;
}

public async Task InvokeAsync(HttpContext context)
{
var tenantInfo = context.RequestServices.GetRequiredService<TenantInfo>();
var tenantName = context.Request.Headers["Tenant"];

if (string.IsNullOrEmpty(tenantName))
tenantName = "default";

tenantInfo.Name = tenantName;

// Call the next delegate/middleware in the pipeline
await _next(context);
}
}
}
TenantInfoMiddleware
2. 创建HttpHeaderSqlConnectionResolver并且实现ISqlConnectionResolver接口。这里要做的事情很简单,直接同TenantInfo取值,并且在配置文件查找对应的connectionString。
其实这个实现类在正常的业务场景是需要包含逻辑的,但是在Demo里为了简明扼要,就使用最简单的方式实现了。
using System;
using Microsoft.Extensions.Configuration;

namespace kiwiho.Course.MultipleTenancy.EFcore.Api.Infrastructure
{
public interface ISqlConnectionResolver
{
string GetConnection();

}

public class HttpHeaderSqlConnectionResolver : ISqlConnectionResolver
{
private readonly TenantInfo tenantInfo;
private readonly IConfiguration configuration;

public HttpHeaderSqlConnectionResolver(TenantInfo tenantInfo, IConfiguration configuration)
{
this.tenantInfo = tenantInfo;
this.configuration = configuration;
}
public string GetConnection()
{
var connectionString = configuration.GetConnectionString(this.tenantInfo.Name);
if(string.IsNullOrEmpty(connectionString)){
throw new NullReferenceException("can not find the connection");
}
return connectionString;
}
}
}
ConnectionResolver
3. 创建类MultipleTenancyExtension,里面包含最重要的配置数据库连接字符串的方法。其中里面的DbContext并没有使用泛型,是为了更加简明点
using kiwiho.Course.MultipleTenancy.EFcore.Api.DAL;
using Microsoft.Extensions.Configuration;
using Microsoft.Extensions.DependencyInjection;
using Microsoft.EntityFrameworkCore;

namespace kiwiho.Course.MultipleTenancy.EFcore.Api.Infrastructure
{
public static class MultipleTenancyExtension
{
public static IServiceCollection AddConnectionByDatabase(this IServiceCollection services)
{
services.AddDbContext<StoreDbContext>((serviceProvider, options)=>
{
var resolver = serviceProvider.GetRequiredService<ISqlConnectionResolver>();

options.UseMySql(resolver.GetConnection());
});

return services;
}
}
}
MultipleTenancyExtension
4. 在Startup类中配置依赖注入和把TenantInfoMiddleware加入到管道中。
public void ConfigureServices(IServiceCollection services)
{
services.AddScoped<TenantInfo>();
services.AddScoped<ISqlConnectionResolver, HttpHeaderSqlConnectionResolver>();
services.AddConnectionByDatabase();
services.AddControllers();
}
ConfigureServices
在Configure内,在UseRouting前把TenantInfoMiddleware加入到管道
app.UseMiddleware<TenantInfoMiddleware>();
5. 配置好DbContext和对应的数据库对象
using Microsoft.EntityFrameworkCore;

namespace kiwiho.Course.MultipleTenancy.EFcore.Api.DAL
{
public class StoreDbContext : DbContext
{
public DbSet<Product> Products { get; set; }
public StoreDbContext(DbContextOptions options) : base(options)
{
}
}

}
StoreDbContext
using System.ComponentModel.DataAnnotations;

namespace kiwiho.Course.MultipleTenancy.EFcore.Api.DAL
{
public class Product
{
[Key]
public int Id { get; set; }

[StringLength(50), Required]
public string Name { get; set; }

[StringLength(50)]
public string Category { get; set; }

public double? Price { get; set; }
}
}
Product
6. 创建ProductController, 并且在里面添加3个方法,分别是创建,查询所有,根据id查询。在构造函数通过EnsureCreated以达到在数据库不存在是自动创建数据库。
using System;
using System.Collections.Generic;
using System.Threading.Tasks;
using kiwiho.Course.MultipleTenancy.EFcore.Api.DAL;
using Microsoft.AspNetCore.Mvc;
using Microsoft.EntityFrameworkCore;

namespace kiwiho.Course.MultipleTenancy.EFcore.Api.Controllers
{
[ApiController]
[Route("api/Products")]
public class ProductController : ControllerBase
{
private readonly StoreDbContext storeDbContext;

public ProductController(StoreDbContext storeDbContext){
this.storeDbContext = storeDbContext;
this.storeDbContext.Database.EnsureCreated();
}

[HttpPost("")]
public async Task<ActionResult<Product>> Create(Product product){
var rct = await this.storeDbContext.Products.AddAsync(product);

await this.storeDbContext.SaveChangesAsync();

return rct?.Entity;

}

[HttpGet("{id}")]
public async Task<ActionResult<Product>> Get([FromRoute] int id){

var rct = await this.storeDbContext.Products.FindAsync(id);

return rct;

}

[HttpGet("")]
public async Task<ActionResult<List<Product>>> Search(){
var rct = await this.storeDbContext.Products.ToListAsync();
return rct;
}
}
}
ProductController
验证效果
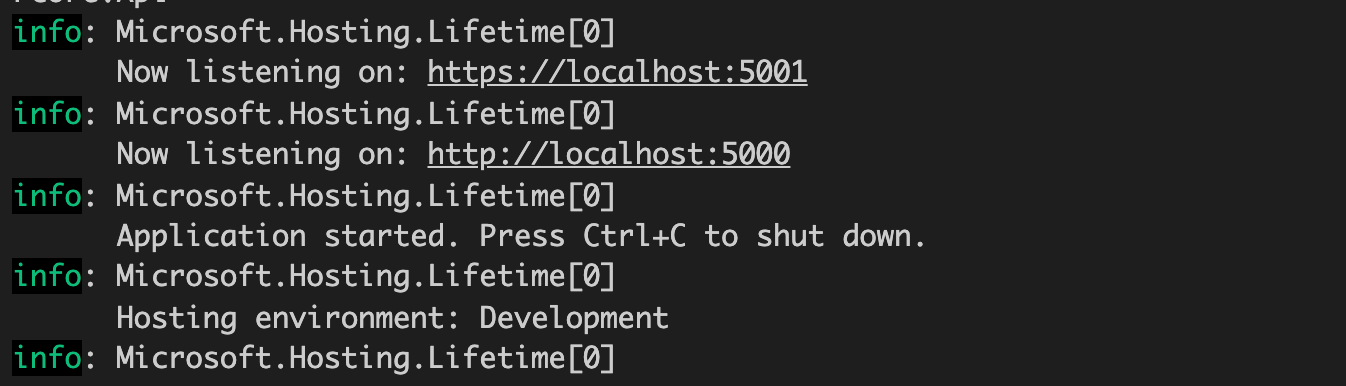
1. 启动项目
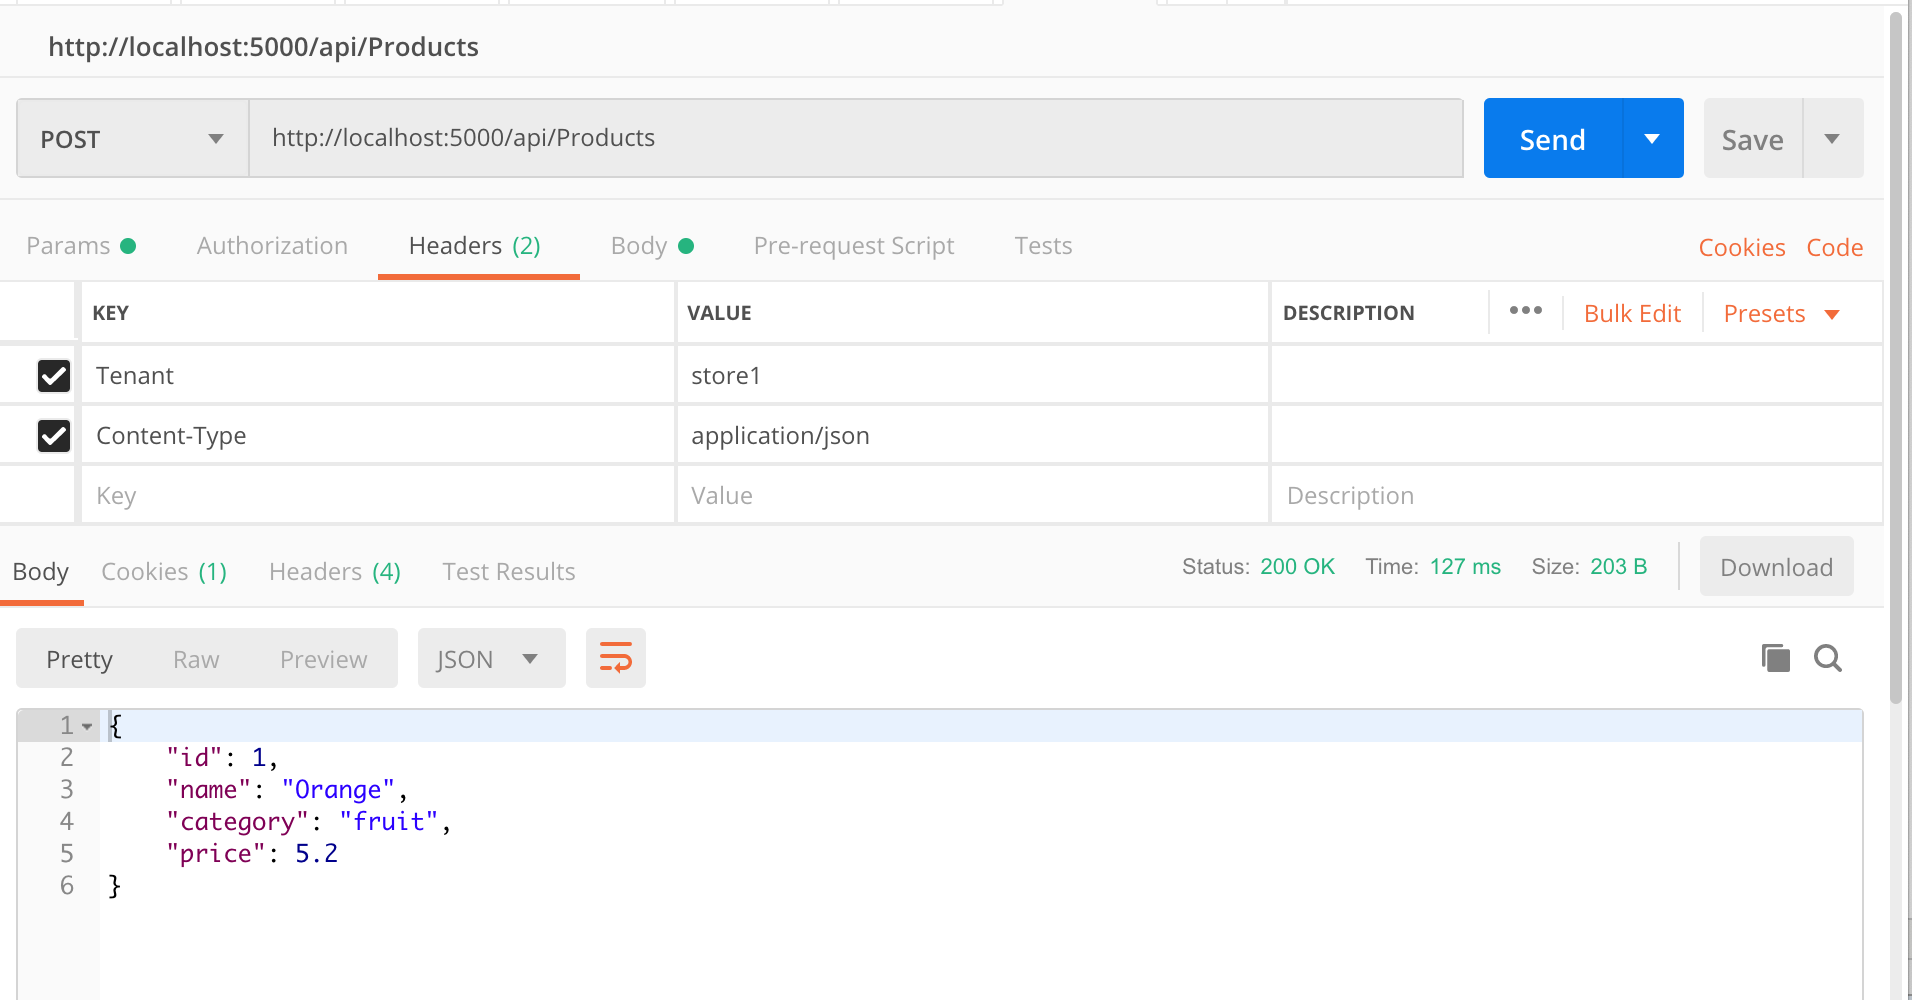
2. 通过postman在store1中创建一个Orange,在store2中创建一个cola。要注意的是Headers仲的Tenant:store1是必须的。
图片就只截了store1的例子
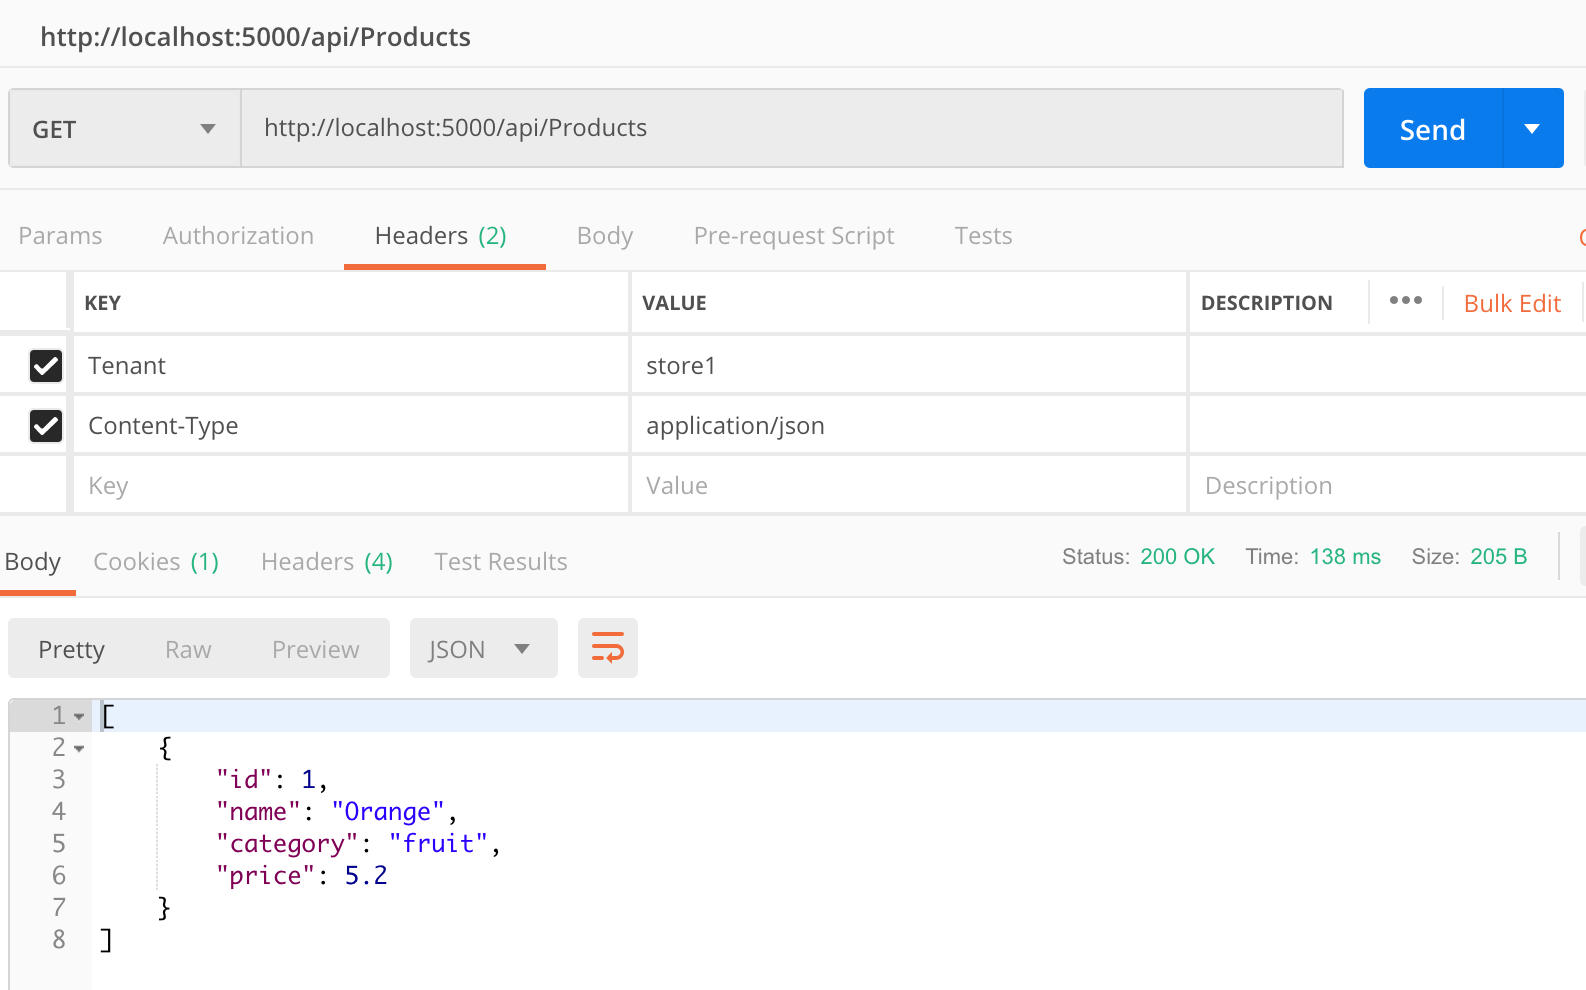
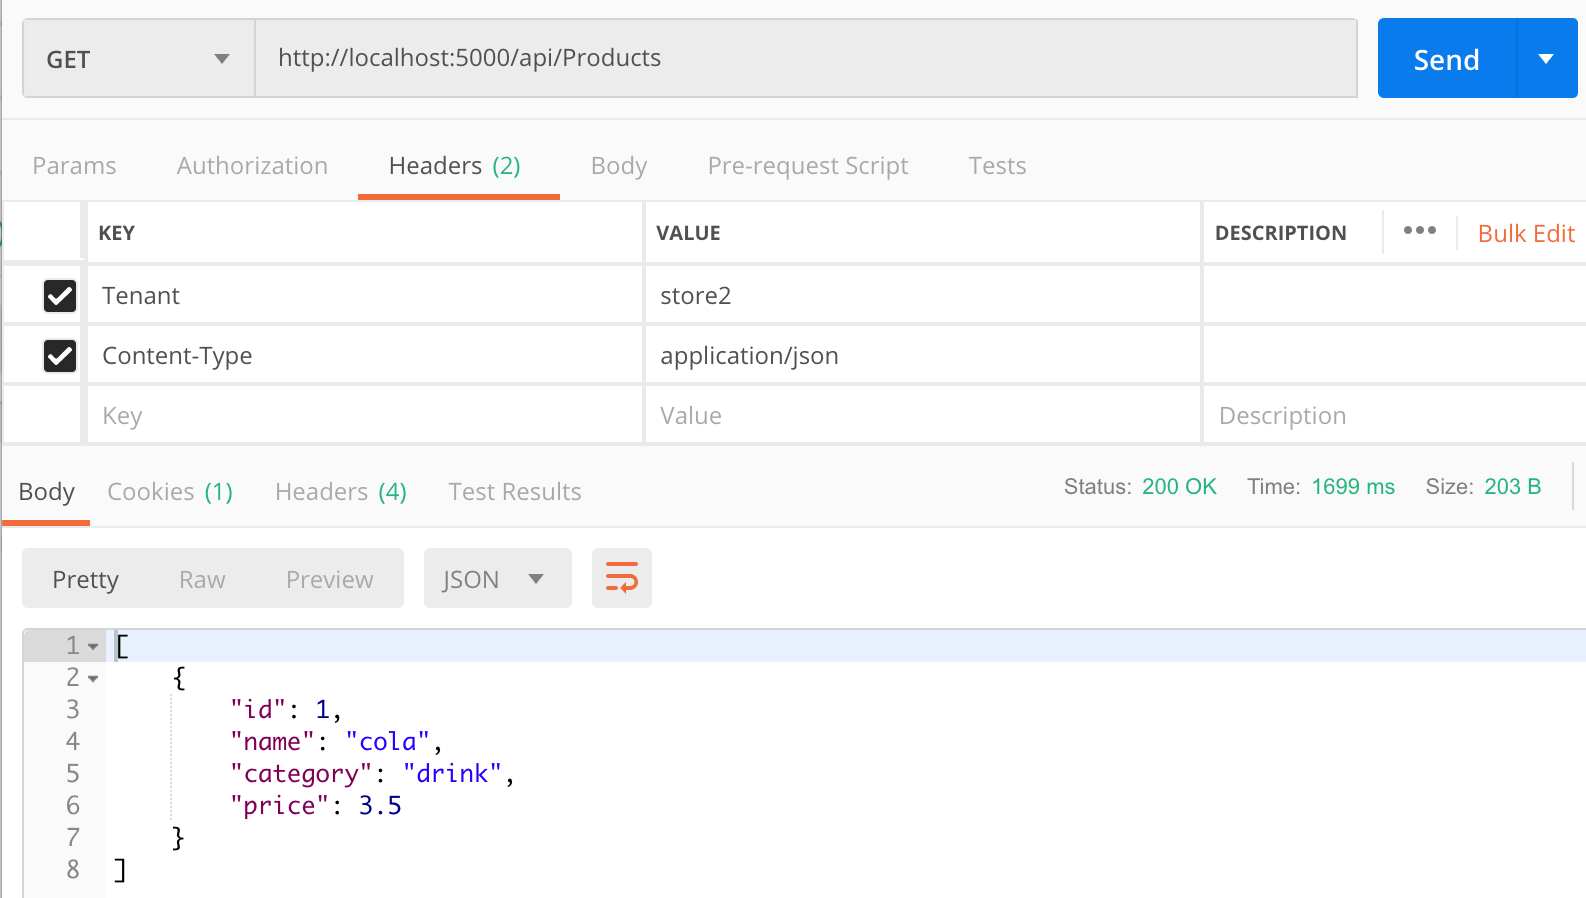
3. 分别在store1,store2中查询所有product
store1:只查到了Orange
store2: 只查到了cola
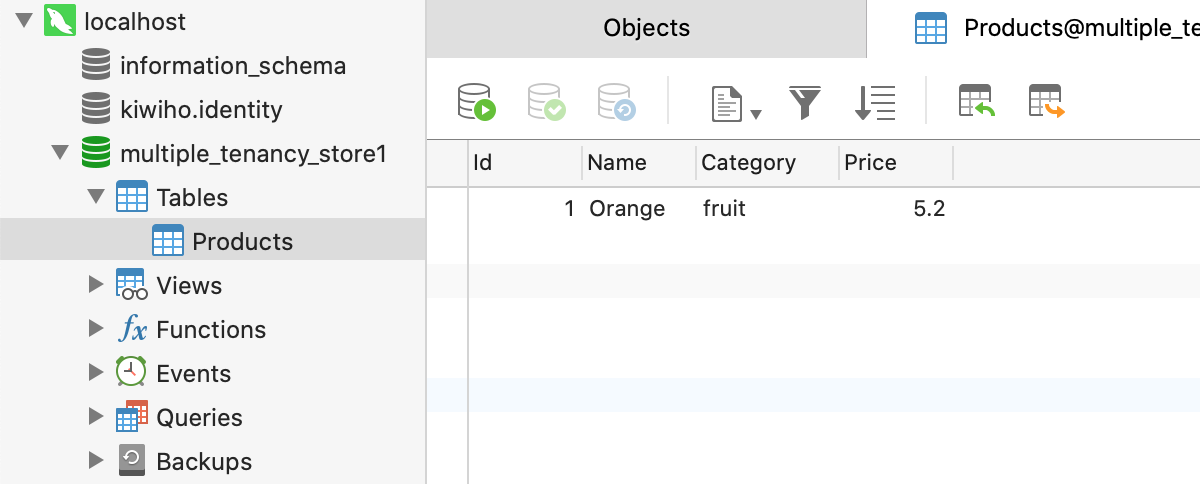
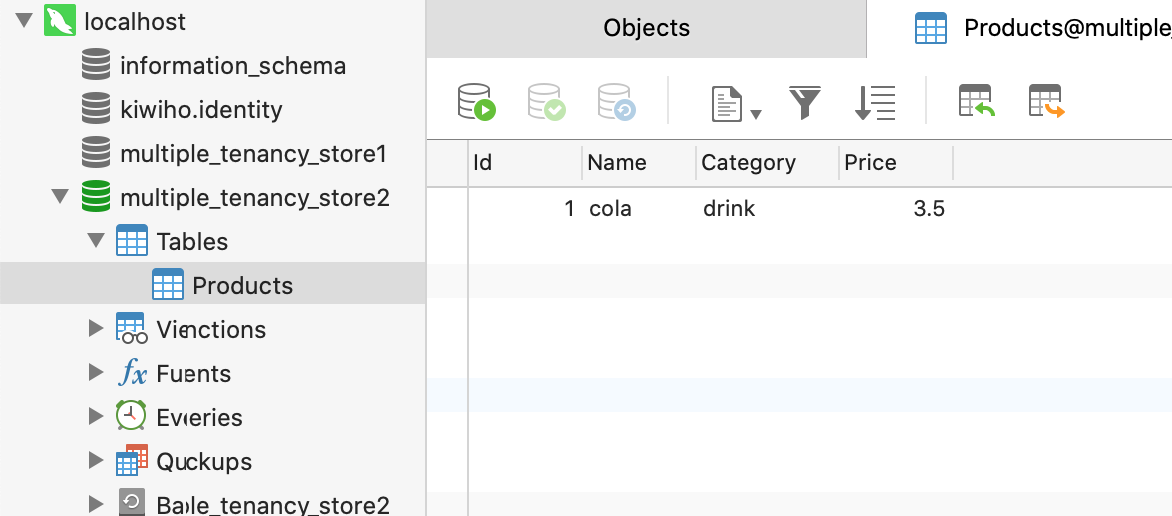
4. 通过查询数据库验证数据是否已经隔离。可能有人会觉得为什么2个id都是1。是因为Product的Id使用 [Key] ,数据库的id是自增长的。
其实这是故意为之的,为的是更好的展示这2个对象是在不同的数据库
store1:
store2:
总结
这是一个很简单的例子,似乎把前言读完就已经能实现,那么为什么还要花费那么长去介绍呢。
这其实是一个系列文章,这里只做了最简单的介绍。具体来说,它真的是一个Demo。
接下来要做什么:
在很多实际场景中,其实一个机构一个数据库,这种模式似乎太重了,而且每个机构都需要部署数据库服务器和实例好像很难自动化。
并且,大多数的机构,其实完全没有必要独立一个数据库的。可以通过分表,分Schema实现数据隔离。
所以接下来我会介绍怎么利用EFCore的现有接口实施。并且最终把核心代码做成类库,并且结合MySql,SqlServer做成扩展
关于代码
文章中的代码并非全部代码,如果仅仅拷贝文章的代码可能还不足以实施。但是关键代码已经全部贴出
代码全部放到github上了。这是part1,请checkout分支part1. 或者在master分支上的part1文件夹内。
可以查看master上commit tag是part1 的部分
https://github.com/woailibain/EFCore.MultipleTenancyDemo/tree/part1

- Asp.net core下利用EF core实现从数据实现多租户(2) : 按表分离
- Asp.net core下利用EF core实现从数据实现多租户(3): 按Schema分离 附加:EF Migration 操作
- 详解ASP.NET Core实现强类型Configuration读取配置数据
- ASP.NET Core2利用Jwt技术在服务端实现对客户端的身份认证
- ASP.NET利用JQuery中的Aajax实现JSON数据后台交互
- asp.net 利用微软数据访问类库结合AjaxPro实现无刷新下拉框级联
- 在asp.net 2.0中利用Ajax2.0实现JSON传送大量页面数据
- asp.net利用GridView"表中表"实现主从表数据
- 关于JQuery 中$.ajax函数利用jsonp实现Ajax跨域请求ASP.NET的WebService成功获取数据的案例
- Asp.Net Core Identity 隐私数据保护的实现
- ASP.NET,Web界面利用Button来实现将telerik:RadGrid表格内数据导出Excel
- ASP.NET Core实现强类型Configuration读取配置数据
- asp.net mvc 中利用jquery datatables 实现数据分页显示
- 在ASP.NET Core中通过EF Core实现一个简单的全局过滤查询
- Asp.net MVC 中利用jquery datatables 实现数据分页显示功能
- asp.net 2.0中利用Ajax2.0实现JSON传送大量页面数据
- ASP.NET Core实现强类型Configuration读取配置数据
- ASP.NET MVC中 Jquery AJAX 获取数据利用MVC模型绑定实现输出
- asp.net 站内搜索功能的实现及利用datatable绑定数据并进行分页
- 项目开发中的一些注意事项以及技巧总结 基于Repository模式设计项目架构—你可以参考的项目架构设计 Asp.Net Core中使用RSA加密 EF Core中的多对多映射如何实现? asp.net core下的如何给网站做安全设置 获取服务端https证书 Js异常捕获