浅析PropertySource 基本使用
目录
- 一、PropertySource 简介
- 二、@PropertySource与Environment读取配置文件
- 三、@PropertySource与@Value读取配置文件
- 四、@PropertySource 与 @Import
一、PropertySource 简介
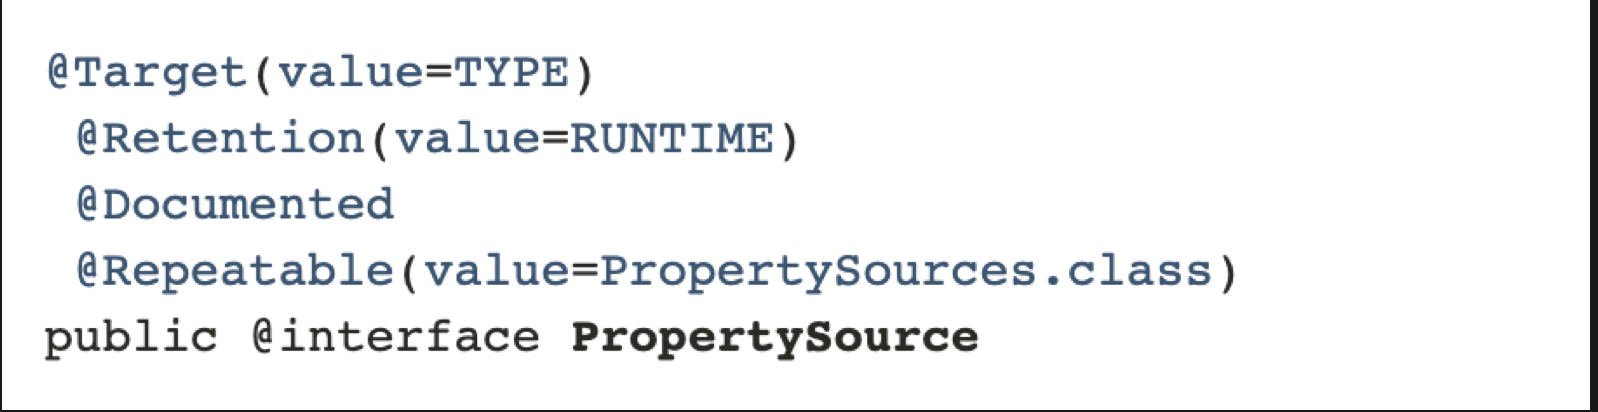
org.springframework.context.annotation.PropertySource 是一个注解,可以标记在类上、接口上、枚举上,在运行时起作用。而@Repeatable(value = PropertySources.class) 表示在PropertySources 中此注解时可以重复使用的。如下:
二、@PropertySource与Environment读取配置文件
此注解@PropertySource 为Spring 中的 Environment提供方便和声明机制,通常与Configuration一起搭配使用。
- 新建一个maven 项目,添加pom.xml 依赖:
<?xml version="1.0" encoding="UTF-8"?>
<project xmlns="http://maven.apache.org/POM/4.0.0" xmlns:xsi="http://www.w3.org/2001/XMLSchema-instance"
xsi:schemaLocation="http://maven.apache.org/POM/4.0.0 http://maven.apache.org/xsd/maven-4.0.0.xsd">
<modelVersion>4.0.0</modelVersion>

<groupId>com.spring.propertysource</groupId>
<artifactId>spring-propertysource</artifactId>
<version>0.0.1-SNAPSHOT</version>
<name>spring-propertysource</name>
<description>Demo project for Spring Boot</description>

<properties>
<java.version>1.8</java.version>
<spring.version>4.3.13.RELEASE</spring.version>
</properties>

<dependencies>

<dependency>
<groupId>org.springframework</groupId>
<artifactId>spring-core</artifactId>
<version>${spring.version}</version>
</dependency>

<dependency>
<groupId>org.springframework</groupId>
<artifactId>spring-context</artifactId>
<version>${spring.version}</version>
</dependency>

</dependencies>

<build>
<pluginManagement>
<plugins>
<plugin>
<groupId>org.apache.maven.plugins</groupId>
<artifactId>maven-compiler-plugin</artifactId>
<version>3.2</version>
<configuration>
<source>1.6</source>
<target>1.6</target>
</configuration>
</plugin>
</plugins>
</pluginManagement>
</build>

</project>
一般把版本名称统一定义在 标签中,便于统一管理,如上可以通过
${…}来获取指定版本。
- 定义一个application.properties 来写入如下配置
com.spring.name=liuXuan
com.spring.age=18
- 新建一个TestBean,定义几个属性
public class TestBean {

private String name;
private Integer age;

public String getName() {
return name;
}

public void setName(String name) {
this.name = name;
}

public Integer getAge() {
return age;
}

public void setAge(Integer age) {
this.age = age;
}

@Override
public String toString() {
return "TestBean{" +
"name='" + name + '\'' +
", age=" + age +
'}';
}
}
- 新建一个main class ,用来演示@PropertySource 的使用
@Configuration
@PropertySource(value = "classpath:application.properties",ignoreResourceNotFound = false)
public class SpringPropertysourceApplication {

@Resource
Environment environment;

@Bean
public TestBean testBean(){
TestBean testBean = new TestBean();
// 读取application.properties中的name
testBean.setName(environment.getProperty("com.spring.name"));
// 读取application.properties中的age
testBean.setAge(Integer.valueOf(environment.getProperty("com.spring.age")));
System.out.println("testBean = " + testBean);
return testBean;
}

public static void main(String[] args) {
ApplicationContext applicationContext = new AnnotationConfigApplicationContext(SpringPropertysourceApplication.class);
TestBean testBean = (TestBean)applicationContext.getBean("testBean");

}
}
输出:
testBean = TestBean{name='liuXuan', age=18}
Refreshing the spring context
@Configuration : 相当于 标签,注意不是,一个配置类可以有多个bean,但是只能有一个
@PropertySource: 用于引入外部属性配置,和Environment 配合一起使用。其中ignoreResourceNotFound 表示没有找到文件是否会报错,默认为false,就是会报错,一般开发情况应该使用默认值,设置为true相当于生吞异常,增加排查问题的复杂性.
引入PropertySource,注入Environment,然后就能用environment 获取配置文件中的value值。
三、@PropertySource与@Value读取配置文件
@Value 基本使用
我们以DB的配置文件为例,来看一下如何使用
@Value读取配置文件
- 首先新建一个DBConnection,具体代码如下:
// 组件bean
@Component
@PropertySource("classpath:db.properties")
public class DBConnection {

@Value("${DB_DRIVER_CLASS}")
private String driverClass;

@Value("${DB_URL}")
private String dbUrl;

@Value("${DB_USERNAME}")
private String userName;

@Value("${DB_PASSWORD}")
private String password;

public DBConnection(){}

public void printDBConfigs(){
System.out.println("Db Driver Class = " + driverClass);
System.out.println("Db url = " + dbUrl);
System.out.println("Db username = " + userName);
System.out.println("Db password = " + password);
}
}
类上加入@Component 表示这是一个组件bean,需要被spring进行管理,@PropertySource 用于获取类路径下的db.properties 配置文件,@Value用于获取properties中的key 对应的value值,printDBConfigs方法打印出来对应的值。
- 新建一个db.properties,具体文件如下
#MYSQL Database Configurations
DB_DRIVER_CLASS=com.mysql.jdbc.Driver
DB_URL=jdbc:mysql://localhost:3306/test
DB_USERNAME=cxuan
DB_PASSWORD=111111
APP_NAME=PropertySourceExample
这是一个MYSQL连接数据库驱动的配置文件。
- 新建一个SpringMainClass,用于测试DBConection中是否能够获取到@Value的值
public class SpringMainClass {

public static void main(String[] args) {
AnnotationConfigApplicationContext context = new AnnotationConfigApplicationContext();
// 注解扫描,和@ComponentScan 和 基于XML的配置<context:component-scan base-package>相同
context.scan("com.spring.propertysource.app");

// 刷新上下文环境
context.refresh();
System.out.println("Refreshing the spring context");

// 获取DBConnection这个Bean,调用其中的方法
DBConnection dbConnection = context.getBean(DBConnection.class);
dbConnection.printDBConfigs();

// 关闭容器(可以省略,容器可以自动关闭)
context.close();
}
}
输出:
Refreshing the spring context
Db Driver Class = com.mysql.jdbc.Driver
Db url = jdbc:mysql://localhost:3306/test
Db username = cxuan
Db password = 111111
@Value 高级用法
在实现了上述的例子之后,我们再来看一下@Value 的高级用法:
- @Value 可以直接为字段赋值,例如:
@Value("cxuan")
String name;

@Value(10)
Integer age;

@Value("${APP_NAME_NOT_FOUND:Default}")
private String defaultAppName;
- @Value 可以直接获取系统属性,例如:
@Value("${java.home}")
// @Value("#{systemProperties['java.home']}") SPEL 表达式
String javaHome;

@Value("${HOME}")
String dir;
- @Value 可以注解在方法和参数上
@Value("Test") // 可以直接使用Test 进行单元测试
public void printValues(String s, @Value("another variable") String v) {
...
}
修改DBConnection后的代码如下:
public class DBConnection {

@Value("${DB_DRIVER_CLASS}")
private String driverClass;

@Value("${DB_URL}")
private String dbUrl;

@Value("${DB_USERNAME}")
private String userName;

@Value("${DB_PASSWORD}")
private String password;

public DBConnection(){}

public void printDBConfigs(){
System.out.println("Db Driver Class = " + driverClass);
System.out.println("Db url = " + dbUrl);
System.out.println("Db username = " + userName);
System.out.println("Db password = " + password);
}
}
在com.spring.propertysource.app 下 新增DBConfiguration,作用是配置管理类,管理DBConnection,并读取配置文件,代码如下:
@Configuration
@PropertySources({
@PropertySource("classpath:db.properties"),
@PropertySource(value = "classpath:root.properties", ignoreResourceNotFound = true)
})
public class DBConfiguration {

@Value("Default DBConfiguration")
private String defaultName;

@Value("true")
private boolean defaultBoolean;

@Value("10")
private int defaultInt;

@Value("${APP_NAME_NOT_FOUND:Default}")
private String defaultAppName;

@Value("#{systemProperties['java.home']}")
//    @Value("${java.home}")
private String javaHome;

@Value("${HOME}")
private String homeDir;

@Bean
public DBConnection getDBConnection() {
DBConnection dbConnection = new DBConnection();
return dbConnection;
}

@Value("Test") // 开启测试
public void printValues(String s, @Value("another variable") String v) {
System.out.println("Input Argument 1 = " + s);
System.out.println("Input Argument 2 = " + v);

System.out.println("Home Directory = " + homeDir);
System.out.println("Default Configuration Name = " + defaultName);
System.out.println("Default App Name = " + defaultAppName);
System.out.println("Java Home = " + javaHome);
System.out.println("Home dir = " + homeDir);
System.out.println("Boolean = " + defaultBoolean);
System.out.println("Int = " + defaultInt);

}

}
使用SpringMainClass 进行测试,测试结果如下:
Input Argument 1 = Test
Input Argument 2 = another variable
Home Directory = /Users/mr.l
Default Configuration Name = Default DBConfiguration
Default App Name = Default
Java Home = /Library/Java/JavaVirtualMachines/jdk1.8.0_191.jdk/Contents/Home/jre
Home dir = /Users/mr.l
Boolean = true
Int = 10
Refreshing the spring context
Db Driver Class = com.mysql.jdbc.Driver
Db url = jdbc:mysql://localhost:3306/test
Db username = cxuan
Db password = 111111
可以看到上述代码并没有显示调用printValues 方法,默认是以单元测试的方式进行的。
四、@PropertySource 与 @Import
@Import 可以用来导入 @PropertySource 标注的类,具体代码如下:
- 新建一个PropertySourceReadApplication 类,用于读取配置文件并测试,具体代码如下:
// 导入BasicPropertyWithJavaConfig类
@Import(BasicPropertyWithJavaConfig.class)
public class PropertySourceReadApplication {

@Resource
private Environment env;

@Value("${com.spring.name}")
private String name;

@Bean("context")
public PropertySourceReadApplication contextLoadInitialized(){
// 用environment 读取配置文件
System.out.println(env.getProperty("com.spring.age"));
// 用@Value 读取配置文件
System.out.println("name = " + name);
return null;
}

public static void main(String[] args) {
// AnnotationConnfigApplicationContext 内部会注册Bean
new AnnotationConfigApplicationContext(PropertySourceReadApplication.class);
}
}
- 新建一个BasicPropertyWithJavaConfig 类,用于配置类并加载配置文件
@Configuration
@PropertySource(value = "classpath:application.properties")
public class BasicPropertyWithJavaConfig {

public BasicPropertyWithJavaConfig(){
super();
}

}
启动PropertySourceReadApplication ,console能够发现读取到配置文件中的value值
18
name = cxuan

- Android消息机制浅析——基本使用
- Source Insight的使用和Source Insight基本使用和快捷键
- 辛星浅析tar命令的基本使用
- Source Insight基本使用和快捷键
- Source Insight基本使用和快捷键 http://www.cnblogs.com/mengdd/p/3506526.html
- Source Insight 基本使用(1)-使用Source Insight查看Android Framework 源码
- 第04天OC语言(02):property基本使用
- 栈之浅析-1-基本概念及使用
- 浅析基本类型和对象应该使用什么做比较
- Source Insight基本使用和快捷键
- Source Insight基本使用和快捷键
- Spring boot bootstrap.yml文件使用遇见的坑Failed to load property source from location 'classpath:/bootstrap.
- NetBeans的代码度量插件SourceCodeMetrics的基本使用方法
- BCache源码浅析之一基本使用与代码模块
- Spring 从文件系统读取配置文件, 使用@PropertySource
- Source Insight基本使用和快捷键
- Springboot中PropertySource注解的使用
- 队列之浅析-1-基本概念及使用
- 浅析Go语言编程当中映射和方法的基本使用
- 工具[Source Insight]_Source Insight基本使用(1)