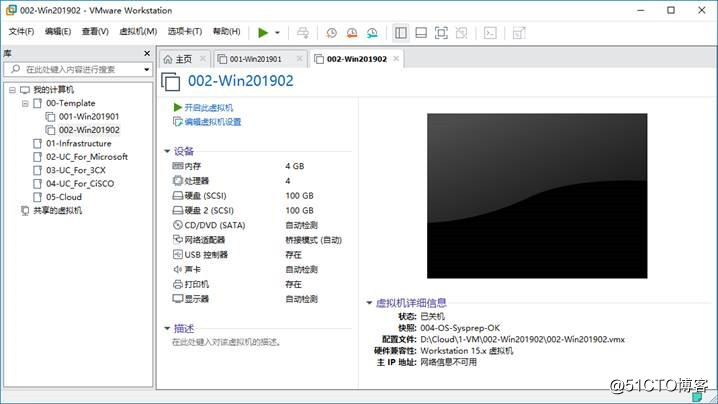
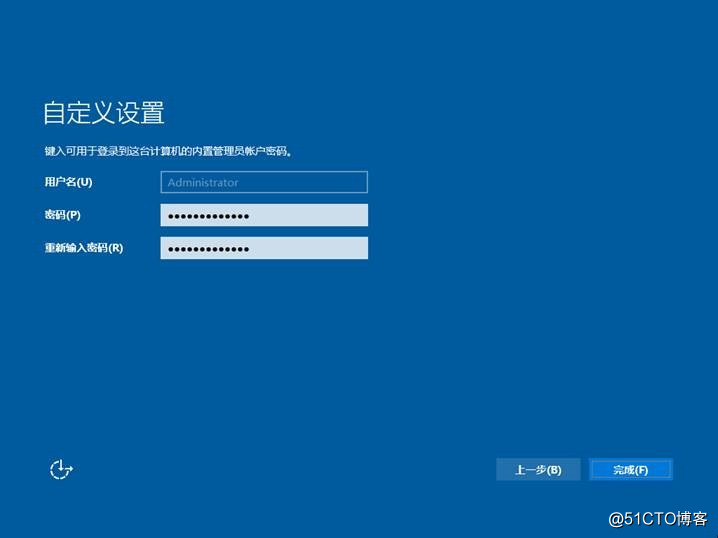
02-准备实验环境-007-安装-Windows Server 2019-标准版-制作模板机
《系统工程师实战培训》-02-准备实验环境(批量克隆)-007-安装-Windows Server 2019-标准版-制作模板机
作者:学 无 止 境
QQ交流群:454544014
How to SysPrep Windows Server Core 2019
In this article, I’ll show you how to SysPrep Windows Server Core 2016 using the sysprep.exe utility.
This article will also work with Windows Server 2016 version 1709 which only comes with a Server Core.
About SYSPREP
Sysprep (System Preparation Tool) Is a built-in tool that comes with Windows Server since the release of Windows Server 2003.
The purpose of Sysprep Is to prepare a Server to be cloned and remove the Built-in Security ID, Computer Name and any Information that was on the machine before running the tool.
Why use SysPrep
We use Sysprep after creating a Gold Image or a Server Image that we would like to be used In production with specific tools, features, roles, and settings that needs to be consistent.
The process we follow in a gold image scenario is that we Install all features, tools, etc and then run Sysprep, once the machine is done we could start it and use it with as a base image.
Sysprep Server Core
Because Server Core comes with any GUI, we need to use the command line to SysPrep the Server as I’ll show you below.
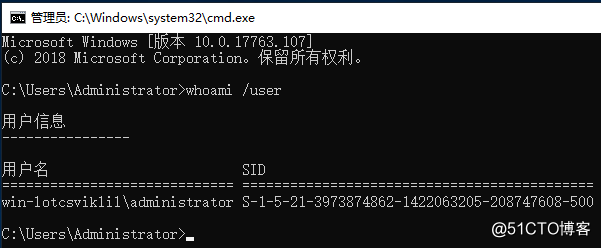
Win7系统如何查看SID安全标识符?
前言:SID = Security Identifiers,中文名称:安全标识符。如果两台电脑的SID相同,在一个局域网里就会发生冲突,比如你自己GHOST了系统,然后还原到其它电脑上,这时候的SID是相同的,就会产生冲突。
SID的查询方法:
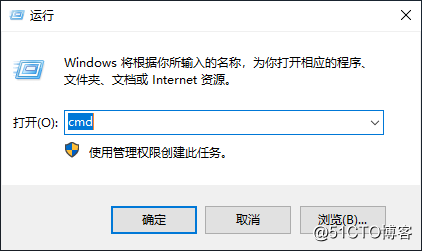
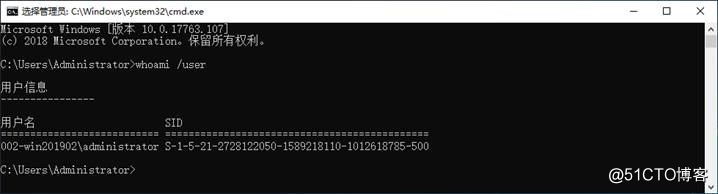
1、 输入:whoami /user

2、 The first step, Is to use the command line or PowerShell from Server Core

3、 I’ll use the line below to get to the sysprep.exe tool location.
cd C:\Windows\System32\Sysprep\

4、 From here I’ll type the line below to start the tool
.\sysprep.exe

5、 Tick the box Generalize and reboot or shutdown
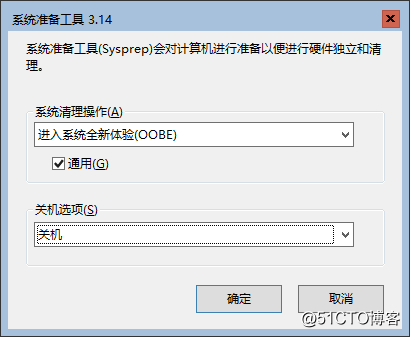
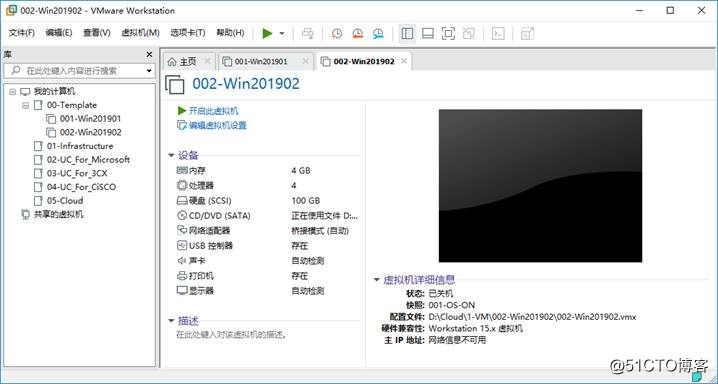
关机
快照
004-OS-Sysprep-OK
开机


whoami /user
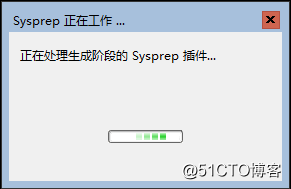
6、 The process will take two or three minutes.
证明使用Sysprep很成功。
恢复快照:
001-OS-ON
恢复快照:
004-OS-Sysprep-OK
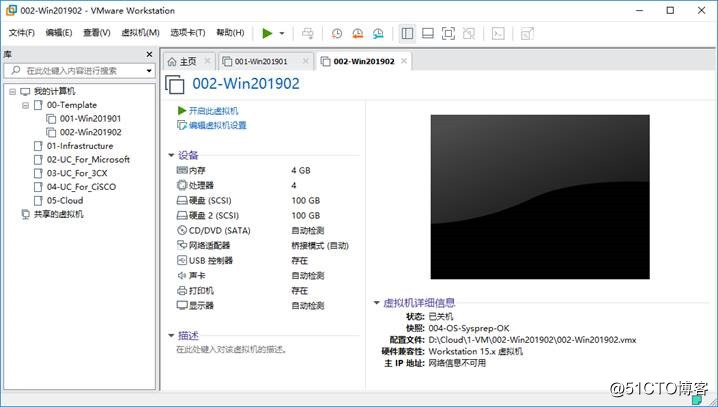
模板机已准备完成。
本文已完成!
*****************************************************************************************************************************
如果你学虚拟化工程师,请继续向下看。
相反:请止步!!!
*****************************************************************************************************************************
《虚拟化工程师实战培训》-视频一共12个系列,一步一步教学让想学者学得更容易。
第1部-规划服务器虚拟化实验效果
https://ke.qq.com/course/356355?tuin=c57e67b1
第2部-配置服务器虚拟化网络
https://ke.qq.com/course/356359?tuin=c57e67b1
第3部-部署虚拟化 IT 基础架构
https://ke.qq.com/course/356383?tuin=c57e67b1
第4部-光纤存储及光纤存储交换机配置
https://ke.qq.com/course/356724?tuin=c57e67b1
第5部-部署VMware服务器虚拟化
https://ke.qq.com/course/356730?tuin=c57e67b1
第6部-部署微软服务器虚拟化
https://ke.qq.com/course/356744?tuin=c57e67b1
第07部-部署Huawei服务器虚拟化
https://ke.qq.com/course/356746?tuin=c57e67b1
第8部-部署Citrix服务器虚拟化
https://ke.qq.com/course/356754?tuin=c57e67b1
第09部-部署Redhat oVirt服务器虚拟化
https://ke.qq.com/course/356756?tuin=c57e67b1
第10部-部署Proxmox VE 5.2服务器虚拟化
https://ke.qq.com/course/356759?tuin=c57e67b1
第11部-部署深信服超融合Sangfor aCloud 5.8.5
https://ke.qq.com/course/356769?tuin=c57e67b1
第12部-真实案例-小企业虚拟化项目实战串讲
https://ke.qq.com/course/356773?tuin=c57e67b1
***************************************************************************************************

- 02-准备实验环境-002-安装-Windows Server 2019 Core-标准版
- 02-准备实验环境-001-安装 VMware Workstation 15
- XMPP_02_环境安装(准备工作和配置数据库)
- activiti学习-02环境准备+安装流程设计器+对流程设计器的使用+对流程设计器的使用+核心API的认识
- CA根证书制作【仅供参考】-----win7 windows server 2008R2下 https SSL证书安装的搭配(搭配https ssl本地测试环境)
- Citrix Avalon安装实验手册之一----Avalon概述及实验环境准备
- 安装篇 02. 制作安装 U 盘 ❀ Windows Server 2016
- ubuntu python3 安装selenium及Firefox环境配置-亲自实验,没问题
- Kubernetes 1.8.4 手动安装教程-准备基础环境(一)
- LAMP环境配置之安装前准备
- 【fabric实战指南-环境准备】fabric1.0安装过程中需要用到的docker命令
- 【安装oracle——准备工作】配置内核参数+添加用户组及用户+为oracle用户配置shell限制+创建目录结构+设置oracle环境
- 搭建JEESZ分布式架构3--CentOs下安装MySQL(环境准备)
- 一:(最开心学习Spring cloud) 环境准备: eclipse安装Spring Tools
- Windows server 2008 .net 4.0环境的安装
- tiny6410裸机实验第0章--------------开发环境的搭建(交叉编译工具链制作)
- SCOM2012SP1环境准备和安装
- Windows Server入门系列之五 利用VMware Workstation构建实验环境2
- SAP IDES ECC6安装 x32安装 环境准备 -2
- VMM2012应用指南之1-实验环境概述与准备