阿里云服务上Elasticsearch的安装及简单使用(三)
通过前两篇文章我们知道了如何部署Elasticsearch以及它的一些简单操作,下面我们就模拟一些数据进行操作练习,每一个数据包含个体的id、年龄、性别、地址、邮箱等信息,格式如下:
{
"acctId": 1,
"age": 18,
"gender": "M",
"balance": 10000000,
"address": "中国江苏南京",
"email": "test@test.com",
"city": "nj",
"state": "js"
}
通过如下命令进行加载到我们到服务中,其中person.json是我们模拟到数据:curl -XPOST 'localhost:9200/person/acct/_bulk?pretty&refresh' -H 'Content-Type:application/json' --data-binary "@person.json"在通过curl 'localhost:9200/_cat/indices?v'查看索引结果如下:
health status index    uuid                   pri rep docs.count docs.deleted store.size pri.store.size
yellow open   person   7rAoSSNZQRqtyDb56wR3fQ   5   1       1000            0      474kb          474kb
yellow open   god      z-R0aYrcTTSCTI4ZdbPv3Q   5   1          1            0      4.4kb          4.4kb
其中person是我们刚刚添加到1000数据,数据大小为474kb.
我们用分curl命令和http请求查看。
http方式:http://47.104.94.172:9200/person/_search?q=*&sort=acctId:asc&pretty
curl方式:curl -XGET 'localhost:9200/person/_search?q=*&sort=acctId:asc&pretty&pretty'
在这里使用
_search端点,然后
q=*(q为query的缩写)参数命令Elasticsearch匹配索引中的全部文档。
sort=acctId:asc参数表示按 acctId 属性升序排列返回的结果。
pretty参数将返回结果以美观的格式返回。
返回结果默认10条,下面为我们截取开头以及一条数据:
{
"took" : 219,
"timed_out" : false,
"_shards" : {
"total" : 5,
"successful" : 5,
"skipped" : 0,
"failed" : 0
},
"hits" : {
"total" : 1000,
"max_score" : null,
"hits" : [
{
"_index" : "person",
"_type" : "acct",
"_id" : "0",
"_score" : null,
"_source" : {
"acctId" : 0,
"age" : 24,
"gender" : "F",
"address" : "中国上海",
"balance" : 9999,
"email" : "qqq@qq.com",
"city" : "sh",
"state" : "sh"
},
"sort" : [
0
]
},{........}返回结果参数解释:1)took : Elasticsearch执行查询所用的时间(单位:毫秒)
2)timed_out : 是否超时
3)_shards : 搜索的分片数量,它的参数包含总数、成功和失败的分片数
4)hits : 搜索结果
5)hits.total : 符合搜索条件的文档数量
6)hits.hits : 实际返回的搜索结果对象数组(默认只返回前10条)
7) hits.sort : 返回结果的排序字段值(如果是按score进行排序,则没有)
8) hits._score :返回文档的匹配得分(得分越高,匹配程度越高,越靠前)
9 hits.max_score : 最大匹配得分
我们也可以使用请求体的方式:

或者curl命令的请求体方式:
curl -XPOST 'localhost:9200/person/_search?pretty' -H 'Content-Type:application/json' -d '
{
"query":{"match_all":{}},
"sort":[
{"acctId":"asc"}
]
}
'
查询的思路类似于sql。query定义查询,match_all全匹配即在索引中搜索所有的文档。在未指定size的时候默认查询10条数据,所以可以通过定义size来控制返回数据的多少。也可以通过from和size来指定返回结果开始和大小,如返回20-40:
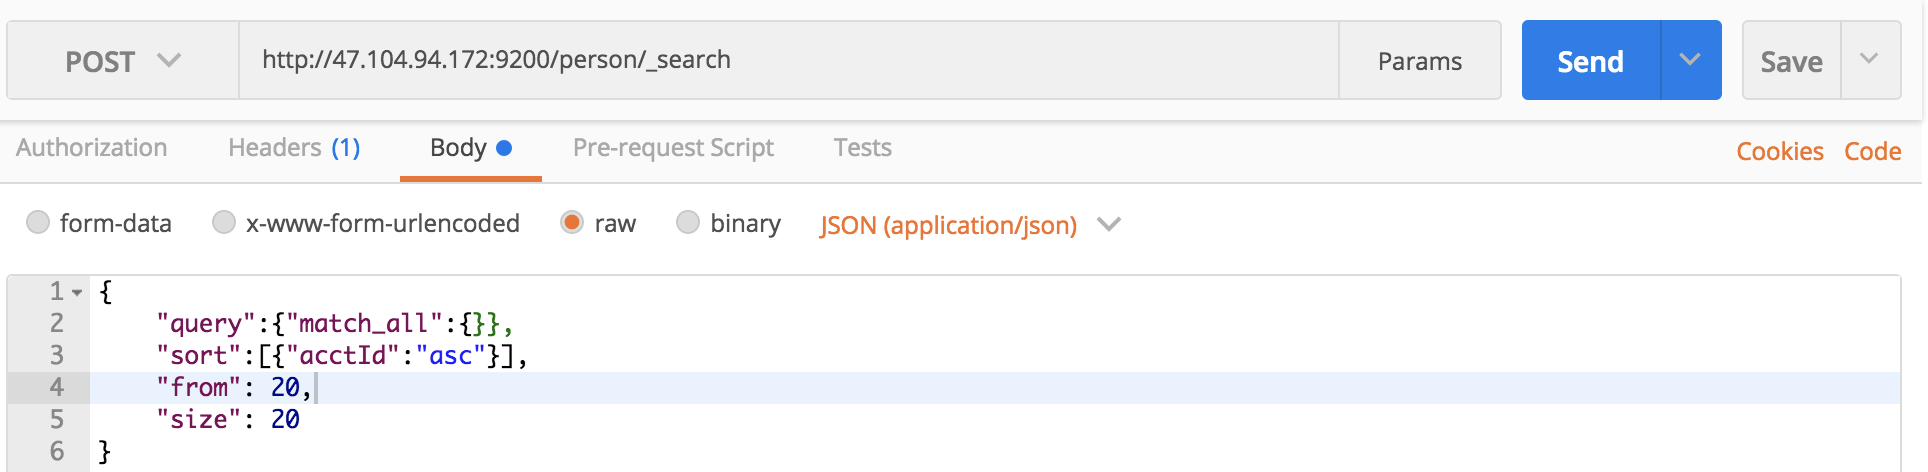
curl命令:
curl -XPOST 'localhost:9200/person/_search?pretty' -H 'Content-Type:application/json' -d '
{
"query":{"match_all":{}},
"sort":[
{"acctId":"asc"}
],
"from":20,
"size":20
}
'
对于排序,我们也可以指定某个字段排序之后在返回结果,例如先根据个体的收入排序之后在返回前30条数据:

curl:
curl -XPOST 'localhost:9200/person/_search?pretty' -H 'Content-Type:application/json' -d '
{
"query":{"match_all":{}},
"sort":{"balance":{"order":"asc"}},
"size":30
}
'
通过上面,我们可以看出Elasticsearch提供了一种JSON格式的领域特定语言(Query DSL),可以使用它来执行查询。在上面我们已经进行了简单的使用,下面我们在相对深入一点学习一下这门语言。在之前的查询结果中,可以看出_source包含了所有属性,在这里我们只要求出查询50-80的acctId,age和gender三个属性:

curl命令:
curl -XPOST 'localhost:9200/person/_search?pretty' -H 'Content-Type:application/json' -d '
{
"query":{"match_all":{}},
"_source":["acctId","age","gender"],
"from":50,
"size":30
}
'
对于精确查找match_all似乎已经不能满足我们的需求了,我们可以使用match来进行查找。例如查找age为24的个体:

curl命令:
curl -XGET 'localhost:9200/person/_search?pretty' -H 'Content-Type:application/json' -d '
{
"query":{"match":{"age":24}}
}
'
查询email含有qq.com的信息:

curl命令:
curl -XGET 'localhost:9200/person/_search?pretty' -H 'Content-Type:application/json' -d '
{
"query":{"match":{"email": "@qq.com"}}
}
'
查询email含有@qq.com或@163.com的信息:

curl命令:
curl -XGET 'localhost:9200/person/_search?pretty' -H 'Content-Type:application/json' -d '
{
"query":{"match":{"email": "@qq.com @163.com"}}
}
'
另外,match还有叫做match_phrase的亲戚,这个亲戚可以帮我们查处包含“中国江苏”的所有文档:

curl命令:
curl -XGET 'localhost:9200/person/_search?pretty' -H 'Content-Type:application/json' -d '
{
"query":{"match_phrase": { "address": "中国江苏" }}
}
'
介绍完match_full, match_phrase, match之后,我们在介绍一个bool查询,该查询允许使用布尔逻辑将小的查询组成大的查询。在这里我们查询addrss包含“江苏”,“南京”的文档信息:

curl命令:
curl -XPOST 'localhost:9200/person/_search?pretty' -H 'Content-Type:application/json' -d '
{
"query":{
"bool":{
"must":[
{"match":{"address":"江苏"}},
{"match":{"address":"南京"}}
]
}
}
}
' 在上面的例子中,bool和must组成来一个文档的必备条件,有点类似与sql语句的多条件查询,那么假如要查询或的关系时,我们只需要将上面的例子中的must换成should即可。bool和should只要满足一个条件即可。但是假如我们查询的时候需要多条件不满足时就需要用到bool和must_not了,如查询既不包含“江苏”也不包含“山东”的文档信息:

curl命令:
curl -XPOST 'localhost:9200/person/_search?pretty' -H 'Content-Type:application/json' -d '
{
"query":{
"bool":{
"must_not":[
{"match":{"address":"江苏"}},
{"match":{"address":"山东"}}
]
}
}
}
'
在这里,我们吧must和must_not做一下组合,查询address含有“中国江苏”但是age不等于30的文档信息:

curl命令:
curl -XPOST 'localhost:9200/person/_search?pretty' -H 'Content-Type:application/json' -d '
{
"query":{
"bool":{
"must":[
{"match":{"address": "中国江苏"}}
],
"must_not":[
{"match":{"age":30}}
]
}
}
}
'
关于bool组合filter起到过滤的作用。查询age在20-33之间的文档信息:

curl:
curl -XPOST 'localhost:9200/person/_search?pretty' -H 'Content-Type:application/json' -d '
{
"query":{
"bool":{
"must":{"match_all":{}},
"filter":{
"range":{
"age":{
"gte":20,
"lte":33
}
}
}
}
}
}
' 在上面的例子中bool查询在查询部分使用match_all,在过滤部分使用
range。可以使用任何的查询来代替查询部分和过滤部分。

- 《读书报告 -- Elasticsearch入门 》-- 安装以及简单使用(1)
- elasticsearch 安装过程,简单使用
- 关于使用阿里云服务调用识别身份证图片、营业执照的信息抓取接口的简单实现
- elk安装及使用二(elasticsearch的简单使用及插件的安装)
- 《读书报告 -- Elasticsearch入门 》-- 安装以及简单使用(1)
- 轻量级简单队列服务HTTPSQS安装与使用
- 【阿里云】在 Windows Server 2016 下使用 FileZilla Server 安装搭建 FTP 服务
- 《读书报告 -- Elasticsearch入门 》-- 安装以及简单使用(1)
- SpringCloud之consul (服务注册发现)客户端的安装与简单使用|第十三章-yellowcong
- 使用阿里云elasticsearch服务
- elasticsearch 1.5 + mysql安装配置与简单使用
- elasticsearch安装与使用(1)-- centos7 elasticsearch的两种简单安装方法
- ros节点/话题/服务...管理工具multimaster_fkie的安装和简单使用
- Elasticsearch简单使用系列--安装
- saltstack自动化运维系列①之saltstack服务安装及简单使用
- Elasticsearch 5.6.4 window 安装并简单使用head
- Elasticsearch 增删改查之 Sense 插件使用 ,chrome浏览器Sense插件的介绍,离线安装,简单使用记录
- saltstack自动化运维系列①之saltstack服务安装及简单使用
- 【阿里云产品公测】简单日志服务SLS使用评测 + 教程
- Elasticsearch5.20 简单安装使用Kibana