1-重新开始认识Cas-通过maven和骨架来搭建cas服务器
2018-03-11 21:38
357 查看
1、新建一个maven总司令,注意修改成pom的,因为默认是jar的。总司令一定是pom
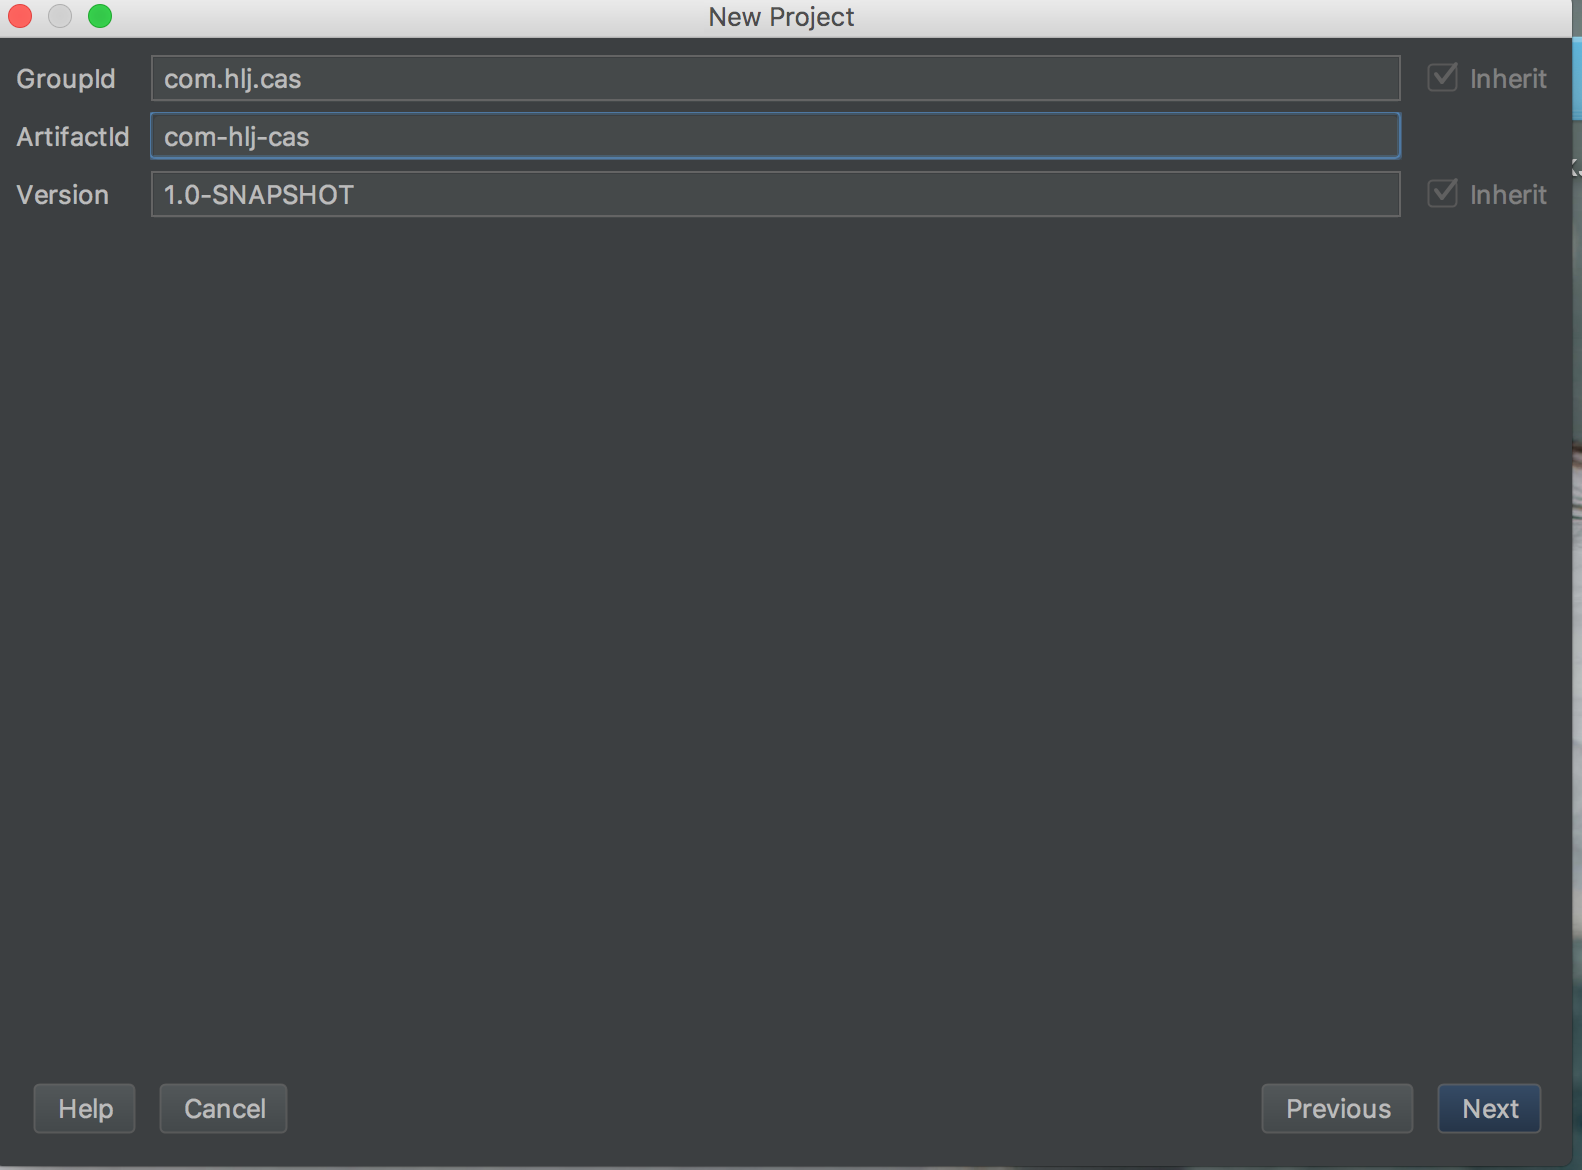
2、根据骨架url
https://casinitializr.herokuapp.com/1、选择cas-tomcat

2、输入项目中需要pom和包关系

3、将它直接放到上面总司令的目录下(cas-overlay可以删除的,没毛用)

4、修改这个com.hlj.sso-server的pom,让它继承总司令并被总司令聚合
1.sso-server的pom放入parent,总司令com.hlj.cas中放入来自它的propertis,这里注意的是我用的cas版本为5.1.3,所以需要修改下propertis 中cas的版本号(默认为5.1.0),否则有些依赖不能下载,因为已经没有在维护了
2、这里我去掉了关于springBoot的一些东西(也就是自动生成的java文件,后面会进行删除),我修改了sso-server的pom。复制下面的即可。
<?xml version="1.0" encoding="UTF-8"?>
<project xmlns="http://maven.apache.org/POM/4.0.0" xmlns:xsi="http://www.w3.org/2001/XMLSchema-instance"
xsi:schemaLocation="http://maven.apache.org/POM/4.0.0 http://maven.apache.org/xsd/maven-4.0.0.xsd"> <modelVersion>4.0.0</modelVersion>
<parent>
<groupId>com.hlj.cas</groupId>
<artifactId>com-hlj-cas</artifactId>
<version>1.0-SNAPSHOT</version>
<relativePath>../pom.xml</relativePath>
</parent>

<artifactId>sso-server</artifactId>
<packaging>war</packaging>

<name>sso-server</name>
<description>单点登录</description>

<dependencies>
<dependency>
<groupId>org.apereo.cas</groupId>
<artifactId>cas-server-webapp-tomcat</artifactId>
<version>${cas.version}</version>
<type>war</type>
<scope>runtime</scope>
</dependency>
</dependencies>
<dependencyManagement>
<dependencies>
<dependency>
<groupId>org.apereo.cas</groupId>
<artifactId>cas-server-support-bom</artifactId>
<version>${cas.version}</version>
<type>pom</type>
<scope>import</scope>
</dependency>
</dependencies>
</dependencyManagement>

<build>
<plugins>
<plugin>
<groupId>com.rimerosolutions.maven.plugins</groupId>
<artifactId>wrapper-maven-plugin</artifactId>
<version>0.0.5</version>
<configuration>
<verifyDownload>true</verifyDownload>
<checksumAlgorithm>MD5</checksumAlgorithm>
</configuration>
</plugin>
<plugin>
<groupId>org.springframework.boot</groupId>
<artifactId>spring-boot-maven-plugin</artifactId>
<version>${springboot.version}</version>
<configuration>
<mainClass>org.springframework.boot.loader.WarLauncher</mainClass>
<addResources>true</addResources>
</configuration>
</plugin>
<plugin>
<groupId>org.apache.maven.plugins</groupId>
<artifactId>maven-war-plugin</artifactId>
<version>3.1.0</version>
<configuration>
<warName>cas</warName>
<failOnMissingWebXml>false</failOnMissingWebXml>
<recompressZippedFiles>false</recompressZippedFiles>
<archive>
<compress>false</compress>
<manifestFile>${project.build.directory}/war/work/org.apereo.cas/cas-server-webapp-tomcat/META-INF/MANIFEST.MF</manifestFile>
</archive>
<overlays>
<overlay>
<groupId>org.apereo.cas</groupId>
<artifactId>cas-server-webapp-tomcat</artifactId>
</overlay>
</overlays>
</configuration>
</plugin>
<plugin>
<groupId>org.apache.maven.plugins</groupId>
<artifactId>maven-compiler-plugin</artifactId>
<version>3.3</version>
</plugin>
</plugins>
<finalName>cas</finalName>
</build>
</project>
2、总司令com.hlj.cas
如下,这里我添加了阿里云镜像
<?xml version="1.0" encoding="UTF-8"?>
<project xmlns="http://maven.apache.org/POM/4.0.0"
xmlns:xsi="http://www.w3.org/2001/XMLSchema-instance"
xsi:schemaLocation="http://maven.apache.org/POM/4.0.0 http://maven.apache.org/xsd/maven-4.0.0.xsd"> <modelVersion>4.0.0</modelVersion>

<groupId>com.hlj.cas</groupId>
<artifactId>com-hlj-cas</artifactId>
<version>1.0-SNAPSHOT</version>
<packaging>pom</packaging>

<modules>
<module>sso-server</module>
</modules>

<properties>
<java.version>1.8</java.version>
<cas.version>5.1.3</cas.version>
<springboot.version>1.5.3.RELEASE</springboot.version>
<project.build.sourceEncoding>UTF-8</project.build.sourceEncoding>
<project.reporting.outputEncoding>UTF-8</project.reporting.outputEncoding>
<maven.compiler.source>1.8</maven.compiler.source>
<maven.compiler.target>1.8</maven.compiler.target>

</properties>

<repositories>
<repository>
<id>nexus-aliyun</id>
<name>Nexus aliyun</name>
<url>http://maven.aliyun.com/nexus/content/groups/public</url>
</repository>
</repositories>

</project>
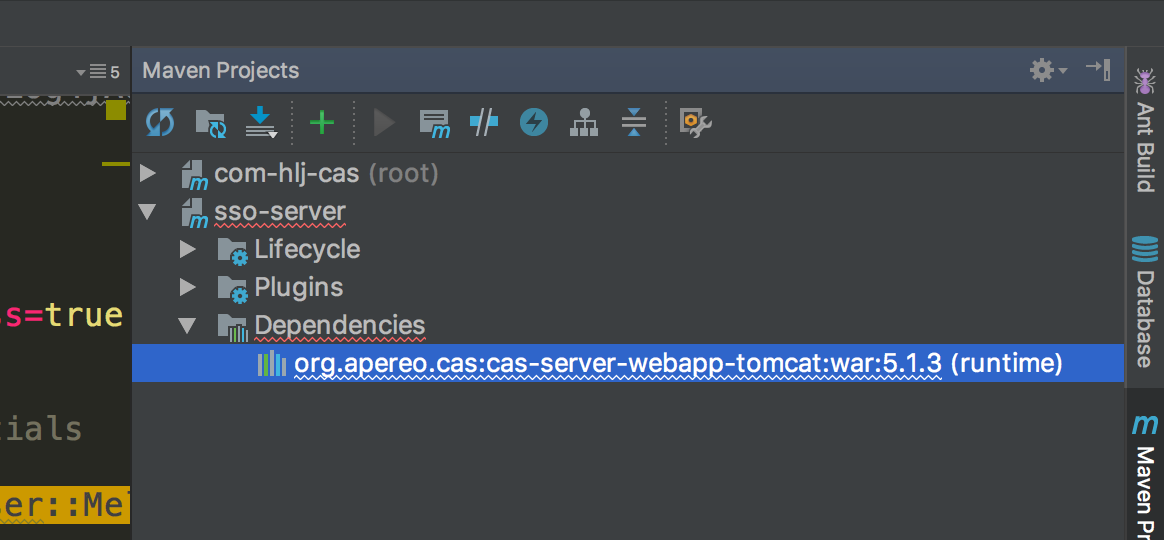
5、这个时候可能会看到maven中cas-tomcat,虽然pom中已经有了,但是jar没有导入
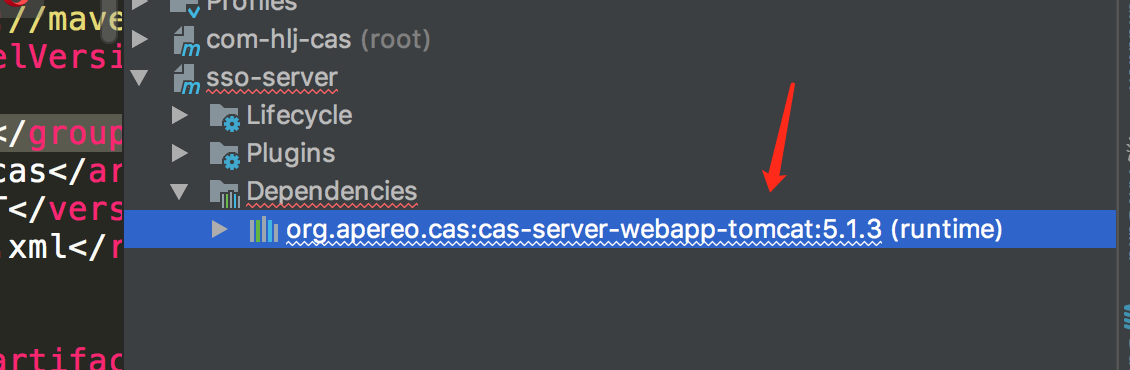
解决方法,提前运行这个sso-server项目,这个时候才会真正下载,具体为什么我没有研究明白
sudo ./build.sh run提示没有权限。下面我们开始给sso-server全部权限,按照下面的命令打出(有时候,命令不好使,就前面加个sudo)

给出权限之后,会出现下面这个,也就是开始下载它了

出现下面表示成功了,但是点开idea右侧的maven还是有下划线,不用管。后面添加好配置文件等,再执行./build.sh run 就会成功了。但还是会有下划线的。怕个毛毛
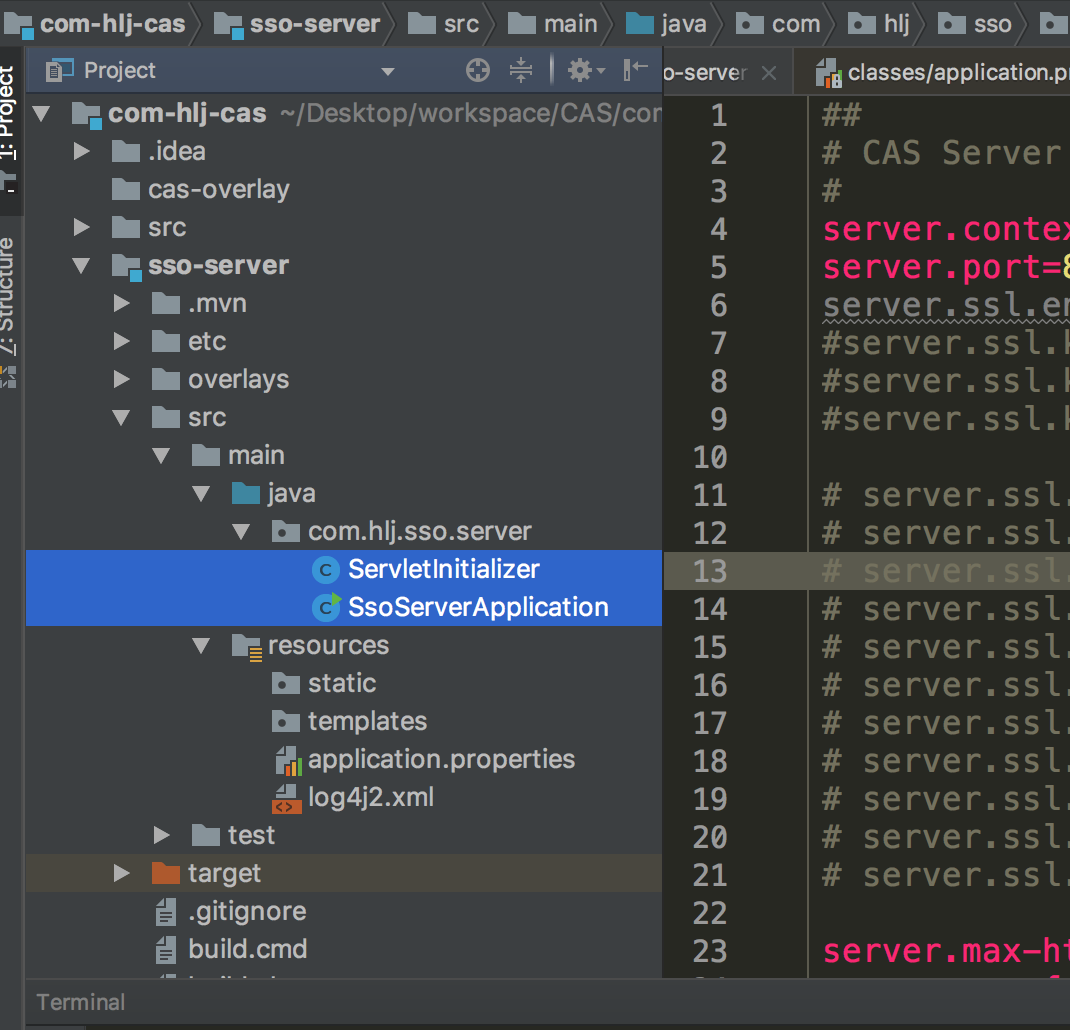
6.添加配置文件application.properties
喽,哈哈
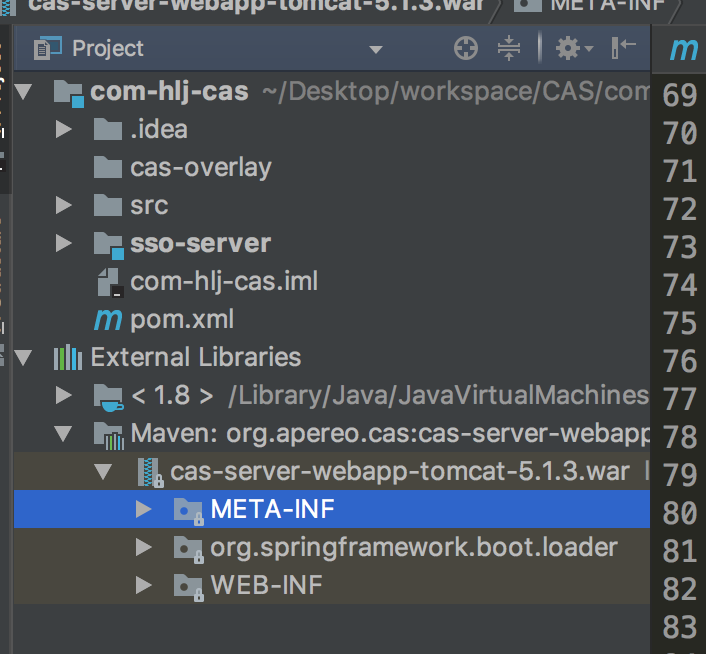
**将cas-server-webapp-tomcat/5.1.3/cas-server-webapp-tomcat-5.1.3.war!/WEB-INF/classes/application.properties拷贝到src/main/resources 下并且进行调整,**
因为现在还没有生成证书,所以下面ssl设置为false
server.ssl.enabled=false
##
# CAS Server Context Configuration
#
server.context-path=/cas
server.port=8443
server.ssl.enabled=false
#server.ssl.key-store=file:/etc/cas/thekeystore
#server.ssl.key-store-password=changeit
#server.ssl.key-password=changeit

# server.ssl.ciphers=
# server.ssl.client-auth=
# server.ssl.enabled=
# server.ssl.key-alias=
# server.ssl.key-store-provider=
# server.ssl.key-store-type=
# server.ssl.protocol=
# server.ssl.trust-store=
# server.ssl.trust-store-password=
# server.ssl.trust-store-provider=
# server.ssl.trust-store-type=

server.max-http-header-size=2097152
server.use-forward-headers=true
server.connection-timeout=20000
server.error.include-stacktrace=NEVER

server.tomcat.max-http-post-size=2097152
server.tomcat.basedir=build/tomcat
server.tomcat.accesslog.enabled=true
server.tomcat.accesslog.pattern=%t %a "%r" %s (%D ms)
server.tomcat.accesslog.suffix=.log
server.tomcat.max-threads=10
server.tomcat.port-header=X-Forwarded-Port
server.tomcat.protocol-header=X-Forwarded-Proto
server.tomcat.protocol-header-https-value=https
server.tomcat.remote-ip-header=X-FORWARDED-FOR
server.tomcat.uri-encoding=UTF-8

spring.http.encoding.charset=UTF-8
spring.http.encoding.enabled=true
spring.http.encoding.force=true

##
# CAS Cloud Bus Configuration
#
spring.cloud.bus.enabled=false
# spring.cloud.bus.refresh.enabled=true
# spring.cloud.bus.env.enabled=true
# spring.cloud.bus.destination=CasCloudBus
# spring.cloud.bus.ack.enabled=true

endpoints.enabled=false
endpoints.sensitive=true

endpoints.restart.enabled=false
endpoints.shutdown.enabled=false

management.security.enabled=true
management.security.roles=ACTUATOR,ADMIN
management.security.sessions=if_required
management.context-path=/status
management.add-application-context-header=false

security.basic.authorize-mode=role
security.basic.enabled=false
security.basic.path=/cas/status/**

##
# CAS Web Application Session Configuration
#
server.session.timeout=300
server.session.cookie.http-only=true
server.session.tracking-modes=COOKIE

##
# CAS Thymeleaf View Configuration
#
spring.thymeleaf.encoding=UTF-8
spring.thymeleaf.cache=true
spring.thymeleaf.mode=HTML
##
# CAS Log4j Configuration
#
# logging.config=file:/etc/cas/log4j2.xml
server.context-parameters.isLog4jAutoInitializationDisabled=true

##
# CAS AspectJ Configuration
#
spring.aop.auto=true
spring.aop.proxy-target-class=true

##
# CAS Authentication Credentials
#
cas.authn.accept.users=casuser::Mellon

##
# CAS Delegated Authentication
#
cas.authn.pac4j.bitbucket.clientName=Bitbucket
cas.authn.pac4j.dropbox.clientName=Dropbox
cas.authn.pac4j.facebook.clientName=Facebook
cas.authn.pac4j.foursquare.clientName=Foursquare
cas.authn.pac4j.github.clientName=Github
cas.authn.pac4j.google.clientName=Google
cas.authn.pac4j.linkedIn.clientName=LinkedIn
cas.authn.pac4j.paypal.clientName=PayPal
cas.authn.pac4j.twitter.clientName=Twitter
cas.authn.pac4j.yahoo.clientName=Yahoo
cas.authn.pac4j.windowsLive.clientName=Windows Live
cas.authn.pac4j.wordpress.clientName=WordPress
7、添加打印日志log4j
1、把etc/cas/config/log4j2.xml 放到项目的src/main/resources 下,2、内容由
<Property name="cas.log.dir" >.</Property>调整成
<Property name="cas.log.dir" >logs</Property>
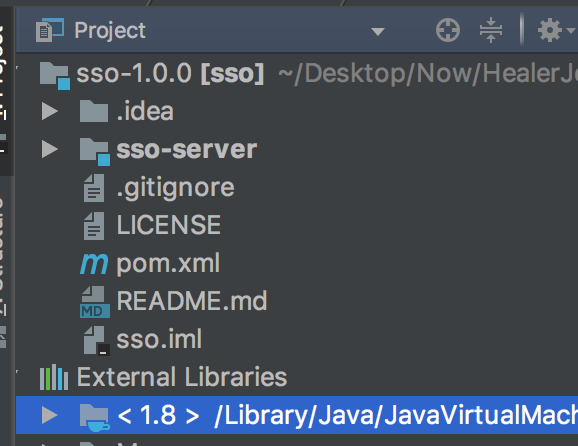
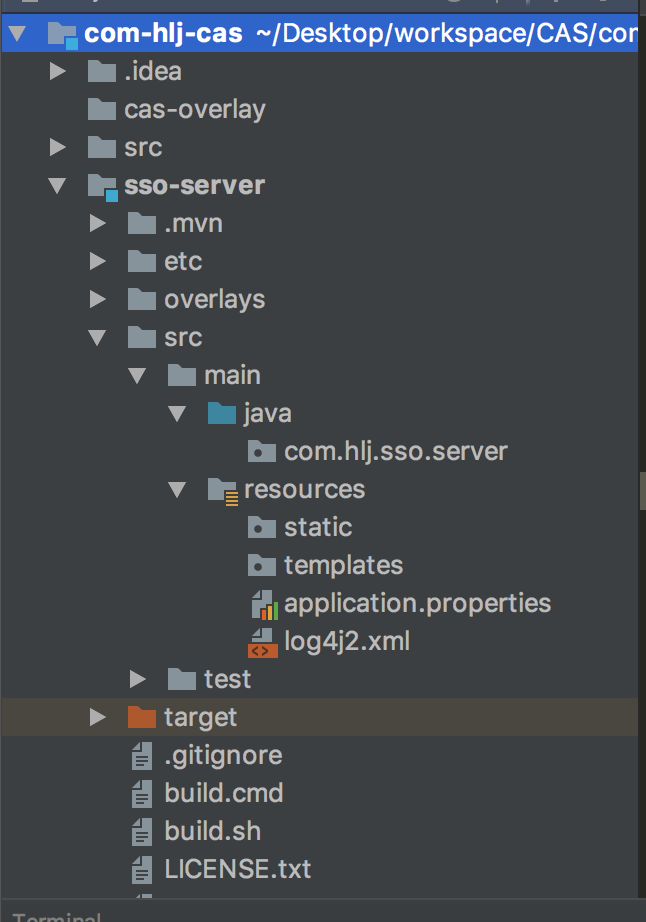
8、sso-server通过骨架会自动帮我们生成java文件,下面我们把这两个删除,注意test包下面的java也要删除哦,因为我们启用用的是 ./build.sh,所以不需要。而且我也没有提供springBoot的jar包
删除完成,就是下面这样了
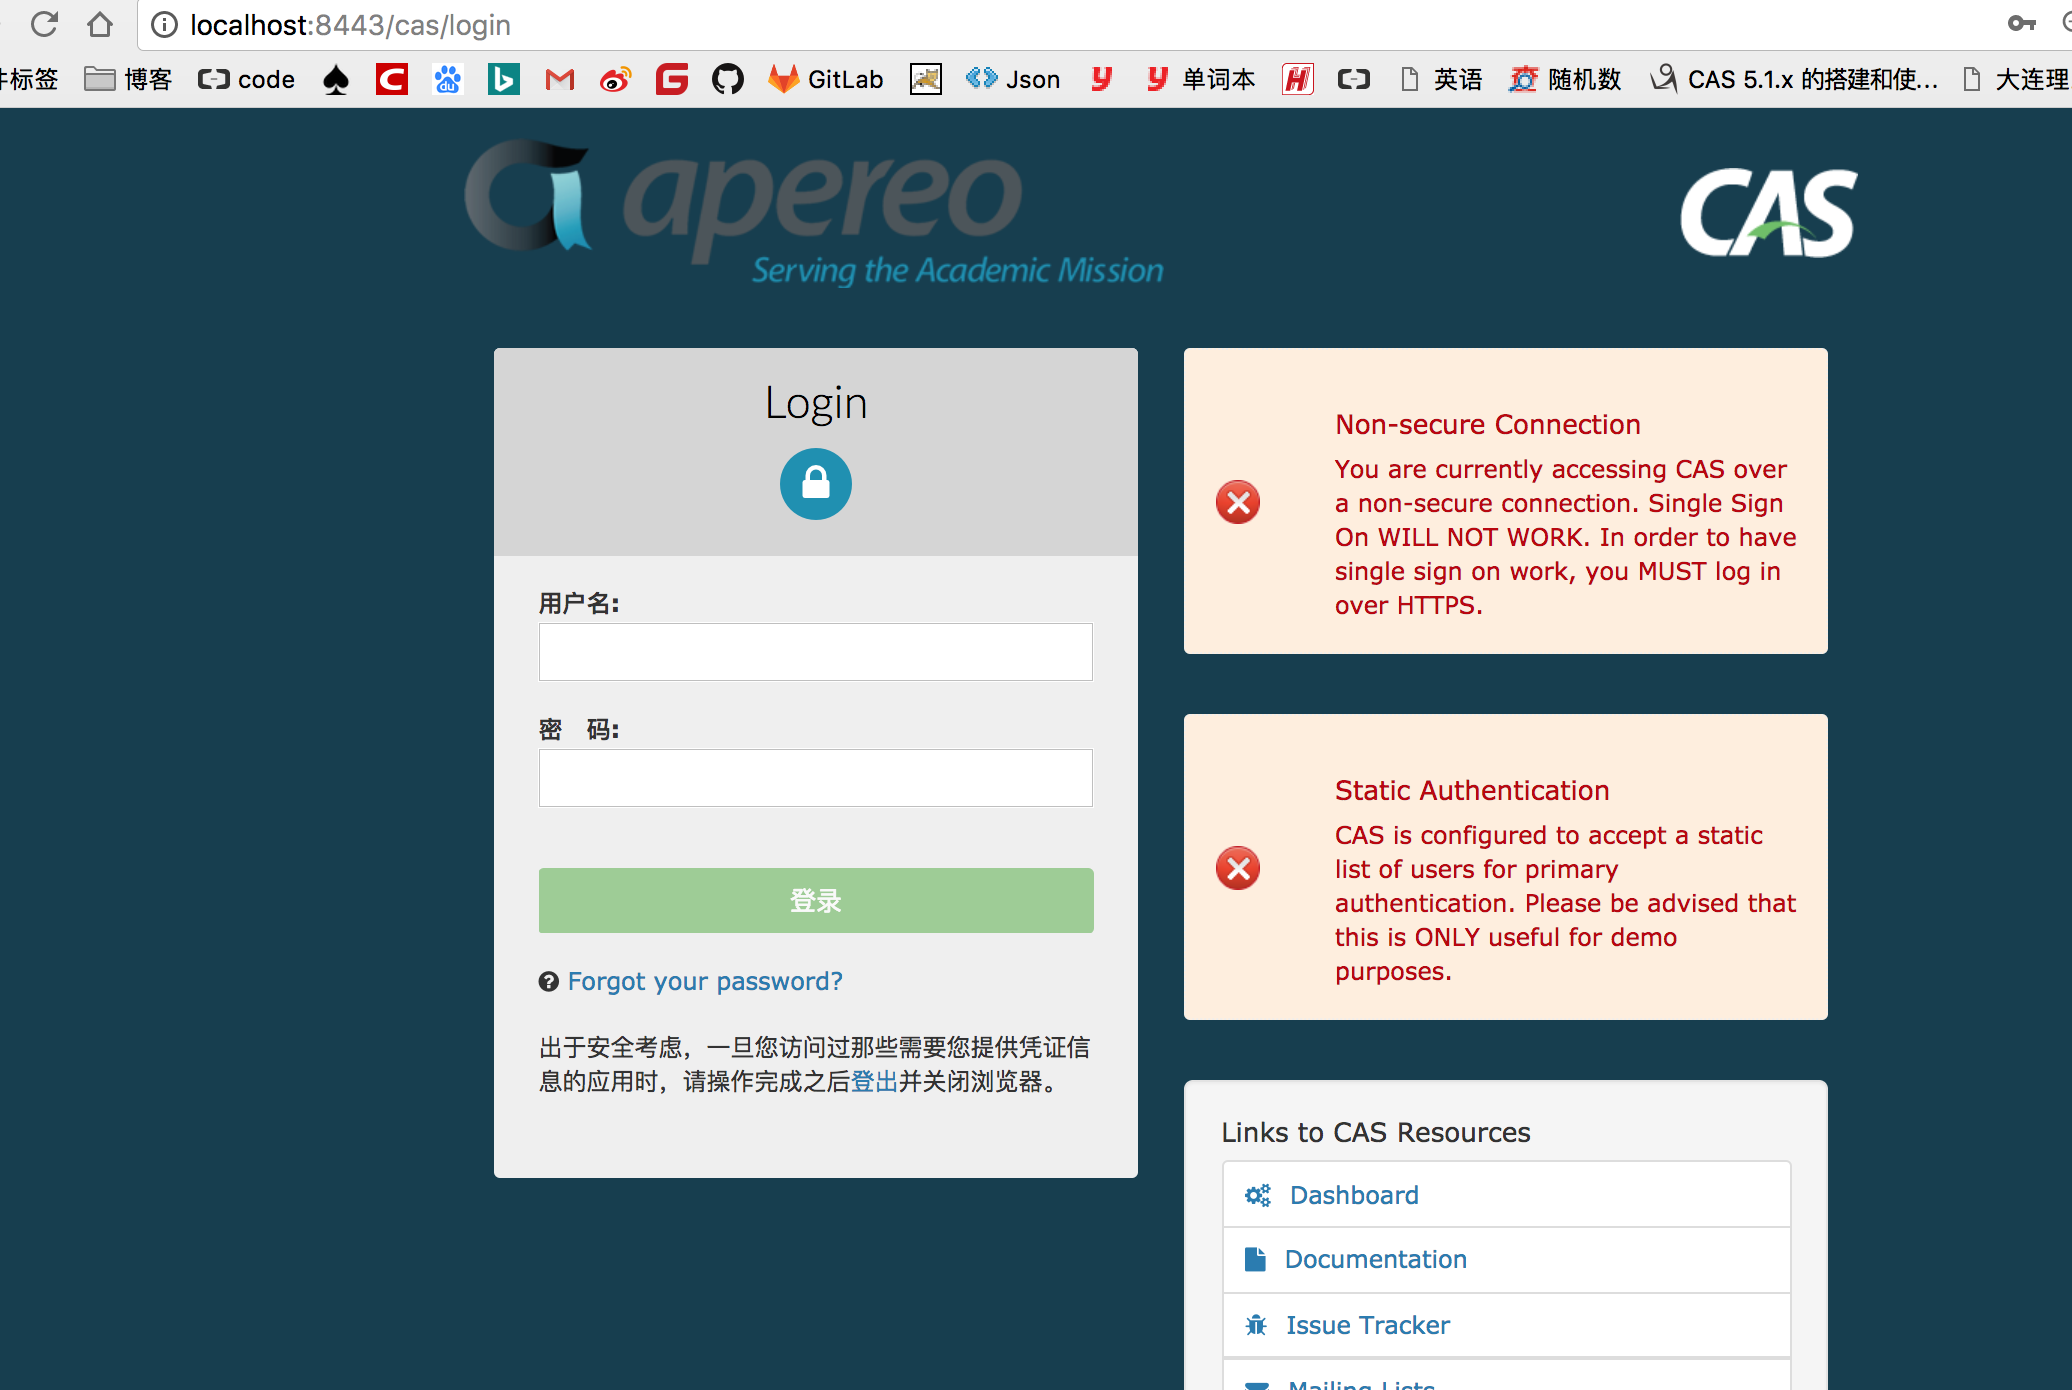
8、开始启动吧,朋友们
sudo ./build.sh run,出现下面这个表示启动成功

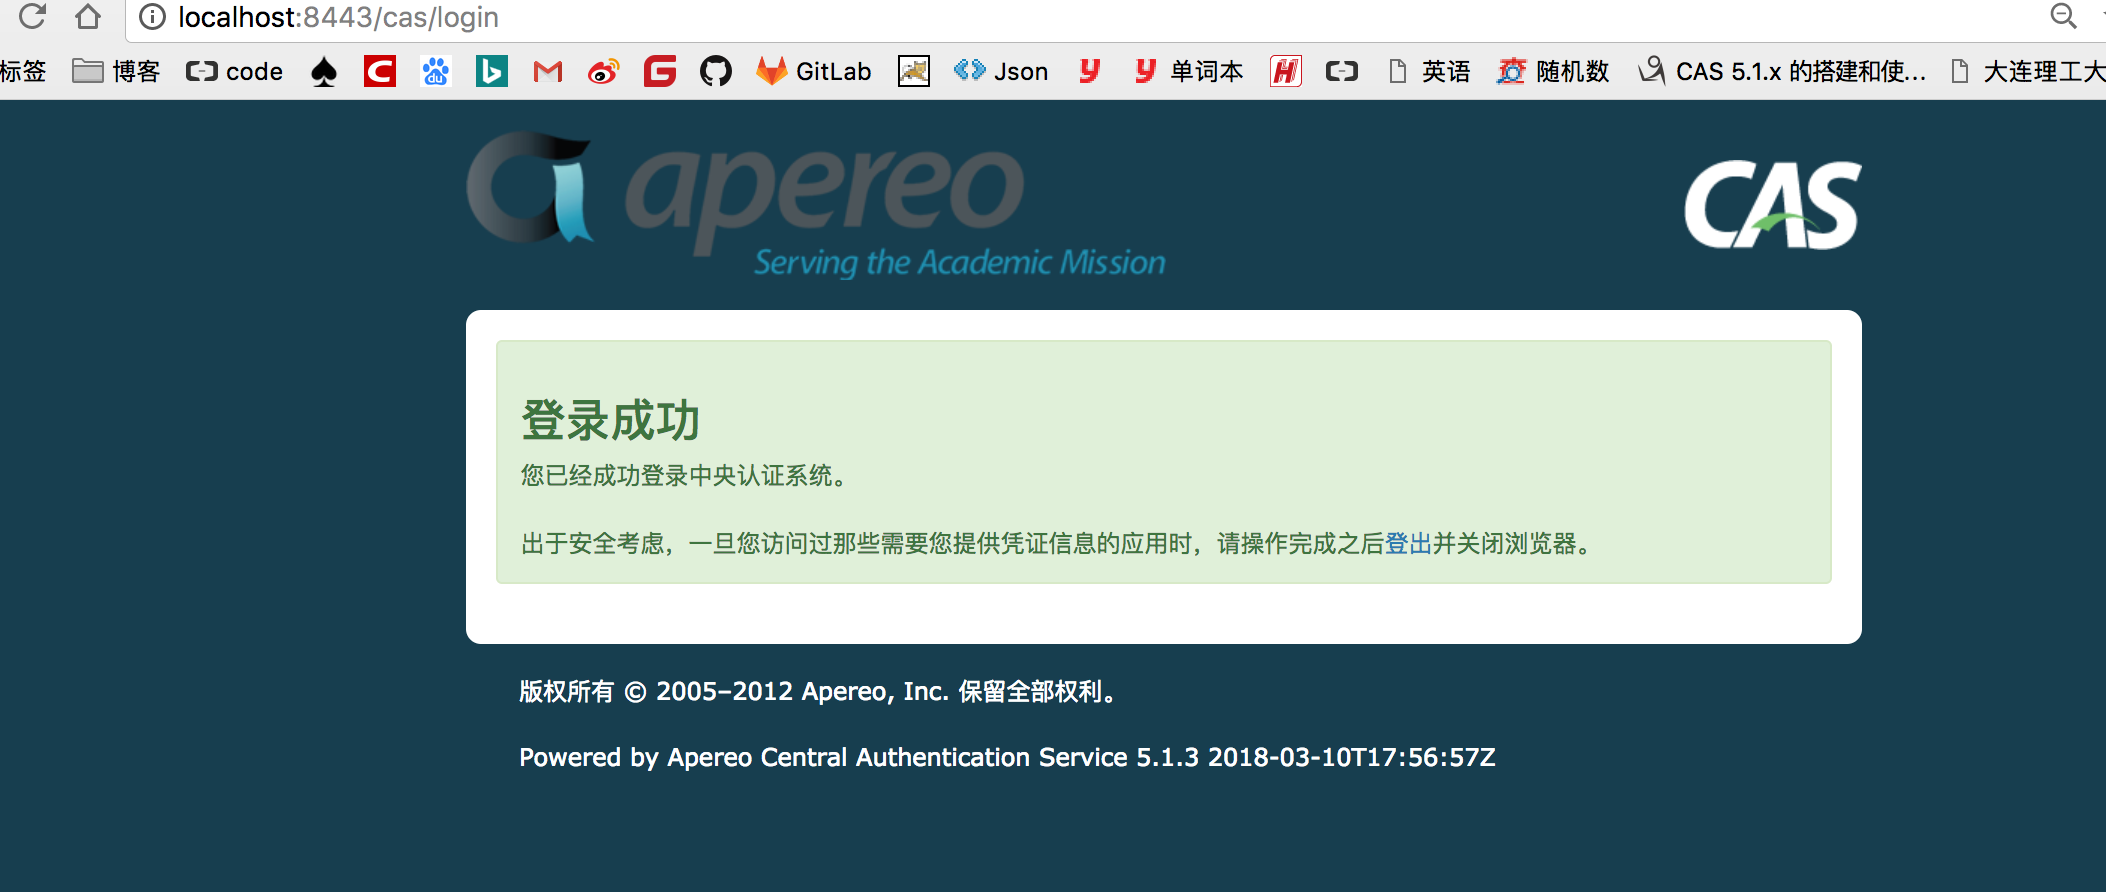
浏览器中输入 http://localhost:8443/cas ,输入配置文件中提供的用户名和密码进行登录
cas.authn.accept.users=casuser::Mellon
控制台,信息

9、这个时候我们在idea的右侧maven还会看到下划线的报错,但是却毫无影响,所以不需要纠结了
3、源码下载
如果满意,请打赏博主任意金额,感兴趣的请下方留言吧。可与博主自由讨论哦| 支付包 | 微信 | 微信公众号 |
|---|---|---|
 |  |  |

相关文章推荐
- 2.1、利用骨架创建cas服务器项目 maven
- maven搭建项目骨架
- 通过路由器配置DMZ主机实现搭建公网SVN服务器
- 使用Maven搭建自己的项目骨架archetype(四)
- [SSM] Spring mvc+ Spring+ Mybatis+ maven 搭建服务器
- maven 服务器搭建 -- nexus
- CAS 5.1.x 的搭建和使用(二)—— 通过Overlay搭建服务端-其它配置说明
- 搭建maven服务器(repository)
- [maven学习笔记]第一节,认识maven,搭建maven开发环境,写第一个HelloWorld
- 通过WebDAV协议访问的SVN服务器的搭建
- IDEA 通过Maven创建Spring MVC项目搭建
- 用artifactory搭建maven2内部服务器
- 自己搭建服务器通过外网访问内网的方法(端口映射、内网穿透、重定向等)
- [maven学习笔记]第一节,认识maven,搭建maven开发环境,写第一个HelloWorld
- 用Nexus来搭建本地的Maven服务器
- 在阿里云主机上搭建JBOSS服务器并部署项目,通过域名:端口号访问项目
- 想搭建自己的网站,应该从哪处入手呢?选择什么样配置的服务器捏?通过哪些手段赚取足够的维护网
- 使用Maven搭建自己的项目骨架archetype(二)
- 单点登录 - CAS服务器搭建
- CAS 5.1.x 的搭建和使用(三)—— 通过官方示例来熟悉客户端搭建