fusion按照多个centos,设置静态ip
2018-01-30 00:00
106 查看
Set a Static IP Address in VMware Fusion 7
Posted on Thursday April 2, 2015Update: This technique also works in VMware Fusion 8!
I am an OSX user, and I run a lot of VMs using VMware Fusion 7 which I have been very happy with since I purchased it. One thing that always bugged me is that Fusion allocated a different IP address to each VM every time it started up, or resumed from a suspend. Applications that I use that have references to those IP addresses always had to be reconfigured each time I wanted to use them.
More recently, I’ve been testing out lot of different type 1 Hypervisors (ESXi/vSphere, Proxmox, XenServer etc) which usually make the assumption that they will be given a static IP (which they should in the real world).
So imagine my delight when I discovered that you can indeed allocate static IP addresses to VMs simply by editing a single config file.
Step 1: Get your VM’s virtual MAC address
Open the VM’s Settings and select “Network Adapter”. Then expand the “Advanced options” section at the bottom and copy the MAC address that you see there. Note: if the VM is powered on, the MAC address box will be greyed out.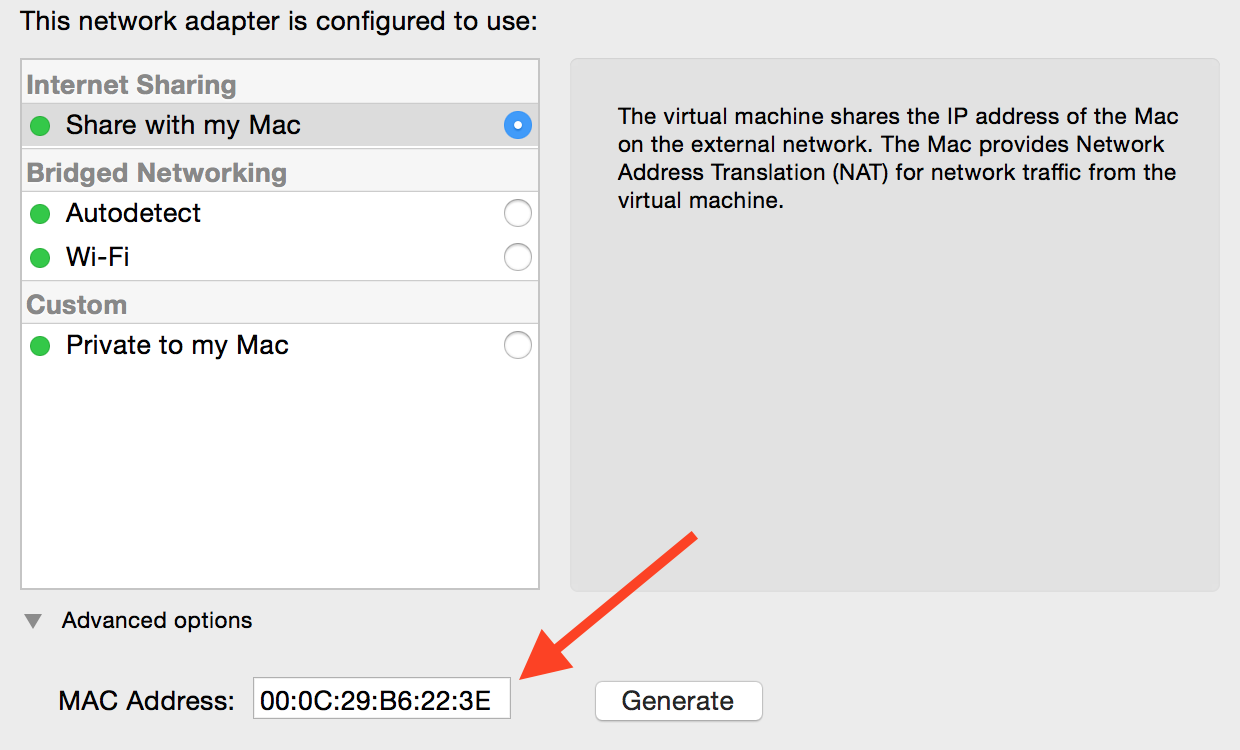
Copying the MAC address of my VM
Step 2: Modify dhcpd.conf
On my system, this file is located in/Library/Preferences/VMware Fusion/vmnet8, so edit the file (use
sudo):
sudo nano /Library/Preferences/VMware\ Fusion/vmnet8/dhcpd.conf
Now, after where it says
End of "DO NOT MODIFY SECTION"enter the following lines:
host Windows8x64 {
hardware ethernet 00:0C:29:B6:22:3E;
fixed-address  192.168.167.80;
}
Important: My VM’s name is actually “Windows 8 x64” so in the
dhcpd.conffile you must refer to it with no spaces in the name, so
Windows8x64.
Important: You must allocate an IP address that is outside the
rangedefined inside the
DO NOT MODIFY SECTIONsection. My
rangewas set to
range 192.168.167.128 192.168.167.254so I can allocate any address under
192.168.167.128(which means
192.168.167.1to
192.168.167.127are available).
Step 3: Restart VMware Fusion
To get this new setting to stick, perform a full quit of VMware Fusion.app (⌘Q or right-click on the icon and click Quit). Start it up again so that it picks up the new DHCP settings.Step 4: Start the VM
Next time the VM boots (or you do a DHCP renewal) your machine should be given the IP address you configured: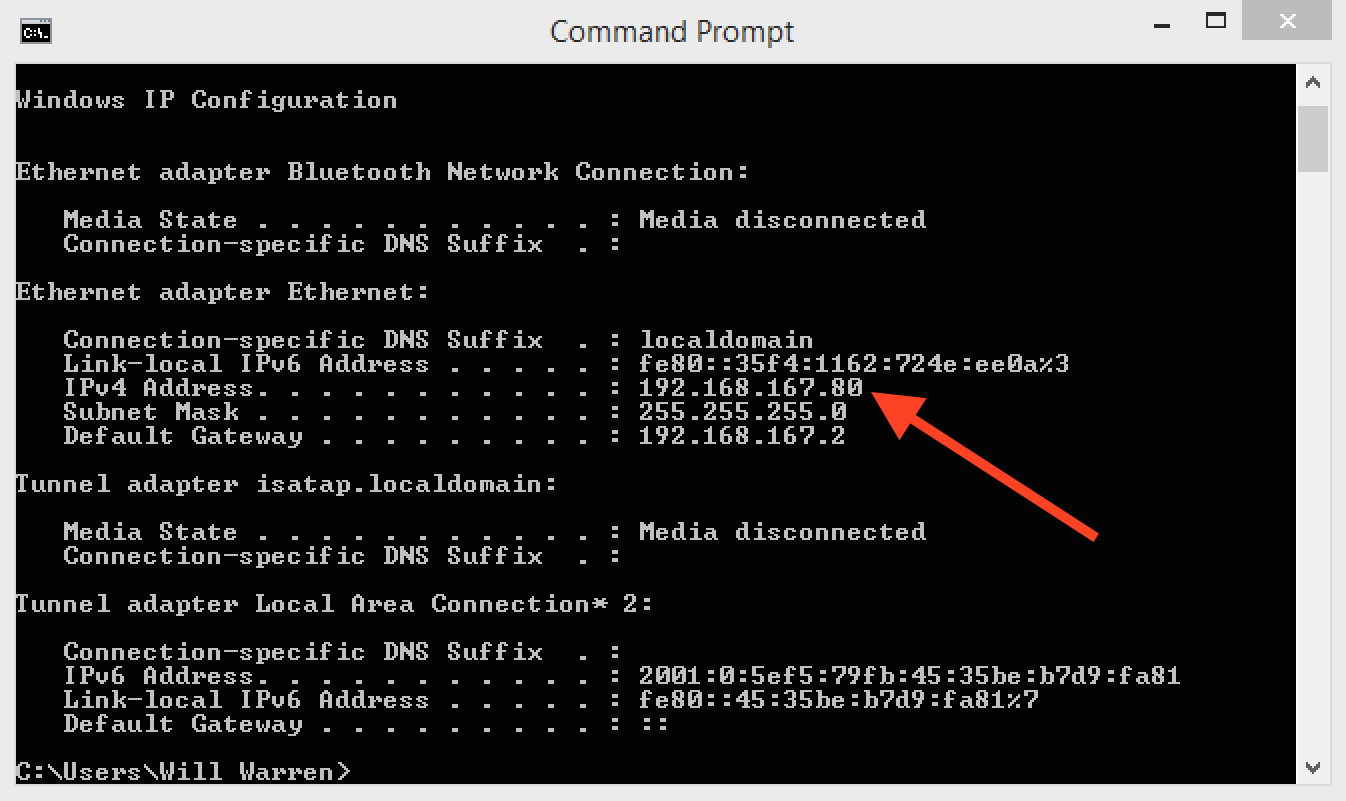
Next time you start the VM, the IP address will be set
This same IP will always be allocated to the VM now. Hopefully this can be helpful to other people who have had the same challenges with VMware Fusion 7!
相关文章推荐
- Vmware12安装CentOS7,如何设置host-only模式下的静态ip
- CentOS7.2 设置静态ip
- Centos 7 静态IP设置
- CentOS设置静态IP
- centos7设置静态ip
- Centos7下设置静态IP 环境VMWare12.5.0
- Centos 7 学习之静态IP设置
- centos6.5静态IP和DNS设置
- centos7 静态ip设置
- VMware中CentOS设置静态IP
- Linux虚拟机Centos 设置固定的静态IP
- centos设置静态IP
- centos6.5配置静态IP 时,出现BCAST不能设置的问题
- vmware中centos系统的静态IP的网关值设置的坑。
- Centos 7 学习之静态IP设置(续)
- Centos6.5下设置静态IP
- VMware中CentOS设置静态IP
- CentOS 7 设置静态IP
- centos设置静态ip
- CentOS设置静态IP