Harbor:私有企业级Registry仓库--快速搭建
2018-01-13 16:17
645 查看
| 前言 |

| 准备 |
docker ,默认安装即可
yum -y install docker
docker compose ,安装最新版
curl -L https://github.com/docker/compose/releases/download/1.18.0/docker-compose-`uname -s`-`uname -m` -o /usr/local/bin/docker-compose
chmod +x /usr/local/bin/docker-compose
harbor离线安装包,下载最新版本,如果在线下载失败,我上传了一份到百度云:https://pan.baidu.com/s/1dnDZjg
wget https://storage.googleapis.com/harbor-releases/harbor-offline-installer-v1.3.0.tgz[/code]
| 导入 harbor 镜像 |
tar -xzvf harbor-offline-installer-v1.3.0.tgz
进入harbor目录
cd harbor
有如下文件:
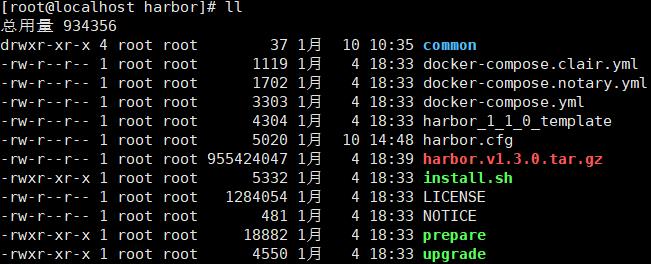
导入harbor镜像
docker load -i harbor.v1.3.0.tar.gz
如果提示:Cannot connect to the Docker daemon. Is the docker daemon running on this host? 是因为docker服务未启动,使用systemctl start docker命令运行docker。
| 修改 harbor 配置 |
vi harbor.cfg
修改hostname为自己机器的ip地址
hostname = 192.168.22.83
当然,harbor还有很多配置项可以修改,来满足一些企业级的功能特性,比如可以使用https来保证文件传输的安全。在这里,为了可以快速上手,只进行简单的配置。
| 安装与启动 |
./install.sh
等待安装完成:
[Step 0]: checking installation environment ...

Note: docker version: 1.12.6

Note: docker-compose version: 1.18.0

[Step 1]: loading Harbor images ...
Loaded image: vmware/harbor-adminserver:v1.3.0
Loaded image: vmware/photon:1.0
Loaded image: vmware/notary-photon:signer-0.5.1
Loaded image: vmware/postgresql:9.6.5-photon
Loaded image: vmware/harbor-db-migrator:1.3
Loaded image: vmware/harbor-ui:v1.3.0
Loaded image: vmware/harbor-log:v1.3.0
Loaded image: vmware/nginx-photon:1.11.13
Loaded image: vmware/mariadb-photon:10.2.10
Loaded image: vmware/clair:v2.0.1-photon
Loaded image: vmware/harbor-db:v1.3.0
Loaded image: vmware/harbor-jobservice:v1.3.0
Loaded image: vmware/registry:2.6.2-photon
Loaded image: vmware/notary-photon:server-0.5.1

[Step 2]: preparing environment ...
Clearing the configuration file: ./common/config/adminserver/env
Clearing the configuration file: ./common/config/ui/env
Clearing the configuration file: ./common/config/ui/app.conf
Clearing the configuration file: ./common/config/ui/private_key.pem
Clearing the configuration file: ./common/config/db/env
Clearing the configuration file: ./common/config/jobservice/env
Clearing the configuration file: ./common/config/jobservice/app.conf
Clearing the configuration file: ./common/config/registry/config.yml
Clearing the configuration file: ./common/config/registry/root.crt
Clearing the configuration file: ./common/config/nginx/cert/harbor.pem
Clearing the configuration file: ./common/config/nginx/cert/harbor-key.pem
Clearing the configuration file: ./common/config/nginx/nginx.conf
Clearing the configuration file: ./common/config/log/logrotate.conf
loaded secret from file: /data/secretkey
Generated configuration file: ./common/config/nginx/nginx.conf
Generated configuration file: ./common/config/adminserver/env
Generated configuration file: ./common/config/ui/env
Generated configuration file: ./common/config/registry/config.yml
Generated configuration file: ./common/config/db/env
Generated configuration file: ./common/config/jobservice/env
Generated configuration file: ./common/config/log/logrotate.conf
Generated configuration file: ./common/config/jobservice/app.conf
Generated configuration file: ./common/config/ui/app.conf
Generated certificate, key file: ./common/config/ui/private_key.pem, cert file: ./common/config/registry/root.crt
The configuration files are ready, please use docker-compose to start the service.

Creating harbor-log ... done
[Step 3]: checking existing instance of Harbor ...

Creating registry ... done
Creating harbor-ui ... done
Creating network "harbor_harbor" with the default driver
Creating nginx ... done
Creating harbor-adminserver ...
Creating harbor-db ...
Creating registry ...
Creating harbor-ui ...
Creating harbor-jobservice ...
Creating nginx ...

✔ ----Harbor has been installed and started successfully.----

Now you should be able to visit the admin portal at https://192.168.22.83. For more details, please visit https://github.com/vmware/harbor .
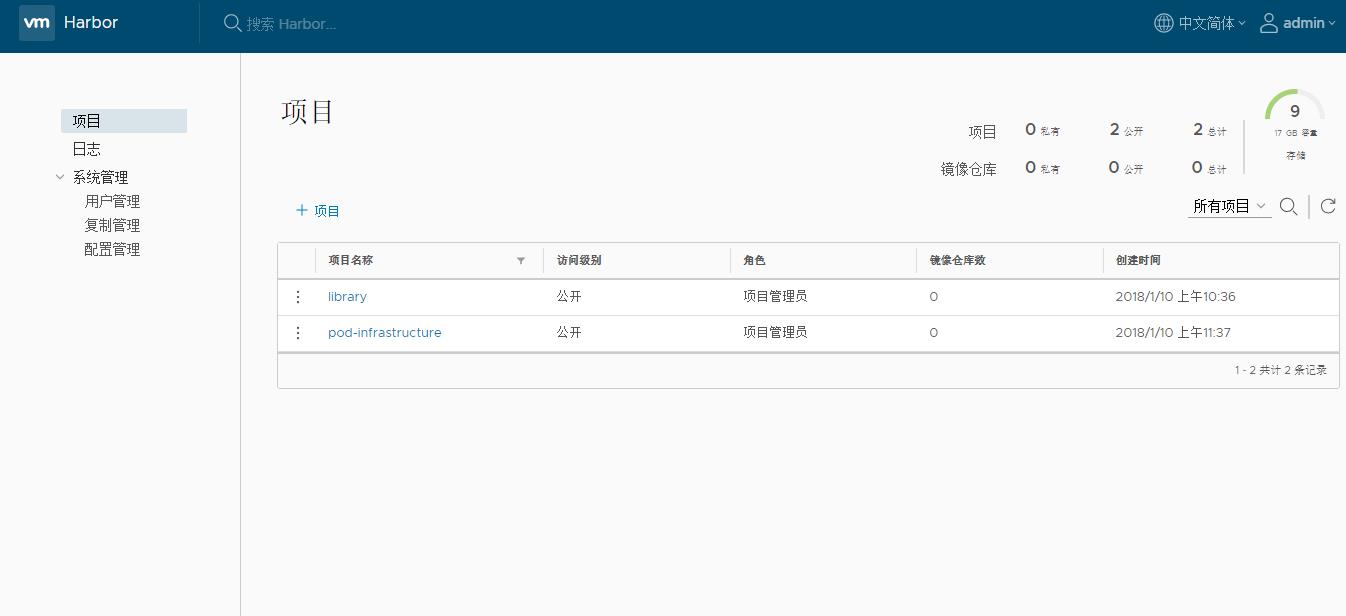
在浏览器中输入ip地址:http://192.168.22.83(注意这里使用http协议,而非https),用户名:admin 密码:Harbor12345(可以harbor.cfg文件中设置) ,登录看到barbor的图像界面:
| 小结 |
docker-compose down -v
//停止

docker-compose up -d
//启动

相关文章推荐
- 如何快速利用Harbor搭建自己的企业级registry server?
- 可能是最详细的部署:Docker Registry企业级私有镜像仓库Harbor管理WEB UI
- Docker 搭建私有仓库(registry、harbor)
- Docker--------Harbor registry私有仓库搭建 [ Http ]
- docker:用registry快速搭建私有镜像仓库
- 可能是最详细的部署:Docker Registry企业级私有镜像仓库Harbor管理WEB UI
- 企业级私有Docker仓库Harbor搭建
- 可能是最详细的部署:Docker Registry企业级私有镜像仓库Harbor管理WEB UI
- 使用 harbor 搭建 docker 私有镜像仓库
- 详解基于Harbor搭建Docker私有镜像仓库
- Docker Registry Server 搭建,配置免费HTTPS证书,及拥有权限认证、TLS 的私有仓库
- 搭建Harbor企业级docker仓库
- harbor企业级私有仓库
- Ubuntu Docker Registry 搭建私有仓库
- Docker Registry搭建私有仓库
- 在 ubuntu 搭建 docker registry 私有仓库
- 快速搭建docker私有仓库https
- 干货|Nginx+Portus+Registry搭建私有镜像仓库
- Docker私有仓库Registry的搭建验证
- 搭建 Docker-Registry 私有仓库