Maven私服Nexus的搭建和使用(Mac)
2018-01-03 10:50
483 查看
1.下载对应的安装包 https://www.sonatype.com/oss-thank-you-mac-tgz
注意:目前的版本有2.X 和 3.X ,2.X的支持对Maven更友好一点,3.X的支持范围更广,支持ruby和docker。如果单纯的maven私服,建议使用2.x
2.解压安装包,并进入对应的bin目录下启动nexus
./nexus start
注意:3.X要求JDK的版本在1.8以上
3.访问地址,3.x默认是127.0.0.1:8081 2.x默认是127.0.0.1:8081/nexus ,默认的登陆账户密码为admin/admin123
修改端口或者密码,在etc下的nexus-default.properties
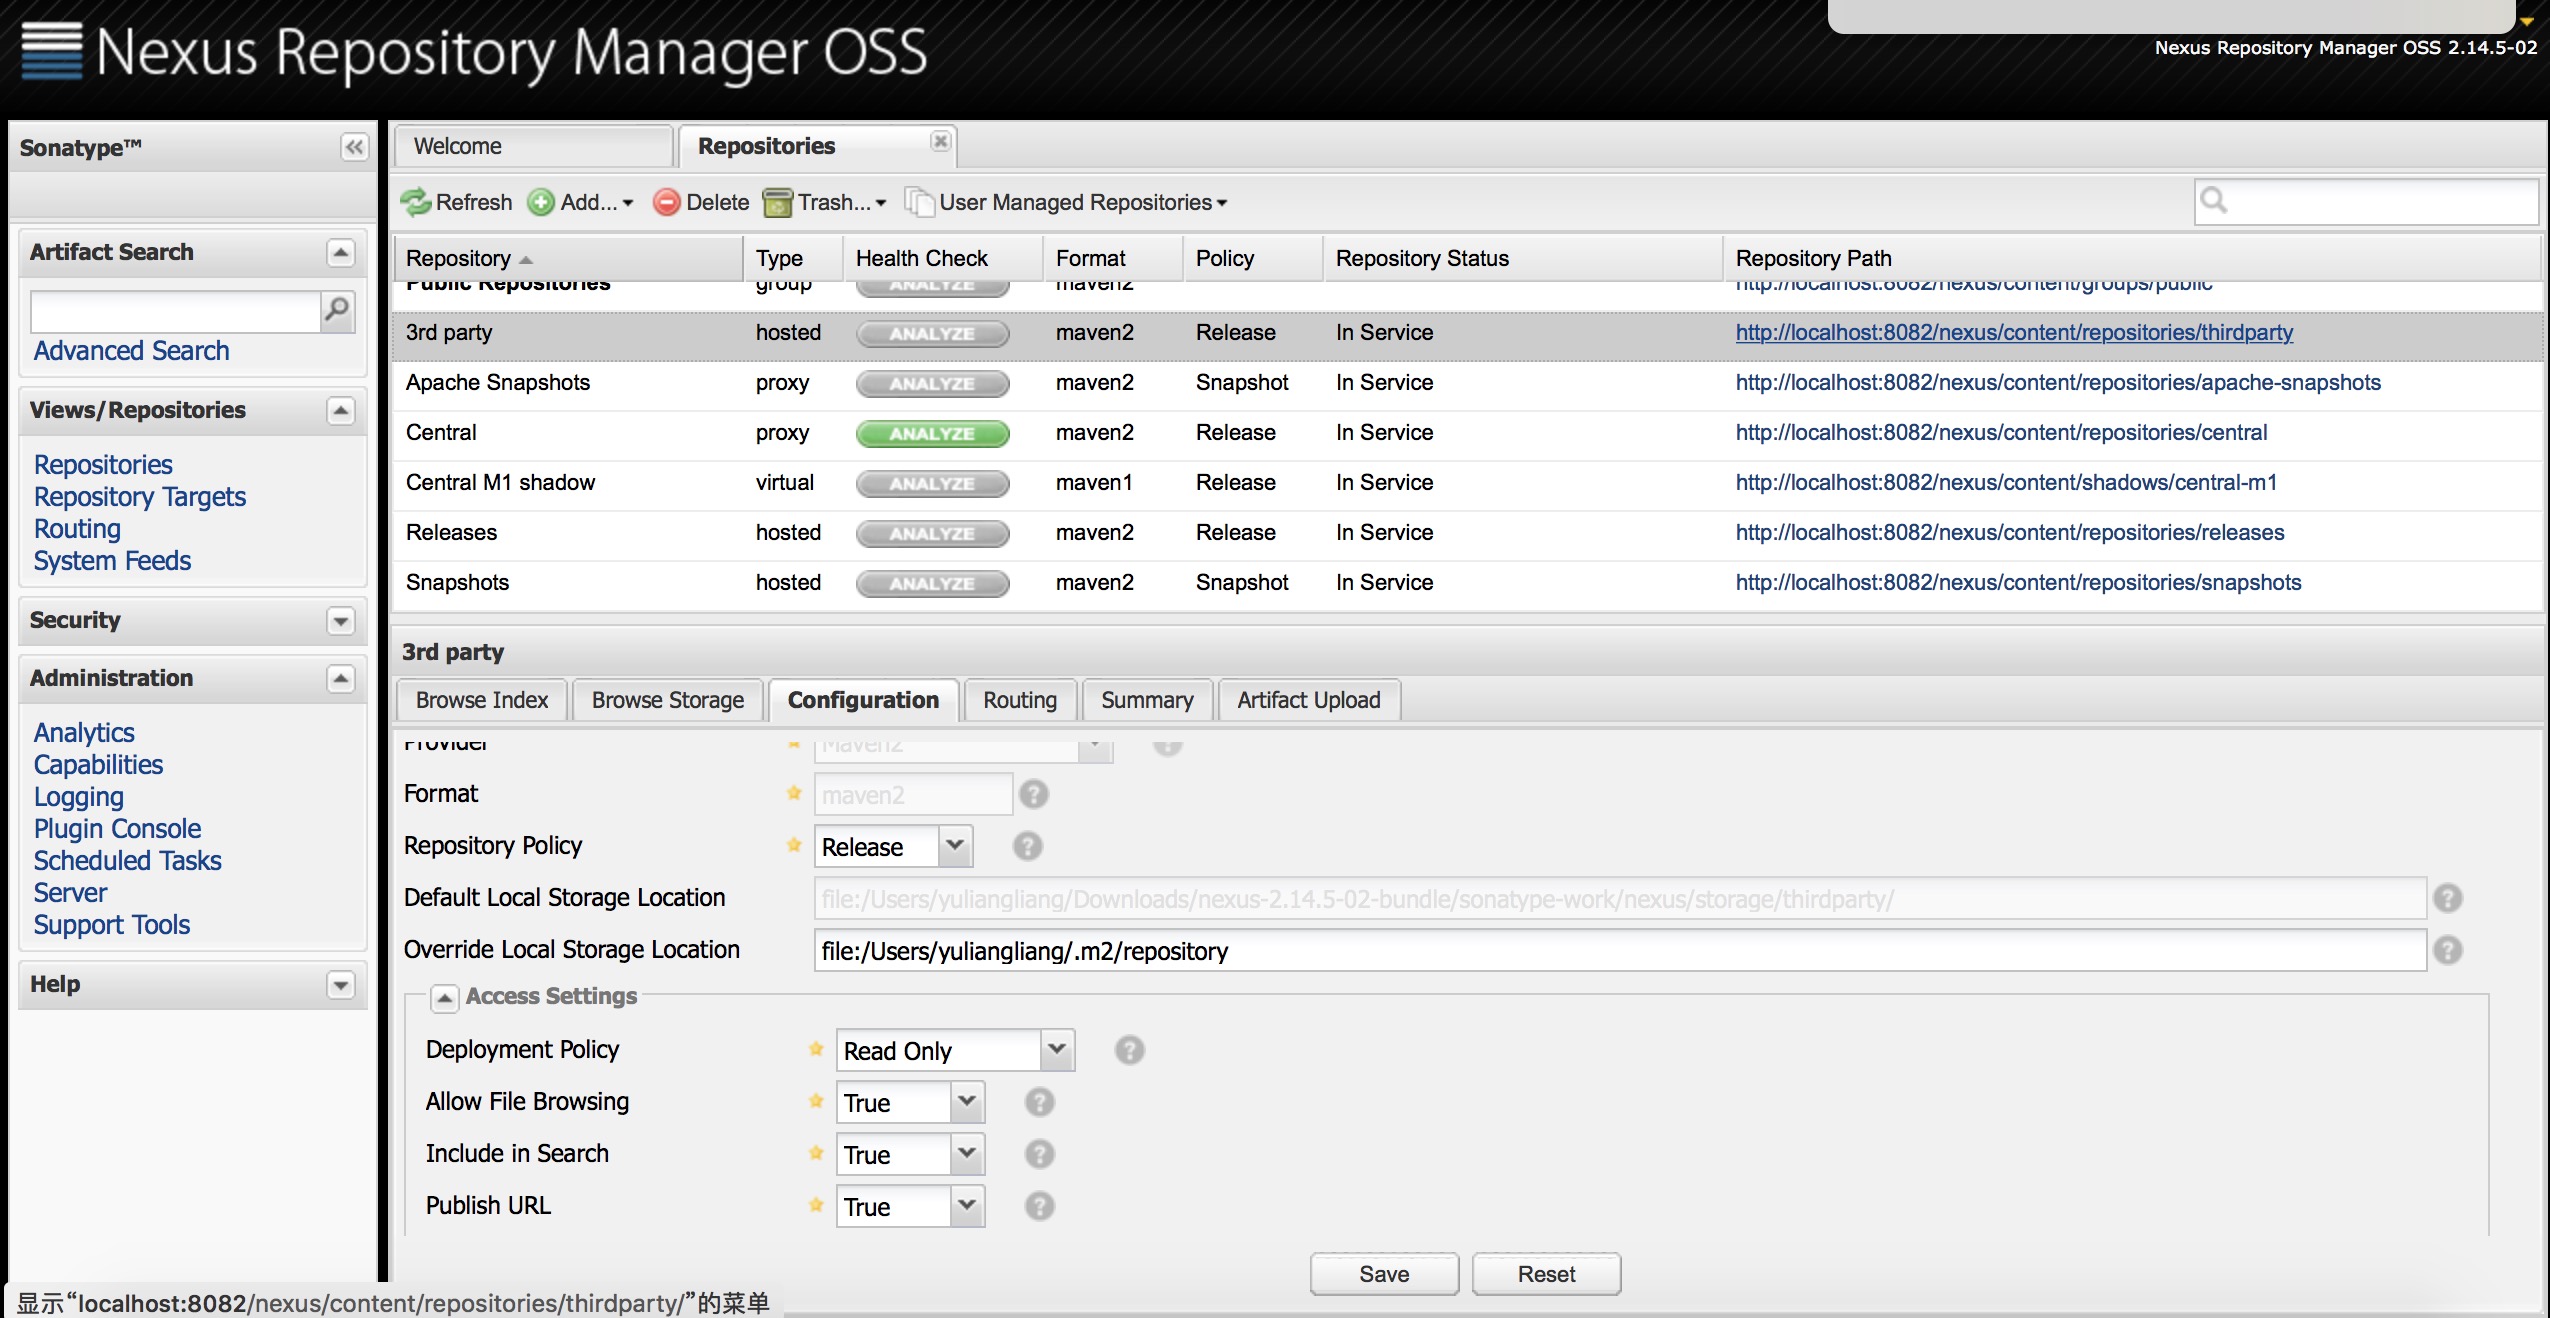
4.简单介绍一下Repository
Repository的type属性有:proxy,hosted,group三种。
proxy:即你可以设置代理,设置了代理之后,在你的nexus中找不到的依赖就会去配置的代理的地址中找
hosted:你可以上传你自己的项目到这里面
group:它可以包含前面两个,是一个聚合体。一般用来给客户一个访问nexus的统一地址。
简单的说,就是你可以上传私有的项目到hosted,以及配置proxy以获取第三方的依赖(比如可以配置中央仓库的地址)。前面两个都弄好了之后,在通过group聚合给客户提供统一的访问地址
5.如何上传jar包
先设置settings.xml,这里主要是配置用户名和密码,注意这里的id要和respositoryId对应
<servers>
<server>
<id>nexus</id>
<username>admin</username>
<password>admin123</password>
</server>
</servers>
控制台
mvn deploy:deploy-file -DgroupId=ebay -DartifactId=ebay -Dversion=0.0.1-SNAPSHOT -Dpackaging=jar -Dfile=/Users/yuliangliang/ebay-0.0.1-SNAPSHOT.jar -Durl=http://localhost:8081/repository/maven-snapshots/ -DrepositoryId=nexus
效果如下
[INFO] Scanning for projects...
[INFO]
[INFO] ------------------------------------------------------------------------
[INFO] Building Maven Stub Project (No POM) 1
[INFO] ------------------------------------------------------------------------
[INFO]
[INFO] --- maven-deploy-plugin:2.7:deploy-file (default-cli) @ standalone-pom ---
Downloading: http://localhost:8081/repository/maven-snapshots/ebay/ebay/0.0.1-SNAPSHOT/maven-metadata.xml Uploading: http://localhost:8081/repository/maven-snapshots/ebay/ebay/0.0.1-SNAPSHOT/ebay-0.0.1-20180102.145036-1.jar Uploaded: http://localhost:8081/repository/maven-snapshots/ebay/ebay/0.0.1-SNAPSHOT/ebay-0.0.1-20180102.145036-1.jar (34194 KB at 22218.2 KB/sec)
Uploading: http://localhost:8081/r a6db
epository/maven-snapshots/ebay/ebay/0.0.1-SNAPSHOT/ebay-0.0.1-20180102.145036-1.pom
Uploaded: http://localhost:8081/repository/maven-snapshots/ebay/ebay/0.0.1-SNAPSHOT/ebay-0.0.1-20180102.145036-1.pom (390 B at 5.5 KB/sec)
Downloading: http://localhost:8081/repository/maven-snapshots/ebay/ebay/maven-metadata.xml Uploading: http://localhost:8081/repository/maven-snapshots/ebay/ebay/0.0.1-SNAPSHOT/maven-metadata.xml Uploaded: http://localhost:8081/repository/maven-snapshots/ebay/ebay/0.0.1-SNAPSHOT/maven-metadata.xml (758 B at 10.4 KB/sec)
Uploading: http://localhost:8081/repository/maven-snapshots/ebay/ebay/maven-metadata.xml Uploaded: http://localhost:8081/repository/maven-snapshots/ebay/ebay/maven-metadata.xml (268 B at 4.0 KB/sec)
[INFO] ------------------------------------------------------------------------
[INFO] BUILD SUCCESS
[INFO] ------------------------------------------------------------------------
[INFO] Total time: 2.567 s
[INFO] Finished at: 2018-01-02T22:50:38+08:00
[INFO] Final Memory: 8M/155M
[INFO] ------------------------------------------------------------------------
也可以同步本地仓库到私服上去
6.项目中的使用,这样就能在项目中引用了,具体的引用可以在pom中配置,也可以在maven的settings.xml文件中修改
<mirrors>
<mirror>
<id>nexus</id>
<mirrorOf>*</mirrorOf>
<url>http://127.0.0.1:8082/nexus/content/groups/public/</url>
</mirror>
</mirrors>
<profiles>
<profile>
<id>nexus</id>
<repositories>
<repository>
<id>nexus</id>
<url>http://127.0.0.1:8082/nexus/content/groups/public/</url>
<releases><enabled>true</enabled></releases>
<snapshots><enabled>true</enabled></snapshots>
</repository>
</repositories>
<pluginRepositories>
<pluginRepository>
<id>nexus</id>
<url>http://127.0.0.1:8082/nexus/content/groups/public/</url>
<releases><enabled>true</enabled></releases>
<snapshots><enabled>true</enabled></snapshots>
</pluginRepository>
</pluginRepositories>
</profile>
</profiles>
<activeProfiles>
<activeProfile>nexus</activeProfile>
</activeProfiles>
7.上传项目到私服上去
先设置settings.xml,配置servers,见步骤5
项目的pom文件添加如下代码
<distributionManagement>
<repository>
<id>release</id>
<name>Release Repository</name>
<url>http://ip/nexus/content/repositories/releases</url>
</repository>
<snapshotRepository>
<id>snapshot</id>
<name>Snapshot Repository</name>
<url>http://ip/nexus/content/repositories/snapshots</url>
</snapshotRepository>
</distributionManagement>
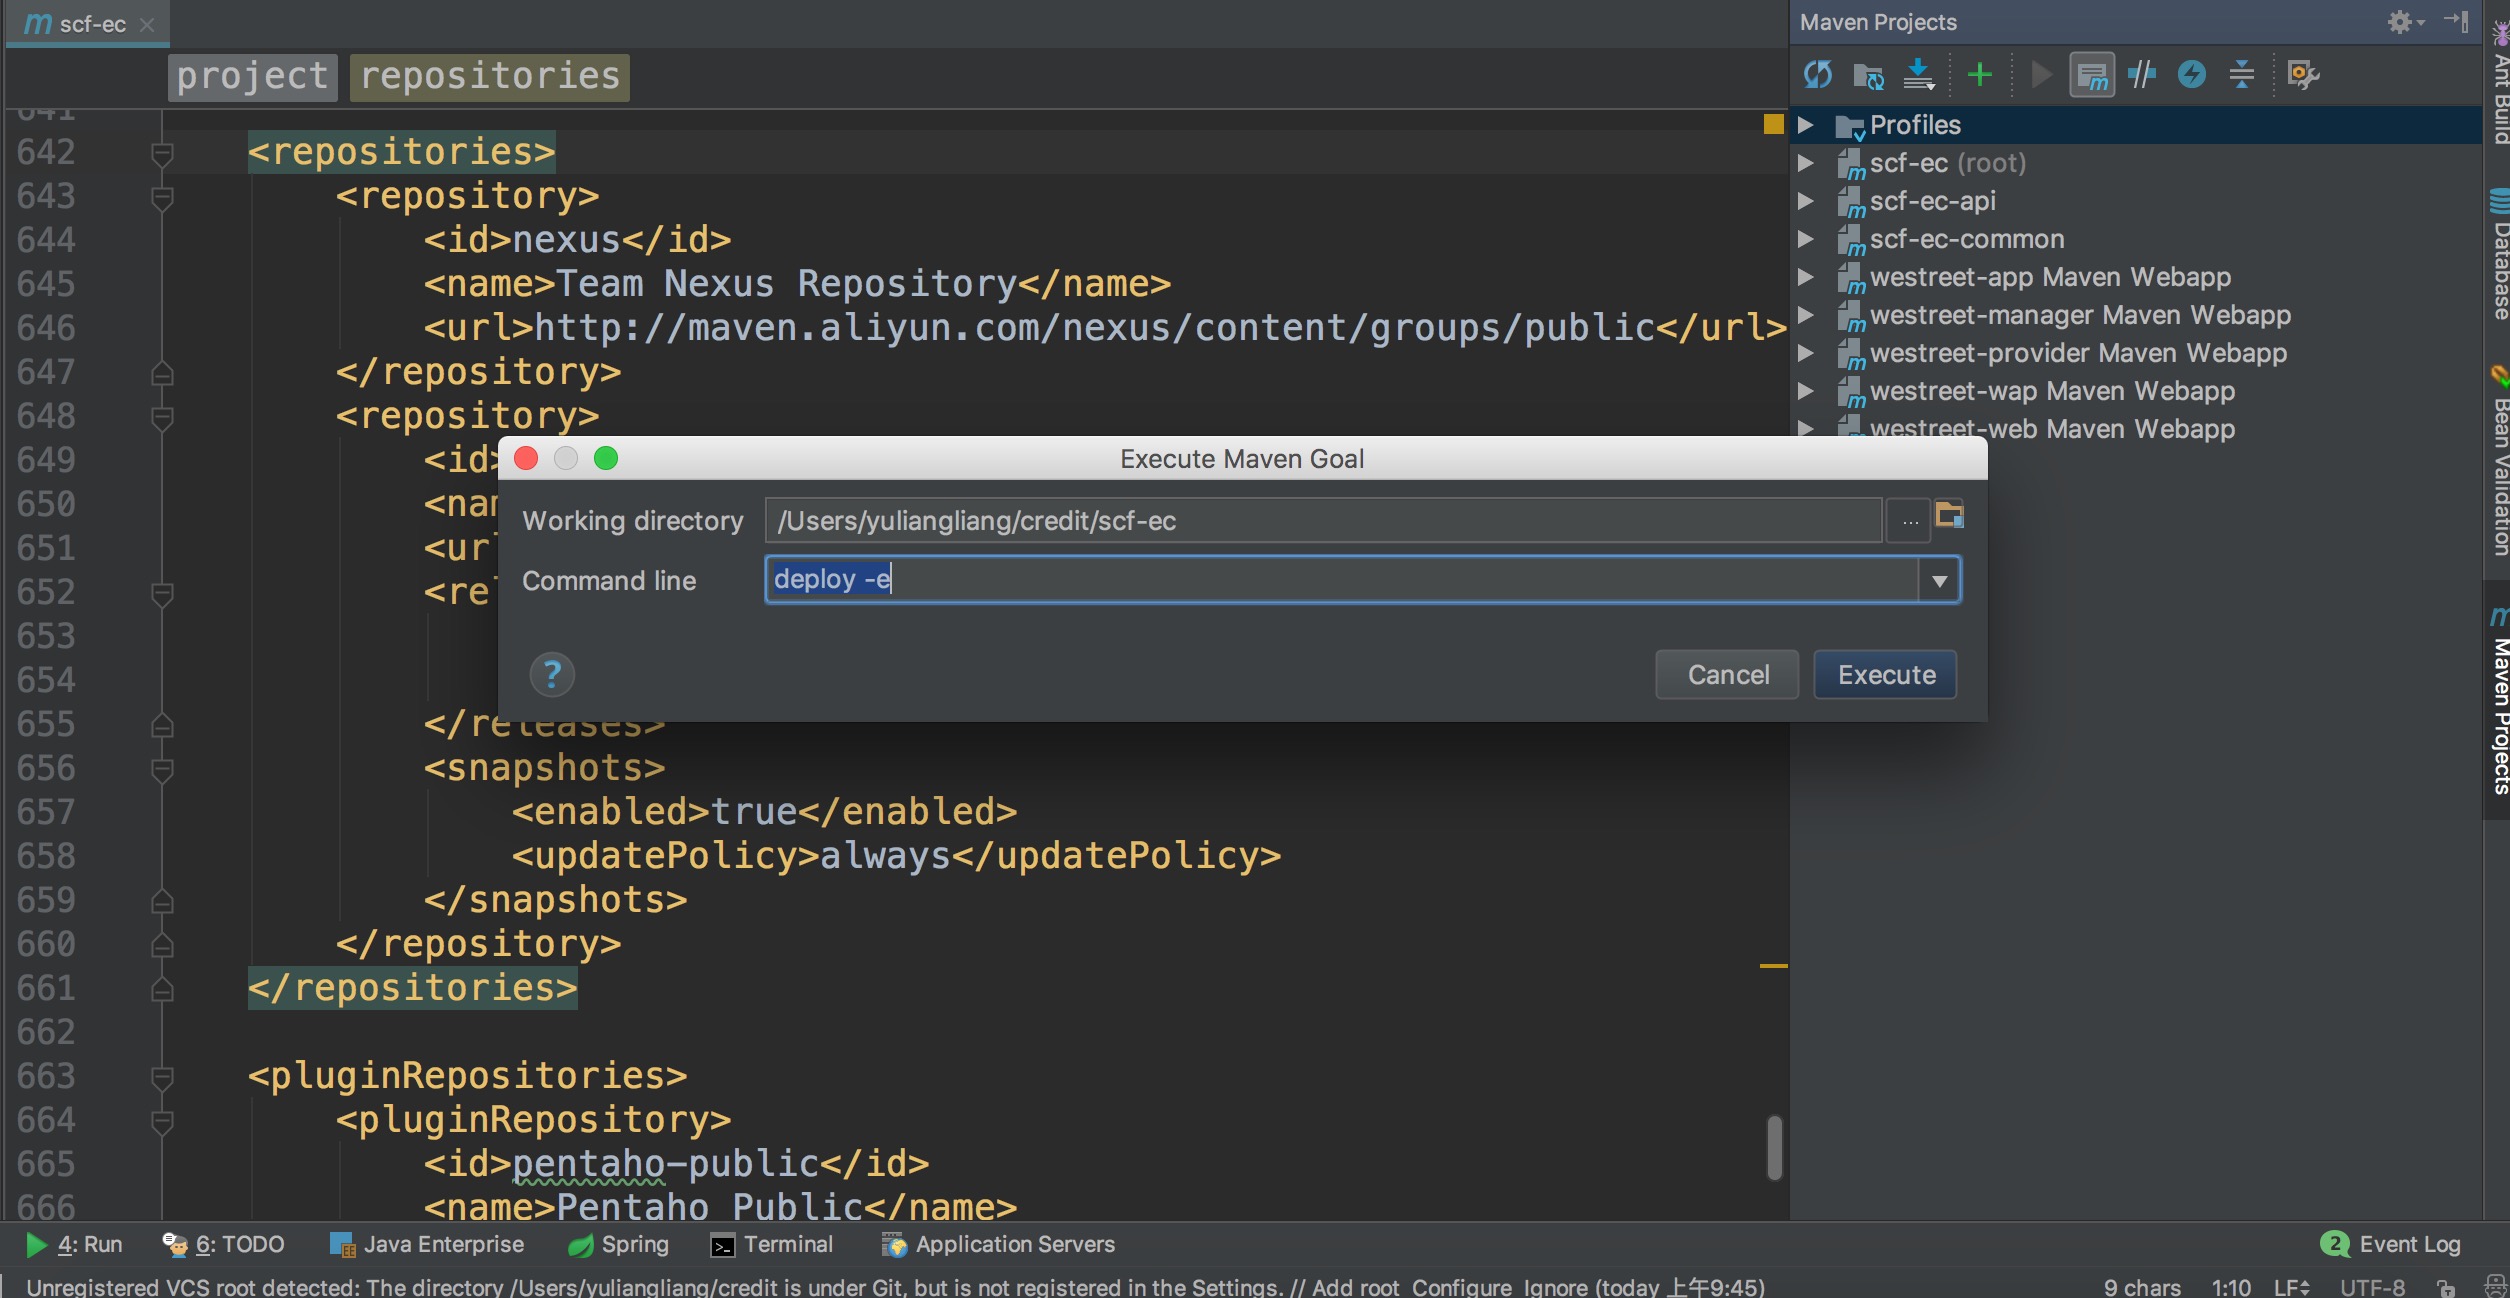
执行deploy -e即可
注意:目前的版本有2.X 和 3.X ,2.X的支持对Maven更友好一点,3.X的支持范围更广,支持ruby和docker。如果单纯的maven私服,建议使用2.x
2.解压安装包,并进入对应的bin目录下启动nexus
./nexus start
注意:3.X要求JDK的版本在1.8以上
3.访问地址,3.x默认是127.0.0.1:8081 2.x默认是127.0.0.1:8081/nexus ,默认的登陆账户密码为admin/admin123
修改端口或者密码,在etc下的nexus-default.properties
4.简单介绍一下Repository
Repository的type属性有:proxy,hosted,group三种。
proxy:即你可以设置代理,设置了代理之后,在你的nexus中找不到的依赖就会去配置的代理的地址中找
hosted:你可以上传你自己的项目到这里面
group:它可以包含前面两个,是一个聚合体。一般用来给客户一个访问nexus的统一地址。
简单的说,就是你可以上传私有的项目到hosted,以及配置proxy以获取第三方的依赖(比如可以配置中央仓库的地址)。前面两个都弄好了之后,在通过group聚合给客户提供统一的访问地址
5.如何上传jar包
先设置settings.xml,这里主要是配置用户名和密码,注意这里的id要和respositoryId对应
<servers>
<server>
<id>nexus</id>
<username>admin</username>
<password>admin123</password>
</server>
</servers>
控制台
mvn deploy:deploy-file -DgroupId=ebay -DartifactId=ebay -Dversion=0.0.1-SNAPSHOT -Dpackaging=jar -Dfile=/Users/yuliangliang/ebay-0.0.1-SNAPSHOT.jar -Durl=http://localhost:8081/repository/maven-snapshots/ -DrepositoryId=nexus
效果如下
[INFO] Scanning for projects...
[INFO]
[INFO] ------------------------------------------------------------------------
[INFO] Building Maven Stub Project (No POM) 1
[INFO] ------------------------------------------------------------------------
[INFO]
[INFO] --- maven-deploy-plugin:2.7:deploy-file (default-cli) @ standalone-pom ---
Downloading: http://localhost:8081/repository/maven-snapshots/ebay/ebay/0.0.1-SNAPSHOT/maven-metadata.xml Uploading: http://localhost:8081/repository/maven-snapshots/ebay/ebay/0.0.1-SNAPSHOT/ebay-0.0.1-20180102.145036-1.jar Uploaded: http://localhost:8081/repository/maven-snapshots/ebay/ebay/0.0.1-SNAPSHOT/ebay-0.0.1-20180102.145036-1.jar (34194 KB at 22218.2 KB/sec)
Uploading: http://localhost:8081/r a6db
epository/maven-snapshots/ebay/ebay/0.0.1-SNAPSHOT/ebay-0.0.1-20180102.145036-1.pom
Uploaded: http://localhost:8081/repository/maven-snapshots/ebay/ebay/0.0.1-SNAPSHOT/ebay-0.0.1-20180102.145036-1.pom (390 B at 5.5 KB/sec)
Downloading: http://localhost:8081/repository/maven-snapshots/ebay/ebay/maven-metadata.xml Uploading: http://localhost:8081/repository/maven-snapshots/ebay/ebay/0.0.1-SNAPSHOT/maven-metadata.xml Uploaded: http://localhost:8081/repository/maven-snapshots/ebay/ebay/0.0.1-SNAPSHOT/maven-metadata.xml (758 B at 10.4 KB/sec)
Uploading: http://localhost:8081/repository/maven-snapshots/ebay/ebay/maven-metadata.xml Uploaded: http://localhost:8081/repository/maven-snapshots/ebay/ebay/maven-metadata.xml (268 B at 4.0 KB/sec)
[INFO] ------------------------------------------------------------------------
[INFO] BUILD SUCCESS
[INFO] ------------------------------------------------------------------------
[INFO] Total time: 2.567 s
[INFO] Finished at: 2018-01-02T22:50:38+08:00
[INFO] Final Memory: 8M/155M
[INFO] ------------------------------------------------------------------------
也可以同步本地仓库到私服上去
6.项目中的使用,这样就能在项目中引用了,具体的引用可以在pom中配置,也可以在maven的settings.xml文件中修改
<mirrors>
<mirror>
<id>nexus</id>
<mirrorOf>*</mirrorOf>
<url>http://127.0.0.1:8082/nexus/content/groups/public/</url>
</mirror>
</mirrors>
<profiles>
<profile>
<id>nexus</id>
<repositories>
<repository>
<id>nexus</id>
<url>http://127.0.0.1:8082/nexus/content/groups/public/</url>
<releases><enabled>true</enabled></releases>
<snapshots><enabled>true</enabled></snapshots>
</repository>
</repositories>
<pluginRepositories>
<pluginRepository>
<id>nexus</id>
<url>http://127.0.0.1:8082/nexus/content/groups/public/</url>
<releases><enabled>true</enabled></releases>
<snapshots><enabled>true</enabled></snapshots>
</pluginRepository>
</pluginRepositories>
</profile>
</profiles>
<activeProfiles>
<activeProfile>nexus</activeProfile>
</activeProfiles>
7.上传项目到私服上去
先设置settings.xml,配置servers,见步骤5
项目的pom文件添加如下代码
<distributionManagement>
<repository>
<id>release</id>
<name>Release Repository</name>
<url>http://ip/nexus/content/repositories/releases</url>
</repository>
<snapshotRepository>
<id>snapshot</id>
<name>Snapshot Repository</name>
<url>http://ip/nexus/content/repositories/snapshots</url>
</snapshotRepository>
</distributionManagement>
执行deploy -e即可

相关文章推荐
- Mac下使用Nexus搭建Maven私服
- Maven学习 (四) 使用Nexus搭建Maven私服
- 使用nexus搭建maven私服、手动更新索引
- Maven学习 (四) 使用Nexus搭建Maven私服
- Maven学习 (四) 使用Nexus搭建Maven私服(WINDOWS)
- 在linux中使用nexus搭建maven私服
- Maven入门指南⑤:使用Nexus搭建Maven私服
- Linux 使用nexus搭建maven私服
- maven 私服的搭建-Nexus的使用
- Maven学习总结(九)——使用Nexus搭建Maven私服
- 使用Nexus搭建Maven私服
- Maven入门指南11:使用Nexus搭建Maven私服
- 使用nexus搭建maven私服
- maven--私服的搭建(Nexus的使用)
- 浅入浅出之使用Nexus搭建Maven私服
- 使用Nexus搭建Maven私服(1)
- 使用nexus搭建maven私服
- Maven使用笔记(四)Sonatype Nexus 搭建Maven 私服
- Maven学习 (四) 使用Nexus搭建Maven私服
- 使用Nexus搭建Maven私服