一步一步学习IdentityServer4 (5) .NETCore2.0 Swagger
2017-12-20 17:58
232 查看
首先添加nuget: Swashbuckle.AspNetCore
services.AddSwaggerGen(c =>
{
c.SwaggerDoc("v1", new Info
{
Version = "v1",
Title = "IdentityServer4 & WebApi"
});
var basePath = PlatformServices.Default.Application.ApplicationBasePath;
var xmlPath = Path.Combine(basePath, "LYM.ApiServices.xml");
c.IncludeXmlComments(xmlPath);
}
);
app.UseMvc();
app.UseSwagger();
app.UseSwaggerUI(c => {
c.SwaggerEndpoint("/swagger/v1/swagger.json", "IdentityServer4 & WebApi");
});
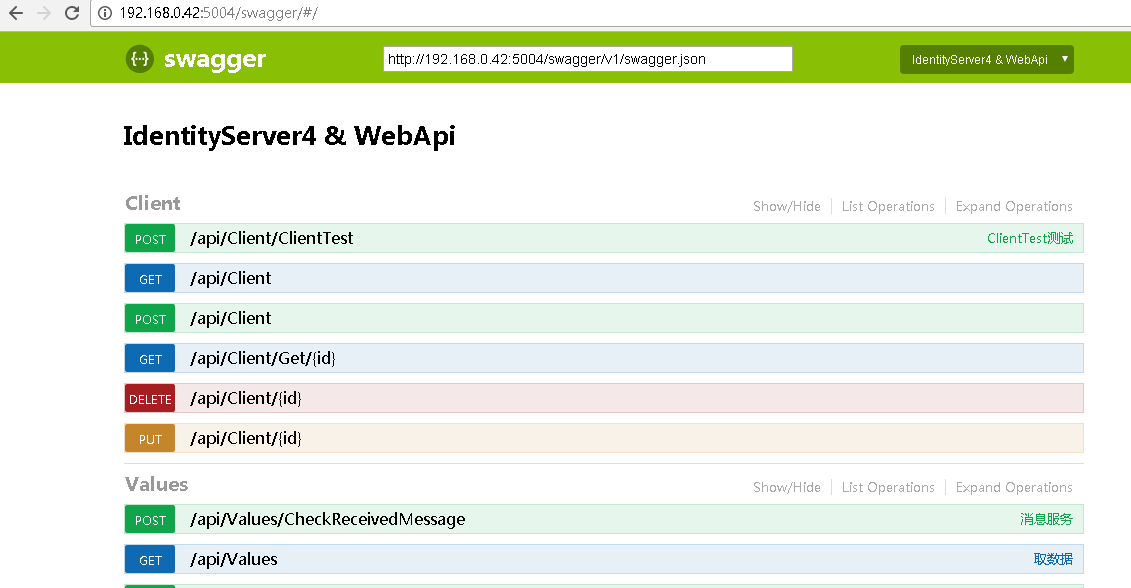
没有问题,值得注意的是webapi写法与mvc有区别
自定义名称需要这样写
/// <summary>
/// ClientTest测试
/// </summary>
/// <param name="value"></param>
[HttpPost("ClientTest")]
public void ClientTest([FromBody]string value)
{

}
名称已经放到上面去了,而在传统的写法[RoutePrefix("api/Client")] 被取代了,
如果需要Identityserver4授权需要添加下面的处理 与IdentityServer3一样
c.AddSecurityDefinition("oauth2", new OAuth2Scheme
{
Type = "oauth2",
Flow = "implicit",
AuthorizationUrl = "http://Identityserver4授权地址",
Scopes = new Dictionary<string, string>
{
{ "cloudservices", "cloudservices" },
{ "clientservices", "clientservices" }
}
});

c.OperationFilter<SecurityRequirementsOperationFilter>();

相关文章推荐
- 一步一步学习IdentityServer4 (7) IdentityServer4成功配置全部配置
- IdentityServer4 ASP.NET Core的OpenID Connect OAuth 2.0框架学习保护API
- IdentityServer4 ASP.NET Core的OpenID Connect OAuth 2.0框架学习保护API
- 一步一步学习IdentityServer4 (6) Connect-OpenId Cookies SignIn SignOut 那些事
- IdentityServer4 ASP.NET Core的OpenID Connect OAuth 2.0框架学习保护API
- 一步一步学习sql server BI-数据仓库设计
- 一步一步学习sqlserver BI--数据仓库设计 (1)
- 基于 IdentityServer3 实现 OAuth 2.0 授权服务【客户端模式(Client Credentials Grant)】
- 一步一步学习sqlserver BI--ETL设计
- 一步一步学习sqlserver BI--ETL设计 (2)
- 一步一步学习sqlserver BI--ETL设计
- Testing WSO2 Identity Server OAuth 2.0 support with Curl
- 一步一步学习sqlserver BI--ETL设计
- 一步一步学习sqlserver BI--数据仓库设计
- 基于 IdentityServer3 实现 OAuth 2.0 授权服务数据持久化
- 学习Identity Server 4的预备知识
- 一步一步学习sqlserverBI--多维数据库建立
- 基于 IdentityServer3 实现 OAuth 2.0 授权服务【密码模式(Resource Owner Password Credentials)】
- ASP.NET Core 2.0系列学习笔记-ADO.NET-MSSQLServerHelper
- VSCode创建.NetCore 2.0 WebAPI+EF+SqlServer