Windows 10 64位机器安装 Robot Framework,吐血
2017-12-08 23:39
260 查看
折腾了一天时间,终于把Robot Framework搞定了,各种百度,各种解决方案,都没搞定,最后翻译了一下官方文档。原文地址:https://github.com/robotframework/RIDE/wiki/Installation-Instructions#wxpython
翻译如下:
一、前提条件
1、Python
RIDE只能运行在主流的Python版本,不支持Jython,也不支持IronPython。Python 2.6是支持的最低版本。和Robot Framework很类似,RIDE目前为止不支持Python 3。注意在OS X的RIDE需要32位的Python版本
大多数系统(linux、Mac)都预安装了Python,至于Windows的安装包和其它信息,你可以在这里找到 http://python.org.
2、wxpython
RIDE的GUI是通过wxPython工具包实现的。只有wxPython2.8.12.1的Unicode版本才得到官方支持。在wxPython 2.8系列中较新的版本应该也支持(官方都不确定,真会甩锅)。wxPython 3.0支持是未来开发的重点之一。
(1)在Windows上,您可以从wxPython下载页面下载适当的安装程序。有关安装的更多信息,请参见http://wxpython.org页面。
(2)在Linux上,您应该能够使用包管理器安装wxPython。例如,基于Debian的系统,如Ubuntu运行的sudo apt- get安装python - wxgtk2.8就足够了。
(3)在OS X上,您应该使用从wxPython下载页面中找到的wxPython二进制文件。wxPython2.8只有32位构建版本,因此Python必须在32位模式下运行(妈的,原来不能用64位python)。你可以在全局范围内进行:
> defaults write com.apple.versioner.pythonPrefer-32-Bit -bool yes
也可以只针对RIDE执行:
> VERSIONER_PYTHON_PREFER_32_BIT=yes ride.py
3、Robot Framework
如果仅用于编辑测试用例,那么机器人框架根本不需要安装。然而,测试运行插件需要机器人框架单独安装。
注意:作为机器人框架安装的一部分,添加到PATH中的目录必须不包含引号。否则,由于Python中的bug,可能无法执行测试。
二、安装RIDE
不同平台(操作系统)有不同平台的RIDE安装包,这些包可以从下载页面找到。下载地址:https://pypi.python.org/pypi/robotframework-ride
1、从源文件安装
(1)下载源文件。https://pypi.python.org/pypi/robotframework-ride
(2)解压。Windows上使用WinZip工具。在Linux或OS X上使用tar xzvf 文件名,这个命令。
(3)进入到解压目录,运行python setup.py install。注意在Linux或者OS X你应该需要在命令前面加上sudo。
2、使用Windows安装包
(1)获取安装文件。https://pypi.python.org/pypi/robotframework-ride
(2)双击安装包,然后根据打开的窗口,一步步安装
3、使用pip或者easy_install安装
RIDE 可以通过pip或easy_install安装,命令如下:
pip install robotframework-ride
easy_install robotframework-ride
这种安装方式能够在所有的操作系统下安装,但是前提是你系统中已经安装了pip或easy_install。再次提醒下,在类unix的机器上(linux、unix、OS X),你可能需要在命令前面加上sudo。
三、运行
成功安装之后,可以通过从命令行运行ride.py启动。或者,您可以指定一个文件或目录作为一个参数,如ride.py path/to/tests 。从RIDE 0.54开始,在Windows上安装时你可以创建桌面快捷方式。(我擦,我的1.5版本,为毛没快捷方式。)
在Windows上运行ride.py要求在环境变量PATH中添加<PythonInstallationDir>\ Scripts。如果正常运行了,那么恭喜你。如果没有,请参阅Robot Framework安装说明以获取更多关于设置路径的信息。http://code.google.com/p/robotframework/wiki/Installation#Setting_PATH
如果你在Windows上使用Cygwin,你可能需要修改ride.py文件中的#!行信息。(修改成什么样,没说,我去)
四、使用最新的开发版本
如果你想体检新版本,您可以轻松地从其版本控制系统中下载最新的源文件,并直接从那里运行它。作为先决条件,您需要安装Git和Invoke。在此之后,只需运行以下命令来克隆存储库并启动最新版本:
git clone https://github.com/robotframework/RIDE.git[/code]cd RIDEinvoke devel [datasource]
在RIDE目录,运行 git pull 来更新你的clone。
Other development optionsYou may see what options invoke provides with:invoke --helpUsage: inv[oke] [--core-opts] task1 [--task1-opts] ... taskN [--taskN-opts]Core options:--complete Print tab-completion candidates for givenparse remainder.--hide=STRING Set default value of run()'s 'hi 4000 de' kwarg.--no-dedupe Disable task deduplication.--write-pyc Enable creation of .pyc files.-c STRING, --collection=STRING Specify collection name to load.-d, --debug Enable debug output.-e, --echo Echo executed commands before running.-f STRING, --config=STRING Runtime configuration file to use.-h [STRING], --help[=STRING] Show core or per-task help and exit.-l, --list List available tasks.-p, --pty Use a pty when executing shell commands.-r STRING, --root=STRING Change root directory used for finding taskmodules.-V, --version Show version and exit.-w, --warn-only Warn, instead of failing, when shellcommands fail.These are the possible tasks for our RIDE project:invoke --listAvailable tasks:clean Clean bytecode files and remove `dist` and `build`directories.deps Fetch and install development dependencies.devel Start development version of RIDE.generate_big_project Generate big test data project to help perf testing.install Install development version and dependencies.random_test Use rtest go_find_bugs.py to randomly test RIDE API.register Register current version to Python package index.release_notes Download and format issues in markdown format.sdist Creates source distribution with bundled dependencies.test Run unit tests.update_robot Update robot framework to specified commit or tag.version Set `version.py` to given version.wininst Creates Windows installer with bundled dependencies.Current version of invoke is:invoke --versionInvoke 0.12.2
总结一下就是:
1、不管你是有多讨厌python 2.x,对不起,想用Robot Framework,不好意思,请按照Python2.x,注意还不要低于2.6的版本;
2、不管你机器是不是64位,对不起,请昧着良心下载32位Python
3、然后下载32位的对应版本 wxPython
4、然后用pip 工具安装Robot Framework即可。
5、然后安装pip install robotframework-ride
6、安装完,Python ride.py 终于看到 “机器人” 的界面了,泪流满面啊。。。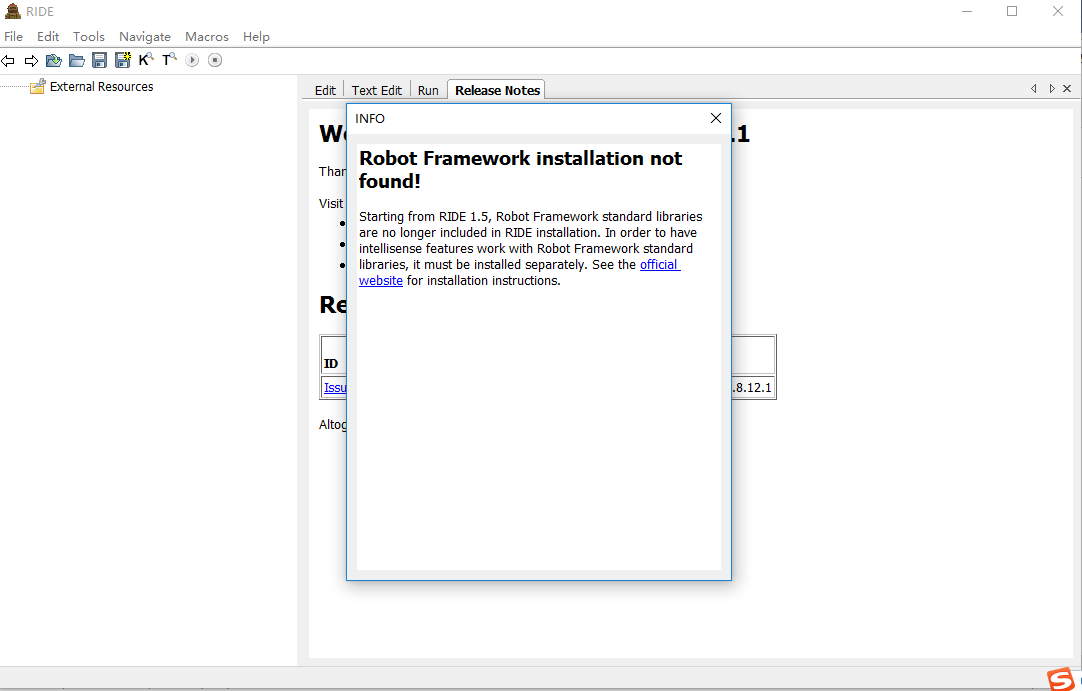

相关文章推荐
- 在Windows2012-64位-安装oracle10的经验:成功解决“TNS-12546: TNS: 权限被拒绝 (permission denied)”问题
- windows 10 64位安装Python3.6.4
- Windows 10 64位 安装TensorFlow
- Node.js安装及环境配置之Windows篇 一、安装环境 1、本机系统:Windows 10 Pro(64位) 2、Node.js:v6.9.2LTS(64位) 二、安装Node.js步骤
- 如何在64位Windows 10下完美安装pygame
- windows 64位机器安装python机器学习环境scikit_learn
- Windows 7,64位机器上安装DB2 7.2+FP7
- 64位Windows 10, 安装xgboost Python库。
- 在Win7 64位机器上安装Oracle 10客户端以及PlSql
- firefly在windows 64位机器上的服务器配置以及安装
- 解决Win版 PLSQL Developer(32位)在Windows 64位机器安装出现的问题
- 在Win7 64位机器上安装Oracle 10客户端以及PlSql
- 直播Windows 10 64位,安装JDK1.8
- Windows 10 64位下安装python2模块MySQLdb(MySQL-python)遇到的坑
- 64位windows操作系统安装64位eclipse遇到的问题
- Windows10下虚拟机VMware10安装Centos7-网络配置篇
- windows 10安装mongodb数据库
- Windows 10企业批量部署实战之ADK 10安装
- Python: Windows 7 64位 安装、使用 pymongo 3.2
- Windows64位+jdk64位下安装SVN和安装Extjs插件Spket的方法