IdentityServer4(10)- 添加对外部认证的支持之QQ登录
2017-11-23 10:51
501 查看
前言
前面我们提到过IdentityServer4是可以添加外部认证的,如果外部认证支持OAuth2,那么添加到IdentityServer4是非常简单的,在ASP.NET Core下提供了非常多的外部认证实现,比如Google,Facebook,Twitter,Microsoft帐户和OpenID Connect等,但是对于我们国内来说最常用的莫过于QQ登录。申请QQ登录
1.访问QQ互联官方网站:https://connect.qq.com/2.点击“应用管理”-> “创建应用”,填写你的网站信息,这里的信息请不要胡乱填写,这个会影响审核的,以后要是修改了这些信息需要重新审核。
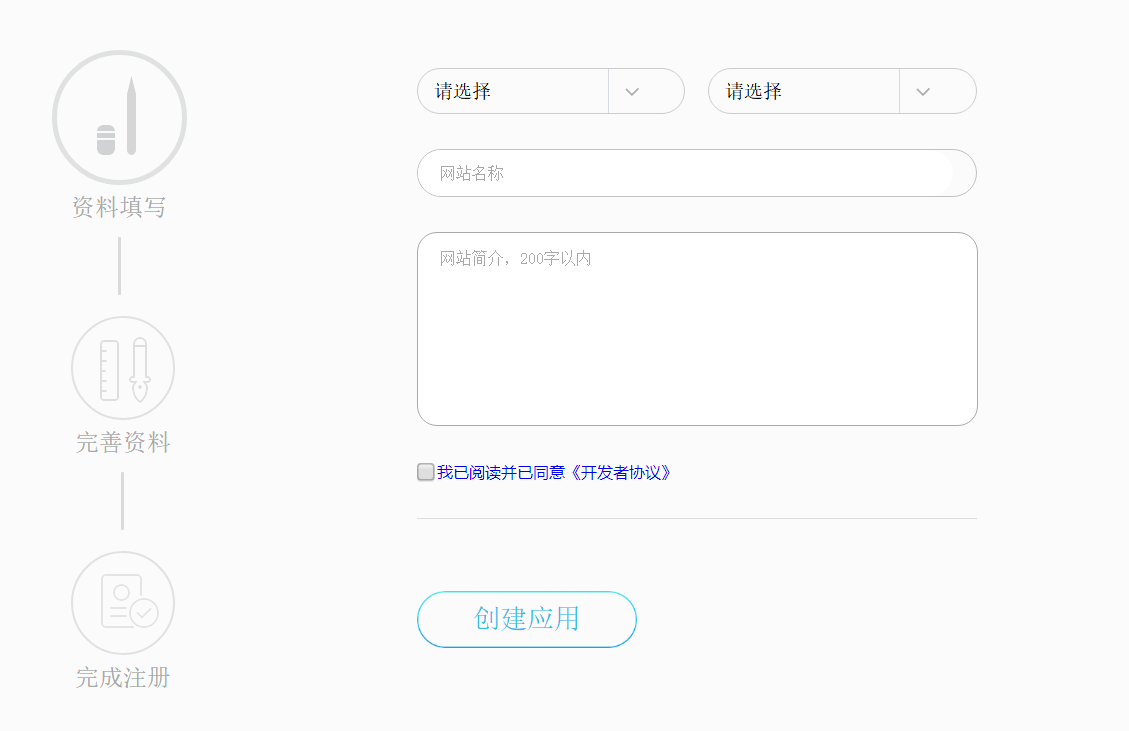
填写完善资料的时候,唯一一个需要注意的就是回调地址,这里我们后面详细介绍。
3.等待审核结果,这里审核还是非常快的,一般一天左右就行了
注意:如果网站没有备案号我不知道是否能通过申请,我自己是拥有备案号的,然后网站LOGO必须上传,不然会申请不过的。
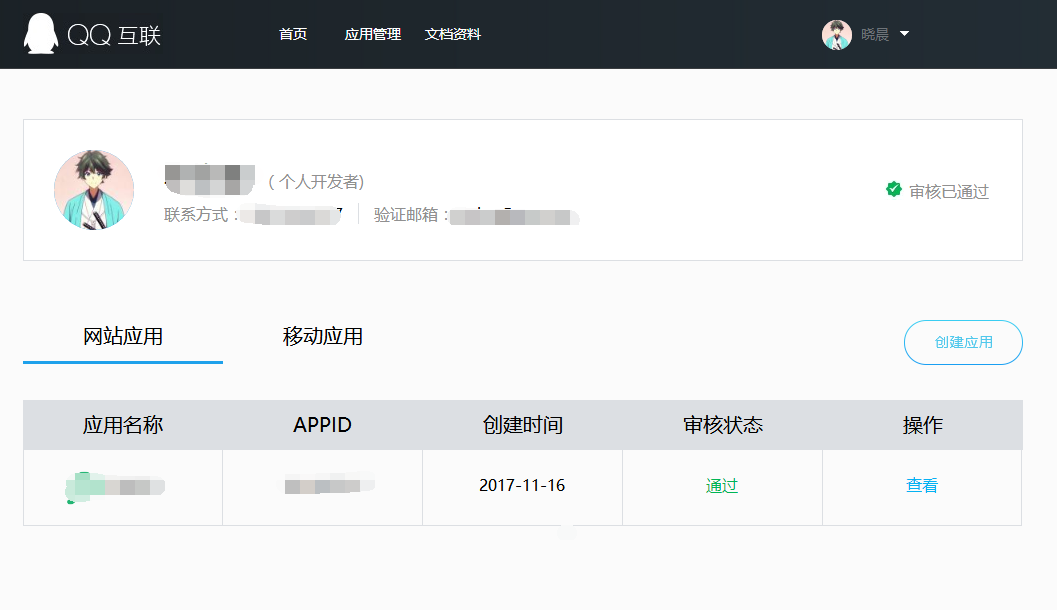
添加QQ登录
QQ登录是支持OAuth2,所以可以集成到IdentityServer4。本来是打算自己写一个的,但是在查找信息的过程中,发现已经有人实现了,组件名为:Microsoft.AspNetCore.Authentication.QQ,Nuget可以直接安装。
1.先将 Microsoft.AspNetCore.Authentication.QQ 组件添加到项目中
2.配置QQ登录信息
在
Startup类的
ConfigureServices方法里添加如下代码:
services.AddAuthentication()
.AddQQ(qqOptions =>
{
qqOptions.AppId = "";
qqOptions.AppKey = "";
})
3.在QQ互联后台配置回调地址
回调地址是随时可以在QQ互联后台配置的,因为这个回调地址已经在QQ登录组件里定义了的,所以此处配置为:
http://你的域名/signin-qq
比如:
http://localhost:2692/signin-qq http://www.baidu.com/signin-qq[/code]
4.添加跳转的action[HttpGet] public async Task<IActionResult> ExternalLogin(string provider, string returnUrl) { var props = new AuthenticationProperties() { RedirectUri = Url.Action("ExternalLoginCallback"), Items = { { "returnUrl", returnUrl } } }; // start challenge and roundtrip the return URL props.Items.Add("scheme", provider); return Challenge(props, provider); }
5.添加回调处理成功跳转的ActionHttpGet] public async Task<IActionResult> ExternalLoginCallback() { // read external identity from the temporary cookie var result = await HttpContext.AuthenticateAsync("QQ"); if (result?.Succeeded != true) { throw new Exception("External authentication error"); } // retrieve claims of the external user var externalUser = result.Principal; var claims = externalUser.Claims.ToList(); // try to determine the unique id of the external user (issued by the provider) // the most common claim type for that are the sub claim and the NameIdentifier // depending on the external provider, some other claim type might be used var userIdClaim = claims.FirstOrDefault(x => x.Type == JwtClaimTypes.Subject); if (userIdClaim == null) { userIdClaim = claims.FirstOrDefault(x => x.Type == ClaimTypes.NameIdentifier); } if (userIdClaim == null) { throw new Exception("Unknown userid"); } // remove the user id claim from the claims collection and move to the userId property // also set the name of the external authentication provider claims.Remove(userIdClaim); var provider = result.Properties.Items["scheme"]; var userId = userIdClaim.Value; // this is where custom logic would most likely be needed to match your users from the // external provider's authentication result, and provision the user as you see fit. // // check if the external user is already provisioned var user = _users.FindByExternalProvider(provider, userId); if (user == null) { // this sample simply auto-provisions new external user // another common approach is to start a registrations workflow first user = _users.AutoProvisionUser(provider, userId, claims); } var additionalClaims = new List<Claim>(); // if the external system sent a session id claim, copy it over // so we can use it for single sign-out var sid = claims.FirstOrDefault(x => x.Type == JwtClaimTypes.SessionId); if (sid != null) { additionalClaims.Add(new Claim(JwtClaimTypes.SessionId, sid.Value)); } // if the external provider issued an id_token, we'll keep it for signout AuthenticationProperties props = null; var id_token = result.Properties.GetTokenValue("id_token"); if (id_token != null) { props = new AuthenticationProperties(); props.StoreTokens(new[] { new AuthenticationToken { Name = "id_token", Value = id_token } }); } // issue authentication cookie for user await _events.RaiseAsync(new UserLoginSuccessEvent(provider, userId, user.SubjectId, user.Username)); await HttpContext.SignInAsync(user.SubjectId, user.Username, provider, props, additionalClaims.ToArray()); // delete temporary cookie used during external authentication await HttpContext.SignOutAsync(IdentityServer4.IdentityServerConstants.ExternalCookieAuthenticationScheme); // validate return URL and redirect back to authorization endpoint or a local page var returnUrl = result.Properties.Items["returnUrl"]; if (_interaction.IsValidReturnUrl(returnUrl) || Url.IsLocalUrl(returnUrl)) { return Redirect(returnUrl); } return Redirect("~/"); }
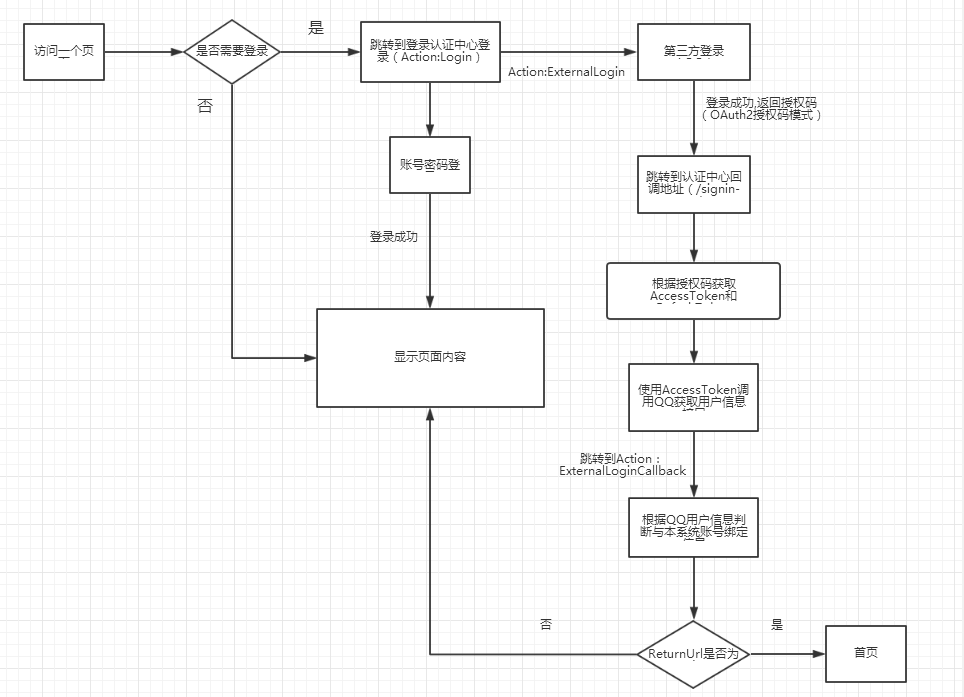
我画了一张图来表示这个流程:
具体的code请大家查看demo,这里就不帖太多了。运行测试
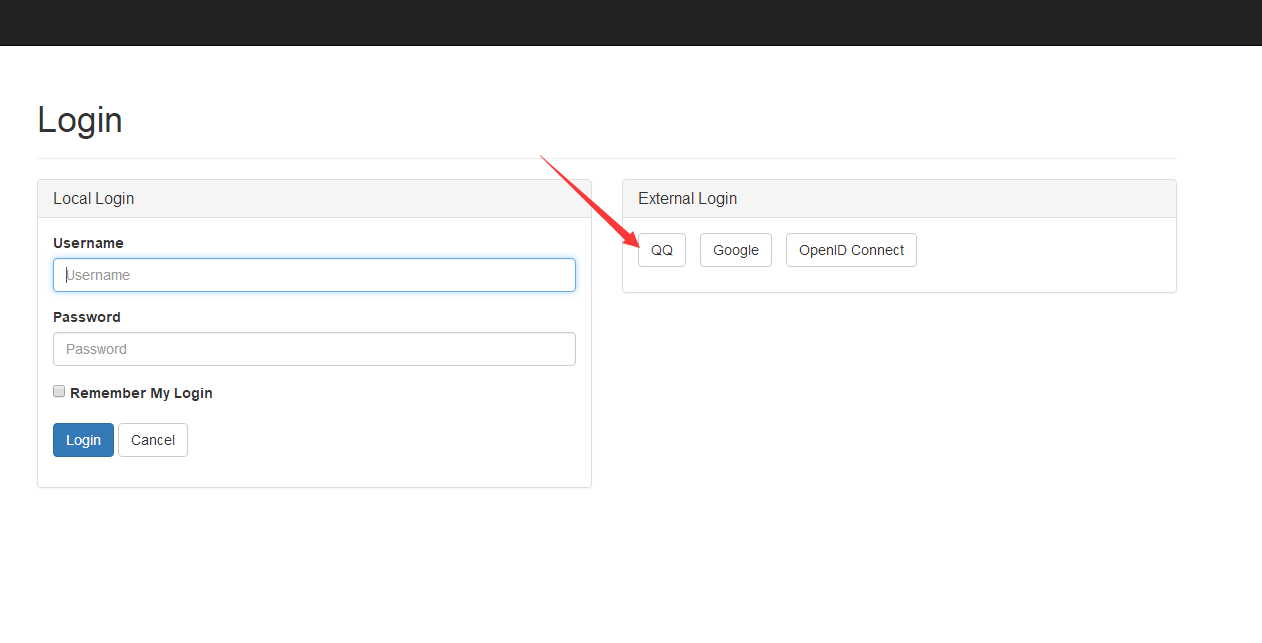
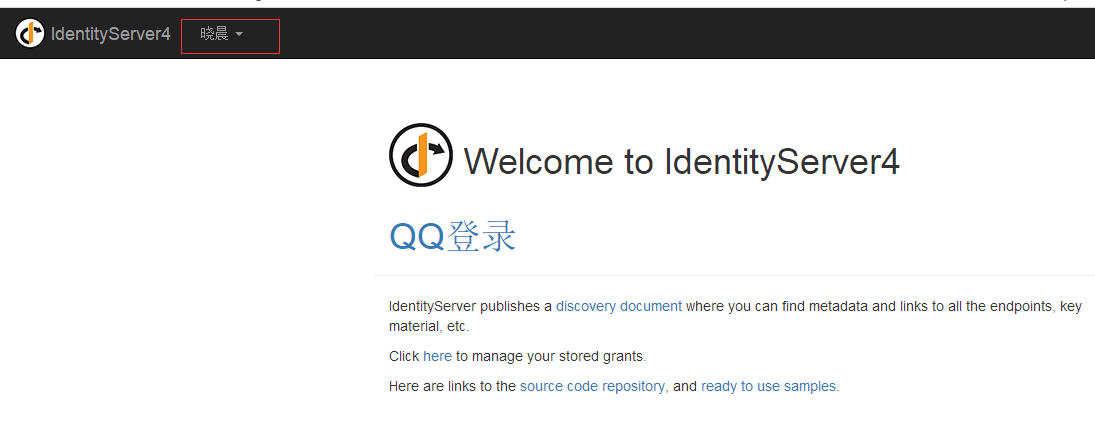
1.打开登录页面,点击“QQ”
2.从QQ登录
我们通过第一步,跳转到了QQ的登录页面:
登录之后,QQ也有相应的提醒:
登录之后跳转回我们自己的程序:
这里显示的名称是根据QQ获取用户信息接口返回的QQ昵称
同时,我们也可以在QQ互联里面的授权管理查看我们刚刚授权登录的信息:其他说明
1.大家下载demo查看之后会发现,我没有从nuget使用Microsoft.AspNetCore.Authentication.QQ这个组件,是因为这个组件在根据QQ返回的用户信息封装Claim时,少了两个字段,过不了IdentityServer4的检测,我修改补上了。
2.如果遇到其他异常可以用抓包软件比如fiddler,抓一下与QQ通信的请求信息,看看是否有异常。
3.Demo运行,只运行QuickstartIdentityServer这一个项目就可以看到效果。
Demo地址:https://github.com/stulzq/IdentityServer4.Samples/tree/master/Quickstarts/4_ImplicitFlowAuthenticationWithExternal


相关文章推荐
- IdentityServer4(10)- 添加对外部认证的支持之QQ登录
- IdentityServer4 中文文档 -12- (快速入门)添加外部认证支持
- MongoDB 2.6配置副本集,支持端口号修改和用户登录认证
- hive 外部表不支持添加列
- CAS修改源码支持多种方式登录认证
- android(微博 微信 qq) 分享和第三分认证登录的封装
- ProFTPD 支持MySQL数据库添加虚拟用户认证及Quotas(磁盘限额)
- QQ登录整合/oauth2.0认证-02-跳转到QQ互联页
- QQ快捷登录需要在 AndroidManifest.xml 注册添加如下信息,sdk中提供开始配置少了回调的配置,报错
- ProFTPD 支持MySQL数据库添加虚拟用户认证及Quotas(磁盘限额)
- ASP.NET Core的身份认证框架IdentityServer4--(4)添加第三方快捷登录
- 网站添加QQ登陆,QQ登录报错:可能是服务器无法请求https协议
- 网站添加QQ登陆,QQ登录报错,是为什么呢
- Laravel5.1 实现第三方登录认证(包括微博、QQ、微信、豆瓣) 2017-01-08 18:08 457人阅读 评论(0) 收藏 举报 分类: laravel框架(33) 目录(?)[
- ProFTPD支持MySQL添加虚拟用户认证及磁盘限额
- 开源第三方登录组件OAuthLogin2.0 支持QQ,阿里巴巴,淘宝,京东,蘑菇街,有赞等平台
- CAS修改源码支持多种方式登录认证
- 支持多QQ登录的软件
- 基于Thinkphp3.2的qq第三方oauth认证登录扩展类