springboot个人博客系统---搭建项目环境(一)
2017-11-22 17:51
453 查看
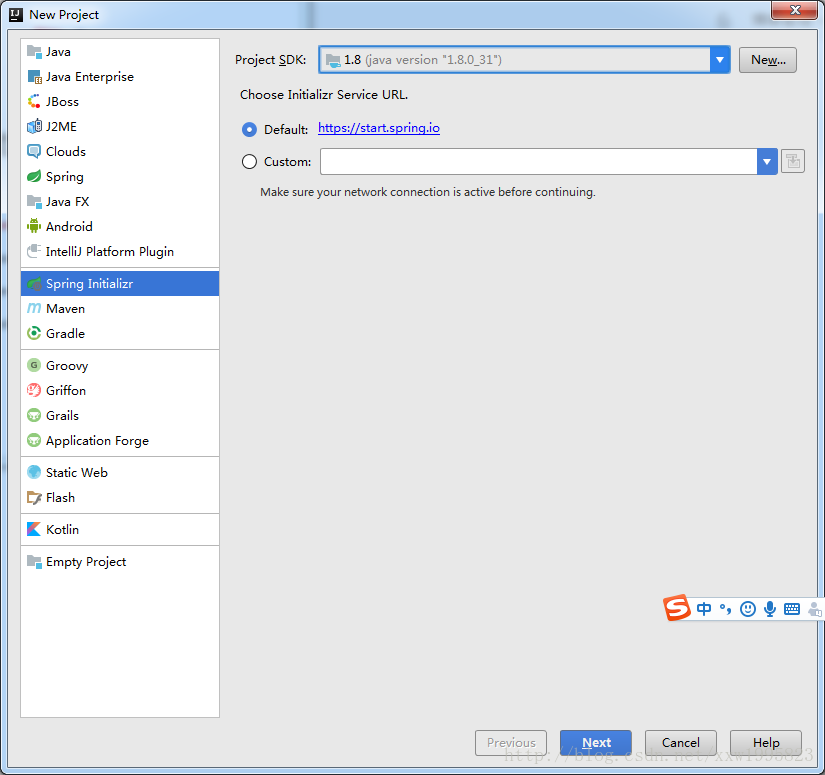
一、我使用的是idea编辑器创建springboot项目:
二、选择你要用到的组件打钩
三、创建完成后的项目目录结构:

定制Banner(网上看到的小玩意~):
我们在启动Spring Boot项目的时候,在控制台会默认输出一个启动图案,如下:
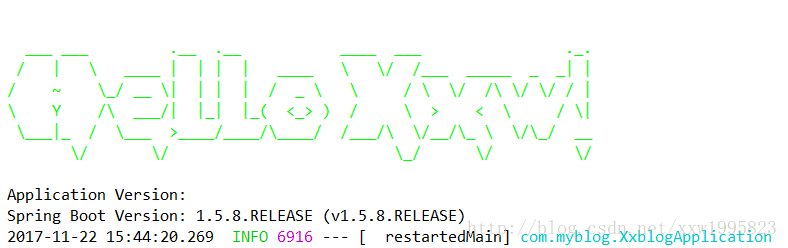
1.在src/main/resources下新建一个banner.txt文档
2.通过http://patorjk.com/software/taag网站生成需要的字符,将字符拷贝到步骤1所创建的txt文档中
四、对配置文件进行配置:
这只是我这暂时的配置,可以根据实际需要自行修改;
(如果你导入了spring-session组件那么配置文件就得加入spring.session.store-type=none,如下)
五、配置启动类:
注意!!!
如果启动类没有配置@MapperScan(“xxx.mapper”)注解,则会报如下错误(提示你找不到Mapper接口):
二、选择你要用到的组件打钩
三、创建完成后的项目目录结构:
定制Banner(网上看到的小玩意~):
我们在启动Spring Boot项目的时候,在控制台会默认输出一个启动图案,如下:
1.在src/main/resources下新建一个banner.txt文档
2.通过http://patorjk.com/software/taag网站生成需要的字符,将字符拷贝到步骤1所创建的txt文档中
四、对配置文件进行配置:
这只是我这暂时的配置,可以根据实际需要自行修改;
(如果你导入了spring-session组件那么配置文件就得加入spring.session.store-type=none,如下)
#设置需要加载的额外配置文件(application-jdbc.properties)
spring.profiles.active=jdbc

# server
server.context-path=/xxblog
server.port=8082

# thymeleaf start
spring.thymeleaf.prefix=classpath:/templates/
spring.thymeleaf.check-template-location=true
spring.thymeleaf.suffix=.html
spring.thymeleaf.encoding=UTF-8
spring.thymeleaf.content-type=text/html
spring.thymeleaf.mode=HTML5
#开发时关闭缓存,不然没法看到实时页面
spring.thymeleaf.cache=false
# thymeleaf end

# mybatis
mybatis.mapper-locations=classpath:/mapper/*.xml
mybatis.type-aliases-package=com.myblog.dao

# session
spring.session.store-type=none

#pagehelper
pagehelper.helperDialect=mysql
pagehelper.reasonable=true
pagehelper.support-methods-arguments=true
pagehelper.params=count=countSql
五、配置启动类:
@MapperS
a0f6
can("com.myblog.dao")
@SpringBootApplication
@EnableTransactionManagement// 开启注解事务管理,等同于xml配置文件中的 <tx:annotation-driven />
/**
* @author xxw
* @date 2017.11.22
* 项目启动入口类
*/
public class XxblogApplication extends SpringBootServletInitializer {
//需要启动类继承自SpringBootServletInitializer并覆盖configure方法方可正常部署至常规tomcat下
//其主要能够起到web.xml的作用
@Override
protected SpringApplicationBuilder configure(SpringApplicationBuilder builder) {
return builder.sources(this.getClass());
}

/**
* 根据配置文件创建数据源
*/
@Bean(initMethod = "init", destroyMethod = "close")
@ConfigurationProperties(prefix = "spring.datasource")
public DataSource dataSource() {
return new DruidDataSource();
}

/**
* 创建事物管理器
*/
@Bean
public PlatformTransactionManager transactionManager() {
return new DataSourceTransactionManager(dataSource());
}

@Bean
public SqlSessionFactory sqlSessionFactoryBean() throws Exception {
//加载mybatis配置文件与数据源注入到sqlSessionFactory,
//拿到sqlSessionFactory并注入到spring容器中
PathMatchingResourcePatternResolver resolver = new PathMatchingResourcePatternResolver();
SqlSessionFactoryBean sqlSessionFactoryBean = new SqlSessionFactoryBean();
sqlSessionFactoryBean.setDataSource(dataSource());
sqlSessionFactoryBean.setMapperLocations(resolver.getResources("classpath*:/mapper/*Mapper.xml"));
return sqlSessionFactoryBean.getObject();
}

public static void main(String[] args) {
SpringApplication.run(XxblogApplication.class, args);
}
}
注意!!!
如果启动类没有配置@MapperScan(“xxx.mapper”)注解,则会报如下错误(提示你找不到Mapper接口):
Description:

A component required a bean of type 'xxx.xxx.XxxMapper' that could not be found.

Action:

Consider defining a bean of type 'xxx.xxx.XxxMapper' in your configuration.

相关文章推荐
- SSM个人博客系统搭建【一】:项目概述
- [置顶] 【ssm个人博客项目实战01】SSM环境搭建
- 【举例1】Docker环境部署过程-以Wordpress个人博客系统搭建为例
- wins和ubuntu系统上搭建个人博客环境(wordpress)
- Node.js+Hexo搭建个人博客系统
- 在github Pages上部署octopress搭建个人博客系统
- Spring boot 搭建个人博客系统(四)——文章的发布和分页显示
- ubuntu14.04系统nodejs express开发教程第一篇:环境搭建&&项目初步
- Springboot整合Dubbo教程之项目创建和环境搭建
- 使用wordpress在appache php mysql环境下快速搭建个人博客!!!
- 远程桌面连接操作windowns系统搭建java项目运行环境
- Spring MVC+Hibernate JPA搭建的博客系统项目中所遇到的坑
- GITHUB个人博客搭建-Pelican 在Windows环境下的安装及配置
- windows 2008 R2系统下搭建php项目运行环境步骤,仅为自己学习笔记
- 【基于SSH框架的个人博客系统02】项目分析与数据库表设计
- node.js搭建个人博客系统
- 博客应用项目之,系统主页及个人主页
- 【django】搭建博客教程(1)——环境搭建,项目创建及初步测试
- 从简到繁——SSM个人博客搭建完全记录【1】开发环境搭建和数据库表设计
- 【Jekyll搭建GITHUB个人博客】安装Ruby 环境、包管理器 RubyGems、Jekyll与错误解决