补充篇 基于linux centos 7安装elasticsearch5.6.3(最新版)教程
2017-11-02 18:20
477 查看
强调:elasticsearch是基于JDK1.8运行的,安装前请务必安装完jdk1.8
一、安装elasticsearch
1、 进入我的安装目录:
cd /usr/local/
2、执行下载命令:
wget https://artifacts.elastic.co/downloads/elasticsearch/elasticsearch-5.1.1.tar.gz[/code]3、执行解压命令:
tar -zxf elasticsearch-5.1.1.tar.gz4、进入指定目录执行启动命令
./elasticsearch5.6.3/bin/elasticsearch
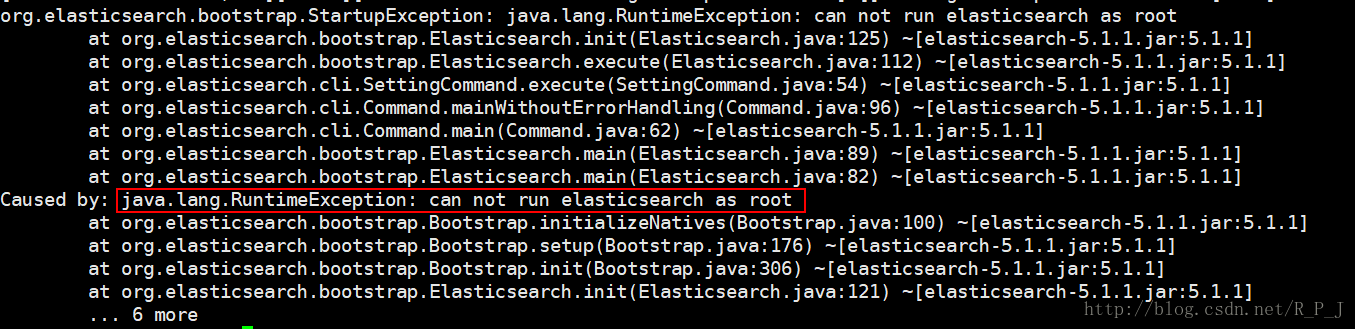
接下来会各种报错,一步一步解决5、错误一:
java.lang.RuntimeException: can not run elasticsearch as root
显示不能用root用户执行,需要切换一个非root用户进行执行
解决方案:第一步:adduser esuser //这个自定义 第二步:passwd rpj199301 //这是我的密码,以防自己忘记 第三步:chown -R esuser /自己的elasticsearch安装目录 //这是赋权限 第四步:su esuser6、错误二:
使用esuser启动elasticsearch后接着会报如下错:ERROR:bootstrap checks failed max virtual memory areas vm.max_map_count[65530] is too low,increase to at least
解决方案:
切换到root用户,编辑limits.conf 添加类似如下内容vim /etc/security/limits.conf
添加如下内容:* soft nofile 65536 * hard nofile 131072 * soft nproc 2048 * hard nproc 40967、错误三:
切换到esuser启动elasticsearch后接着会报如下错:max virtual memory areas vm.max_map_count [65530] likely too low, increase to at least [262144]
解决方案:
切换到root用户修改配置sysctl.confvim /etc/sysctl.conf
添加下面配置:vm.max_map_count=655360
并执行命令:sysctl -p
再次切换用户启动elasticsearch发现启动成功!8、验证是否可以访问:
curl:http://localhost:9200 //显示如下结果说明启动成功 { "name" : "K8LDTYN", "cluster_name" : "elasticsearch", "cluster_uuid" : "2KDpZHX6RTyNpm08lq3Jqg", "version" : { "number" : "5.1.1", "build_hash" : "5395e21", "build_date" : "2016-12-06T12:36:15.409Z", "build_snapshot" : false, "lucene_version" : "6.3.0" }, "tagline" : "You Know, for Search"9、最后一问题外网不能访问elasticsearch
解决方案:cd /自己elasticsearch的安装目录/config 修改 elasticsearch.yml 修改 network.host: 0.0.0.0
最后成功!!!10、补充:
elasticsearch的9200端口和9300端口的区别:
9300是tcp通讯端口,集群间和TCPClient都走的它,9200是http协议的RESTful接口;
Java客户端连接的是9300接口,使用HTTP请求的方式连接的是9200端口二、安装kibana5.6.3:
推荐链接(安装kibana官网最新版本也适用):
http://blog.csdn.net/houjixin/article/details/70230623


相关文章推荐
- CentOS7下安装elasticsearch5.6.3
- linux下centos安装android sdk最新全面教程【可行】
- 如何彻底删除node.js以及node.js安装教程(基于Centos其他linux版本可以类推 )
- 最新linux下安装mysql-python(转载+部分补充)
- CentOS下安装Oracle10g图文教程|Linux安装Oracle10g
- centos linux mantis安装教程
- Linux/Centos安装Litespeed+PHP+MYSQL+PHPMYADMIN教程
- linux系统(centos)下安装JDK,Tomcat详细教程!!!
- 关于linux CentOS 6.3安装教程
- XP系统下用虚拟机安装centos 5.6(Linux系统)图文教程(二)—“linux优化配置”
- Linux系统安装后的基础优化-基于CentOS(5.8/6.4)
- Linux(CentOS4)下Oracle.10g 安装图文教程
- linux系统(centos)下安装JDK,Tomcat详细教程!!!
- 转【Linux下安装Oracle10g详细教程(支持Redhat和CentOS静默模式安装)】
- Linux下安装Oracle10g详细教程(支持Redhat和CentOS静默模式安装)
- VMware虚拟机安装CentOS-5.0 linux图文教程
- 基于 asterisk 的 CentOS 5 的 linux 安装
- Linux(CentOS4)下Oracle.10g 安装图文教程
- 在xp系统中安装linux CentOS 5.3图文教程