使用JS实现气泡跟随鼠标移动的动画效果
2017-09-16 08:51
1221 查看
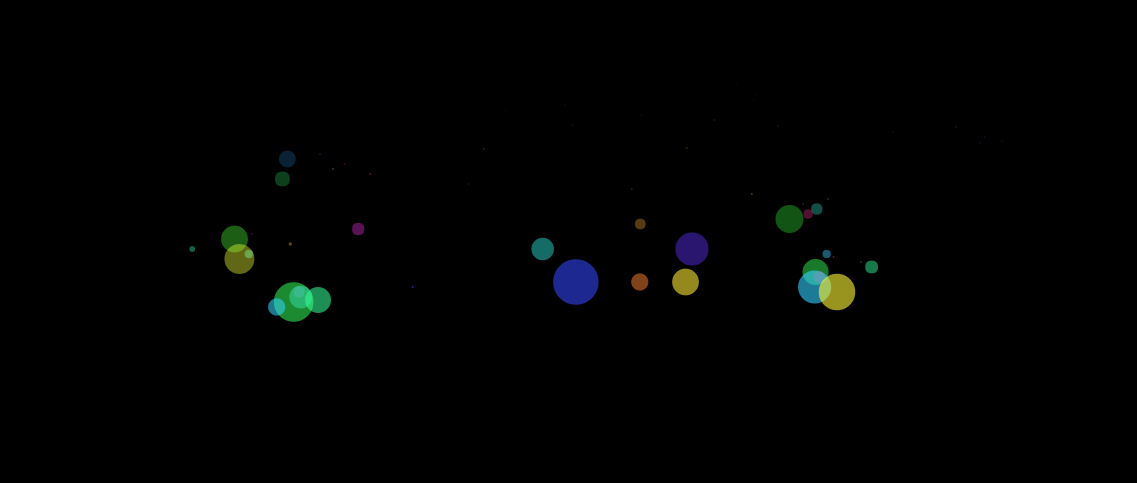
气泡跟随鼠标移动,并在每次点击时产生不同的变化
效果如下
<!DOCTYPE html>
<html lang="en">
<head>
<meta http-equiv="Content-Type" content="text/html; charset=utf-8" />
<title>
简单的气泡效果
</title>
<style type="text/css">
body{background-color:#000000;margin:0px;overflow:hidden}
</style>
</head>
<body>
</body>
</html>
<script>
var canvas = document.createElement('canvas'),
context = canvas.getContext('2d'),
windowW = window.screen.width ,
windowH = window.screen.height ,
Mx,
My,
paused = true;
suzu = [];
booms = [];
boomks = [];
start();
canvas.onmousemove = function(e) {
var loc = canvasMove(e.clientX, e.clientY);
Mx = loc.x;
My = loc.y
};
canvas.onmousedown = function() {
creatarry(Mx, My);
paused = !paused
};
function creatarry(a, b) {
for (var i = 0; i < 40; ++i) {
booms[i] = {
x: a,
y: b,
gravity: 0.3,
speedX: Math.random() * 20 - 10,
speedY: Math.random() * 15 - 7,
radius: Math.random() * 15,
color: Math.random() * 360,
apc: 0.6
};
boomks.push(booms[i]);
if (boomks.length > 300) {
boomks.shift()
};
console.log(boomks)
}
};
function loop1() {
boomks.forEach(function(circle) {
context.beginPath();
context.arc(circle.x, circle.y, circle.radius, 0, Math.PI * 2, false);
context.fillStyle = 'hsla(' + circle.color + ',100%,60%,' + circle.apc + ')';
context.fill();
movecircles(circle)
})
}
function movecircles(circle) {
circle.x += circle.speedX;
circle.speedY += circle.gravity;
circle.y += circle.speedY;
circle.apc -= 0.008
}
function canvasMove(x, y) {
var bbox = canvas.getBoundingClientRect();
return {
x: x - bbox.left * (canvas.width / bbox.width),
y: y - bbox.top * (canvas.height / bbox.height)
}
};
function start() {
document.body.appendChild(canvas);
canvas.width = windowW;
canvas.height = windowH;
setInterval(fang, 25)
}
function fang() {
context.clearRect(0, 0, canvas.width, canvas.height);
loop1();
loop()
}
function loop() {
var circle = new createCircle(Mx, My);
suzu.push(circle);
for (i = 0; i < suzu.length; i++) {
var ss = suzu[i];
ss.render(context);
ss.update()
}
if (suzu.length > 1000) {
suzu.shift()
}
}
function createCircle(x, y) {
this.x = x;
this.y = y;
this.color = Math.random() * 360;
this.radius = Math.random() * 25;
this.xVel = Math.random() * 5 - 2;
this.apc = 0.6;
this.gravity = 0.07;
this.yVel = Math.random() * 10 - 3;
this.render = function(c) {
c.beginPath();
c.arc(this.x, this.y, this.radius, 0, Math.PI * 2, true);
c.fillStyle = 'hsla(' + this.color + ',100%,60%,' + this.apc + ')';
c.fill()
};
this.update = function() {
if (!paused) {
this.yVel += this.gravity;
this.y += this.yVel
} else {
this.y -= 5
}
this.x += this.xVel;
this.apc -= 0.01;
if (this.radius > 1) {
this.radius -= 0.4
}
} }
 </script>
总结
以上所述是小编给大家带来了使用JS实现气泡跟随鼠标移动的动画效果 ,希望对大家有所帮助!
您可能感兴趣的文章:

相关文章推荐
- 原生JS实现的多个彩色小球跟随鼠标移动动画效果示例
- js实现的跟随鼠标移动的时钟效果(中英文日期显示)
- 使用js实现GridView单选效果自动设置交替行、选中行、鼠标移动行背景色
- js实现的跟随鼠标移动的时钟效果(中英文日期显示)
- 原生JS+HTML5实现跟随鼠标一起流动的粒子动画效果
- 安卓仿手机QQ消息BadgeView气泡跟随手指移动,并实现进出动画效果。
- JS实现跟随鼠标的链接文字提示框效果
- JS:目录跟随定位效果的实现及锚点中使用name和id定位的区别。
- js实现文字跟随鼠标移动而移动的方法
- javascript实现图片跟随鼠标移动效果的方法
- JS实现图片跟随鼠标移动
- js实现div整块向上移动的动画效果
- js 实现div跟随鼠标移动
- 图片的左右移动,js动画效果实现代码
- js实现简单鼠标跟随效果的方法
- 可跟随鼠标实现立体翻转的JS图片展示效果
- 仿265网址导航logo的两只眼睛跟随鼠标移动js实现方法
- 超慢速移动动画使用CSS3实现流畅效果
- js实现GridView单选效果自动设置交替行、选中行、鼠标移动行背景色
- javascript实现图片跟随鼠标移动效果的方法