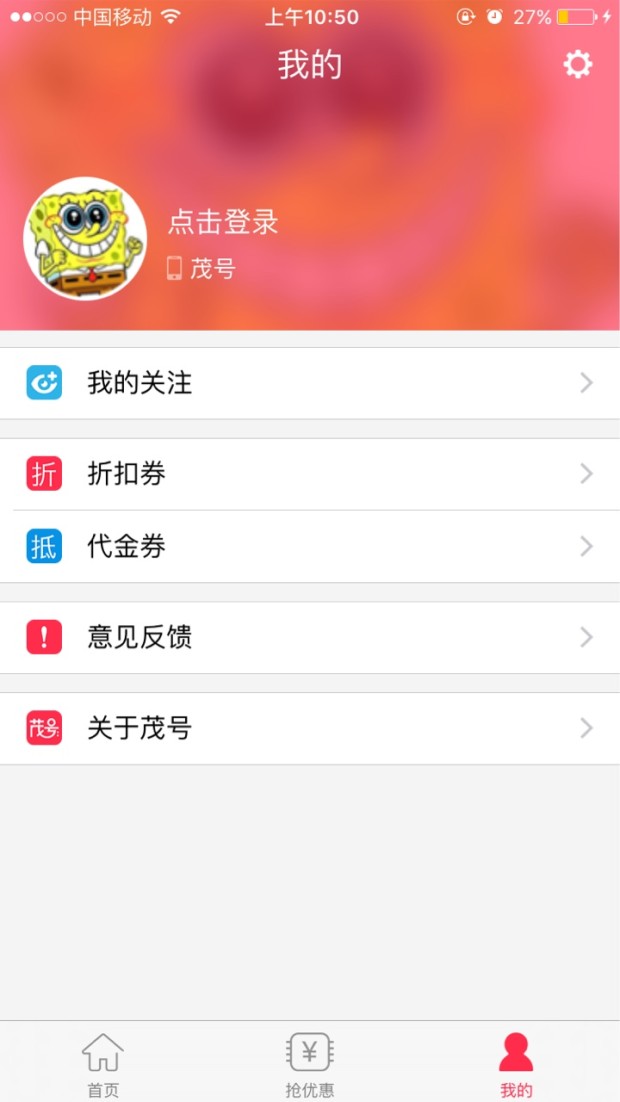
从相册中选择或拍照设置并上传头像图片
2017-09-10 00:00
513 查看
相信很多app中都有通过拍照或者从相册中选择的方式设置并上传头像的功能。如下是我之前一个项目中通过相册或者拍照获取图片的一个功能(照片来源于网络)。现在把代码贴出来,大家使用时(点击imageView或者button时),只需要调用- (void)didTapHeaderImageView方法,即可实现通过相册或者拍照的方式获取照片的功能。

照片来源于网络
文/VV木公子(简书作者)
PS:如非特别说明,所有文章均为原创作品,著作权归作者所有,转载转载请联系作者获得授权,并注明出处,所有打赏均归本人所有!
如果您是iOS开发者,请关注本人,或者对本篇文章感兴趣,请点击喜欢,后续会更新更多相关文章!敬请期待!

照片来源于网络
设置头像
- (void)didTapHeaderImageView
{
NSLog(@"点击了头像");
UIAlertController *alertController = [UIAlertController alertControllerWithTitle:@"照片" message:@"拍照或者从相册中选择照片" preferredStyle:UIAlertControllerStyleAlert];

UIAlertAction *action1 = [UIAlertAction actionWithTitle:@"拍照" style:UIAlertActionStyleDestructive handler:^(UIAlertAction * __nonnull action) { // 点击了拍照按钮"

// 拍照
UIImagePickerControllerSourceType sourceType = UIImagePickerControllerSourceTypeCamera;
if ([UIImagePickerController isSourceTypeAvailable: UIImagePickerControllerSourceTypeCamera])
{
UIImagePickerController *picker = [[UIImagePickerController alloc] init];
picker.delegate = self;

picker.allowsEditing = YES;
picker.sourceType = sourceType;
[self presentViewController:picker animated:YES completion:nil];
}else
{
NSLog(@"模拟其中无法打开照相机,请在真机中使用");
}

}];
UIAlertAction *action2 = [UIAlertAction actionWithTitle:@"相册" style:UIAlertActionStyleDestructive handler:^(UIAlertAction * __nonnull action) { // 点击了相册按钮

if (![UIImagePickerController isSourceTypeAvailable:UIImagePickerControllerSourceTypePhotoLibrary]) { // 没有相册
return;
}

UIImagePickerController *pickerVC = [[UIImagePickerController alloc] init];
pickerVC.delegate = self;

pickerVC.sourceType = UIImagePickerControllerSourceTypePhotoLibrary;
[self presentViewController:pickerVC animated:YES completion:nil];
}];
UIAlertAction *action3 = [UIAlertAction actionWithTitle:@"取消" style:UIAlertActionStyleCancel handler:^(UIAlertAction * __nonnull action) {

}];

[alertController addAction:action1];
[alertController addAction:action2];
[alertController addAction:action3];

[self presentViewController:alertController animated:YES completion:nil];

}

#pragma mark - UIImagePickerControllerDelegate
- (void)imagePickerController:(nonnull UIImagePickerController *)picker didFinishPickingMediaWithInfo:(nonnull NSDictionary<NSString *,id> *)info
{
NSString *type = [info objectForKey:UIImagePickerControllerMediaType];

if ([type isEqualToString:@"public.image"])
{

UIImage* image = [info objectForKey:@"UIImagePickerControllerOriginalImage"];
NSData *data;
if (UIImagePNGRepresentation(image) == nil)
{
data = UIImageJPEGRepresentation(image, 1.0);
}
else
{
data = UIImagePNGRepresentation(image);
}

NSString * DocumentsPath = [NSHomeDirectory() stringByAppendingPathComponent:@"Documents"];

NSFileManager *fileManager = [NSFileManager defaultManager];

[fileManager createDirectoryAtPath:DocumentsPath withIntermediateDirectories:YES attributes:nil error:nil];
NSString *imageName = [NSString stringWithFormat:@"/headerImage.png"];

[fileManager createFileAtPath:[DocumentsPath stringByAppendingString:imageName] contents:data attributes:nil];
//        [fileManager createFileAtPath:[DocumentsPath stringByAppendingString:@"/image.png"] contents:data attributes:nil];

//得到沙盒中图片的完整路径
NSString *filePath = [[NSString alloc]initWithFormat:@"%@%@",DocumentsPath,  imageName];
image = [UIImage imageWithContentsOfFile:filePath];

//        NSData * imageData = UIImageJPEGRepresentation(image,1);
//        NSInteger length = [imageData length]/1000;
//        NSLog(@"%ld",length);

//关闭相册界面
[picker dismissViewControllerAnimated:YES completion:nil];

UIButton *btn = [[UIButton alloc] initWithFrame:CGRectMake(0, 0, 100, 100)];
[self.tableView addSubview:btn];
btn.backgroundColor = [UIColor redColor];
[self.headerImageView setImage:image];
}
}

// 用户取消了操作
- (void)imagePickerControllerDidCancel:(nonnull UIImagePickerController *)picker{
[picker dismissViewControllerAnimated:YES completion:nil];
}
文/VV木公子(简书作者)
PS:如非特别说明,所有文章均为原创作品,著作权归作者所有,转载转载请联系作者获得授权,并注明出处,所有打赏均归本人所有!
如果您是iOS开发者,请关注本人,或者对本篇文章感兴趣,请点击喜欢,后续会更新更多相关文章!敬请期待!
相关文章推荐
- iOS上传头像, 相册权限,相册权限,拍照上传,相册选择图片,拍照页面语言设置,保存到相册
- 兼容SDK4.4(api19)拍照、相册选择图片裁剪压缩上传头像
- 个人界面 < 头像 > 图片选择(相册,拍照)--如何调用系统的相册,裁剪并且上传
- Android开发之头像上传(包含拍照,从相册选择图片,裁剪等)
- android选择系统相机拍照和系统相册,裁剪图片并保存和设置头像,适配至7.0
- 通过拍照或选择本地图片并剪裁后设置头像
- HTML5 Plus 拍照或者相册选择图片上传
- Android实现从相册选择或者直接拍照来设置圆形的头像CircleImageView
- Android中相机拍摄照片,以及相册选择图片压缩上传(压缩后保存进SD中)(可用于修改头像等)
- Android设置头像,手机拍照或从本地相册选取图片作为头像
- Retrofit+RxJava+OkHttp封装类请求接口数据→原生登录,注册,个人信息页+设置用户头像(图片上传或拍照)+SharedPreferences保存信息+Fresco加载图片+Mvp分层
- 通过拍照或选择本地图片并剪裁图片设置成头像
- 安卓手机拍照,从相册选择,上传头像
- Android设置头像,手机拍照或从本地相册选取图片作为头像
- Android WebView 选择图片并上传(调用相机拍照/相册/选择文件)
- PHP调用微信JSSDK接口 选择相册及拍照、图片上传
- 拍照上传图片与从相册中选择图片上传
- iOS 调用相机拍照和选择图库图片 设置头像
- 朝花夕拾-android 从手机选择图片或拍照设置头像
- Ionic3学习笔记(十二)拍照上传图片以及从相册选择图片上传
