基于CentOS7.3安装Zabbix3.2手记
2017-09-04 19:56
477 查看
一、安装虚拟机
此处不做赘述二、配置yum源
安装epel源[root@localhost ~]# yum -y install epel-release
安装webtatic源
[root@localhost ~]# rpm -Uvh http://mirror.webtatic.com/yum/el7/webtatic-release.rpm[/code]
配置zabbix源vim /etc/yum.repos.d/zabbix.repo [zabbix] name=zabbix baseurl=http://repo.zabbix.com/zabbix/3.2/rhel/7/x86_64/ enabled=1 gpgcheck=0
清空yum cache,重建yum缓存[root@localhost ~]# yum clean all [root@localhost ~]# yum repolist [root@localhost ~]# yum makecache三、升级PHP版本
由于zabbix3.2版本需要PHP5.6以上版本才能支持,默认centos安装的php版本为5.3.3,因此需要升级php版本。
1、查看当前php版本[root@localhost ~]# php -v
2、移除当前已经安装的php版本[root@localhost ~]# yum remove php*
3、安装php5.6版本[root@localhost ~]# yum install -y php56w php56w-devel php56w-common php56w-mysql php56w-pdo php56w-opacache php56w-xml php56w-gd php56w-bcmath php56w-mbstring [root@localhost ~]# php -v PHP 5.6.30 (cli) (built: Jan 19 2017 22:50:24) Copyright (c) 1997-2016 The PHP Group Zend Engine v2.6.0, Copyright (c) 1998-2016 Zend Technologies四、安装mariadb并编辑mariadb配置文件
1、安装mariadb[root@localhost ~]# yum install -y mariadb-server mariadb-libs mariadb-devel
2、编辑/etc/my.cnf.d/server.cnf,添加以下内容,防止中文乱码[root@localhost ~]# vim /etc/my.cnf.d/server.cnf [mysqld] #设置字符集为utf8 character-set-server = utf8 collation-server = utf8_bin skip-character-set-client-handshake skip-external-locking symbolic-links=0 innodb_buffer_pool_size = 2048M innodb_log_file_size = 512M sort_buffer_size = 2M innodb_additional_mem_pool_size = 30M innodb_log_buffer_size = 8M key_buffer_size = 16M log-bin=mysql-bin expire_logs_days = 7 server-id=1001 innodb_data_file_path = ibdata1:1G #让innodb的每个表文件单独存储 innodb_file_per_table
3、启动mariadb服务,并设置开机自动启动[root@localhost ~]# systemctl start mariadb [root@localhost ~]# systemctl status mariadb [root@localhost ~]# systemctl enable mariadb
4、设置mysql服务root密码[root@localhost ~]# mysqladmin -uroot password root
5、创建数据库和用户授权[root@localhost ~]# mysql -uroot -proot MariaDB [(none)]> create database zabbix character set utf8; Query OK, 1 row affected (0.00 sec) MariaDB [(none)]> grant all privileges on zabbix.* to zabbix@'localhost' identified by 'zabbix'; Query OK, 0 rows affected (0.02 sec) MariaDB [(none)]> grant all privileges on zabbix.* to zabbix@'192.168.159.%' identified by 'zabbix'; Query OK, 0 rows affected (0.00 sec) MariaDB [(none)]> flush privileges; Query OK, 0 rows affected (0.00 sec) MariaDB [(none)]> exit Bye五、安装zabbix
1、yum安装zabbix[root@localhost ~]# yum install -y zabbix-agent zabbix-get zabbix-java-gateway zabbix-proxy zabbix-proxy-mysql zabbix-release zabbix-sender zabbix-server zabbix-server-mysql zabbix-web zabbix-web-mysql #由于安装zabbix的时候会默认安装一个zabbix-server-pgsql的插件,我们必须把这个插件删掉,后面zabbix才能默认连接mariadb,否则zabbix默认连接pgsql [root@localhost ~]# yum remove -y zabbix-server-pgsql
2、解压sql导入文件[root@localhost ~]# cd /usr/share/doc/zabbix-server-mysql-3.2.7/ [root@localhost zabbix-server-mysql-3.2.7]# ls AUTHORS ChangeLog COPYING create.sql.gz NEWS README [root@localhost zabbix-server-mysql-3.2.7]# gunzip create.sql.gz [root@localhost zabbix-server-mysql-3.2.7]# ls AUTHORS ChangeLog COPYING create.sql NEWS README
3、将sql文件导入mariadb[root@localhost zabbix-server-mysql-3.2.4]# mysql -uzabbix -pzabbix mysql> use zabbix; Database changed mysql> source /usr/share/doc/zabbix-server-mysql-3.2.7/create.sql ; mysql> show tables; mysql> exit;
3、编辑/etc/zabbix/zabbix_server.confvim /etc/zabbix/zabbix_server.conf DBPassword=zabbix
4、创建需要的目录mkdir /etc/zabbix/alertscripts /etc/zabbix/externalscripts
5、启动zabbix服务[root@localhost ~]# setenforce 0 [root@localhost ~]# getenforce Permissive [root@localhost ~]# systemctl restart zabbix-server [root@localhost ~]# systemctl status zabbix-server [root@localhost ~]# systemctl enable zabbix-server六、配置apache服务,并启动
1、编辑/etc/httpd/conf/httpd.conf,修改以下内容vim /etc/httpd/conf/httpd.conf ServerName localhost:80
2、启动httpd服务,并开机自动启动[root@localhost ~]# systemctl start httpd [root@localhost ~]# systemctl enable httpd
3、其他配置停止iptables [root@localhost ~]# service iptables stop iptables: Setting chains to policy ACCEPT: filter [ OK ] iptables: Flushing firewall rules: [ OK ] iptables: Unloading modules: [ OK ] #如果有要求不能停止防火墙,则需要将http和https服务放行 [root@localhost ~]# firewall-cmd --permanent --add-service=http success [root@localhost ~]# firewall-cmd --permanent --add-service=https success [root@localhost ~]# firewall-cmd --reload success [root@localhost ~]# firewall-cmd --list-all public (active) target: default icmp-block-inversion: no interfaces: ens33 ens37 sources: services: dhcpv6-client http https ssh ports: protocols: masquerade: no forward-ports: sourceports: icmp-blocks: rich rules: 将/usr/share/目录下的zabbix目录复制到/var/www/html/目录下 cp -r /usr/share/zabbix /var/www/html/七、在浏览器中打开并继续配置zabbix
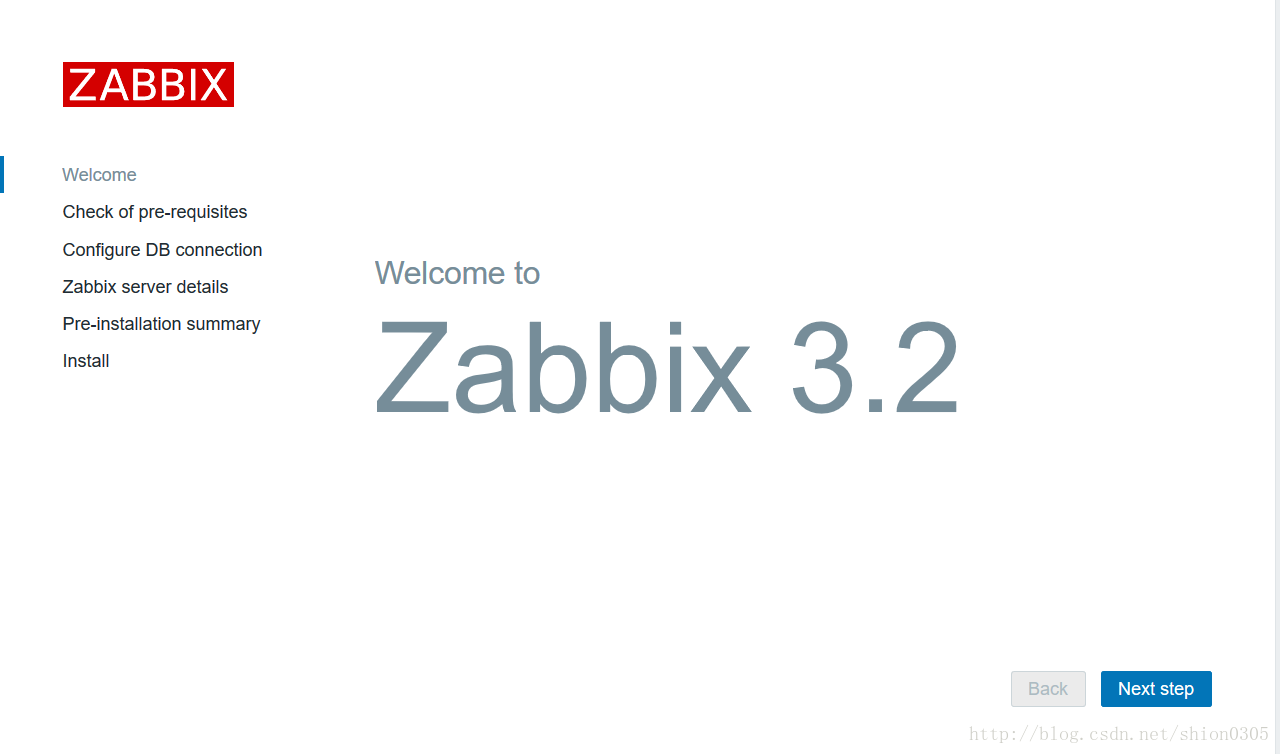
1、在浏览器中打开http://192.168.159.253/zabbix
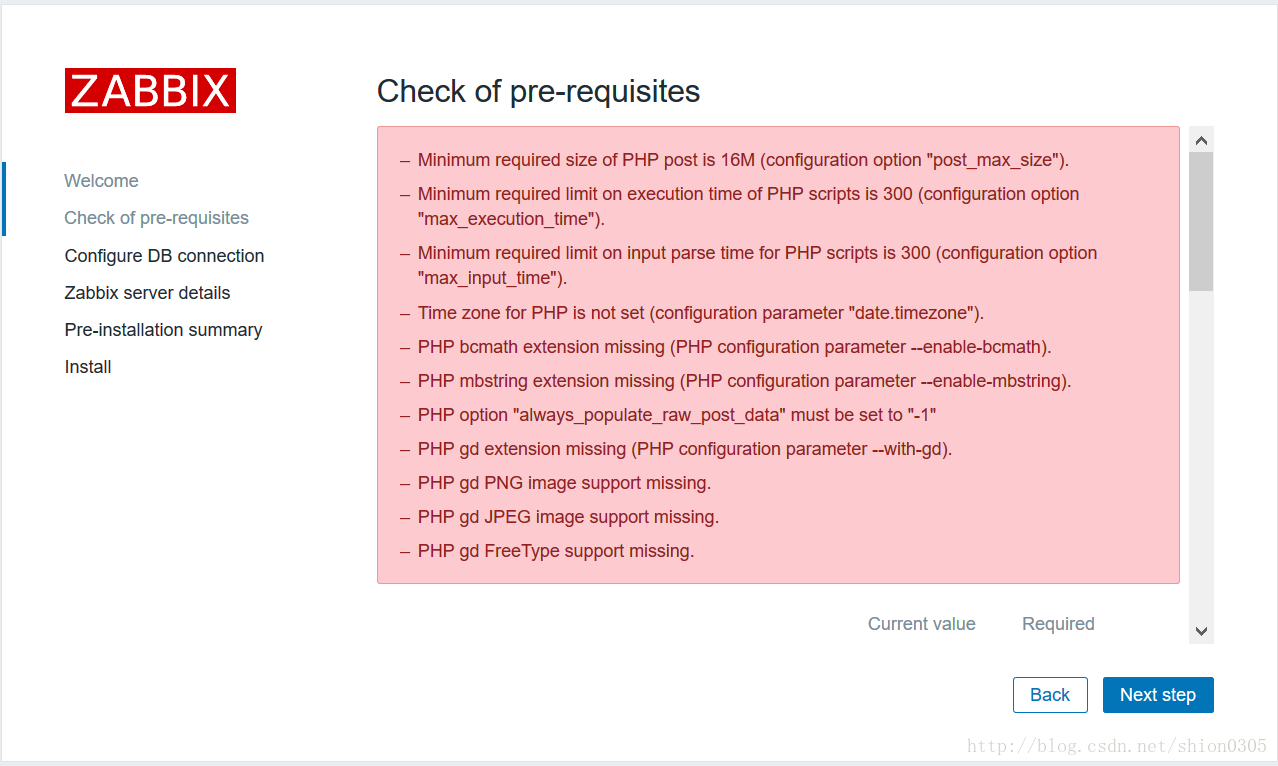
2、点击下一步,此页为php的参数检测,如果不通过,就修改到通过为止,在php.ini那里修改,记得改完要重启httpd
3、修改php配置文件[root@localhost ~]# vim /etc/php.ini post_max_size = 16M max_execution_time = 300 max_input_time = 300 date.timezone = Asia/Shanghai bcmath.scale = 1 always_populate_raw_post_data = -1 #修改以上参数后保存退出
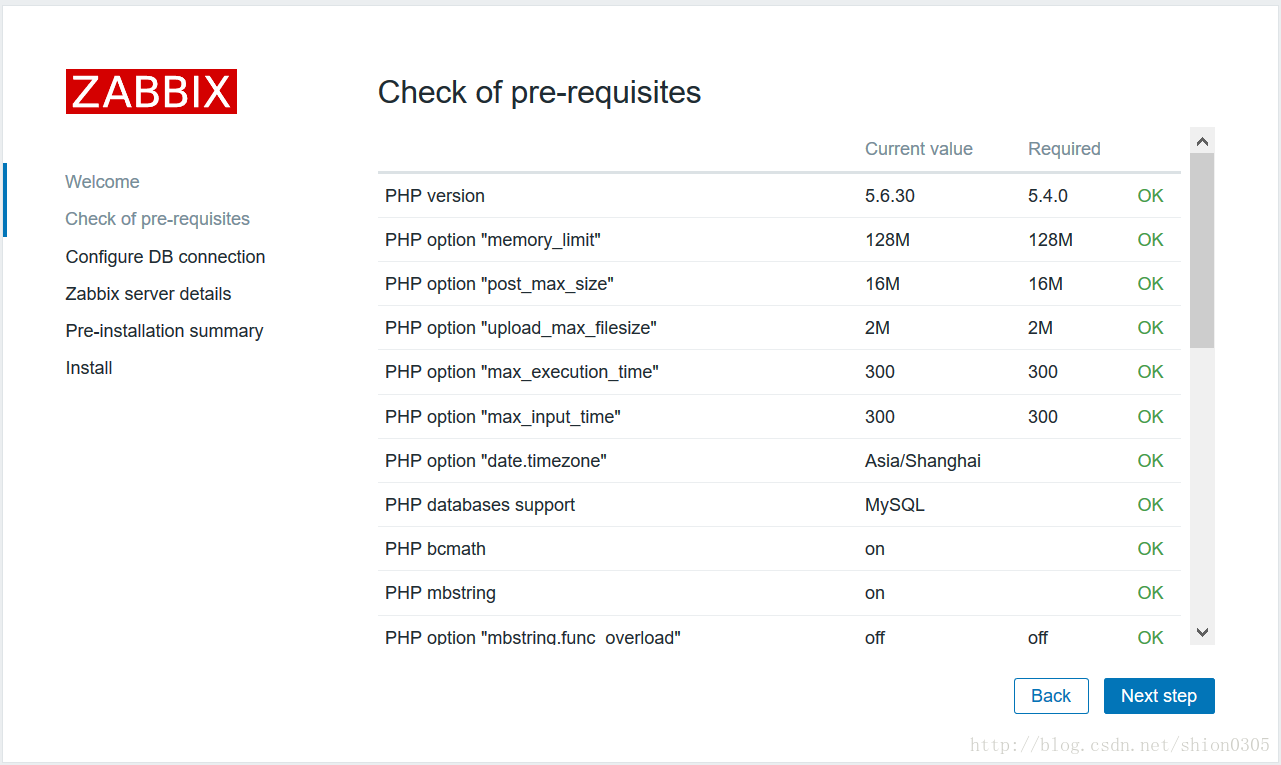
4、点击back,重新点击下一步检查
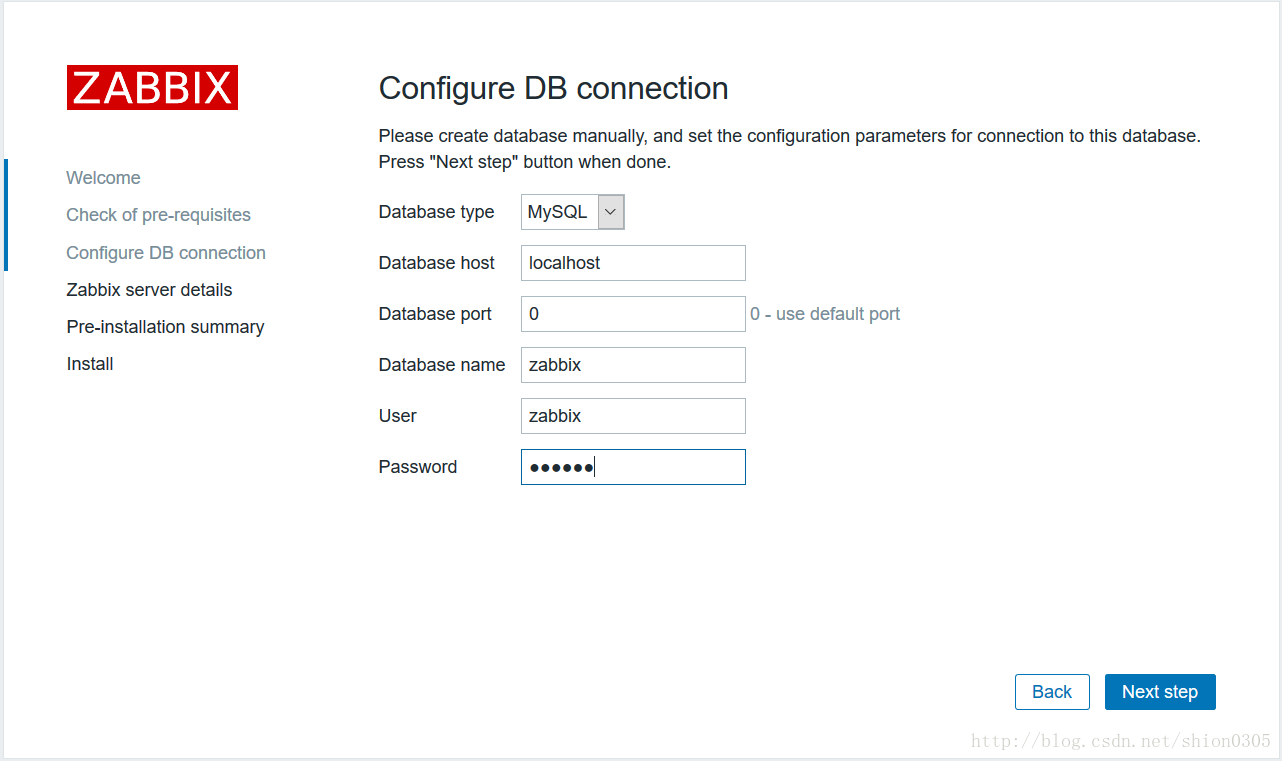
5、点击下一步,mysql数据库检测,用户名和密码填写刚才创建的zabbix
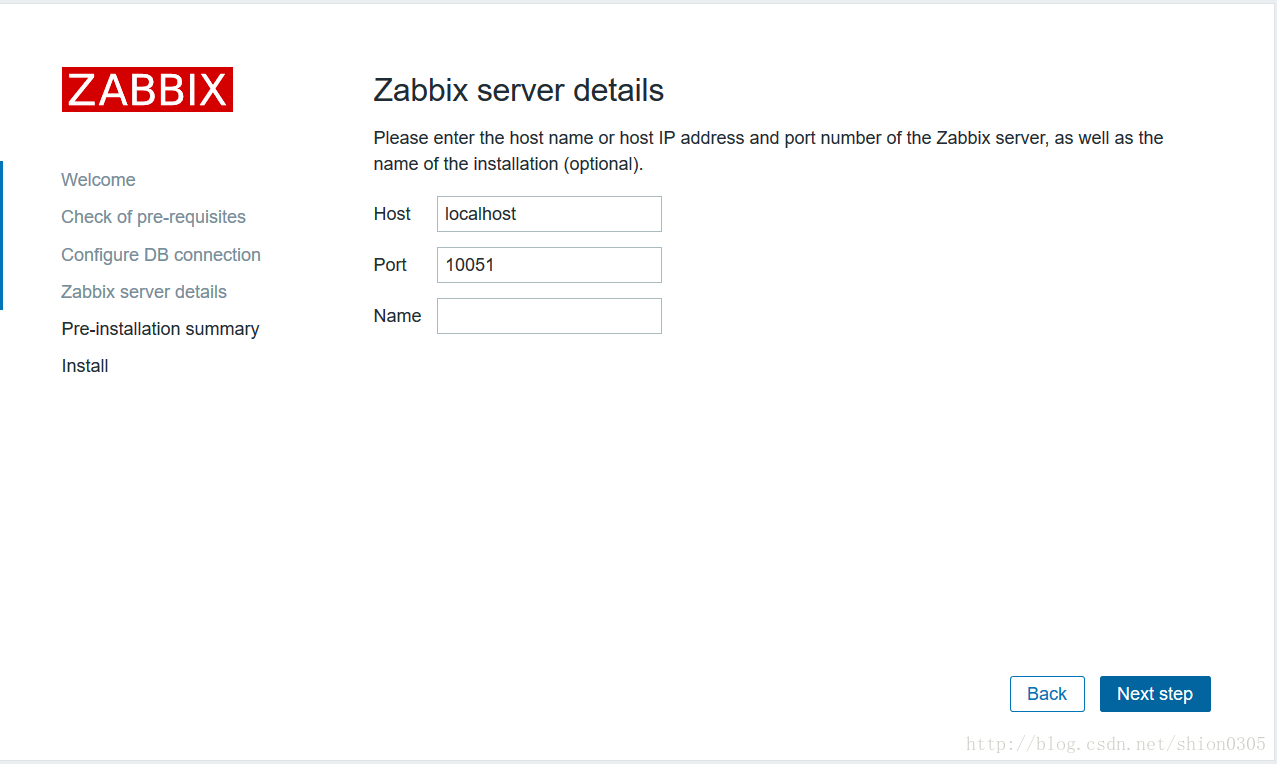
6、点击下一步,此页保持默认
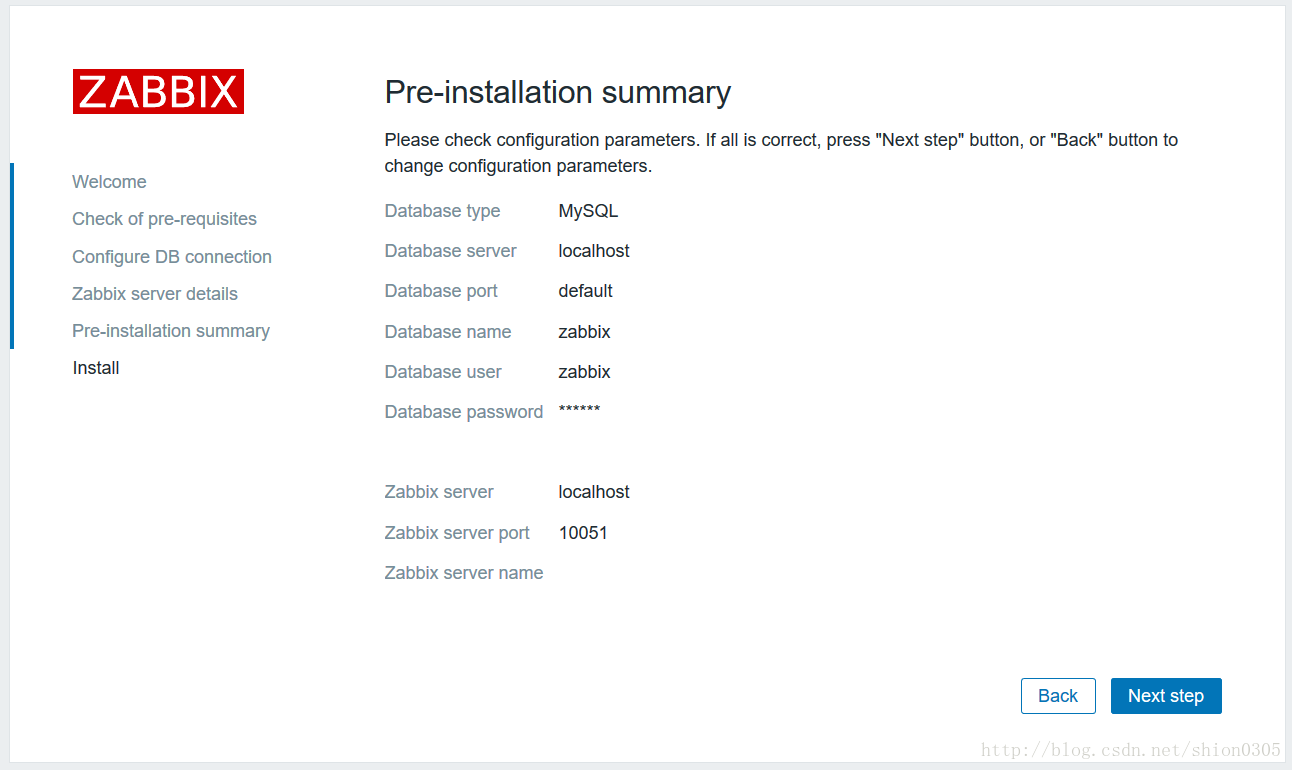
7、信息总览
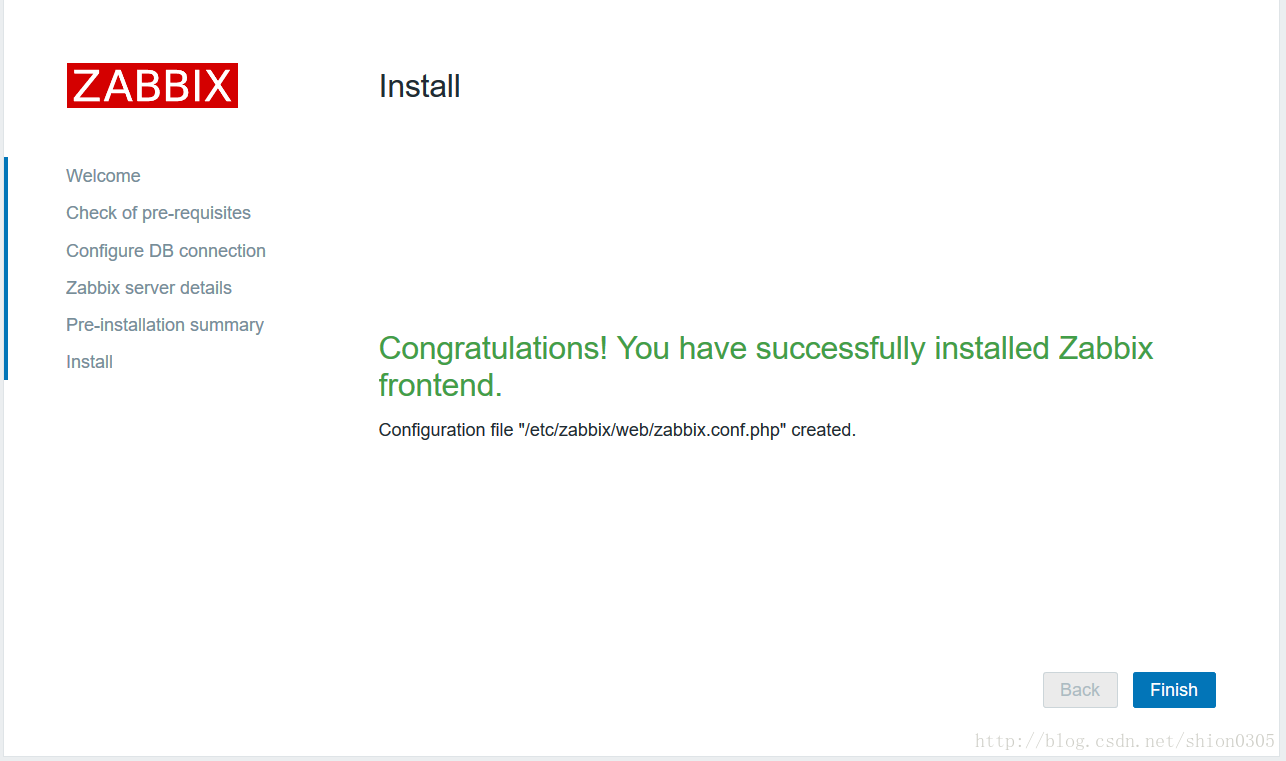
8、安装完毕,点击finish即可完成安装。
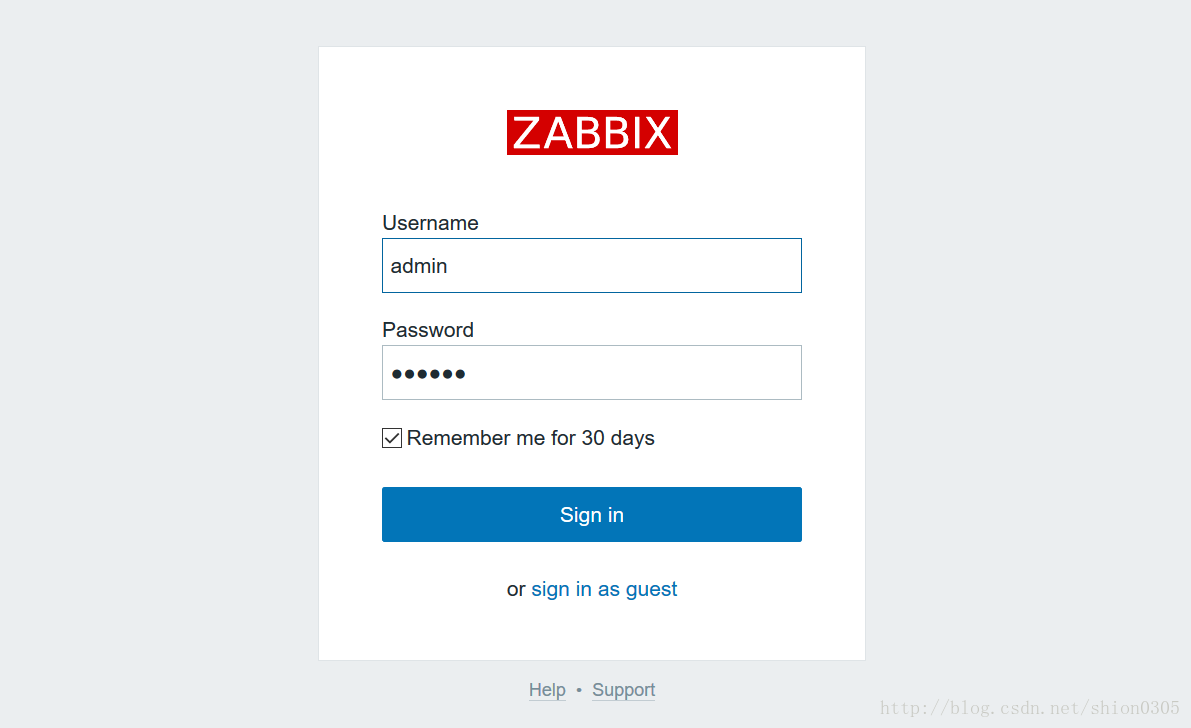
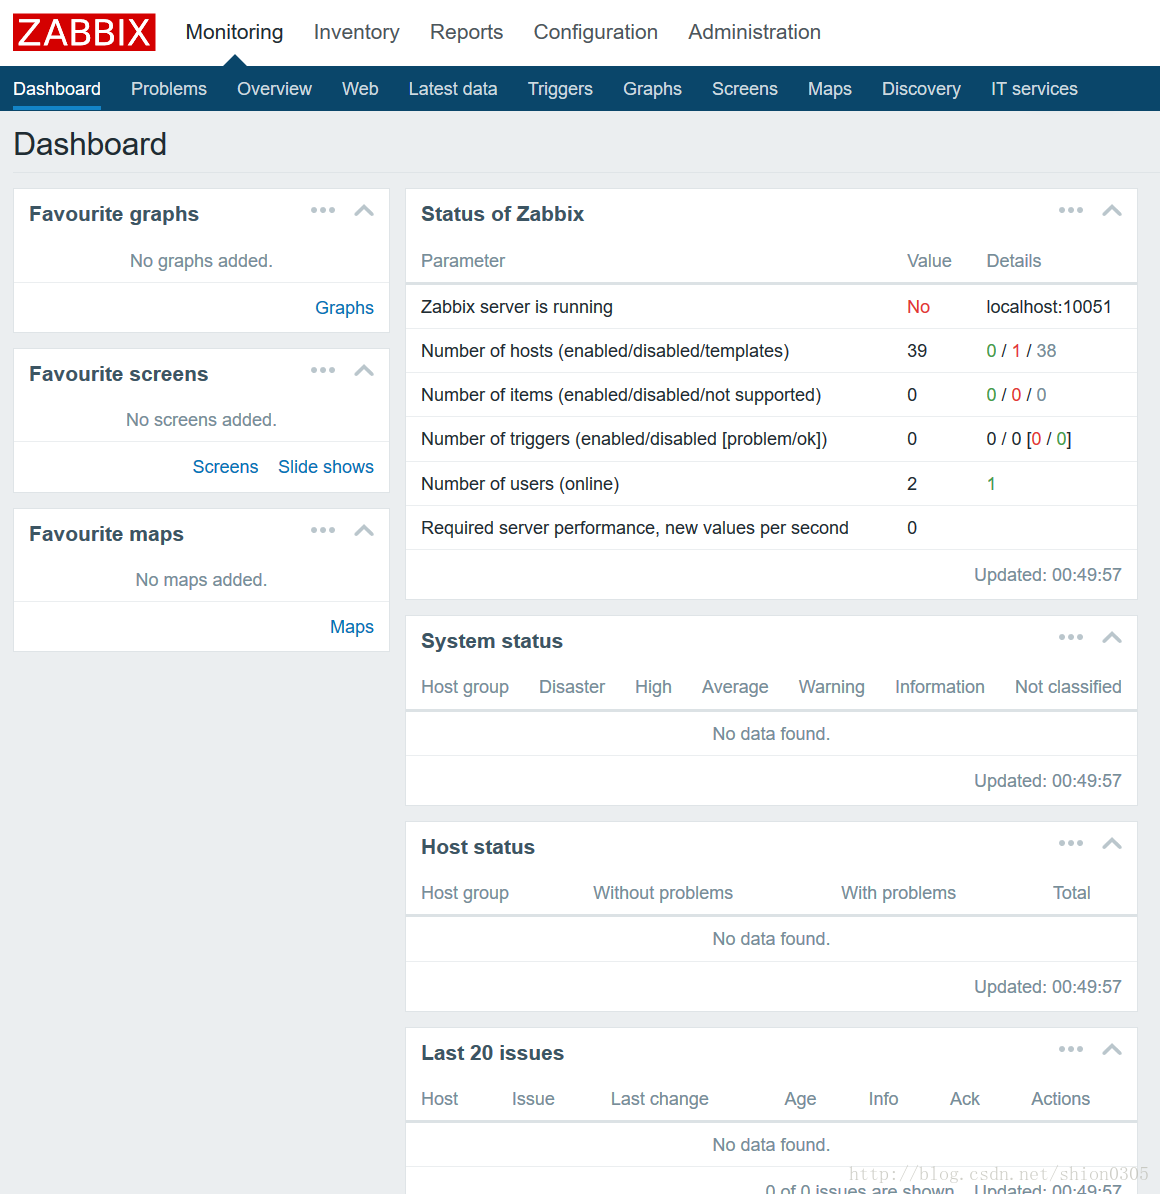
9、登录,默认用户名密码为admin/zabbix八、安装Grafana软件
1、访问Grafana官网,官网上提供有下载连接
https://grafana.com/grafana/download
2、下载并安装Grafana[root@localhost ~]# wget https://s3-us-west-2.amazonaws.com/grafana-releases/release/grafana-4.4.3-1.x86_64.rpm [root@localhost ~]# yum -y localinstall grafana-4.4.3-1.x86_64.rpm
3、启动Grafana-server服务,并将grafana-server加入开机启动#重新加载systemd发现新的项目 [root@localhost ~]# systemctl daemon-reload [root@localhost ~]# systemctl enable grafana-server.service Created symlink from /etc/systemd/system/multi-user.target.wants/grafana-server.service to /usr/lib/systemd/system/grafana-server.service. [root@localhost ~]# systemctl start grafana-server.service
4、打开浏览器输入zabbix服务器的IP:3000既可以打开。用户名密码默认都是admin

相关文章推荐
- 基于CentOS6.5安装Zabbix3.2手记
- centos7.3安装Zabbix3.2
- centos7.3 zabbix3.2 安装server端
- Centos7.3安装Zabbix3.2(Yum详细步骤)
- Centos 7.3安装Zabbix3.2
- CentOS 6.x 下安装Zabbix Agent 3.2.x 操作指引
- CentOS 7.2安装Zabbix 3.2全攻略
- zabbix 3.4.7 Centos 7.3 全新安装
- Centos 6.8 安装 zabbix 3.2版本 安装及修改字体
- 基于centos7.3 安装devstack ocata版本
- CentOS 6.5 Zabbix-agent3.2 安装 1.0版
- WordPress 4.8 安装配置教程 (基于 centos 7.3, php 7.0, mysql 5.7.19, nginx 1.12.1)
- 在CentOS 7上使用Yum源安装 Zabbix 3.2
- Zabbix安装配置(CentOS7.3)
- 基于CentOS6.6的Zabbix3.0安装
- 基于CentOS 7安装Zabbix 3.4
- centos7.3实现基于源码编译安装LAMP的wordpress应用
- CentOS 7.3安装Zabbix 3.2.6记录