Android 中基本界面布局
2017-04-30 16:46
169 查看
1.布局
1.1.LinearLayout
1.1.1orientation 指定子控件在LinearLayout中的排列方式。vertical表示在垂直方向上排列,horizontal表示在水平方向上排列.看一个例子:
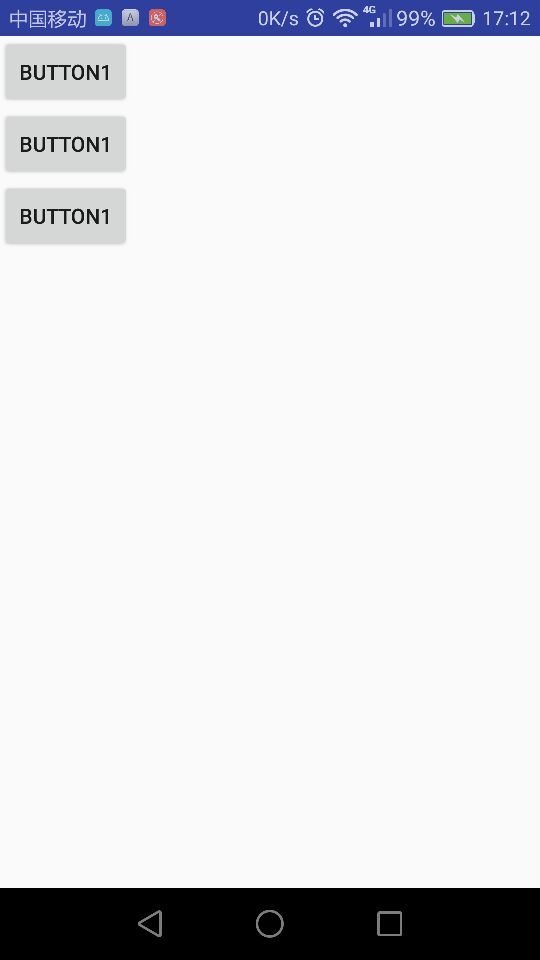
xml文件: orientation 属性为vertical
<?xml version="1.0" encoding="utf-8"?>
<LinearLayout xmlns:android="http://schemas.android.com/apk/res/android"
android:layout_width="match_parent"
android:layout_height="match_parent"
android:orientation="vertical">
<Button
android:layout_height="wrap_content"
android:layout_width="wrap_content"
android:id="@+id/button1"
android:text="button1"/>
<Button
android:layout_height="wrap_content"
android:layout_width="wrap_content"
android:id="@+id/button2"
android:text="button1"/>
<Button
android:layout_height="wrap_content"
android:layout_width="wrap_content"
android:id="@+id/button3"
android:text="button1"/>
</LinearLayout>
效果:
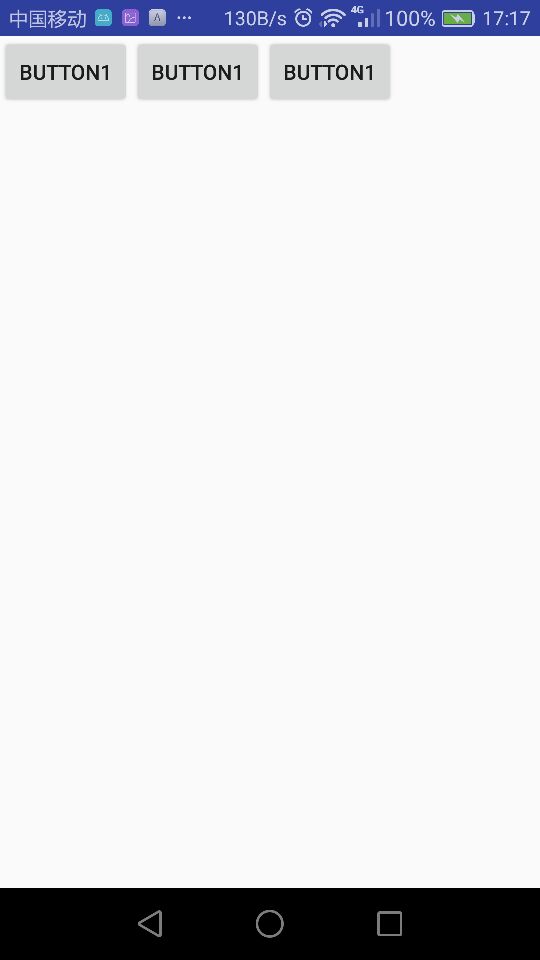
讲orientation属性改成horizontal,如果指定为horizontal,子控件就不能将宽度指定为match_parent,因为这样德华单独一个控件就会将整个水平方向占满,其他控件就没有位置了 。效果如下:
1.1.2 layout_gravity
这个属性与gravity区别:layout_gravity表示控件在布局中的对齐方式,gravity表示控件中文字在控件中的对齐方式.看一个例子:<?xml version="1.0" encoding="utf-8"?> <LinearLayout xmlns:android="http://schemas.android.com/apk/res/android" android:layout_width="match_parent" android:layout_height="match_parent" android:orientation="horizontal"> <Button android:layout_height="wrap_content" android:layout_width="wrap_content" android:layout_gravity="fill_vertical" android:id="@+id/button1" android:text="button1"/> <Button android:layout_height="wrap_content" android:layout_width="wrap_content" android:layout_gravity="center_vertical" android:id="@+id/button2" android:text="button2"/> <Button android:layout_height="wrap_content" android:layout_width="wrap_content" android:id="@+id/button3" android:layout_gravity="bottom" android:text="button3"/> </LinearLayout>效果:

注意:当LinearLayout中排列方向是vertical时,只有水平方向上的排列才有作用,Horizontal同理.
1.1.3.layout_weight 这个属性让我们使用比例的方式来指定控件的大小.例:
<?xml version="1.0" encoding="utf-8"?>
<LinearLayout xmlns:android="http://schemas.android.com/apk/res/android"
android:layout_width="match_parent"
android:layout_height="match_parent"
android:orientation="horizontal">
<EditText
android:layout_width="0dp"
android:layout_height="wrap_content"
android:layout_weight="1"/>
<Button
android:layout_height="wrap_content"
android:layout_width="0dp"
android:id="@+id/button2"
android:text="button2"
android:layout_weight="1"/>
</LinearLayout>
效果:

layout_weight属性 都指定为1,表示将平分宽度.看一看到edittext和 button 是平分屏幕宽度的,实际上,系统会将当前LinearLayout下的 所有Layout_weight值相加,得到一个总值,然后每个控件所占大小的比例就是该控件的layout_weight值/刚才计算的总值.
1.2. RelativeLayout
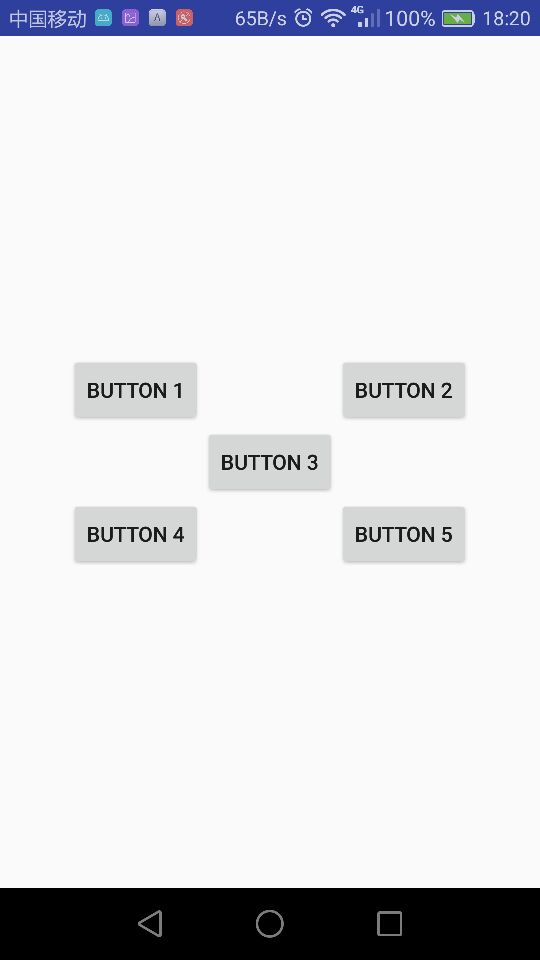
称为相对布局,使用场景非常多,我们先看一个例子:<?xml version="1.0" encoding="utf-8"?> <RelativeLayout xmlns:android="http://schemas.android.com/apk/res/android" android:layout_width="match_parent" android:layout_height="match_parent"> <Button android:layout_width="wrap_content" android:layout_height="wrap_content" android:layout_alignParentLeft="true" android:layout_alignParentTop="true" android:text="button 1"/> <Button android:layout_width="wrap_content" android:layout_height="wrap_content" android:layout_alignParentTop="true" android:layout_alignParentRight="true" android:text="button 2"/> <Button android:layout_width="wrap_content" android:layout_height="wrap_content" android:layout_centerInParent="true" android:text="button 3"/> <Button android:layout_width="wrap_content" android:layout_height="wrap_content" android:layout_alignParentLeft="true" android:layout_alignParentBottom="true" android:text="button 4"/> <Button android:layout_width="wrap_content" android:layout_height="wrap_content" android:layout_alignParentBottom="true" android:layout_alignParentRight="true" android:text="button 5"/> </RelativeLayout>效果:

layout_alignParent 基本都是这些,后面加左右上下的,最终是相对于父控件对齐.下面我们再看一个例子:
<?xml version="1.0" encoding="utf-8"?>
<RelativeLayout xmlns:android="http://schemas.android.com/apk/res/android"
android:layout_width="match_parent"
android:layout_height="match_parent">

<Button
android:id="@+id/button3"
android:layout_width="wrap_content"
android:layout_height="wrap_content"
android:layout_centerInParent="true"
android:text="button 3"/>
<Button
android:id="@+id/button1"
android:layout_width="wrap_content"
android:layout_height="wrap_content"
android:layout_above="@id/button3"
android:layout_toLeftOf="@id/button3"
android:text="button 1"/>
<Button
android:id="@+id/button2"
android:layout_width="wrap_content"
android:layout_height="wrap_content"
android:layout_above="@id/button3"
android:layout_toRightOf="@id/button3"
android:text="button 2"/>

<Button
android:id="@+id/button4"
android:layout_width="wrap_content"
android:layout_height="wrap_content"
android:layout_below="@id/button3"
android:layout_toLeftOf="@id/button3"
android:text="button 4"/>
<Button
android:id="@+id/button5"
android:layout_width="wrap_content"
android:layout_height="wrap_content"
android:layout_below="@id/button3"
android:layout_toRightOf="@id/button3"
android:text="button 5"/>

</RelativeLayout>
效果:
这个是相对于控件的对齐方式.

相关文章推荐
- Android界面布局基本知识简述
- Android界面基本属性 (布局)
- Android界面布局基本属性
- Android界面布局基本知识简述
- Android界面布局基本知识简述
- Android界面布局基本知识简述
- Android软件开发之盘点界面五大布局(十六)
- 完成BSP导出器基本界面的完成和布局,发文庆祝
- Android与iPhone界面布局对比
- Android界面布局实例
- Android界面布局-----RelativeLayout(相对布局)
- Android界面布局之gravity
- 【Android】界面布局之 LinearLayout(线性布局)
- (转)【Android】界面布局之TableLayout(表格布局)
- Android软件开发之盘点界面五大布局(十六)
- Android周学习Step By Step(4)--界面布局
- 原创Android中应用界面布局总结
- Android与iPhone界面布局对比
- Android布局整合include界面控件
- Android和iPhone应用程序界面布局示例