在Visual Studio 2013下利用MFC框架配置OpenGL
2017-03-12 13:19
477 查看
PS:这是弱鸡第一次写这样的总结,请多指教!
需要做好的工作:
把.h文件放入D:\Program Files\Microsoft Visual Studio 12.0(前面的是Visual Studio 2013的路径)\VC\include\GL(如果没有GL文件夹,新建一个即可)把.lib文件放入D:\Program Files\Microsoft Visual Studio 12.0\VC\lib
把.dll文件放入C:\Windows\SysWOW64(如果是32位的话,放入System32里面)
文件包地址:点我
声明一下:文件包里面的dll文件都是32位的,所以如果是64位操作系统的话,放入SysWOW64或者System32均可。
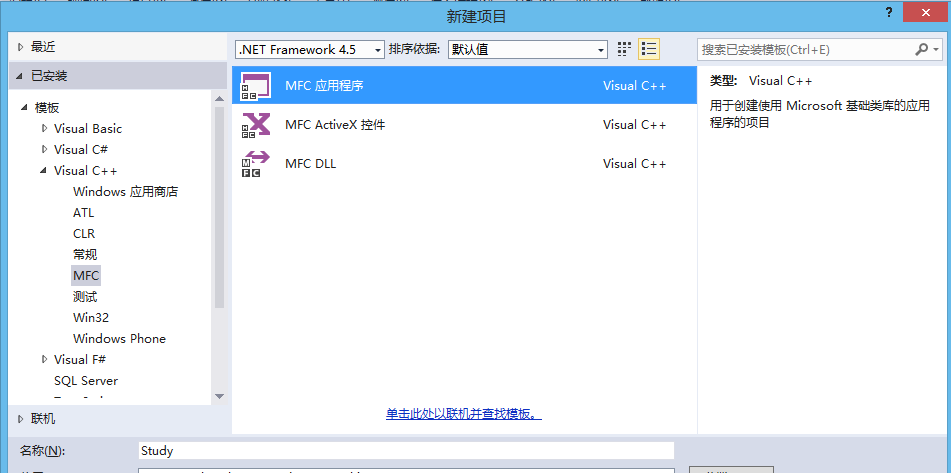
一、创建一个项目Study
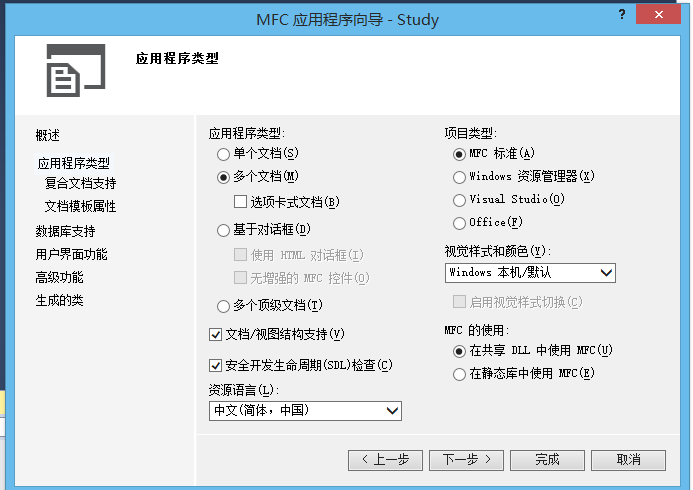
二、选择应用程序类型,然后勾选MFC标准,点击“完成”
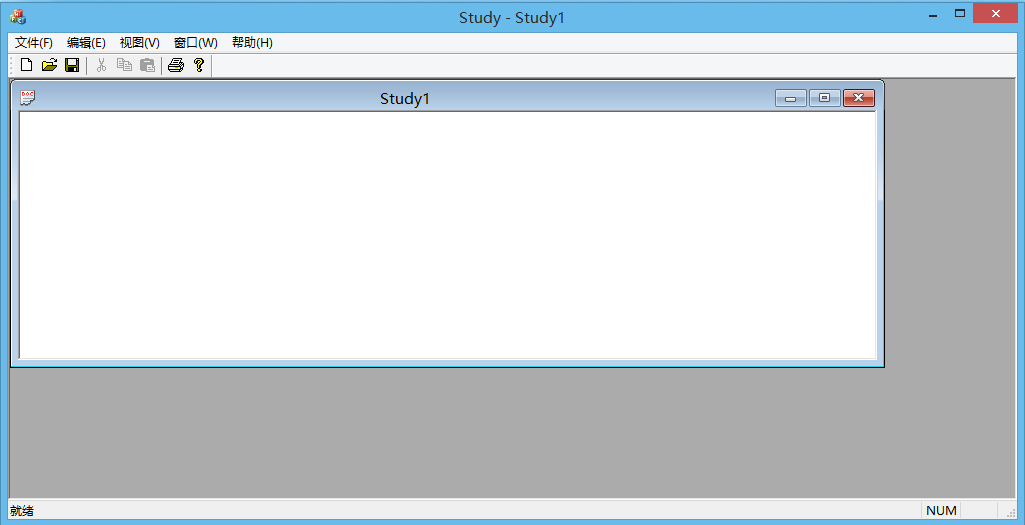
之后我们执行程序,结果如下:
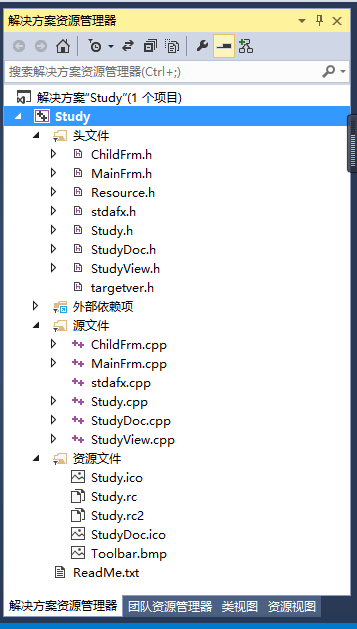
三、导入一些必要的文件
(1)首先在< stdafx.h >里面加入一些常用的头文件#include <gl/gl.h> #include <gl/glu.h> #include <gl/glut.h> #include <gl/glaux.h> #include <stdio.h> #include <math.h> #include <iostream> #include <queue> #include <string> #include <vector> #include <algorithm> #include <set> #include <stdlib.h> #include <string.h> #include <map> #include <stack> using namespace std;
(2)在Study项目里加入OpenGL的lib库
选中项目后,点击鼠标右键
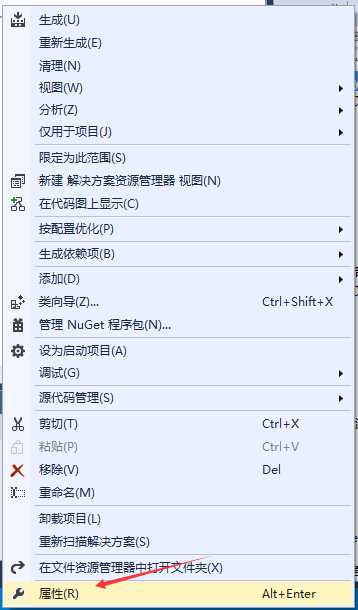
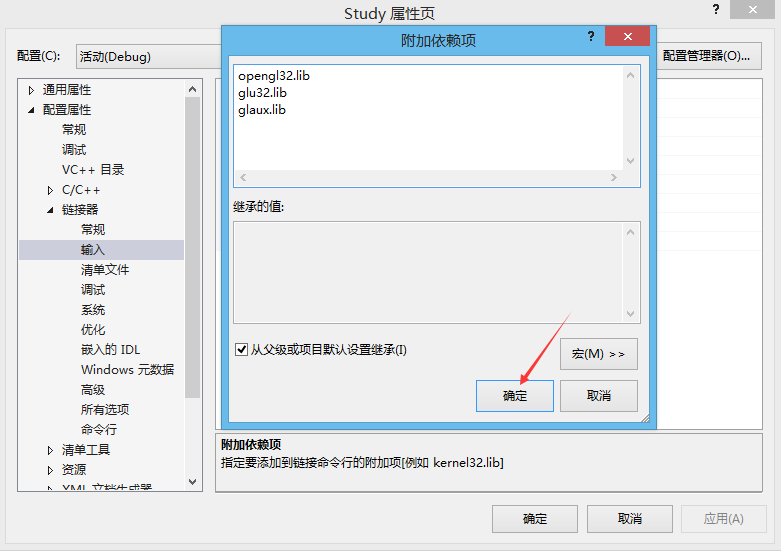
选中属性,找到配置属性/链接器/输入/附加依赖项

写入需要使用的lib文件
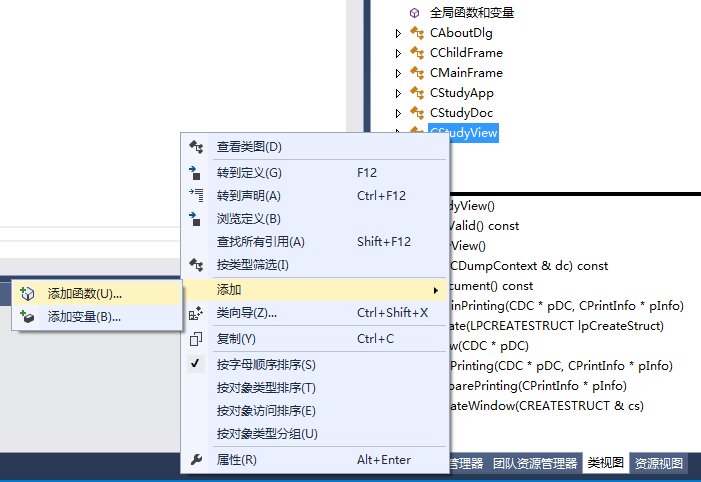
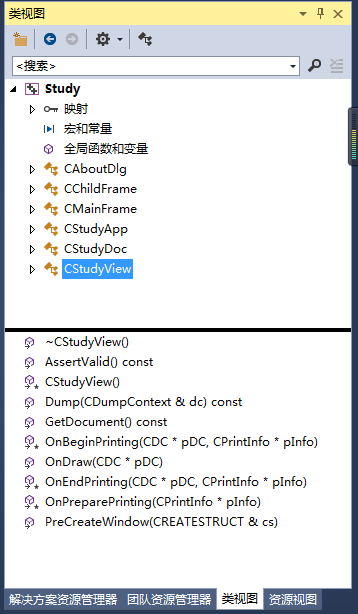
四、在程序里面添加变量和函数
(1)在View.h里面添加变量private: HGLRC m_hRC; CClientDC* m_pDC;
(2)在View.cpp里面添加自定义函数bSetDCPixelFormat(),用于设置像素格式
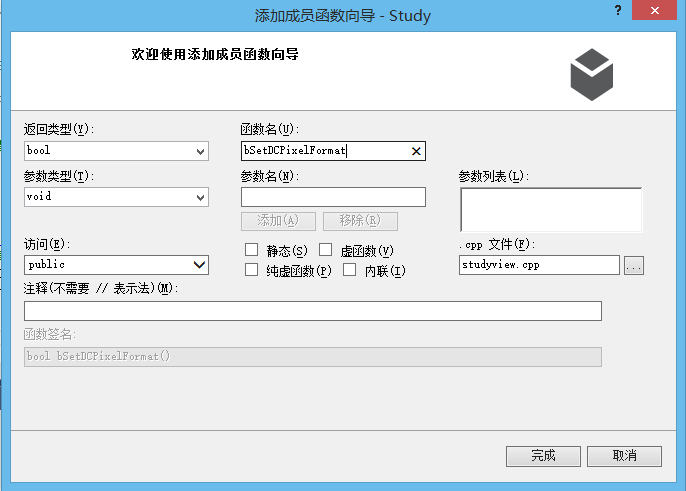
bool CGraduationView::bSetDCPixelFormat()
{
static PIXELFORMATDESCRIPTOR pfd =
{
sizeof(PIXELFORMATDESCRIPTOR), // 结构的大小
1, // 结构的版本
PFD_DRAW_TO_WINDOW | // 在窗口(而不是位图)中绘图
PFD_SUPPORT_OPENGL | // 支持在窗口中进行OpenGL调用
PFD_DOUBLEBUFFER, // 双缓冲模式
PFD_TYPE_RGBA, // RGBA颜色模式
32, // 需要32位颜色
0, 0, 0, 0, 0, 0, // 不用于选择模式
0, 0, // 不用于选择模式
0, 0, 0, 0, 0, // 不用于选择模式
16, // 深度缓冲区的大小
0, // 在此不使用
0, // 在此不使用
0, // 在此不使用
0, // 在此不使用
0, 0, 0 // 在此不使用
};
// 选择一种与pfd所描述的最匹配的像素格式
// 为设备环境设置像素格式
int pixelformat;
if ((pixelformat = ChoosePixelFormat(m_pDC->GetSafeHdc(), &pfd)) == 0) {
MessageBox("ChoosePixelFormat failed");
return FALSE;
}
if (SetPixelFormat(m_pDC->GetSafeHdc(), pixelformat, &pfd) == FALSE) {
MessageBox("SetPixelFormat failed");
return FALSE;
}
return TRUE;
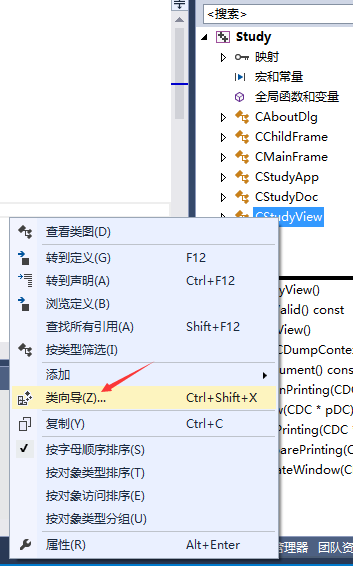
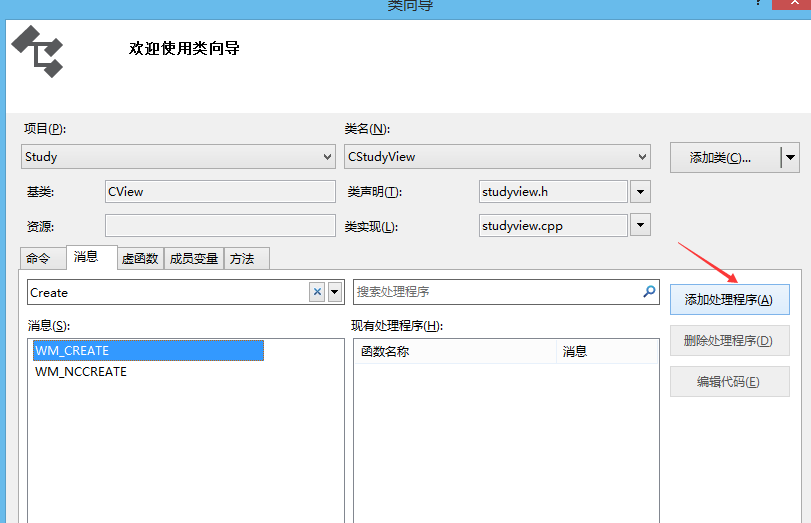
}(3)在View.cpp里面添加OnCreate()函数,创建窗口时调用
int CStudyView::OnCreate(LPCREATESTRUCT lpCreateStruct)
{
if (CView::OnCreate(lpCreateStruct) == -1)
return -1;

// TODO:  在此添加您专用的创建代码
// 创建DC

m_pDC = new CClientDC(this);
ASSERT(m_pDC != NULL);
// 选择像素格式
if (!bSetDCPixelFormat()) return -1;
// 创建渲染环境, 并使它成为当前渲染环境
m_hRC = wglCreateContext(m_pDC->GetSafeHdc());
wglMakeCurrent(m_pDC->GetSafeHdc(), m_hRC);
return 0;
}
(4)添加OnDestroy() 函数,同OnCreate函数的添加过程
void CStudyView::OnDestroy()
{
CView::OnDestroy();

// TODO:  在此处添加消息处理程序代码
// 释放资源
wglMakeCurrent(NULL, NULL);
wglDeleteContext(m_hRC);
delete m_pDC;
}
(5)修改OnDraw()函数,画图时调用该函数
void CStudyView::OnDraw(CDC* /*pDC*/)
{
CStudyDoc* pDoc = GetDocument();
ASSERT_VALID(pDoc);
if (!pDoc)
return;

// TODO:  在此处为本机数据添加绘制代码
// 清除颜色
glClear(GL_COLOR_BUFFER_BIT | GL_DEPTH_BUFFER_BIT);
// 绘制场景
glMatrixMode(GL_MODELVIEW);
glPushMatrix();
DrawPicture(); //为了更加明了,DrawPicture函数就是绘图的核心代码
glPopMatrix();
// 交换缓冲区
SwapBuffers(wglGetCurrentDC());
}
(6)添加绘图自定义函数DrawPicture(),就是OpenGL里面的Display()函数
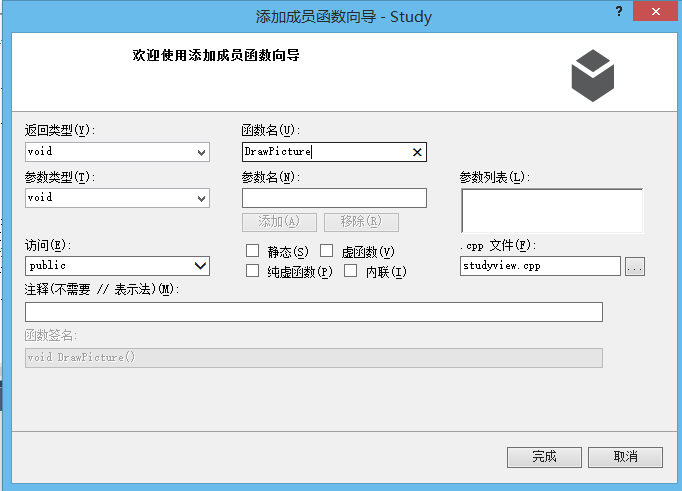
(7)添加函数OnInitialUpdate(),类似于OpenGL里面的OnInit()函数
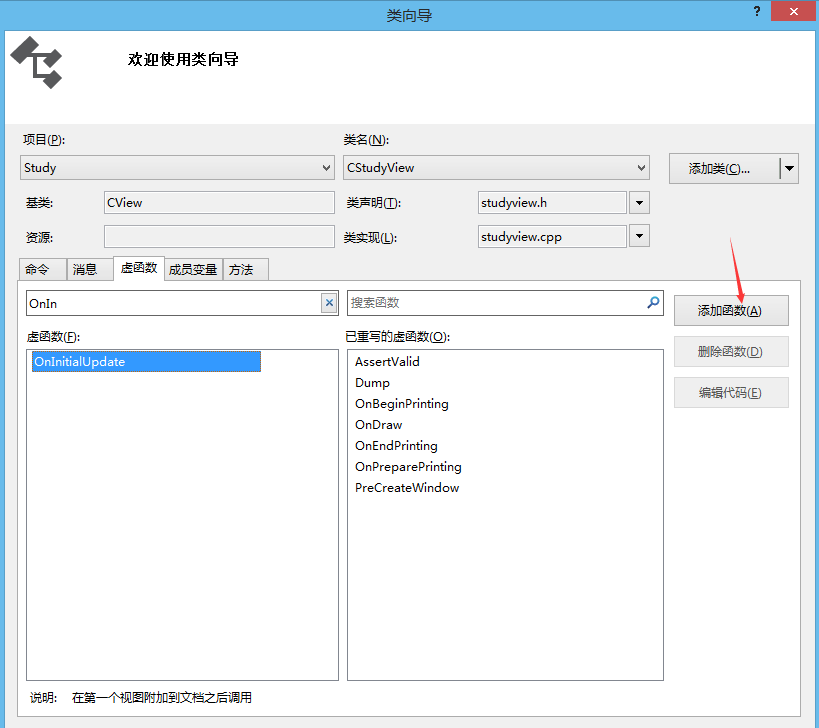
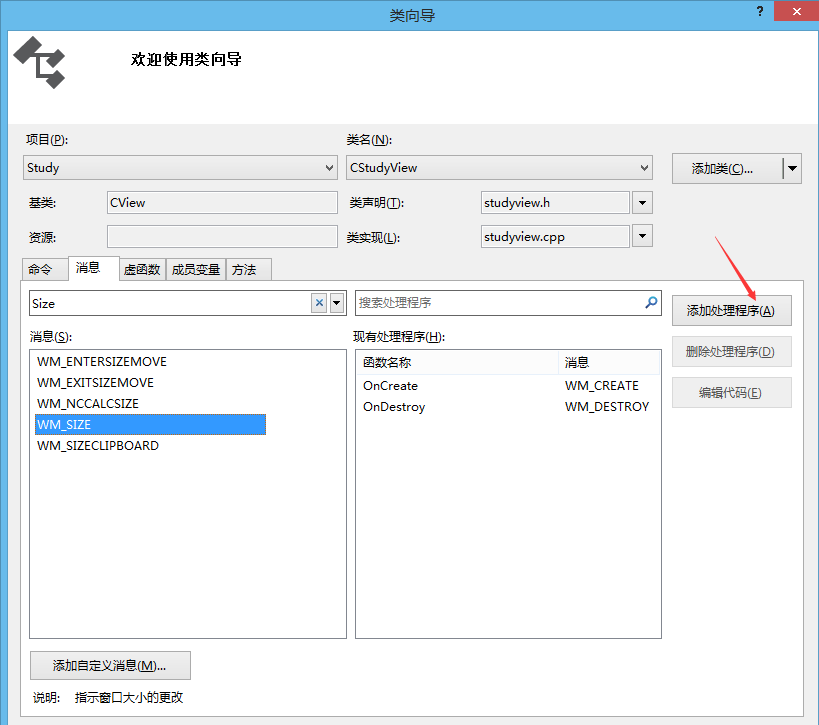
(8)添加OnSize()函数,类似于OpenGL里面的Reshape()函数
到此,基本工作就OK了。
~~~~~~~~~~~~~~~~~~~~~~~~~~~~~~~~~~~~~~~~~~~~~~~~~~~~~~~~~~~~~
现在用这个平台来实现下面这个OpenGL程序吧!
#include <GL/glut.h>
#include <math.h>
#include <stdio.h>
const GLfloat PI = acos(-1.0);
struct Color {
double x, y, z;
Color(double x = 0, double y = 0, double z = 0) : x(x), y(y), z(z) {}
};
struct Point {
double x, y;
Point(double x = 0, double y = 0) : x(x), y(y) {}
};
void Triangle(Color c1, Color c2, Color c3, Point a, Point b, Point c) {
glBegin(GL_TRIANGLES);
glColor3f(c1.x, c1.y, c1.z); glVertex2f(a.x, a.y);
glColor3f(c2.x, c2.y, c2.z); glVertex2f(b.x, b.y);
glColor3f(c3.x, c3.y, c3.z); glVertex2f(c.x, c.y);
glEnd();
}
// yellow : 1 1 0
// pink : 1 0 1
void myDisplay(void) {
glClearColor(0.0, 0.0, 0.0, 0.0);
glClear(GL_COLOR_BUFFER_BIT);

glColor3f (1.0f, 1.0f, 1.0f);
glRectf(-0.8f, -0.8f, 0.8f, 0.8f);

Triangle(Color(0, 1, 0), Color(1, 1, 0), Color(1, 0, 0),
Point(-0.8, 0.8), Point(0.8, 0.8), Point(0, -0.8));

glBegin(GL_POLYGON);
glColor3f(1.0f, 0.0f, 1.0f);
GLfloat r = 0.5;
for(int i = 1; i <= 1000; i++) {
glVertex2f(r * cos(PI / 500 * i), r * sin(PI / 500 * i));
}
glEnd();

GLfloat a = 1 / (2 - 2 * cos(72 * PI / 180)); // ???
GLfloat x = a * cos(18 * PI / 180);
GLfloat y = a * sin(18 * PI / 180);
GLfloat z = a * cos(18 * PI / 180);
glColor3f(0.0f, 0.0f, 1.0f);
glBegin(GL_LINE_LOOP);
glVertex2f(0.0f, a); glVertex2f(0.5f, -z);
glVertex2f(-x, y);   glVertex2f(x, y);
glVertex2f(-0.5f, -z);
glEnd();

Triangle(Color(1, 0, 0), Color(0, 0, 1), Color(1, 0, 1),
Point(-0.65, -0.6), Point(-0.6, -0.7), Point(-0.7, -0.7));

Triangle(Color(1, 0, 0), Color(1, 0, 1), Color(1, 1, 0),
Point(0.65, -0.6), Point(0.7, -0.7), Point(0.6, -0.7));
glFlush();
}
int main(int argc, char *argv[]) {
glutInit(&argc, argv);
glutInitDisplayMode(GLUT_RGB | GLUT_SINGLE);
glutInitWindowPosition(100, 100);
glutInitWindowSize(400, 400);
glutCreateWindow("Hello World!");
glutDisplayFunc(&myDisplay);
glutMainLoop();
return 0;
}
一、修改OnInitialUpdate()函数
void CStudyView::OnInitialUpdate()
{
CView::OnInitialUpdate();

// TODO:  在此添加专用代码和/或调用基类
glClearColor(1, 1, 1, 1);
}
二、修改OnSize()函数(这里以二维图形为例)
void CStudyView::OnSize(UINT nType, int cx, int cy)
{
CView::OnSize(nType, cx, cy);

// TODO:  在此处添加消息处理程序代码
glViewport(0, 0, cx, cy);
// 设置投影矩阵(透视投影)
glMatrixMode(GL_PROJECTION);
glLoadIdentity();
gluPerspective(60.0, (GLfloat)cx / (GLfloat)cy, 1.0, 1000.0);
// 设置模型视图矩阵
glMatrixMode(GL_MODELVIEW);
glLoadIdentity();
gluLookAt(0.0, 0.0, 2.0, 0.0, 0.0, 0.0, 0.0, 1.0, 0.0);
// 显示三维图形的程序
/*glViewport(0, 0, width, height);
glMatrixMode(GL_PROJECTION);
glLoadIdentity();
gluPerspective(45.0f, (GLfloat)width / (GLfloat)height, 0.1f, 100.0f);
glMatrixMode(GL_MODELVIEW);
glLoadIdentity();*/
}
三、把定义的类和方法写入StudyView.h头文件里面,方便调用
const GLfloat PI = acos(-1.0);
struct Color {
double x, y, z;
Color(double x = 0, double y = 0, double z = 0) : x(x), y(y), z(z) {}
};
struct Point {
double x, y;
Point(double x = 0, double y = 0) : x(x), y(y) {}
};

class Work {
public:
void Triangle(Color c1, Color c2, Color c3, Point a, Point b, Point c) {
glBegin(GL_TRIANGLES);
glColor3f(c1.x, c1.y, c1.z); glVertex2f(a.x, a.y);
glColor3f(c2.x, c2.y, c2.z); glVertex2f(b.x, b.y);
glColor3f(c3.x, c3.y, c3.z); glVertex2f(c.x, c.y);
glEnd();
}
// yellow : 1 1 0
// pink : 1 0 1
};
四、修改DrawPicture()函数
void CStudyView::DrawPicture()
{
glClearColor(0.0, 0.0, 0.0, 0.0);
glClear(GL_COLOR_BUFFER_BIT);

glColor3f(1.0f, 1.0f, 1.0f);
glRectf(-0.8f, -0.8f, 0.8f, 0.8f);
Work m_work;
m_work.Triangle(Color(0, 1, 0), Color(1, 1, 0), Color(1, 0, 0),
Point(-0.8, 0.8), Point(0.8, 0.8), Point(0, -0.8));

glBegin(GL_POLYGON);
glColor3f(1.0f, 0.0f, 1.0f);
GLfloat r = 0.5;
for (int i = 1; i <= 1000; i++) {
glVertex2f(r * cos(PI / 500 * i), r * sin(PI / 500 * i));
}
glEnd();

GLfloat a = 1 / (2 - 2 * cos(72 * PI / 180)); // ???
GLfloat x = a * cos(18 * PI / 180);
GLfloat y = a * sin(18 * PI / 180);
GLfloat z = a * cos(18 * PI / 180);
glColor3f(0.0f, 0.0f, 1.0f);
glBegin(GL_LINE_LOOP);
glVertex2f(0.0f, a); glVertex2f(0.5f, -z);
glVertex2f(-x, y);   glVertex2f(x, y);
glVertex2f(-0.5f, -z);
glEnd();

m_work.Triangle(Color(1, 0, 0), Color(0, 0, 1), Color(1, 0, 1),
Point(-0.65, -0.6), Point(-0.6, -0.7), Point(-0.7, -0.7));

m_work.Triangle(Color(1, 0, 0), Color(1, 0, 1), Color(1, 1, 0),
Point(0.65, -0.6), Point(0.7, -0.7), Point(0.6, -0.7));
glFlush();
}
五、执行程序,结果如下


相关文章推荐
- OpenGL超级宝典visual studio 2013开发环境配置
- 利用Visual Studio 2013 开发微软云Windows Azure配置指南(针对中国大陆)
- VS2013/MFC编程入门之一(利用MFC向导生成单文档应用程序框架)
- VC环境下基于MFC框架的OpenGL的编程环境的配置
- Visual Studio 2013 配置OpenGL环境变量
- VC环境下基于MFC框架的OpenGL的编程环境的配置
- VC环境下基于MFC框架的OpenGL的编程环境的配置
- Windows 8.1 Visual Studio 2013配置OpenGL开发环境
- Windows 8.1 Visual Studio 2013 OpenGL 配置
- VC++2010环境下基于MFC框架的OpenGL的编程环境的配置
- 计算机图形学-在VS2013下利用MFC实现OpenGL
- OpenGL的配置以及在MFC框架上的使用(附上源代码)
- VS 2013下 OpenGL 环境搭建(GLUT的配置)
- (Win8.1)VS2013环境下配置OpenGL
- OpenCV环境配置Visual Studio 2010、2012、2013、2015
- 关于Visual Studio 2013 编译 multi-byte character set MFC程序出现 MSB8031 错误的解决办法
- 利用Opencv 3.0源码 + Visual Studio 2013 在window7环境下编译lib及dll
- 利用淘宝diamond框架动态配置文件
- OpenGL实用函数工具包GLUT在Visual Studio上的配置
- Visual Studio 2013 调试MFC程序 ,断点无效