Maven私服仓库管理之Nexus 3.x
2016-12-21 14:22
225 查看
Nexus是一个强大的仓库管理器,极大地简化了内部仓库的维护和外部仓库的访问。
2016年4月6日Nexus 3.0版本发布,相较2.x版本有了很大的改变:
对低层代码进行了大规模重构,提升性能,增加可扩展性以及改善用户体验。
升级界面,极大的简化了用户界面的操作和管理。
提供新的安装包,让部署更加简单。
增加对Docker, NeGet, npm, Bower的支持。
提供新的管理接口,以及增强对自动任务的管理。
下载地址:http://www.sonatype.com/downl...
官方文档:http://books.sonatype.com/nex...
PDF文档:http://books.sonatype.com/nex...
Windows / Linux / Mac
Java JDK 8+
Apache Maven 3.0+
示例基于Ubuntu 16.04 LTS环境,安装前检查JDK:
该步骤不是必须的,但为了更好的管理和维护,建议创建一个管理用户。
打开浏览器输入:http://127.0.0.1:8081
以下配置均为可选,更详细的配置请查看官方文档
Nexus 3.0 的默认配置:
修改JVM配置:
请根据系统实际情况配置
其他的JVM参数也可以添加到这里
重启后访问:http://localhost:9081
Apache httpd.
nginx.
Apache httpd. Ensure Apache httpd is loading mod_ssl.
nginx. Make sure nginx is compiled using the --with-http_ssl_module option.
顾名思义是代理第三方仓库的,如:
maven-central
nuget.org-proxy
版本策略(Version Policy):
Release: 正式版本
Snapshot: 快照版本
Mixed: 混合模式
布局策略(Layout Policy):
Strict:严格
Permissive:宽松
存储本地上传的组件和资源的,如:
maven-releases
maven-snapshots
nuget-hosted
部署策略(Deployment Policy):
Allow Redeploy:允许重新部署
Disable Redeploy:禁止重新部署
Read-Only:只读
通常包含了多个代理仓库和宿主仓库,在项目中只要引入仓库组就可以下载到代理仓库和宿主仓库中的包,如:
maven-public
nuget-group
用户界面的操作和管理相对简单,请参考官方文档
在Maven settings.xml中添加Nexus认证信息:
nexus-releases: 用于发布Release版本
nexus-snapshots: 用于发布Snapshot版本
Release版本与Snapshot版本的区分:
在项目POM.xml中设置的版本号添加SNAPSHOT标识的都会发布为SNAPSHOT版本,没有SNAPSHOT标识的都会发布为Release版本。
SNAPSHOT版本会自动加一个时间作为标识,如:
在POM.xml中添加以下代码:
注意事项:
ID名称必须要与settings.xml中Servers配置的ID名称保持一致。
项目版本号中有SNAPSHOT标识的,会发布到Nexus Snapshots Repository, 否则发布到Nexus Release Repository,并根据ID去匹配授权账号。
Nexus 3.0不支持页面上传,可使用maven命令:
注意事项:
建议在上传第三方JAR包时,创建单独的第三方JAR包管理仓库,便于管理有维护。(maven-3rd)
注意事项:
在开发中如果有严格的管理要求,可将SNAPSHOT和RELEASE单独配置。
有插件依赖时配置插件仓库,默认会使用Maven中央仓库。
2016年4月6日Nexus 3.0版本发布,相较2.x版本有了很大的改变:
对低层代码进行了大规模重构,提升性能,增加可扩展性以及改善用户体验。
升级界面,极大的简化了用户界面的操作和管理。
提供新的安装包,让部署更加简单。
增加对Docker, NeGet, npm, Bower的支持。
提供新的管理接口,以及增强对自动任务的管理。
安装
下载地址:http://www.sonatype.com/downl...官方文档:http://books.sonatype.com/nex...
PDF文档:http://books.sonatype.com/nex...
环境要求
Windows / Linux / MacJava JDK 8+
Apache Maven 3.0+
安装步骤
示例基于Ubuntu 16.04 LTS环境,安装前检查JDK:nexus@ubuntu:~$ java -version java version "1.8.0_91" Java(TM) SE Runtime Environment (build 1.8.0_91-b14) Java HotSpot(TM) 64-Bit Server VM (build 25.91-b14, mixed mode)
1. 创建管理用户
该步骤不是必须的,但为了更好的管理和维护,建议创建一个管理用户。# 使用root权限创建一个用户 root@ubuntu:~# adduser nexus ## 给nexus用户添加sudo权限 # 1. 给root写的权限 root@ubuntu:~# chmod u+w /etc/sudoers # 2. 编辑/etc/sudoers,在root下添加nexus用户权限 nexus ALL=(ALL) ALL # 3. 保存后撤回写的权限 root@ubuntu:~# chmod u-w /etc/sudoers
2. 下载安装包
root@ubuntu:~# su nexus
nexus@ubuntu:~$ wget https://sonatype-download.global.ssl.fastly.net/nexus/3/nexus-3.0.1-01-unix.tar.gz nexus@ubuntu:~$ ls
nexus-3.0.1-01-unix.tar.gz
3. 解压和安装
nexus@ubuntu:~$ tar -zxvf nexus-3.0.1-01-unix.tar.gz

# 查看安装目录
nexus@ubuntu:~$ ls nexus-3.0.1-01/
bin  data  deploy  etc  lib  LICENSE.txt  NOTICE.txt  public  system

# bin: 启动脚本和启动时的配置文件
# data: 数据存储目录
# etc: 配置文件
# lib: Apache Karaf的二进制包
# public: 公共资源
# system: 系统依赖的组件和插件

# 指定JDK版本(可选)
nexus@ubuntu:~$ vim nexus-3.0.1-01/bin/nexus
INSTALL4J_JAVA_HOME_OVERRIDE="/usr/lib/jvm/java-8-oracle"

# 修改使用的用户(不建议使用root用户)
nexus@ubuntu:~/nexus-3.0.1-01$ vim bin/nexus.rc
run_as_user="nexus"
4. 运行
nexus@ubuntu:~$ ./nexus-3.0.1-01/bin/nexus start
# 可选的命令:{start|stop|run|run-redirect|status|restart|force-reload}
5. 验证安装
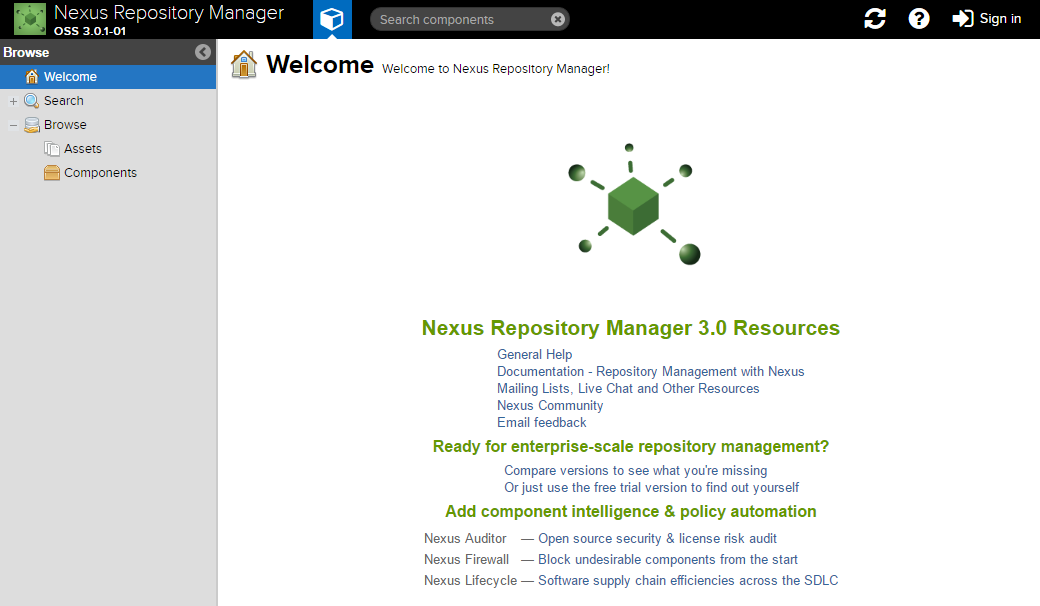
打开浏览器输入:http://127.0.0.1:8081
配置
以下配置均为可选,更详细的配置请查看官方文档
1. JVM配置(可选)
Nexus 3.0 的默认配置:nexus@ubuntu:~$ cat nexus-3.0.1-01/bin/nexus.vmoptions -Xms1200M -Xmx1200M -XX:+UnlockDiagnosticVMOptions -XX:+UnsyncloadClass -Djava.net.preferIPv4Stack=true -Dkaraf.home=. -Dkaraf.base=. -Dkaraf.etc=etc -Djava.util.logging.config.file=etc/java.util.logging.properties -Dkaraf.data=data -Djava.io.tmpdir=data/tmp -Dkaraf.startLocalConsole=false
修改JVM配置:
请根据系统实际情况配置
其他的JVM参数也可以添加到这里
-Xms1500M
-Xmx2G
2. 配置端口号(可选,推荐为默认端口号:8081)
nexus@ubuntu:~$ vim nexus-3.0.1-01/etc/org.sonatype.nexus.cfg
application-port=9081
重启后访问:http://localhost:9081
3. 配置数据存储目录(可选)
nexus@ubuntu:~$ vim nexus-3.0.1-01/bin/nexus.vmoptions

# 默认存储目录
-Dkaraf.data=data
-Djava.io.tmpdir=data/tmp
4. 配置代理(可选)
Apache httpd.ProxyRequests Off ProxyPreserveHost On <VirtualHost: *:80> ServerName www.example.com ServerAdmin admin@example.com ProxyPass /nexus http://localhost:8081/ ProxyPassReverse / http://localhost:8081/ ErrorLog logs/nexus/error.log CustomLog logs/nexus/access.log common </VirtualHost>
nginx.
http {
proxy_send_timeout 120;
roxy_read_timeout 300;
proxy_buffering off;
keepalive_timeout 5 5;
tcp_nodelay on;

server {
listen *:80;
server_name www.example.com;

# allow large uploads of files - refer to nginx documentation
client_max_body_size 1G

# optimize downloading files larger than 1G - refer to nginx doc before adjusting
# proxy_max_temp_file_size 2G

location /nexus {
proxy_pass http://localhost:8081/nexus; proxy_set_header Host $host;
proxy_set_header X-Real-IP $remote_addr;
proxy_set_header X-Forwarded-For
$proxy_add_x_forwarded_for;
}
}
}
5. 配置SSL(可选)
Apache httpd. Ensure Apache httpd is loading mod_ssl.Listen 443 ProxyRequests Off ProxyPreserveHost On <VirtualHost *:443> SSLEngine on SSLCertificateFile "example.pem" SSLCertificateKeyFile "example.key" ServerName repo.example.com ServerAdmin admin@example.com ProxyPass / http://localhost:8081/ ProxyPassReverse / http://localhost:8081/ RequestHeader set X-Forwarded-Proto "https" ErrorLog logs/repo.example.com/nexus/error.log CustomLog logs/repo.example.com/nexus/access.log common </VirtualHost>
nginx. Make sure nginx is compiled using the --with-http_ssl_module option.
http {
proxy_send_timeout 120;
proxy_read_timeout 300;
proxy_buffering off;
keepalive_timeout 5 5;
tcp_nodelay on;

server {
listen *:443;
server_name repo.example.com;

# allow large uploads of files - refer to nginx documentation
client_max_body_size 1G

# optimize downloading files larger than 1G - refer to nginx doc before adjusting
#proxy_max_temp_file_size 2G

ssl on
ssl_certificate example.pem;
ssl_certificate_key example.key;

location / {
proxy_pass http://localhost:8081/; proxy_set_header Host $host;
proxy_set_header X-Real-IP $remote_addr;
proxy_set_header X-Forwarded-For ←-

$proxy_add_x_forwarded_for;
proxy_set_header X-Forwarded-Proto "https";
}
}
}
仓库介绍
1. 代理仓库(Proxy Repository)
顾名思义是代理第三方仓库的,如:maven-central
nuget.org-proxy
版本策略(Version Policy):
Release: 正式版本
Snapshot: 快照版本
Mixed: 混合模式
布局策略(Layout Policy):
Strict:严格
Permissive:宽松
2. 宿主仓库(Hosted Repository)
存储本地上传的组件和资源的,如:maven-releases
maven-snapshots
nuget-hosted
部署策略(Deployment Policy):
Allow Redeploy:允许重新部署
Disable Redeploy:禁止重新部署
Read-Only:只读
3. 仓库组(Repository Group)
通常包含了多个代理仓库和宿主仓库,在项目中只要引入仓库组就可以下载到代理仓库和宿主仓库中的包,如:maven-public
nuget-group
用户界面的操作和管理相对简单,请参考官方文档
与Maven集成
1. Servers 配置认证信息
在Maven settings.xml中添加Nexus认证信息:<server> <id>nexus-releases</id> <username>admin</username> <password>admin123</password> </server> <server> <id>nexus-snapshots</id> <username>admin</username> <password>admin123</password> </server>
nexus-releases: 用于发布Release版本
nexus-snapshots: 用于发布Snapshot版本
Release版本与Snapshot版本的区分:
Release: 4.3.0
Snapshot: 4.3.0-SNAPSHOT
在项目POM.xml中设置的版本号添加SNAPSHOT标识的都会发布为SNAPSHOT版本,没有SNAPSHOT标识的都会发布为Release版本。
SNAPSHOT版本会自动加一个时间作为标识,如:
4.3.0-SNAPSHOT发布后为变成
4.3.0-SNAPSHOT-20160712.114532-1.jar
2. 配置自动化部署构件
在POM.xml中添加以下代码:<distributionManagement> <repository> <id>nexus-releases</id> <name>Nexus Release Repository</name> <url>http://127.0.0.1:8081/repository/maven-releases/</url> </repository> <snapshotRepository> <id>nexus-snapshots</id> <name>Nexus Snapshot Repository</name> <url>http://127.0.0.1:8081/repository/maven-snapshots/</url> </snapshotRepository> </distributionManagement>
注意事项:
ID名称必须要与settings.xml中Servers配置的ID名称保持一致。
项目版本号中有SNAPSHOT标识的,会发布到Nexus Snapshots Repository, 否则发布到Nexus Release Repository,并根据ID去匹配授权账号。
3. 部署到Nexus仓库
mvn deploy
4. 上传第三方JAR包
Nexus 3.0不支持页面上传,可使用maven命令:# 如第三方JAR包:aliyun-sdk-oss-2.2.3.jar mvn deploy:deploy-file -DgroupId=com.aliyun.oss -DartifactId=aliyun-sdk-oss -Dversion=2.2.3 -Dpackaging=jar -Dfile=D:\aliyun-sdk-oss-2.2.3.jar -Durl=http://127.0.0.1:8081/repository/maven-3rd/ -DrepositoryId=nexus-releases
注意事项:
建议在上传第三方JAR包时,创建单独的第三方JAR包管理仓库,便于管理有维护。(maven-3rd)
-DrepositoryId=nexus-releases对应的是settings.xml中Servers配置的ID名称。(授权)
5. 使用代理中央仓库
<repositories>
<repository>
<id>nexus</id>
<name>Nexus Repository</name>
<url>http://127.0.0.1:8081/repository/maven-public/</url>
<snapshots>
<enabled>true</enabled>
</snapshots>
<releases>
<enabled>true</enabled>
</releases>
</repository>
</repositories>
<pluginRepositories>
<pluginRepository>
<id>nexus</id>
<name>Nexus Plugin Repository</name>
<url>http://127.0.0.1:8081/repository/maven-public/</url>
<snapshots>
<enabled>true</enabled>
</snapshots>
<releases>
<enabled>true</enabled>
</releases>
</pluginRepository>
</pluginRepositories>
注意事项:
在开发中如果有严格的管理要求,可将SNAPSHOT和RELEASE单独配置。
有插件依赖时配置插件仓库,默认会使用Maven中央仓库。

相关文章推荐
- Maven私服仓库管理: Nexus 3.0
- nexus建立maven仓库私服及Snapshots、release的版本管理
- 上传jar到私服的两种方式From POM和GAV Parameters。使用Nexus管理Maven仓库时,上传带依赖的第三方jar.
- Nexus搭建Maven私服(二) 分发构件至远程仓库
- Maven创建并管理Web项目(上传Web项目的API的JAR到Nexus 私服上)
- 使用nexus管理maven仓库
- Nexus OSS私服仓库的安装和配置以及与Maven整合配置
- Maven仓库管理-Nexus
- Maven仓库管理-Nexus
- 项目构建之maven篇:5.仓库及nexus创建私服-1
- Maven仓库管理-Nexus(转帖后加强版)
- Maven仓库管理-Nexus(转帖后加强版)
- 用Nexus做Maven仓库管理
- Maven仓库管理-Nexus
- maven私服:用nexus搭建企业级私有仓库
- 使用Nexus2.x为Maven3.x搭建私服构件仓库 转http://gao-xianglong.iteye.com/blog/1735536
- 使用Nexus管理maven仓库,setting文件理解
- Maven仓库管理-Nexus(转帖后加强版)
- Maven仓库管理-Nexus(转帖后加强版)
- maven使用Nexus私有仓库进行管理