Android开发之图片处理框架(三)
2016-12-04 23:49
357 查看
这套框架终于到了完结篇了,这篇就算是整个框架的重点了,涉及的不仅是重做和撤销功能,更重要的是牵扯整个框架的架构。
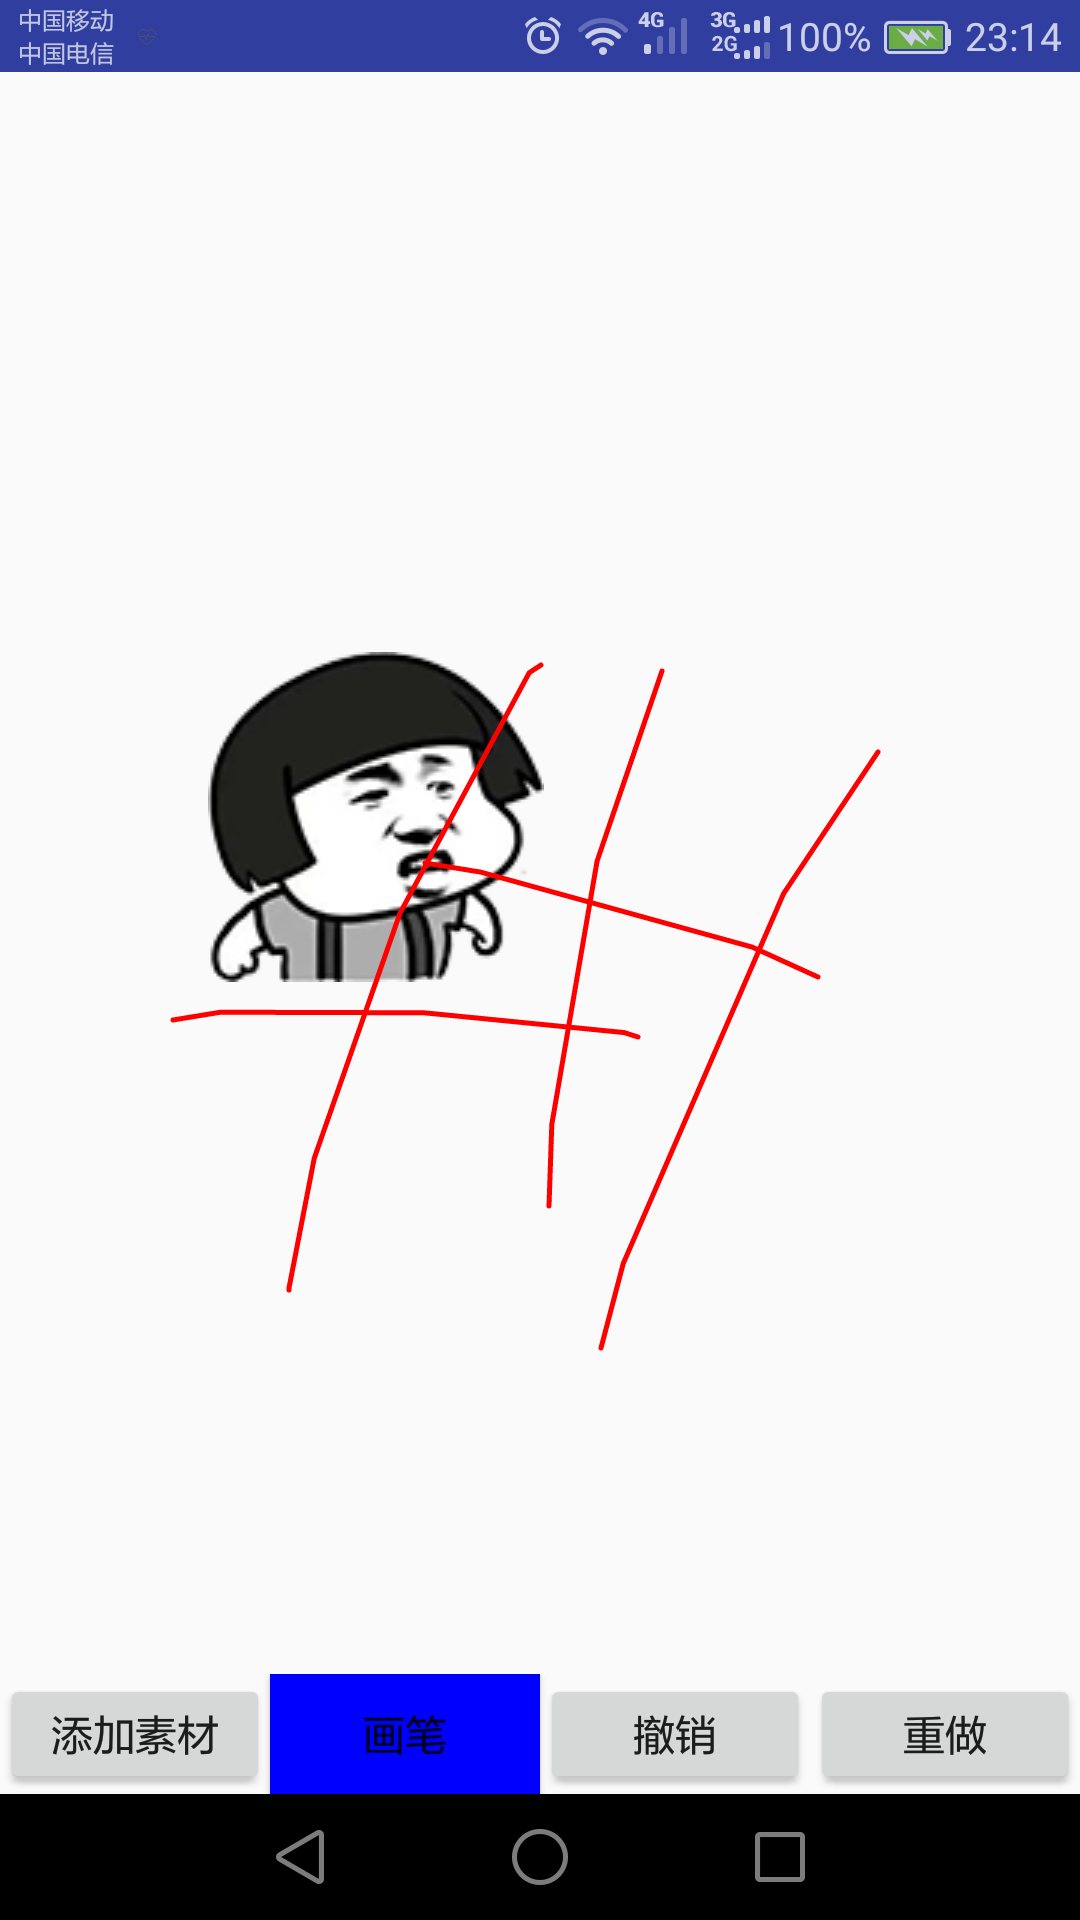
之前我们实现的功能是添加图片和用画笔绘画,我们的做法是在一个自定义的PaintLayout上添加一个类似于自定义画布那样的去盛放画笔画出来的东西,再在PaintLayout上添加图片,这样做的不好之处在于各个类之间的功能不明确,现在把项目重新架构成把图片全部集成到另外一个自定义的ViewLayout上,把ViewLayout加载到PaintLayout上,再放上盛放画笔画出的View,也就是TopLayer,在PaintLayout上用两个链表去实现重做和撤销操作。
我们先看一下ViewLayout的实现。
这里的ViewLayout其实就是把第一节的PaintLayout稍微改改,但是在这里得通知外层修改链表,所有还得定义个接口,这里就直接贴代码了
再去修改TopLayer里的代码,我们需要把每次一次从手指触摸到屏幕到手指抬起之间画出来的Path保存起来,同样的,我们在接口中把这个path传到上层的PaintLayout,而这个Path在撤销和重做的时候是通过一个boolean值去判断是否显示,所以自定义一个ViPath类
在这里还得写一个函数供外层调用,就是当重做和撤销的时候,重绘整个TopLayer
现在TopLayer和ViewLayout都有了,我们需要做的就是在主布局中去调用,这里的做法是定义两个盛放Object的链表saveOperate和restoreOperate,当做撤销操作的时候,将saveOperate的尾节点放到restoreOperate里面,并根据它是不同的类型进行响应,当做重做操作的时候,把saveOperate的尾节点放到restoreOperate里面,而一旦进行新的操作,比如添加图片或者绘图之类的,将restoreOperate链表清空,并释放相关资源
现在只要稍微修改主Activity里面的代码就可以了
这套框架可以解决我们公司对于图片处理这块的需求,而且代码之间耦合性很低,独立拆分开去用没有毛病。
Demo在Git上的地址
https://github.com/coderCjm/CustomView.git
(完)
之前我们实现的功能是添加图片和用画笔绘画,我们的做法是在一个自定义的PaintLayout上添加一个类似于自定义画布那样的去盛放画笔画出来的东西,再在PaintLayout上添加图片,这样做的不好之处在于各个类之间的功能不明确,现在把项目重新架构成把图片全部集成到另外一个自定义的ViewLayout上,把ViewLayout加载到PaintLayout上,再放上盛放画笔画出的View,也就是TopLayer,在PaintLayout上用两个链表去实现重做和撤销操作。
我们先看一下ViewLayout的实现。
这里的ViewLayout其实就是把第一节的PaintLayout稍微改改,但是在这里得通知外层修改链表,所有还得定义个接口,这里就直接贴代码了
public class ViewLayout extends FrameLayout{

public interface ViewListener{
void addView(PaintView paintView);
void deleteView(PaintView paintView);
}

private Context context;
private LayoutParams params;
private ViewListener viewListener;
private boolean canInit=false;

public ViewLayout(Context context,ViewListener viewListener) {
super(context);
this.context=context;
this.viewListener=viewListener;
params = new LayoutParams(ViewGroup.LayoutParams.MATCH_PARENT, ViewGroup.LayoutParams.MATCH_PARENT);
}

private void addView(MotionEvent event){
PaintView paintView=new PaintView(context, (int) event.getX(), (int) event.getY(), new PaintView.OnEnableListener() {

@Override
public
4000
void callback(PaintView stampView) {
for (int i = 0; i < ViewLayout.this.getChildCount(); ++i) {
if (ViewLayout.this.getChildAt(i) != stampView) {
((PaintView) ViewLayout.this.getChildAt(i)).setViewEnable(false);
}
}
}

@Override
public void onDelete(PaintView stampView) {
stampView.setVisibility(GONE);
viewListener.deleteView(stampView);
}

});
this.addView(paintView,params);
viewListener.addView(paintView);
}

@Override
public boolean onTouchEvent(MotionEvent event) {
if(canInit&&event.getAction()==MotionEvent.ACTION_DOWN){
addView(event);
canInit=false;
}
return super.onTouchEvent(event);
}

public void setCanInit(boolean canInit) {
this.canInit = canInit;
}

public void deleteView(PaintView paintView){
ViewLayout.this.removeView(paintView);
}

public void allStop(){
for (int i = 0; i < ViewLayout.this.getChildCount(); ++i) {
((PaintView) ViewLayout.this.getChildAt(i)).setViewEnable(false);
}
}

}
再去修改TopLayer里的代码,我们需要把每次一次从手指触摸到屏幕到手指抬起之间画出来的Path保存起来,同样的,我们在接口中把这个path传到上层的PaintLayout,而这个Path在撤销和重做的时候是通过一个boolean值去判断是否显示,所以自定义一个ViPath类
public class ViPath {

private Path path;
private boolean visible;

public ViPath(){
visible=true;
path=new Path();
}

public void moveTo(float x,float y){
path.moveTo(x,y);
}

public void lineTo(float x,float y){
path.lineTo(x,y);
}

public Path getPath() {
return path;
}

public void setPath(Path path) {
this.path = path;
}

public boolean isVisible() {
return visible;
}

public void setVisible(boolean visible) {
this.visible = visible;
}

}
public interface PathListener{
void addPath(ViPath viPath);
}
private ViPath currentPath;
private PathListener pathListener;
private void touch_end(float eventX, float eventY){
touchPath.lineTo(eventX, eventY);
currentPath.lineTo(eventX,eventY);
}
@Override
public boolean onTouchEvent(MotionEvent event) {
if (enable) {
float eventX = event.getX();
float eventY = event.getY();
switch (event.getAction()) {
case MotionEvent.ACTION_DOWN:
touch_start(eventX, eventY);
currentPath=new ViPath();
currentPath.moveTo(eventX,eventY);
touchPoints = 0;
break;
case MotionEvent.ACTION_MOVE:
touchPoints++;
if ((touchPoints % 3) == 0){
touch_end(eventX, eventY);
start_paint(touchPath, paint);
touch_start(eventX, eventY);
}
break;
case MotionEvent.ACTION_UP:
touch_end(eventX, eventY);
start_paint(touchPath, paint);
pathListener.addPath(currentPath);
break;
default:
break;
}
invalidate();
return true;
} else {
return false;
}
}在这里还得写一个函数供外层调用,就是当重做和撤销的时候,重绘整个TopLayer
public void drawPath(List<Object> list){
layerBitmap = Bitmap.createBitmap(layerWidth, layerHeight, Bitmap.Config.ARGB_4444);
layerCanvas = new Canvas(layerBitmap);
for(Object o:list){
if(o instanceof ViPath){
ViPath viPath=(ViPath)o;
if(viPath.isVisible()){
layerCanvas.drawPath(viPath.getPath(),paint);
}
}
}
invalidate();
}
现在TopLayer和ViewLayout都有了,我们需要做的就是在主布局中去调用,这里的做法是定义两个盛放Object的链表saveOperate和restoreOperate,当做撤销操作的时候,将saveOperate的尾节点放到restoreOperate里面,并根据它是不同的类型进行响应,当做重做操作的时候,把saveOperate的尾节点放到restoreOperate里面,而一旦进行新的操作,比如添加图片或者绘图之类的,将restoreOperate链表清空,并释放相关资源
public class PaintLayout extends FrameLayout{

private TopLayer topLayer;
private ViewLayout viewLayout;
private LayoutParams params;
private List<Object> saveOperate;
private List<Object> restoreOperate;

public PaintLayout(Context context) {
this(context,null);
}

public PaintLayout(Context context, AttributeSet attrs) {
super(context, attrs);
saveOperate=new ArrayList<>();
restoreOperate=new ArrayList<>();
viewLayout=new ViewLayout(context, new ViewLayout.ViewListener() {

@Override
public void addView(PaintView paintView) {
saveOperate.add(paintView);
restoreClear();
}

@Override
public void deleteView(PaintView paintView) {
for(int i=0;i<saveOperate.size();++i){
if(saveOperate.get(i)==paintView){
saveOperate.remove(i);
}
}
}

});
topLayer=new TopLayer(context, new TopLayer.PathListener() {

@Override
public void addPath(ViPath viPath) {
saveOperate.add(viPath);
restoreClear();
}

});
params = new LayoutParams(ViewGroup.LayoutParams.MATCH_PARENT, ViewGroup.LayoutParams.MATCH_PARENT);
this.addView(viewLayout);
this.addView(topLayer,params);
}

public void setCanInit(boolean canInit) {
viewLayout.setCanInit(canInit);
}

public boolean paintToggle(){
boolean b=topLayer.paintToggle();
if(b){
viewLayout.allStop();
}
return b;
}

private void restoreClear(){
for(Object o:restoreOperate){
if(o instanceof PaintView){
viewLayout.deleteView((PaintView)o);
}
}
restoreOperate.clear();
}

public void undo(){
Object o=saveOperate.remove(saveOperate.size()-1);
restoreOperate.add(o);
if(o instanceof PaintView){
((PaintView) o).setVisibility(GONE);
}else{
((ViPath)o).setVisible(false);
topLayer.drawPath(saveOperate);
}
}

public void redo(){
Object o=restoreOperate.remove(restoreOperate.size()-1);
saveOperate.add(o);
if(o instanceof PaintView){
((PaintView) o).setVisibility(VISIBLE);
}else{
((ViPath)o).setVisible(true);
topLayer.drawPath(saveOperate);
}
}

public boolean canUndo(){
if(saveOperate.size()==0){
return false;
}else{
return true;
}
}

public boolean canRedo(){
if(restoreOperate.size()==0){
return false;
}else{
return true;
}
}

}
现在只要稍微修改主Activity里面的代码就可以了
private Button undoBtn;
private Button redoBtn;
redoBtn.setOnClickListener(new View.OnClickListener() {

@Override
public void onClick(View view) {
if(paintLayout.canRedo()){
paintLayout.redo();
}else{
tips("不可重做");
}
}

});
undoBtn.setOnClickListener(new View.OnClickListener() {

@Override
public void onClick(View view) {
if(paintLayout.canUndo()){
paintLayout.undo();
}else{
tips("不可撤销");
}
}

});
这套框架可以解决我们公司对于图片处理这块的需求,而且代码之间耦合性很低,独立拆分开去用没有毛病。
Demo在Git上的地址
https://github.com/coderCjm/CustomView.git
(完)

相关文章推荐
- Android开发常用开源框架:图片处理
- 收集Android开发常用开源框架:图片处理
- Android开发常用开源框架:图片处理
- Android开发之图片处理框架 (一)
- Android开发常用开源框架:图片处理
- 收集Android开发常用开源框架:图片处理
- Android开发之图片处理框架(二)
- Android开发常用开源框架:图片处理
- Android游戏开发框架(二)音频处理
- android游戏开发框架libgdx的使用(十四)—TiledMap中视角完善和障碍物处理
- Android-Volley网络通信框架(二次封装数据请求和图片请求(包括处理请求队列和图片缓存))
- android游戏开发框架libgdx的使用(十四)—TiledMap中视角完善和障碍物处理
- Android开发之图片处理专题(一):利用软引用构建图片高速缓存
- 【图片处理工具】Android游戏开发的好帮手
- iOS开发 - SDWebImage图片处理框架
- Android开发利用Volley框架下载和缓存网络图片
- android 开发使用图片异步缓存框架关于图片请求路径不变情况下的解决方法
- Android应用开发之(你必须知道的“避免内存溢出图片处理方案”)
- Android开发之图片处理专题(二):利用AsyncTask和回调接口实现图片的异步加载和压缩
- Android开发中处理图片OOM的若干方法小结