UIImageView 的 layer.mask
2016-11-16 10:51
176 查看
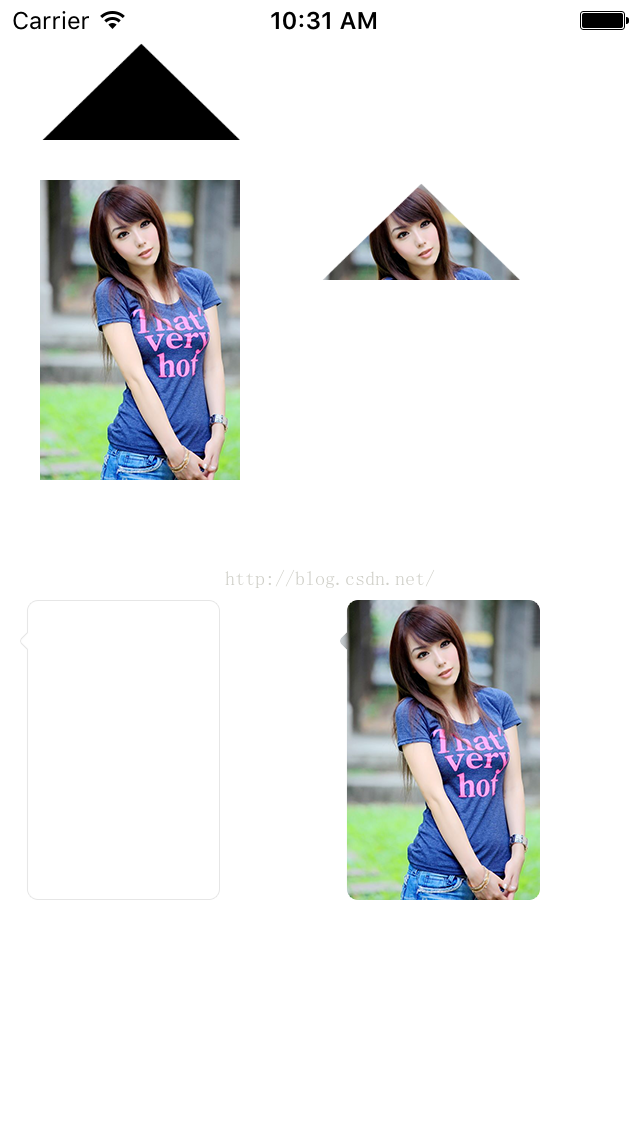
三军未到,粮草先行,先看看效果,有微信图片的效果啊
接着就是干货了 。。
代码奉上
接着就是干货了 。。
代码奉上
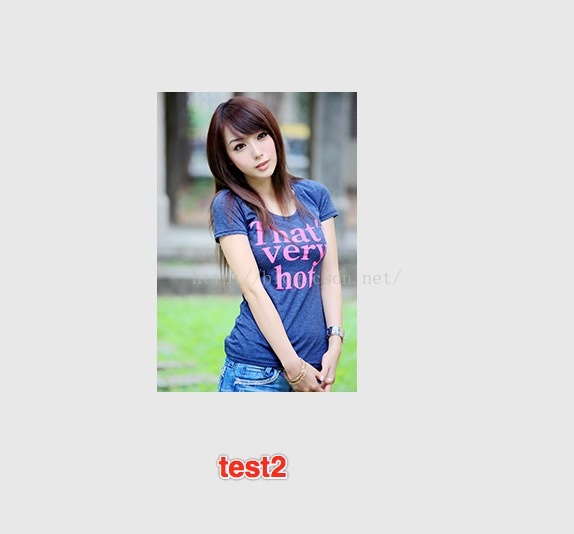
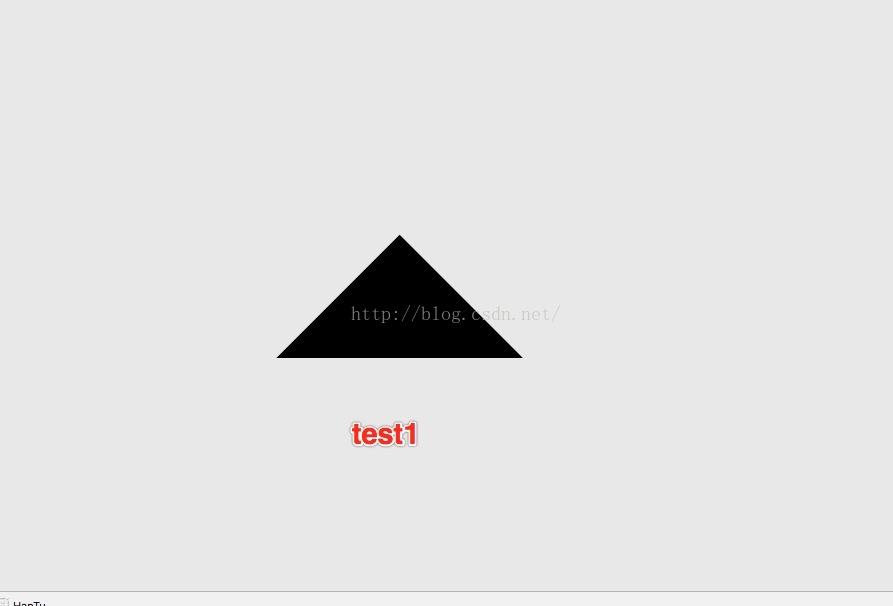
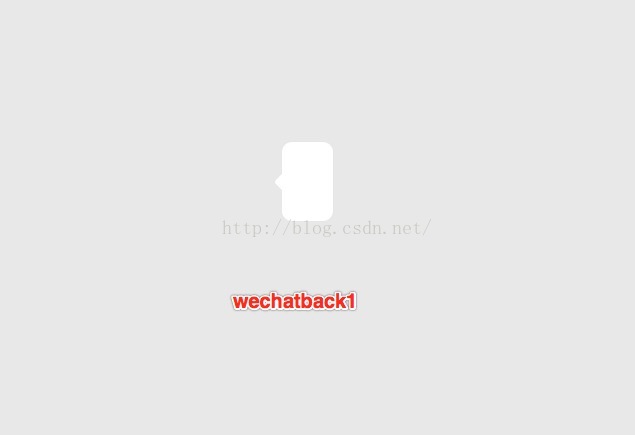
UIImageView *img1=[[UIImageView alloc] init];
img1.frame=CGRectMake(20, 20, 100, 50);
img1.image=[UIImage imageNamed:@"test1"];
[self.view addSubview:img1];

UIImageView *img2=[[UIImageView alloc] init];
img2.frame=CGRectMake(20, 90, 100, 150);
img2.image=[UIImage imageNamed:@"test2"];
[self.view addSubview:img2];

UIImageView *imageViewMask1 = [[UIImageView alloc] initWithImage:[UIImage imageNamed:@"test1"]];
imageViewMask1.frame = CGRectMake(0, 0,100, 50);

UIImageView *photoImage1=[[UIImageView alloc] init];
photoImage1.frame=CGRectMake(160, 90, 100, 150);
photoImage1.image=[UIImage imageNamed:@"test2"];
photoImage1.layer.mask = imageViewMask1.layer;
[self.view addSubview:photoImage1];

UIImageView *image3=[[UIImageView alloc] initWithImage:[[UIImage imageNamed:@"wechatback1"] stretchableImageWithLeftCapWidth:10 topCapHeight:25]];
image3.frame=CGRectMake(10, 300, 100, 150);
[self.view addSubview:image3];

UIImageView *imageViewMask = [[UIImageView alloc] initWithImage:[[UIImage imageNamed:@"wechatback1"] stretchableImageWithLeftCapWidth:10 topCapHeight:25]];
imageViewMask.frame = CGRectMake(0, 0, 100, 150);

UIImageView *photoImage=[[UIImageView alloc] init];
photoImage.frame=CGRectMake(170, 300,  100, 150);
photoImage.image=[UIImage imageNamed:@"test2"];
photoImage.layer.mask = imageViewMask.layer;
[self.view addSubview:photoImage];

相关文章推荐
- 通过layer的contents属性来实现uiimageview的淡入切换
- 如何高性能的给UIImageView加个圆角?(不准说layer.cornerRadius!)
- iOS开发——UIImageView的contentMode、裁剪和layer属性详解
- 如何高性能的给UIImageView加个圆角?(不准说layer.cornerRadius!)
- iOS开发——UIImageView的contentMode、裁剪和layer属性详解
- UIImageView的layer的属相介绍,一些常用的加边框,加圆角放大,缩小等设置
- 如何高性能的给UIImageView加个圆角?(不准说layer.cornerRadius!)
- layer设置UIImageView圆形不圆的问题
- UIImageView响应点击事件
- ios-day02(NSBundle的作用、UIImageView和UIButton的区别)
- 用UIImagePickerViewController自定义相机界面
- UIImageView使用问题
- maskView 加载 CAGradientLayer
- UIImageView的使用方法详细
- IOS UIImageView的旋转平移缩放
- Android View加载圆形图片且同时绘制圆形图片的外部边缘边线及边框:LayerDrawable实现
- UIImageView 添加手势实现点击
- -[UIImageView _isResizable]: unrecognized selector sent to instance
- iOS开发-UIImageView响应点击事件
- How to assign UIImageView PlaceHolderImage