Swift-->GCD,NSThread,NSBlockOperation多线程使用(主线程回调)
2016-08-22 21:55
316 查看
应用程序开发,少不了的多线程,与多线程相关的就是线程同步.
本文介绍Swift最简单的多线程使用.
推荐阅读: http://www.jianshu.com/p/0b0d9b1f1f19
看例子:
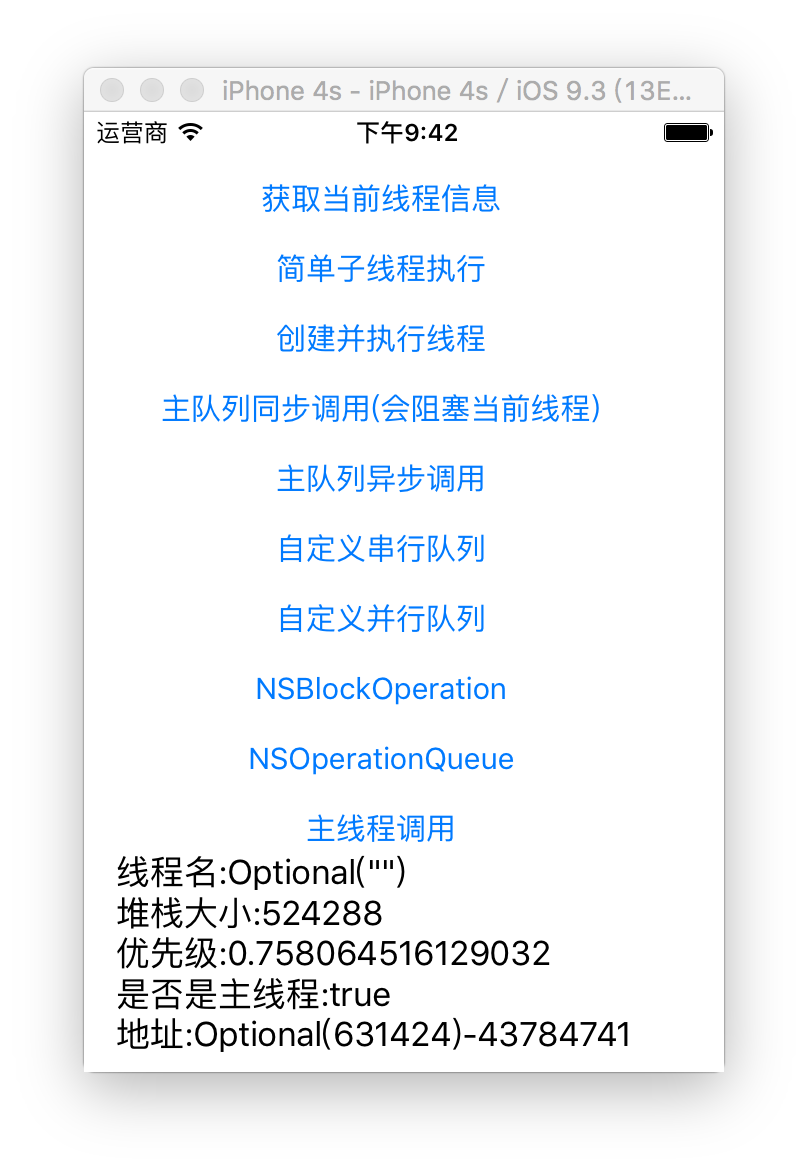
1:获取线程基本的信息
2:子线程的创建方法
3:GCD(Grand Central Dispatch)队列的使用
4:自定义queue
5:NSBlockOperation和NSOperationQueue的使用
6:子线程调用,主线程执行(必备技能,更新UI的首选)
通常,我都是这样使用子线程的:
源码: https://github.com/angcyo/ThreadDemo
至此: 文章就结束了,如有疑问: QQ群 Android:274306954 Swift:399799363 欢迎您的加入.
本文介绍Swift最简单的多线程使用.
推荐阅读: http://www.jianshu.com/p/0b0d9b1f1f19
看例子:
1:获取线程基本的信息
func getThreadInfo() {
let thread = NSThread.currentThread()
let threadInfo = "线程名:\(thread.name)\n" +
"堆栈大小:\(thread.stackSize)\n" +
"优先级:\(thread.threadPriority)\n" +
"是否是主线程:\(thread.isMainThread)\n" +
"地址:\(NSThread.callStackReturnAddresses().first)-\(NSThread.callStackReturnAddresses().last!)"
}
2:子线程的创建方法
// MARK: 手动创建线程, 并且手动开始线程
func createSingleThread() {
NSThread(target: self, selector: #selector(onThreadRun), object: nil).start()
}

// MARK: 创建线程并自动开始线程
func createAndStartThread() {
NSThread.detachNewThreadSelector(#selector(onThreadRun), toTarget: self, withObject: nil)
}
3:GCD(Grand Central Dispatch)队列的使用
// MARK:添加一个block到主线程队列,注意会阻塞当前线程,等待当前队列任务执行完,才会执行block
func gcdMainQueueSync() {
dispatch_sync(dispatch_get_main_queue()) {
print("main_sync")
self.getThreadInfo()
}
}

// MARK: 添加一个block到主队列,异步执行,不会阻塞当前线程
func gcdMainQueueAsync() {
dispatch_async(dispatch_get_main_queue()) {
print("main_async")
self.getThreadInfo()
}
}
4:自定义queue
// MARK: 自定义一个同步队列
func gcdCustomSerialQueue() {
let queue = dispatch_queue_create("serial_queue", DISPATCH_QUEUE_SERIAL)
// 同步调用,当前线程执行
//      dispatch_sync(queue) {
//          print("custom_queue")
//          self.getThreadInfo()
//      }
// 异步调用,子线程执行
dispatch_async(queue) {
print("custom_queue")
self.getThreadInfo()
}
}

// MARK: 自定义一个异步队列
func gcdCustomConcurrentQueue() {
let queue = dispatch_queue_create("concurrent_queue", DISPATCH_QUEUE_CONCURRENT)
//      dispatch_sync(queue) {
//          print("custom_queue")
//          self.getThreadInfo()
//      }
dispatch_async(queue) {
print("custom_queue")
self.getThreadInfo()
}
}
5:NSBlockOperation和NSOperationQueue的使用
// MARK: ns block 会在当前线程执行,并且是一个 并行队列
func blockOperation() {
// 并行队列,多任务会同时进行
//      NSBlockOperation {
//          print("blockOperation")
//          self.getThreadInfo()
//      }.start()

let block = NSBlockOperation {
print("blockOperation1")
self.getThreadInfo()
}
block.addExecutionBlock {
print("blockOperation2")
self.getThreadInfo()
}
block.addExecutionBlock {
print("blockOperation3")
self.getThreadInfo()
}
block.start() // 并行执行1,2,3个任务, 执行顺序不保证
}

// MARK: 添加到队列的block会立即执行,
func blockOperationQueue() {
let queue = NSOperationQueue()
//      queue.addOperationWithBlock {
//          print("blockOperationQueue")
//          self.getThreadInfo()
//      }

let operation1 = NSBlockOperation {
print("operation1")
self.getThreadInfo()
}
let operation2 = NSBlockOperation {
print("operation2")
self.getThreadInfo()
}
let operation3 = NSBlockOperation {
print("operation3")
self.getThreadInfo()
}
operation2.addDependency(operation1) // 2会等待1执行完后,再执行
operation3.addDependency(operation2) // 3会等待2执行完后,再执行
queue.addOperations([operation1, operation2, operation3], waitUntilFinished: true) //
}
6:子线程调用,主线程执行(必备技能,更新UI的首选)
// MARK: 一定在主线程回调
func mainThread() {
// 1->在主线程的队列执行
dispatch_async(dispatch_get_main_queue()) {
print("dispatch_async")
self.getThreadInfo()
}

// 2->在主线程执行
NSOperationQueue.mainQueue().addOperationWithBlock {
print("mainQueue")
self.getThreadInfo()
}
}
通常,我都是这样使用子线程的:
NSOperationQueue().addOperationWithBlock {
print("runOnThread")
self.getThreadInfo()
}
源码: https://github.com/angcyo/ThreadDemo
至此: 文章就结束了,如有疑问: QQ群 Android:274306954 Swift:399799363 欢迎您的加入.

相关文章推荐
- Python3写爬虫(四)多线程实现数据爬取
- C#实现多线程的同步方法实例分析
- 浅谈chuck-lua中的多线程
- C#简单多线程同步和优先权用法实例
- C#多线程学习之(四)使用线程池进行多线程的自动管理
- C#多线程编程中的锁系统(三)
- 解析C#多线程编程中异步多线程的实现及线程池的使用
- C#多线程学习之(六)互斥对象用法实例
- 基于一个应用程序多线程误用的分析详解
- C#多线程学习之(三)生产者和消费者用法分析
- C#多线程学习之(一)多线程的相关概念分析
- C#多线程之Thread中Thread.IsAlive属性用法分析
- 分享我在工作中遇到的多线程下导致RCW无法释放的问题
- C#多线程编程之使用ReaderWriterLock类实现多用户读与单用户写同步的方法
- C#多线程传递参数及任务用法示例
- C#控制台下测试多线程的方法
- 21天学习android开发教程之SurfaceView与多线程的混搭
- Ruby 多线程的潜力和弱点分析
- C#中WPF使用多线程调用窗体组件的方法
- C#如何对多线程、多任务管理(demo)