solr基于jetty容器配置后台登陆角色用户名密码
2016-08-16 11:57
357 查看
solr版本4.0.0
我的solr下载后解压在d盘,你的随意。
在D:\apache-solr-4.0.0\apache-solr-4.0.0\example\etc目录下新建role.properties文件,名字可随便。
内容如下:
编辑D:\apache-solr-4.0.0\apache-solr-4.0.0\example\contexts\solr.xml文件如下,文件中插入安全处理程序设置标签
编辑D:\apache-solr-4.0.0\apache-solr-4.0.0\example\solr-webapp\webapp\WEB-INF\web.xml文件,插入
配置完成后,重启solr服务器,重新访问solr就需要用户名和密码了
可参考http://www.mossle.com/docs/auth/html/ch109-preauth.html
我的solr下载后解压在d盘,你的随意。
在D:\apache-solr-4.0.0\apache-solr-4.0.0\example\etc目录下新建role.properties文件,名字可随便。
内容如下:
#
# 这个文件定义用户名,密码和角色
#
# 格式如下
#  <username>: <password>[,<rolename> ...]
#
#userName: password,role
test: 123,admin
编辑D:\apache-solr-4.0.0\apache-solr-4.0.0\example\contexts\solr.xml文件如下,文件中插入安全处理程序设置标签
<?xml version="1.0"?>
<!DOCTYPE Configure PUBLIC "-//Jetty//Configure//EN" "http://www.eclipse.org/jetty/configure.dtd">
<Configure class="org.eclipse.jetty.webapp.WebAppContext">
<Set name="contextPath">/solr</Set>
<Set name="war"><SystemProperty name="jetty.home"/>/webapps/solr.war</Set>
<Set name="defaultsDescriptor"><SystemProperty name="jetty.home"/>/etc/webdefault.xml</Set>
<Set name="tempDirectory"><Property name="jetty.home" default="."/>/solr-webapp</Set>
<!-- 安全处理程序设置 -->
<Get name="securityHandler">
<Set name="loginService">
<New class="org.eclipse.jetty.security.HashLoginService">
<Set name="name">TestRealm</Set>  <!-- 一个名字-->
              <!-- 引入刚刚新建的文件 -->
<Set name="config"><SystemProperty name="jetty.home" default="."/>/etc/realm.properties</Set>
</New>
</Set>
</Get>
</Configure>
编辑D:\apache-solr-4.0.0\apache-solr-4.0.0\example\solr-webapp\webapp\WEB-INF\web.xml文件,插入
<security-constraint>
  <web-resource-collection>
  <web-resource-name>Solr</web-resource-name> <!--描述-->
  <url-pattern>/</url-pattern>               <!-- 验证的网页的位置-->
</web-resource-collection>
<auth-constraint>
<role-name>admin</role-name>   <!-- 验证的角色,别写成用户名,如有多个角色可以写多个role-name 标签-->
</auth-constraint>
</security-constraint>
<login-config>
<auth-method>BASIC</auth-method>            <!-- 关键-->
<realm-name>TestRealm</realm-name>
</login-config>
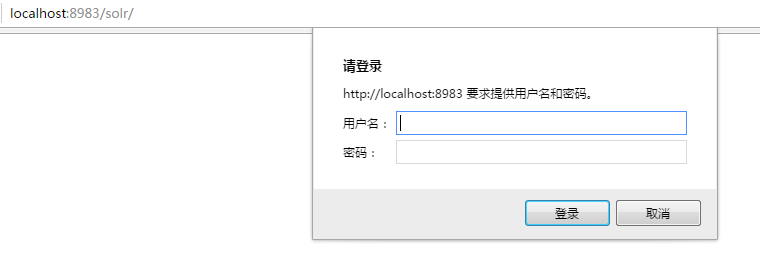
配置完成后,重启solr服务器,重新访问solr就需要用户名和密码了
可参考http://www.mossle.com/docs/auth/html/ch109-preauth.html

相关文章推荐
- Spring MVC(二)基于注解的登陆界面获取用户名和密码并跳转其它页面
- tomcat管理页面用户角色、用户名、用户密码的配置
- 可记住用户名密码的登陆界面(基于对SharedPreferences的应用)
- apache的认证安全配置,访问资源时,弹出登陆框需要用户名密码
- dedecms系统后台登陆提示用户名密码不存在
- solr5.5 基于内置jetty配置 Ubuntu
- cisco路由器如何配置用用户名、密码登陆
- solr -- 配置用户名和密码
- Tomcat详解:实现SSL配置,日志配置,登陆用户名与密码设置,路径列表
- dedecms系统后台登陆提示用户名密码不存在
- solr5.5 基于内置jetty配置 Ubuntu
- 完美解决方案:wordpress后台进不去,用户名、密码输入了登陆没有反应(有更新)
- 配置hadoop集群时,ssh无密码登陆设置(各个主机的用户名需要一样)
- MA5200G中如何配置使用用户名密码登陆设备
- 如何修改weblogic console登陆的用户名和密码
- WCF基于用户名和密码安全成功测试
- IE内核 PHP管理后台密码登陆问题
- loadrunner录制webservice当,进入访问地址,限制了要输入用户名密码才能登陆时。出来方法:
- WCF基于用户名和密码安全(升级)纯代码