Installation of SUSE Linux Enterprise Server 12
2016-07-12 12:42
846 查看
Installation of SUSE Linux Enterprise Server 12
byEditor | Published: April 8, 2015 | Last Updated: April 8, 2015
Download Your Free eBooks NOW -
10 Free Linux eBooks for Administrators |
4 Free Shell Scripting eBooks
SUSE Linux Enterprise Server abbreviated as SLES has been developed by
SUSE on top of open source Linux Kernel. It is a commercial Linux operating System which target platforms like Workstations, Mainframes, Servers and Supercomputers.
The current SLES Release (SUSE Linux Enterprise Server 12) Support architecture which includes x86-64, System Z and IBM Power. It provides solution over a variety of genre like Server, Visualization, Openstack, Private Cloud, Storage, Integrated
Systems, Big Data, SAP, etc.
SUSE Linux Enterprise Server is being used by more than 13,000 businesses across the globe. This future proof platform is used by companies like Air India, Cafe Coffee Day, Casio, China Meterological Administration, China Telecom Corporation, Mahindra, Micro
Silicon Electronics, London Stock Exchange, Office Depot, TERADATA, etc., just to name a few.
Features of SLES 12
Reliable, Scalable, Secure and Robust on Administrative IssuesSuitable for Mission Critical Operations.
Best Suited for using virtual Environment as guest as well as on Physical Server.
Improved Manageable Capabilities, Inter-interoperability and that too at affordable cost.
Highly Efficient and optimize-able
Certified IPV6 Compatible
Efficient in bearing web infrastructure workloads.
Suitable for High Availability Clustering.
Real time computing
Life Cycle of SLES 12: General Support (10 Years) + Extended Support (3 Years)
Easy Installation
Wide range of Packages viz., Web Development, Cloud, Scripting, etc.
Implementation of Latest Technologies like Systemd in place of System V, MariaDB in place of MySQL, Wicked, open-vm-tools, Linux Containers, Dockers, etc.
The Very Famous package Manager of SLES, Yast which stands for Yet another Setup Tool, lets user to setup and configure SLES for upper-end-of-the-state-of-art.
Some interesting facts about SLES
SUSE Linux Enterprise Server is the only Enterprise Linux Operating System Recommended by techno-giants Microsoft and CISCO.
More than 800 peoples are working on SLES in more than 40 countries.
SUSE Community is looking for Professionals around the globe. You may like to visit SUSE
Career page
Download Suse Linux Enterprise Server 12
SLES is a commercial distribution and hence it is not available for free (free as in speech but not as in beer). You have to avail the subscription to use SLES. However there is a60-day Free Trail which you can utilize to evaluate SLES. Follow the steps below to download SLES 12 DVD images…
1. Go to : https://www.suse.com/products/server/download/
2. Select your architecture
3. Fill the short form on the next window and submit.
4. Verify the link on your email ID and receive Key as well as Download Link.
5. Save the key and Download the ISO.
After downloading ISO image, you need to check the integrity (SHASUM/MD5SUM) of ISO Image and then burn the image to
DVD or USB Stick. You may like to refer to following article for making Boot-able USB stick.
Making Linux Bootable USB Device
Installing SUSE Linux Enterprise Server 12
1. After making bootable DVD or USB image, insert the Bootable Media into the system and then boot from it. You will be greeted with Welcome Screen.
SLES Boot Screen
2. This window provide you with other options like Boot from HDD, Upgrade, Rescue, Installation Media Integrity Check and Memory Test. Select Install to continue…
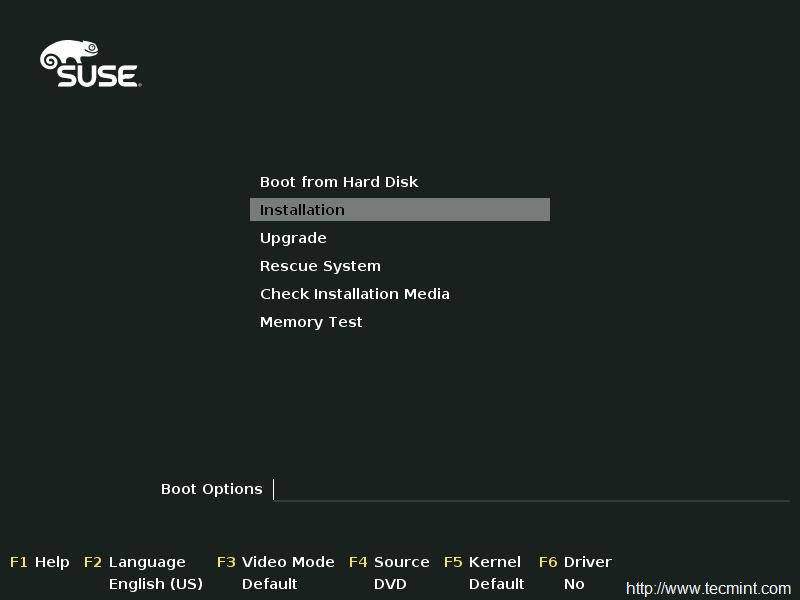
Select Install
3. The Installer will start Loading Kernel.
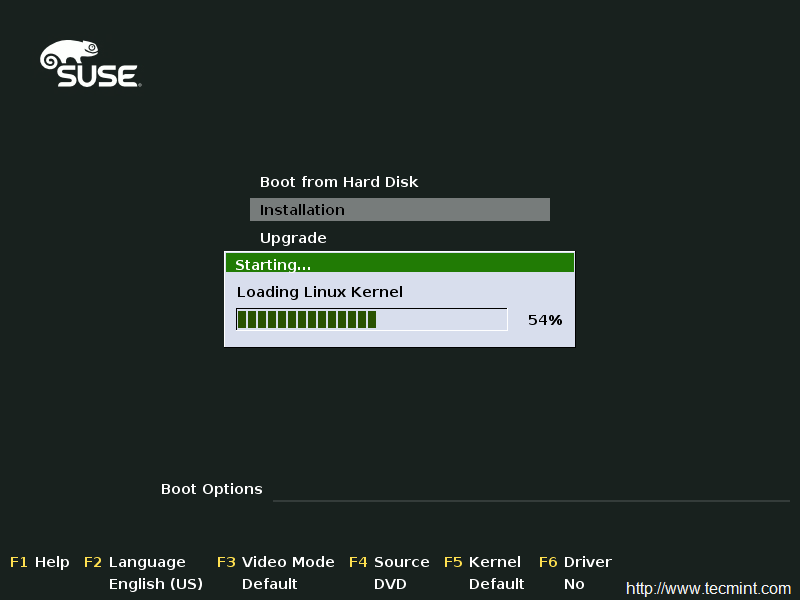
Loading Linux Kernel
4. And then SUSE Linux Enterprise Server 12 will start loading essential components..

Loading SLES
5. Installing Environment Initializing. Click Next.
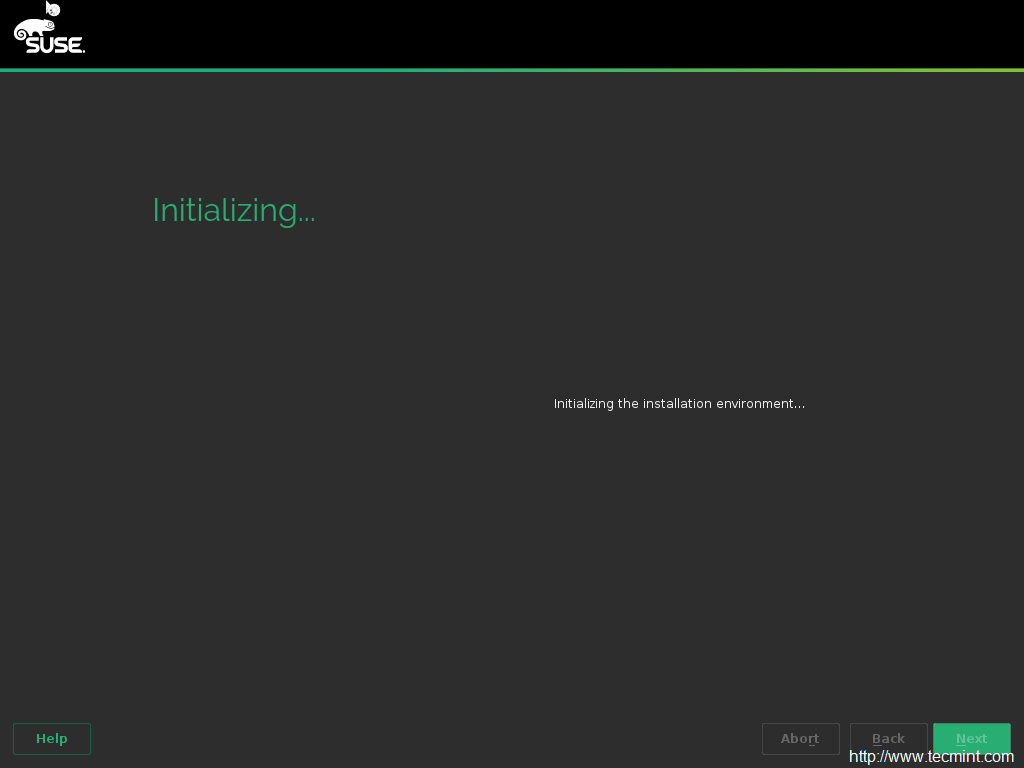
Initializing Installation
6. You need to Agree the License Terms before you can Proceed further… Click Next.
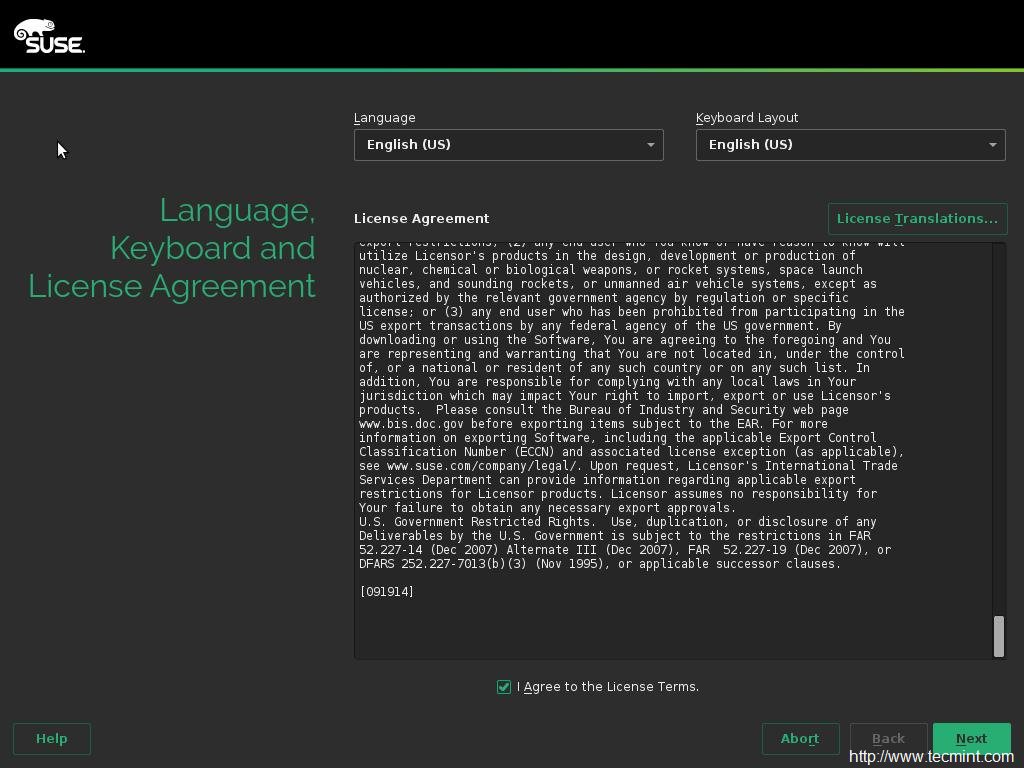
Accept License Agreement
7. Enter the registered email Address and received registration code, without which you won’t get patches and updates. Enter details and Click Next.
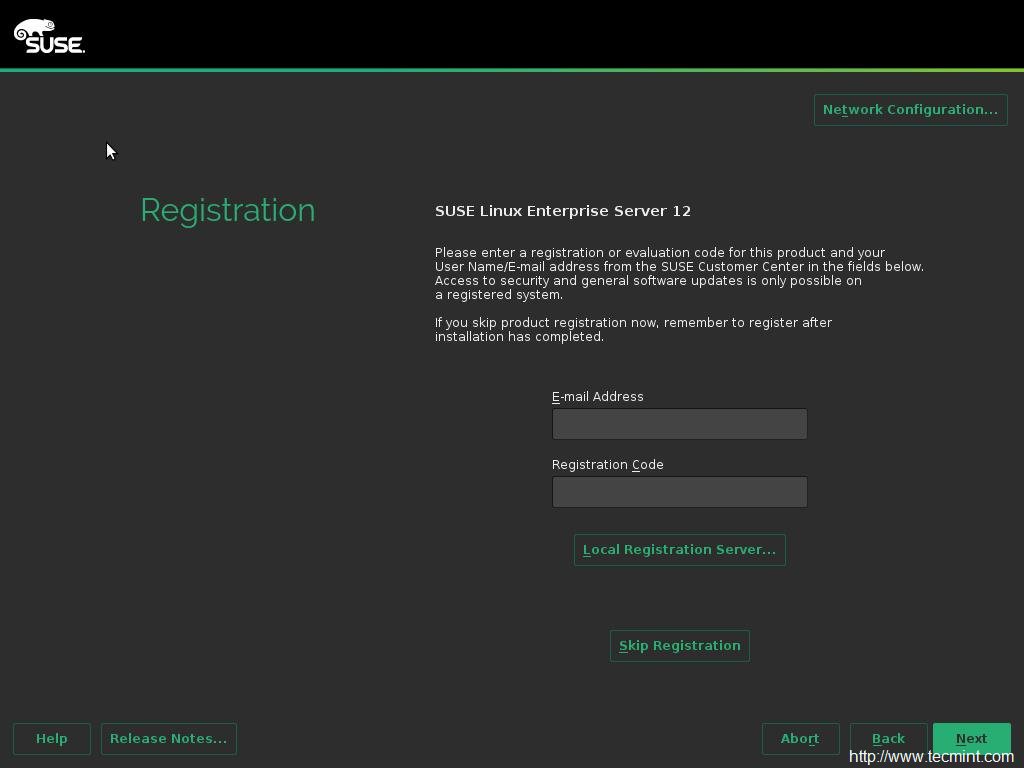
Signup for SLES
8. If you want to Install Additional add on product select or else just click Next.

Select Addon Product
9. Next the installer will show suggested partitioning scheme. You can accept the automatic partitioning however in production it is always suggested to use
Manual Partitioning which gives you additional control on the disk and OS. Click ‘Create Partition Setup‘ for Manual partitioning..
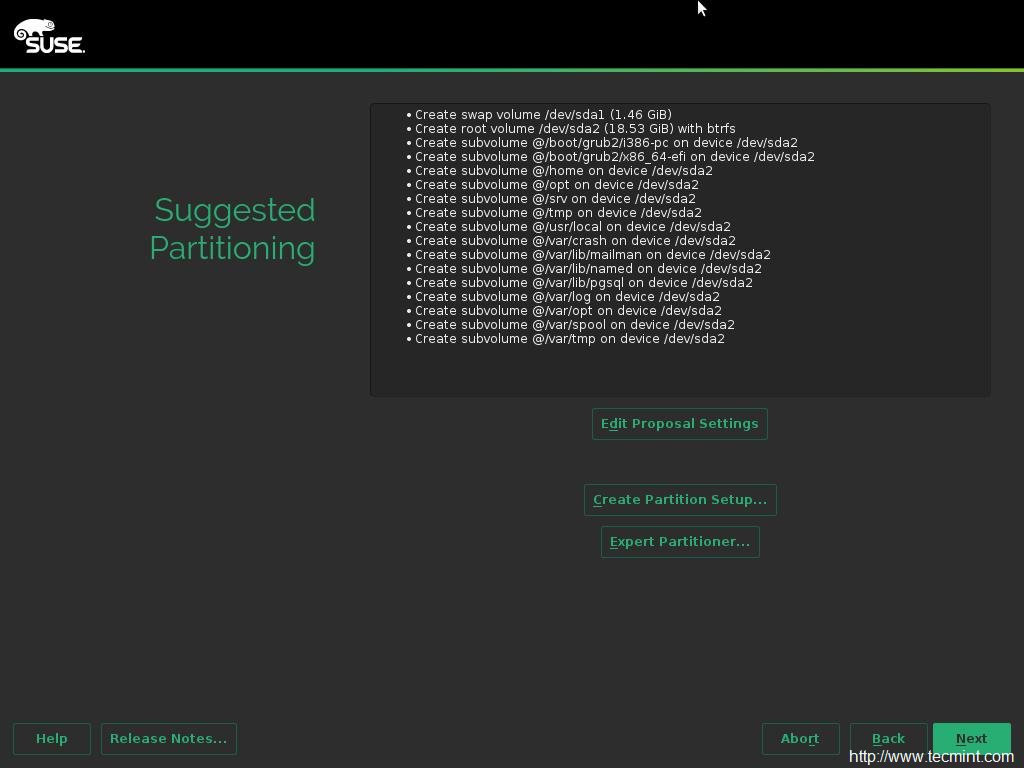
Select Manual Partitioning
10. Select ‘Custom Partitioning for experts‘ and click Next.
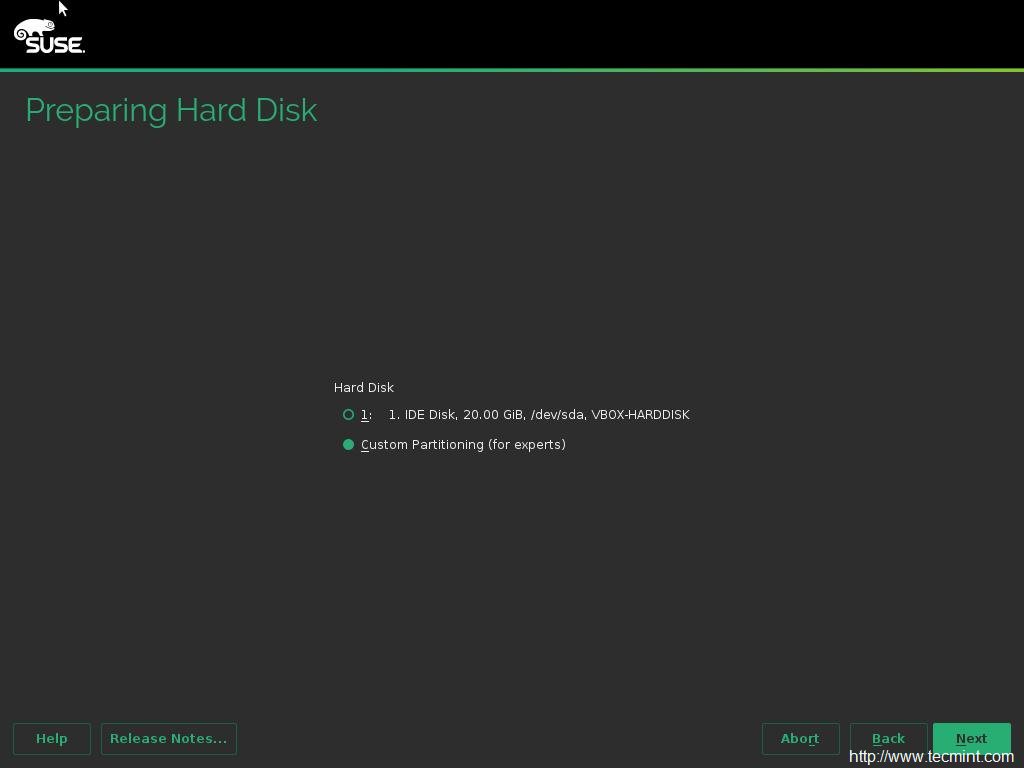
Choose Custom Partitioning for Experts
11. Select disk (if more than one available) for partitioning.
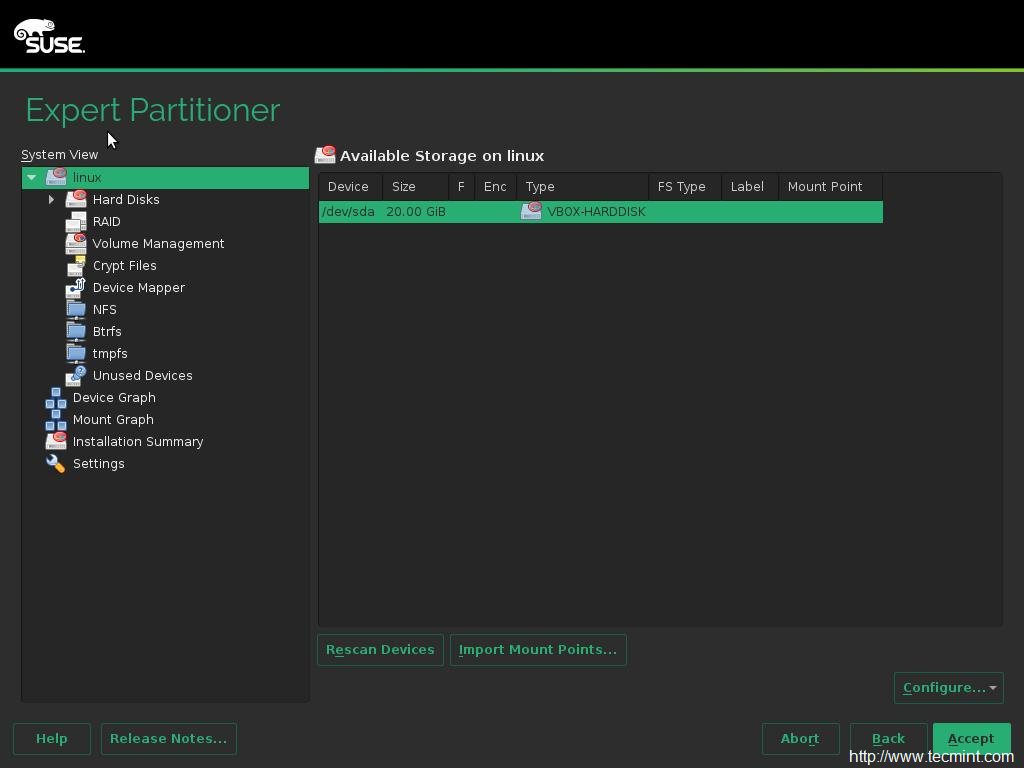
Select Partition for Installation
12. Right click on the Disk you want to Partition and Select ‘Add Partition‘.

Add Partition
13. Select Partition Type to be – Primary and Click Next.
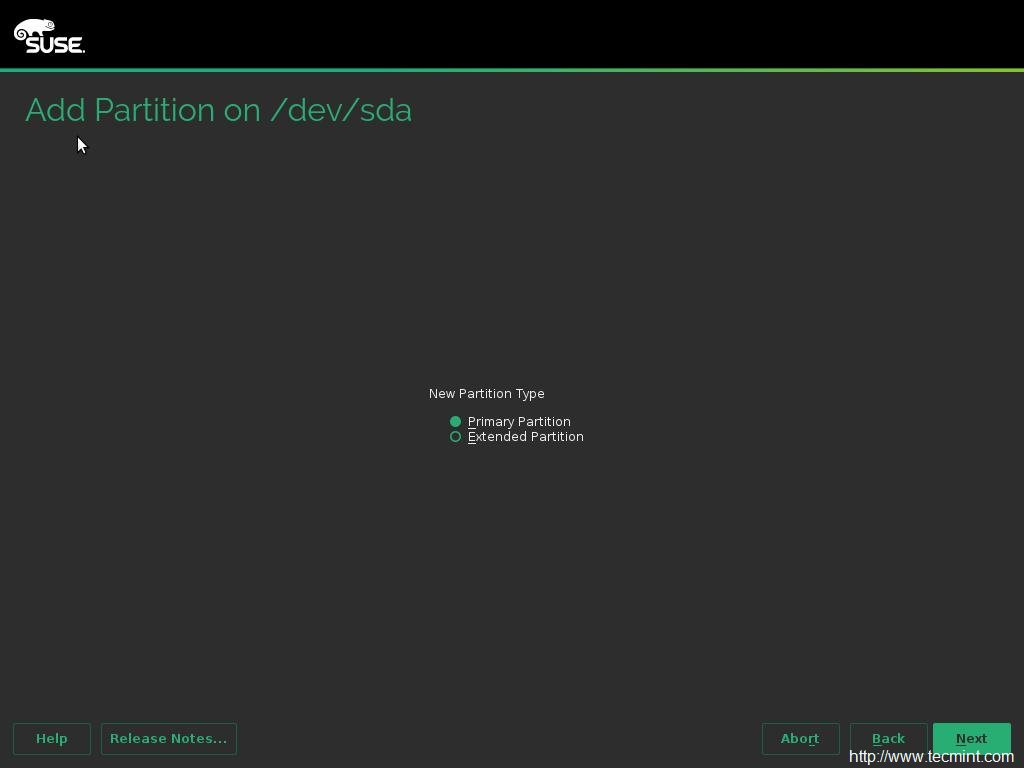
Select Partition Type
14. Next Add Custom size and Click Next.

Add Partition Size
15. Select Role of the Partition.
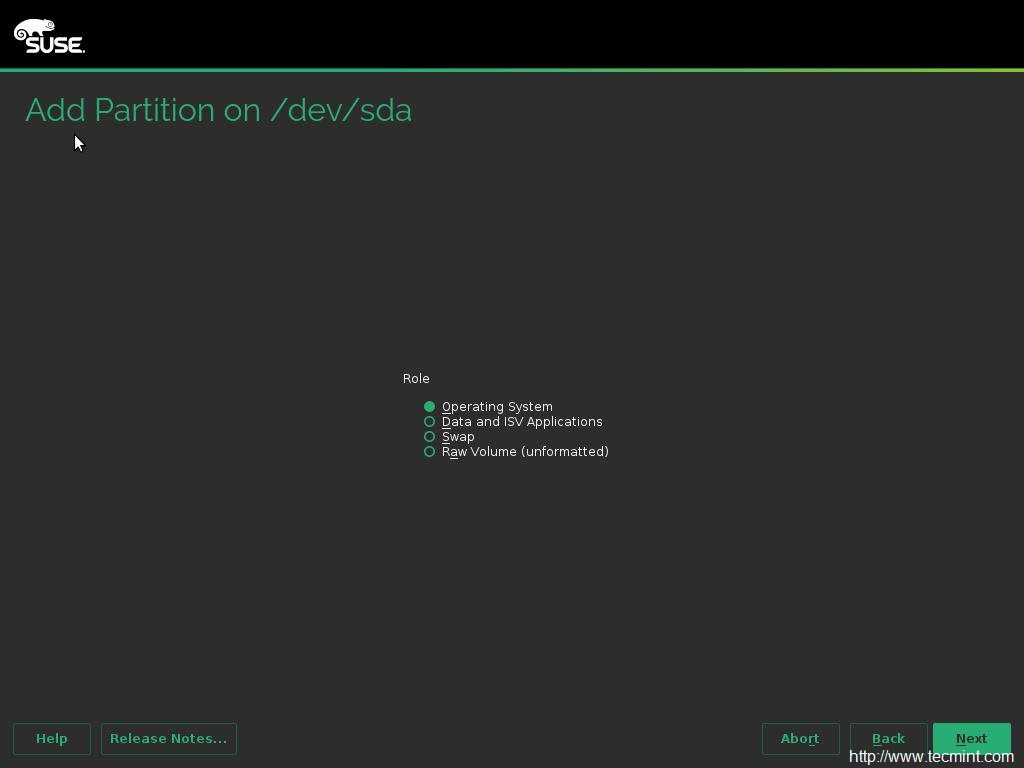
Define Partition Role
16. Next Add Mount Point (/boot) and change filesystem to Ext4. Finally Click Finish.
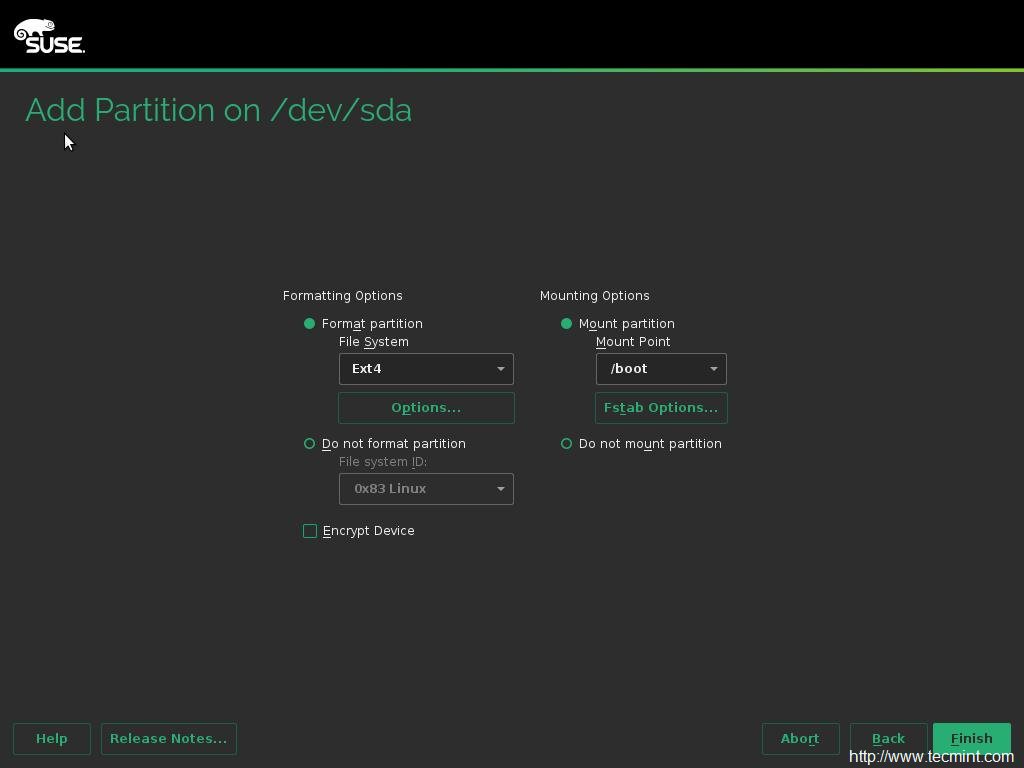
Add Moint Point as /boot
17. You will see the partition you just created is reflected in resulting windows.
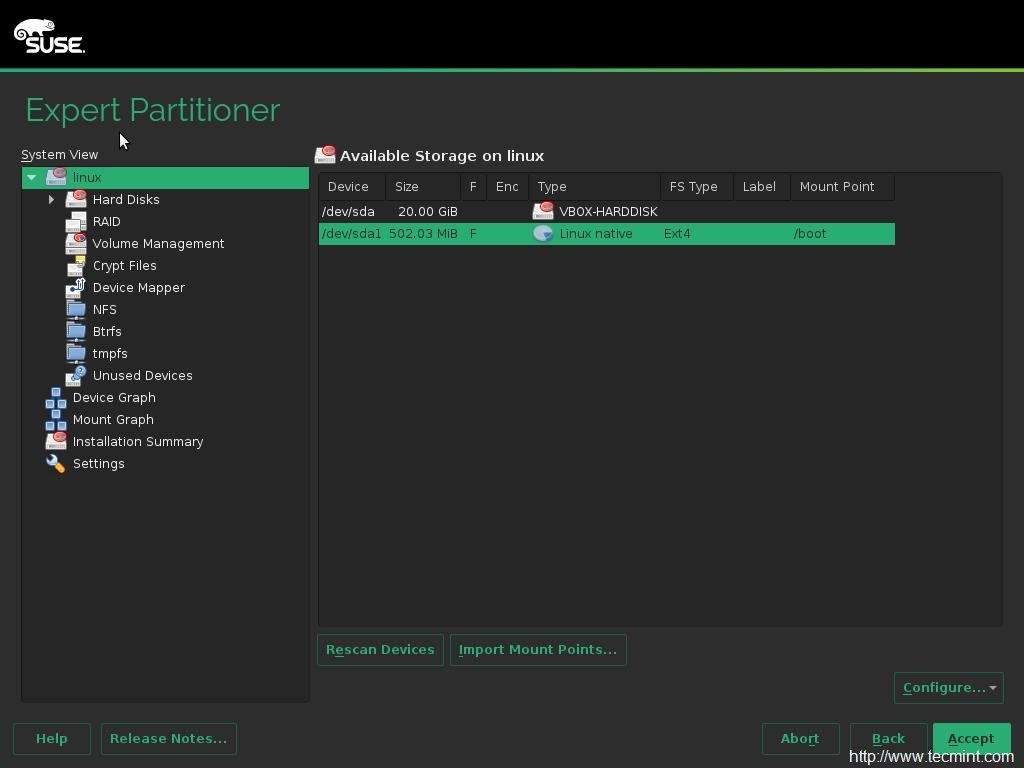
Boot Partition Created
18. We have just created /boot partition. Now we will be creating two more partitions namely
/ (root) and Swap. Follow step 12 to
step 17 with a little changes as discussed below to create other partitions.
19. Create Swap – Right Click on the Disk and Select “Add Partition”
→ Primary Partition → Custom Size (I have used 1GB as Swap)
→ Swap → Finish.
20. Create Root Partition – Right Click on the Disk and Select “Add Partition”
→ Primary Partition → Custom Size (Give all the remaining space to root partition)
→ Operating System → Next → File Format Ext4 and Mount Point
(/) → Finish.
21. Once you create all these three important Mount Points you will get something like the below Screen. Click Accept.
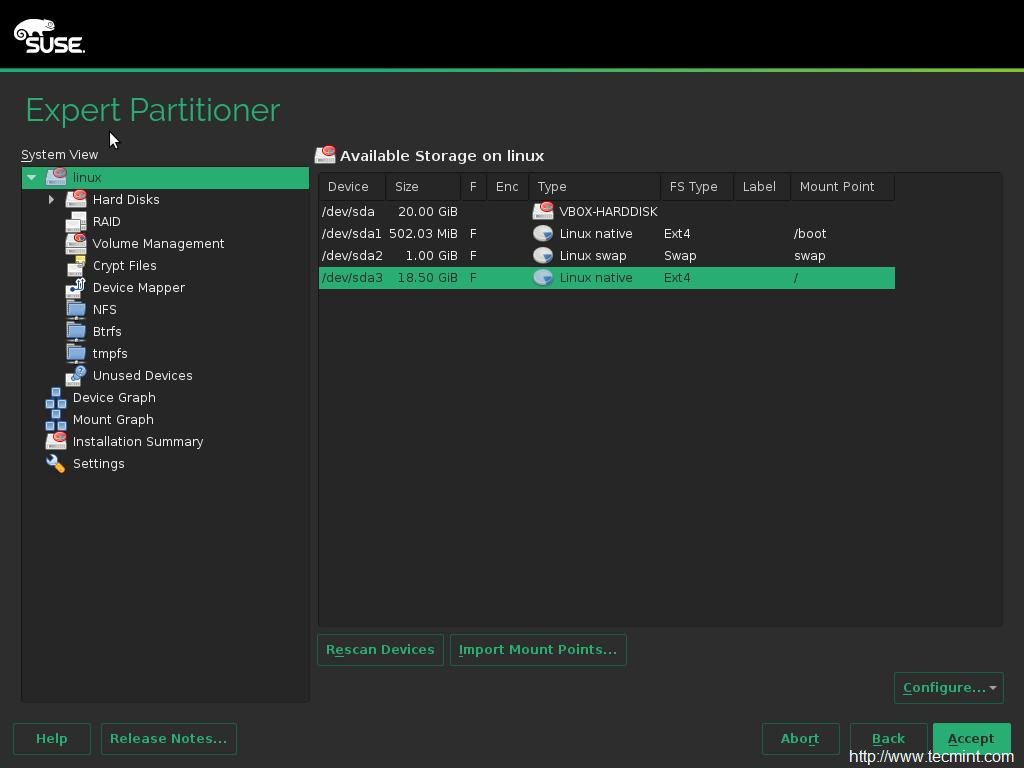
Partition Table
22. The Installer will create your partitions as shown below, click Next to continue…
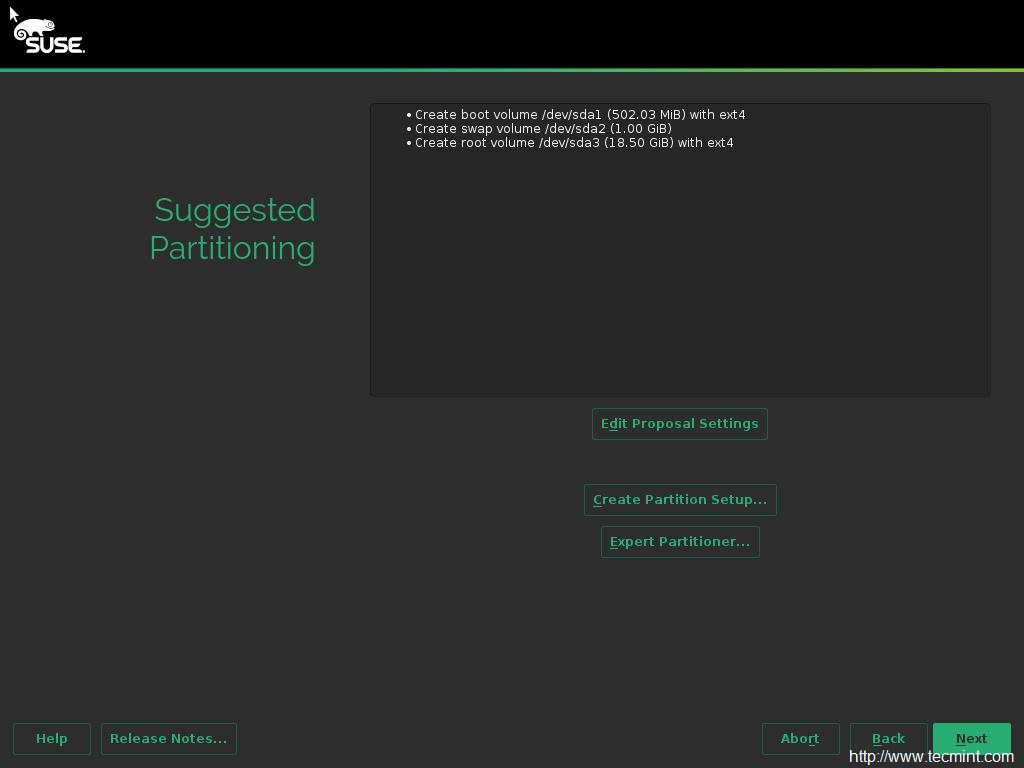
Successfully Created Partitions
23. Select your Timezone.
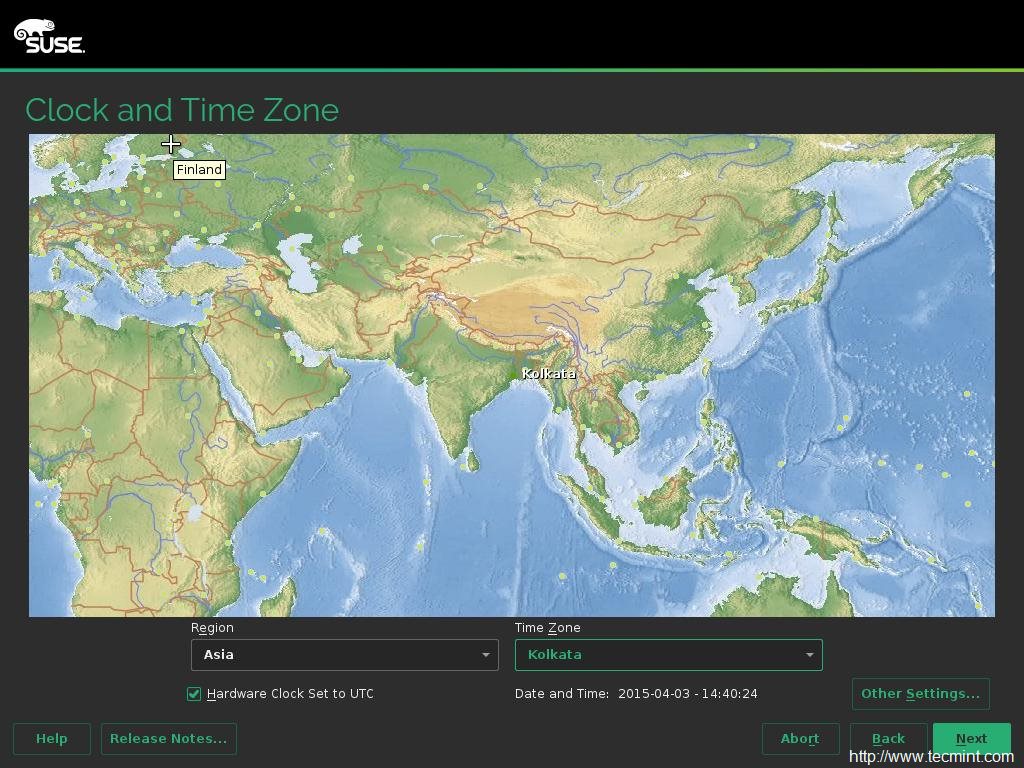
Choose Region and Timezone
24. Set Date and Time Manually or Synchronize it with
NTP Server (Working Internet Connection Needed).
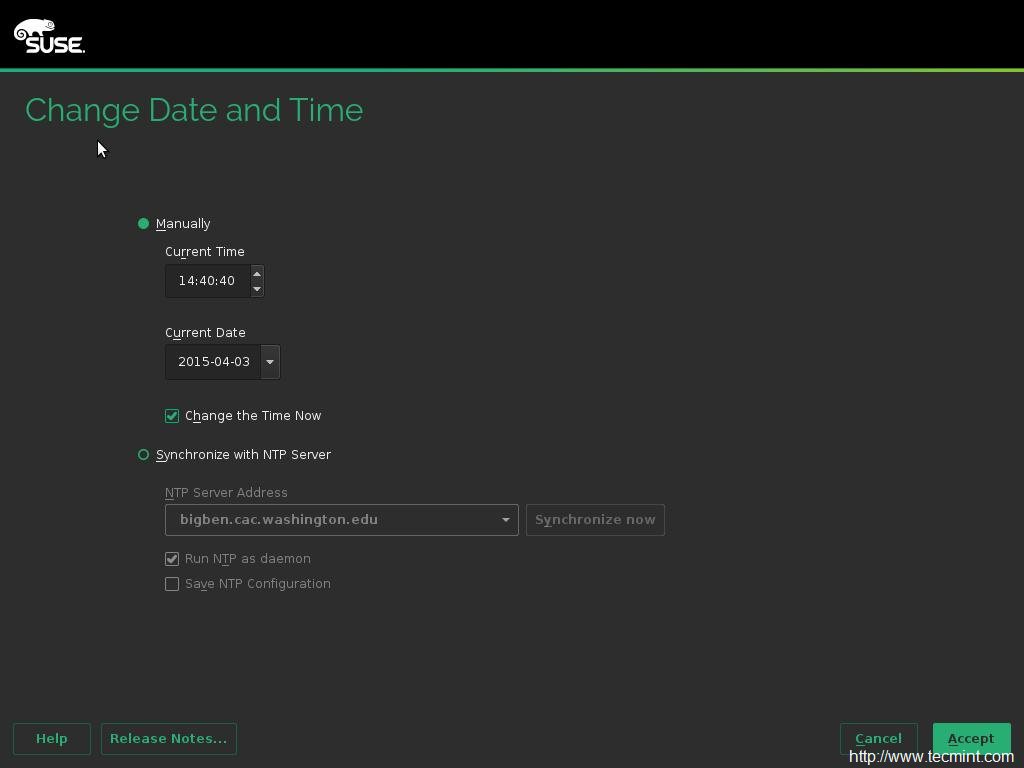
Set Date and Time
25. Create a New User. Add Appropriate data to relevant fields.
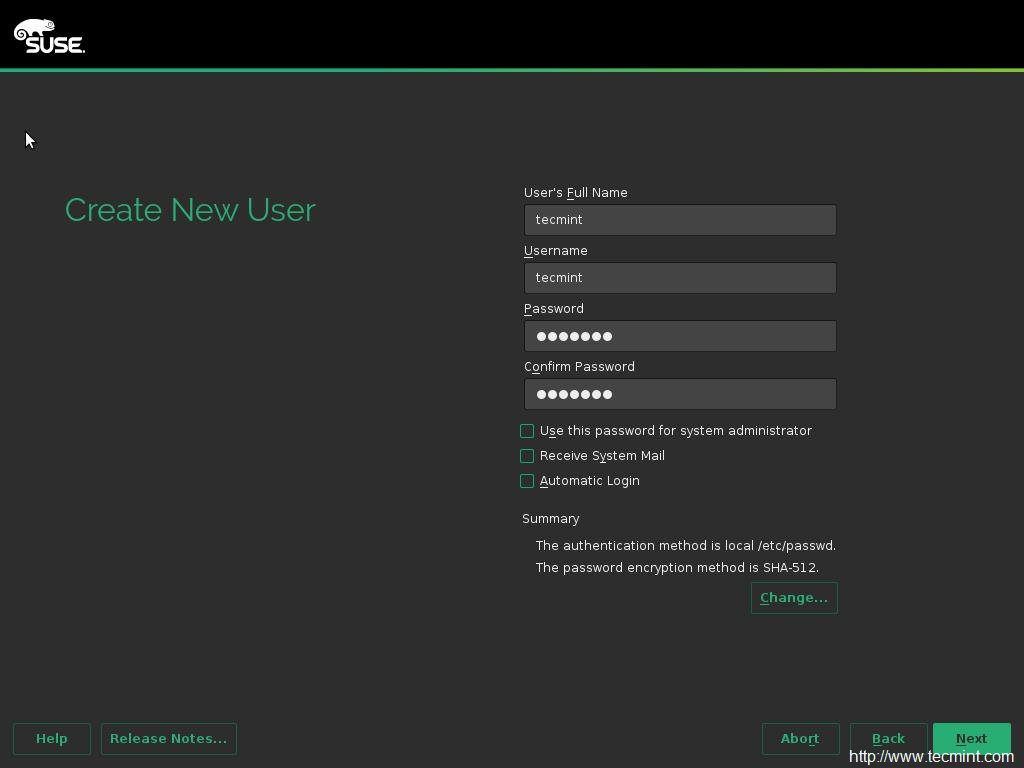
Create New User
26. Create root password.
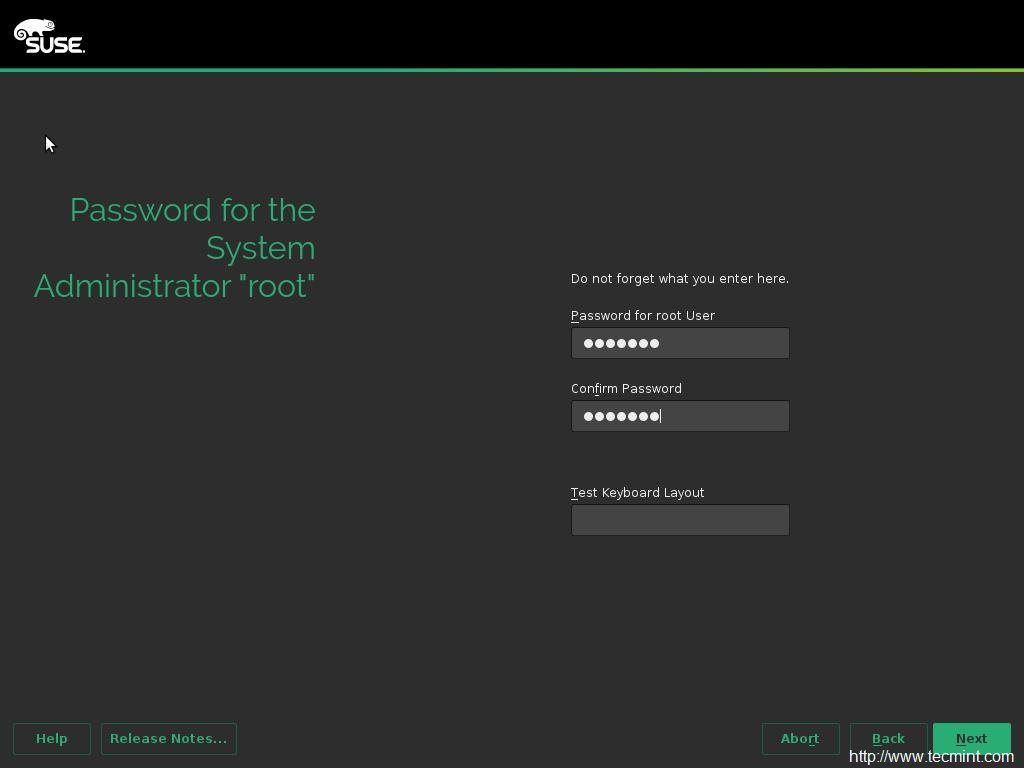
Set root Password
27. Installation Settings – what is going to be installed and what is Enables.
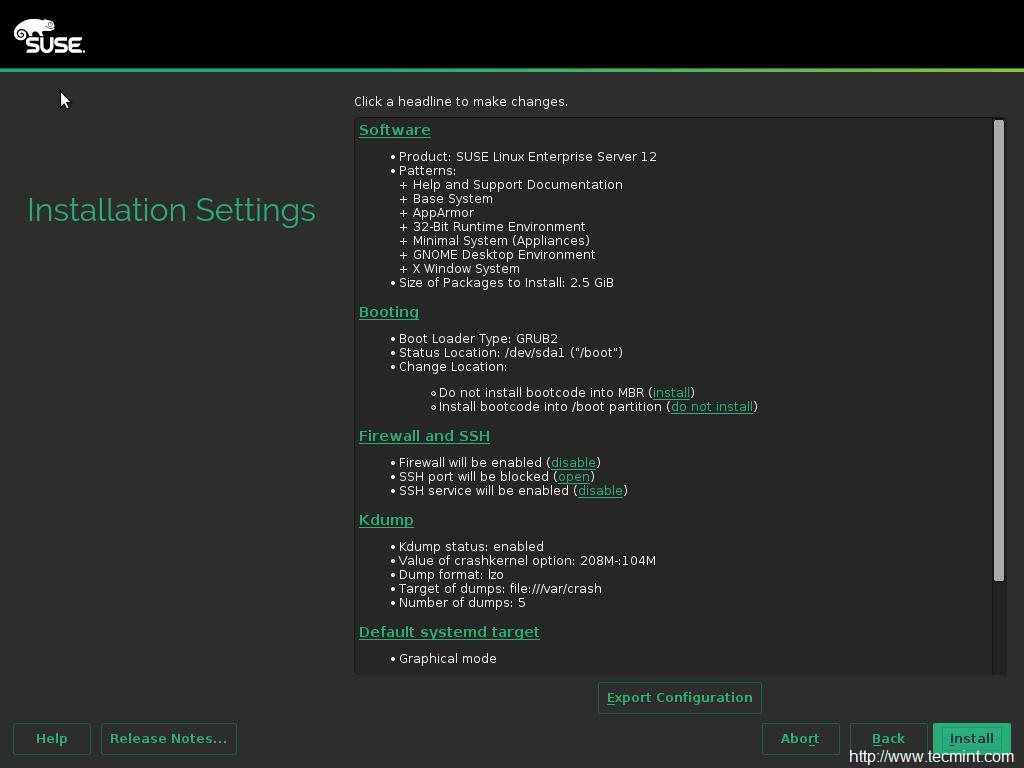
Installation Settings
28. You will be prompted to Confirm Installation. Click Install.

Confirm Installation
29. And it will start Installing Packages. You may see the Progress below and it also reports how many packages and amount of data remaining to be installed.
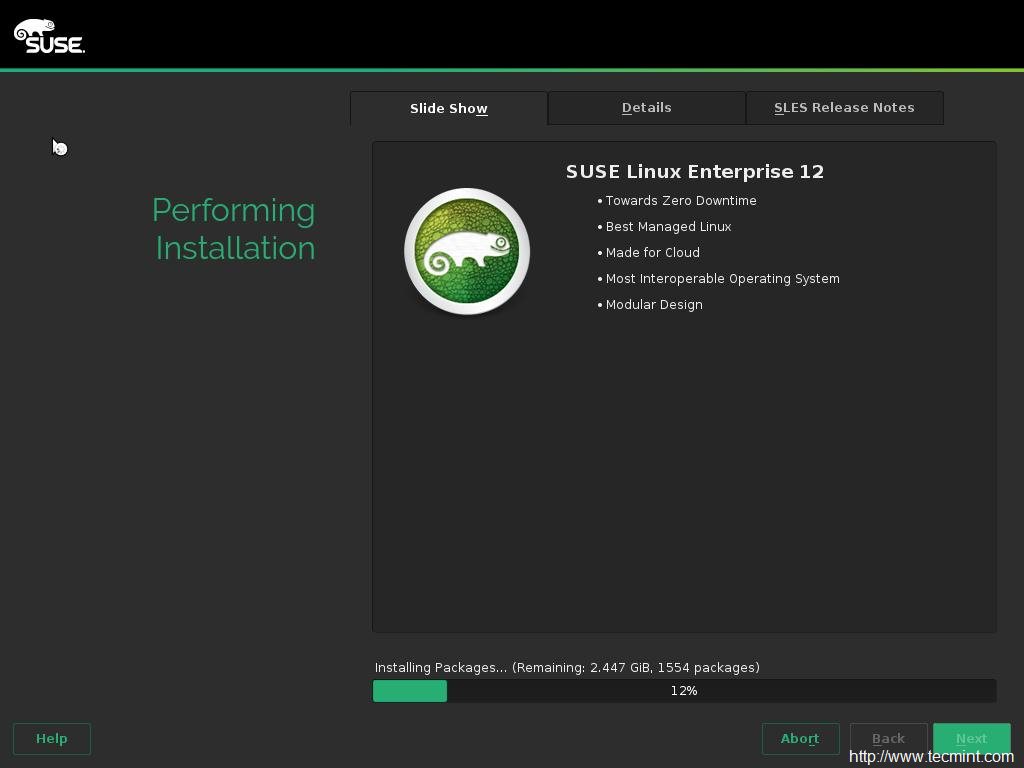
Performing Installation
30. Once installation Done, reboot the system to Login into system. Make sure to enter login credentials of newly created user..
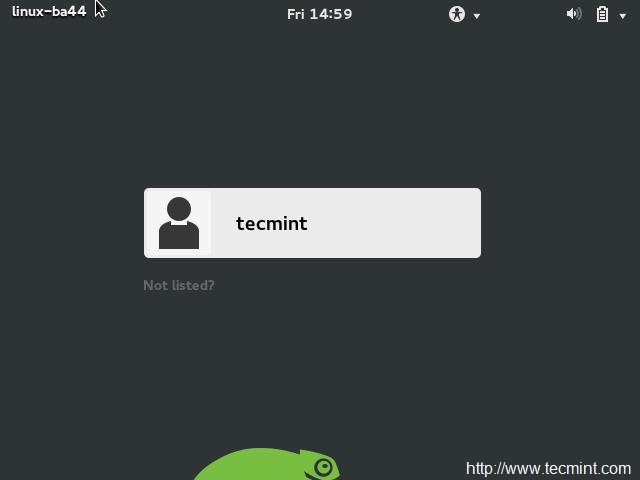
SLES Login Screen
31. Once your login successful, you will get a Desktop of SLES.
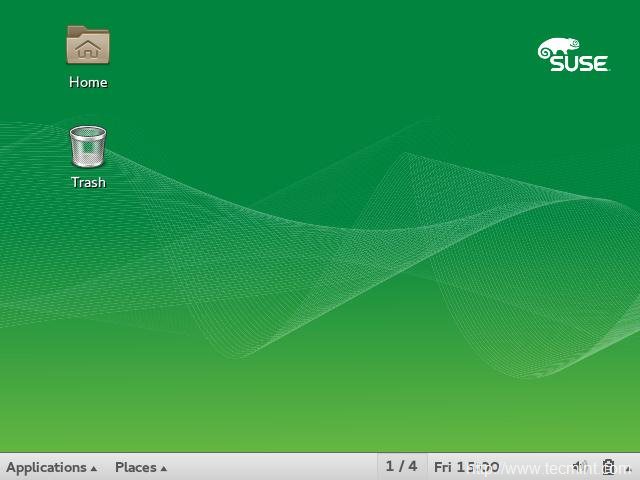
SLES Desktop
32. Check the OS-release Information.

Check OS Release Version
Conclusion
The highly reliable and robust SUSE Linux Enterprise Server is giving tough competition to RedHat Enterprise Linux. The custom toolYaST for SLES leads the rest. Availability of Latest packages, Easy and efficient package manager with a lots of applications makes it easy to Install, configure and Administrate. Best Wishes to SUSE Team (Developers, Designers, Content Writer,
…) for such a Powerful Operating System.
That’s all for now. Keep Connected to Tecmint. Keep Sharing your thoughts about the post and others (Related to content). Like and share us and help us get spread.
https://www.suse.com/products/server/
Share
+
30
13
Leave
a Reply
If You Appreciate What We Do Here On TecMint, You Should Consider:
Stay Connected to: Twitter |Facebook |
Google Plus
Subscribe to our email updates: Sign Up Now
Use our Linode referral link if you plan to buy VPS
(it starts at only $10/month).
Support us via PayPal donate - Make a Donation
Support us by purchasing our premium books in PDF format.
Support us by taking our online Linux courses
We are thankful for your never ending support.
Tags:
suse

相关文章推荐
- 进程的虚拟地址空间分配概述
- 每日一linux命令(29)-------linux chmod命令
- linux驱动笔试题总结
- 将Centos的yum源更换为国内的阿里云源
- 我的Linux书架
- 一天一条Linux指令-CPU
- 一天一条Linux指令-cpu
- 阿里云服务器Linux CentOS安装配置(七)域名解析
- linux (ubuntu) 虚拟环境下扩展硬盘空间
- vim linux下查找显示^M并且删除
- Linux命令--dpkg
- Linux的oops内核调试信息 && Linux Kernel Panic报错解决思路
- 自我介绍与学习linux运维决心书
- Linux apt-get install过程中出现“size mismatch”
- linux下查看端口是否开放
- Linux串口编程(向空调发送十六进制指令)
- linux elasticsearch 安装部署
- CentOS上安装jdk
- Linux修改主机名
- ActiveMQ学习总结(9)——Linux中安装ActiveMQ