【swift学习笔记】三.使用xib自定义UITableViewCell
2016-05-31 09:10
513 查看
使用xib自定义tableviewCell看一下效果图
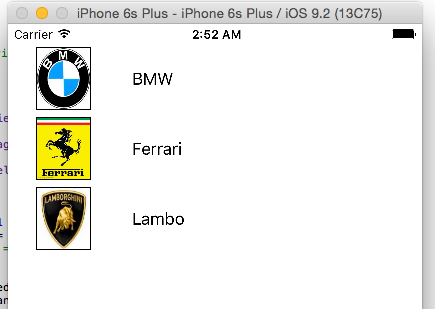
1.自定义列
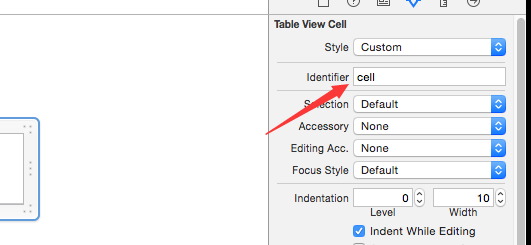
新建一个xib文件 carTblCell,拖放一个UITableViewCell,再拖放一个图片和一个文本框到tableviewcell上

并给我们的xib一个标识
为了学习,我这里的xib和后台的class是分开建的。我们再建一个cocoa touch class文件名称为CarCellTableViewCell继承自UITableViewCell
并把我们的xib和新建的CarCellTableViewCell建立联接

在CarCellTableViewCell里建立和xib的图片和文本框的输出
import UIKit

class CarCellTableViewCell: UITableViewCell {

@IBOutlet weak var cellImg: UIImageView!

@IBOutlet weak var lbCell: UILabel!
override func awakeFromNib() {
super.awakeFromNib()
// Initialization code
cellImg.layer.borderWidth = 1
cellImg.layer.masksToBounds = true
//cellImg.layer.cornerRadius = 31
}

override func setSelected(selected: Bool, animated: Bool) {
super.setSelected(selected, animated: animated)

// Configure the view for the selected state
}

}
2.关联cell和tableview
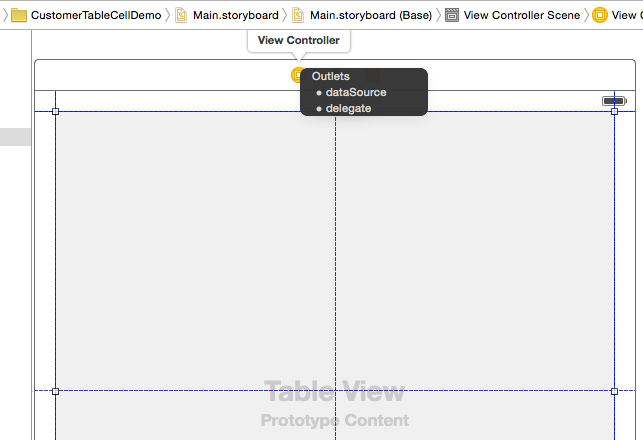
1. 在main.storyboard上拖放一个uitableview,并在后台代码建立输出联接
1.在load事件里注册xib
2.在tableveiw的方法里得到当前的列,指定数据源。
import UIKit

class ViewController: UIViewController, UITableViewDelegate, UITableViewDataSource {

@IBOutlet var tableView: UITableView!
var tableData: [String] = ["BMW", "Ferrari", "Lambo"]

override func viewDidLoad() {
super.viewDidLoad()
// Do any additional setup after loading the view, typically from a nib.
let cellNib = UINib(nibName: "carTblCell", bundle: nil)
tableView.registerNib(cellNib, forCellReuseIdentifier: "cell")
}

override func didReceiveMemoryWarning() {
super.didReceiveMemoryWarning()
// Dispose of any resources that can be recreated.
}

func tableView(tableView: UITableView, numberOfRowsInSection section: Int) -> Int {
return tableData.count
}

func tableView(tableView: UITableView, cellForRowAtIndexPath indexPath: NSIndexPath) -> UITableViewCell {
let cell: CarCellTableViewCell = self.tableView.dequeueReusableCellWithIdentifier("cell") as! CarCellTableViewCell
cell.lbCell.text = tableData[indexPath.row]
cell.cellImg.image = UIImage(named: tableData[indexPath.row])

return cell
}

func tableView(tableView: UITableView, didDeselectRowAtIndexPath indexPath: NSIndexPath) {
print("\(indexPath.row)")
}

func tableView(tableView: UITableView, heightForRowAtIndexPath indexPath: NSIndexPath) -> CGFloat {
return 70
}
}

相关文章推荐
- Swift学习笔记(4)--字符串及基本使用
- iOS(Swift)学习笔记之SwiftyJSON的使用
- swift2.0学习笔记之使用第三方库KGFloatingDrawer实现抽屉
- 学习笔记:WKWebView的简单使用(Swift)
- Swift学习笔记(十七)——导入Foundation使用更多字符串功能
- Swift学习笔记(4)使用UIImagePickerController实现从设备图片库和照相机获取图片
- 「Swift学习笔记」使用UILabel显示多行文本
- 【swift学习笔记】四.swift使用Alamofire和swiftyJson
- 【swift学习笔记】三.使用xib自定义UITableViewCell
- 【swift学习笔记】五.使用枚举优雅的管理Segue
- swift学习笔记(六)析关闭过程和使用分配给属性的默认值
- 【swift学习笔记】四.swift使用Alamofire和swiftyJson
- Swift学习笔记(二十九)——函数的使用1
- swift学习笔记之navigationController的设置以及使用
- NetTiers学习笔记05---使用自定义存储过程
- Chap 4 学习笔记-使用C#存储变量数据
- MYSQL学习笔记(5)配置:使用选项文件
- FastSpring学习笔记二(使用工具MyGeneration生成Model和NHibernate的代码 )
- Chap 4 学习笔记-使用C#存储变量数据
- [ASP.NET学习笔记之二]数据集和数据库的同步-DataAdapter的使用