Ubuntu14.04配置opencv2.4.11
2016-05-16 14:58
302 查看
1. 先下载OpenCV的源码 https://github.com/Itseez/opencv/tree/2.4
2. 解压到任意目录
unzip opencv-2.4.zip
3.进入源码目录
cd opencv-2.4
4. 事先安装一些软件
sudo apt-get install build-essential cmake libgtk2.0-dev pkg-config Python-dev python-numpy libavcodec-dev libavformat-dev libswscale-dev
5. 进入cmake
cd cmake
6. cmake编译生成Makefile,
cmake -D CMAKE_BUILD_TYPE=RELEASE -D CMAKE_INSTALL_PREFIX=/usr/local ..
安装所有的lib文件都会被安装到/usr/local目录
7. 编译,并安装
make
sudo make install
-------------------------------------------------------------------------------------
补充部分:
Now you have to configure OpenCV. First, open the opencv.conf file with the following code:
Add the following line at the end of the file(it may be an empty file, that is ok) and then save it:
Run the following code to configure the library:
Now you have to open another file:
Add these two lines at the end of the file and save it:
Finally, close the console and open a new one, restart the computer or logout and then login again. OpenCV will not work correctly until you
do this.
--------------------------------------------------------------------------------------
8. 测试,在某个目录下建立一个test.cpp文件
[cpp] view
plain copy
#include <cv.h>
#include <highgui.h>
using namespace cv;
int main(int argc, char* argv[]) {
Mat image;
image = imread(argv[1], 1);
if (argc != 2 || !image.data) {
printf("No image data\n");
return -1;
}
namedWindow("Display Image", CV_WINDOW_AUTOSIZE);
imshow("Display Image", image);
waitKey(0);
return 0;
}
9. 同目录,新建一个文件CMakeLists.txt,写入如下内容
[plain] view
plain copy
project(test)
find_package(OpenCV REQUIRED)
add_executable(test test)
target_link_libraries(test ${OpenCV_LIBS})
cmake_minimum_required(VERSION 2.8)
10. 编译成可执行文件
cmake .
make
11. 随便弄个jpg图片做个测试,注意要和上面那个可执行文件放在同一目录下面,我这里名字取的是test.jpg。
12. ./test test.jpg
如果能看到照片,那就表示成功了。
2. 解压到任意目录
unzip opencv-2.4.zip
3.进入源码目录
cd opencv-2.4
4. 事先安装一些软件
sudo apt-get install build-essential cmake libgtk2.0-dev pkg-config Python-dev python-numpy libavcodec-dev libavformat-dev libswscale-dev
5. 进入cmake
cd cmake
6. cmake编译生成Makefile,
cmake -D CMAKE_BUILD_TYPE=RELEASE -D CMAKE_INSTALL_PREFIX=/usr/local ..
安装所有的lib文件都会被安装到/usr/local目录
7. 编译,并安装
make
sudo make install
-------------------------------------------------------------------------------------
补充部分:
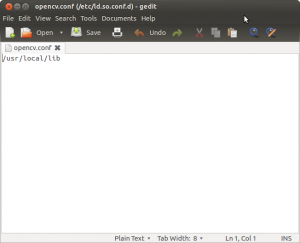
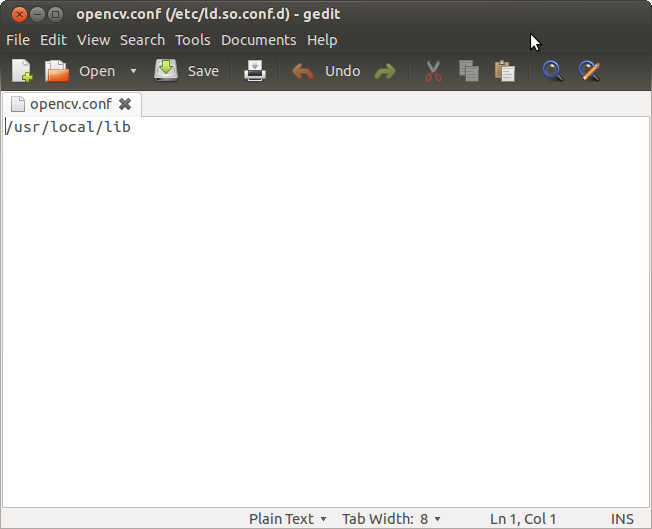
Now you have to configure OpenCV. First, open the opencv.conf file with the following code:
sudo gedit /etc/ld.so.conf.d/opencv.conf
Add the following line at the end of the file(it may be an empty file, that is ok) and then save it:
/usr/local/lib
Run the following code to configure the library:
sudo ldconfig
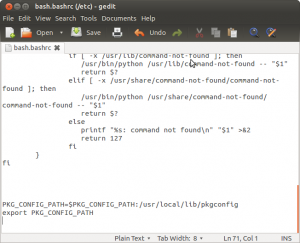
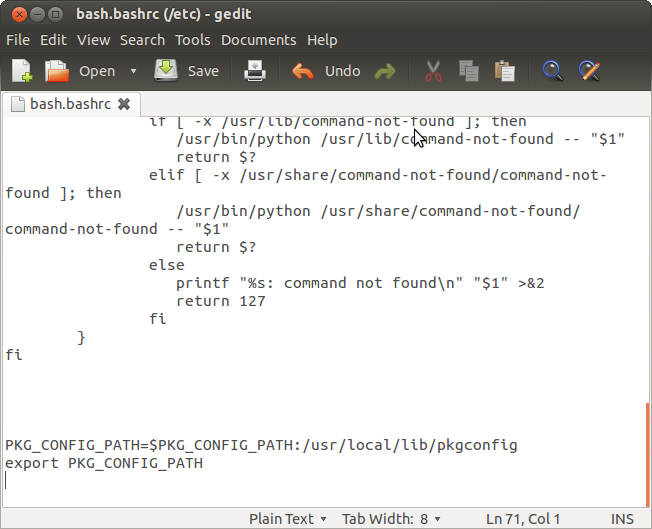
Now you have to open another file:
sudo gedit /etc/bash.bashrc
Add these two lines at the end of the file and save it:
PKG_CONFIG_PATH=$PKG_CONFIG_PATH:/usr/local/lib/pkgconfig
export PKG_CONFIG_PATH
Finally, close the console and open a new one, restart the computer or logout and then login again. OpenCV will not work correctly until you
do this.
--------------------------------------------------------------------------------------
8. 测试,在某个目录下建立一个test.cpp文件
[cpp] view
plain copy
#include <cv.h>
#include <highgui.h>
using namespace cv;
int main(int argc, char* argv[]) {
Mat image;
image = imread(argv[1], 1);
if (argc != 2 || !image.data) {
printf("No image data\n");
return -1;
}
namedWindow("Display Image", CV_WINDOW_AUTOSIZE);
imshow("Display Image", image);
waitKey(0);
return 0;
}
9. 同目录,新建一个文件CMakeLists.txt,写入如下内容
[plain] view
plain copy
project(test)
find_package(OpenCV REQUIRED)
add_executable(test test)
target_link_libraries(test ${OpenCV_LIBS})
cmake_minimum_required(VERSION 2.8)
10. 编译成可执行文件
cmake .
make
11. 随便弄个jpg图片做个测试,注意要和上面那个可执行文件放在同一目录下面,我这里名字取的是test.jpg。
12. ./test test.jpg
如果能看到照片,那就表示成功了。

相关文章推荐
- Linux设备模型(2)_Kobject
- linux下查看所有用户及所有用户组
- Linux的进程/线程间通信方式总结
- part1:6-Linux文本编辑器vi
- VS2013发布网站删除.CS文件
- NSOperation中指定异步任务的依赖关系
- CentOS7 编译安装Nginx
- linux中的文本处理方法集锦
- linux文件权限的总结
- 看C开源源码的好网站
- Linux top命令的用法详细详解
- Shell 入门
- Xmanager连接 Linux 6的配置
- mac升级到10.11后使用CocoaPod出现-bash: pod: command not found 解决办法
- dubbo系列-Linux下zookeeper的安装
- 服务器监控(包括性能指标与web应用程序)
- opencv检测四边形/多边形
- Linux中solr-4.10.2 在tomcat 7中部署
- Linux:-bash: ***: command not found
- drop和delete的区别是什么