最新 Bitnami redmine安装与配置
2016-05-06 10:52
549 查看
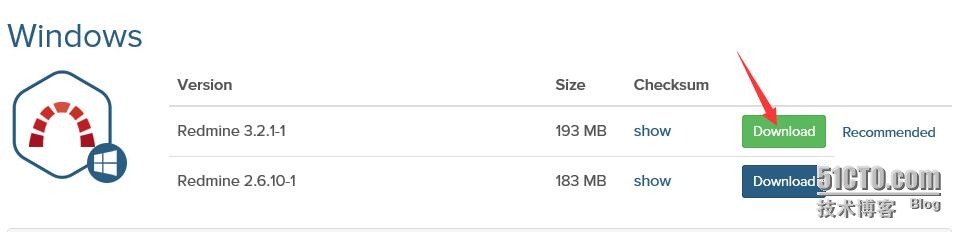
最新 Bitnami redmine安装与配置 首先登陆官网下载最新版本
https://bitnami.com/stack/redmine/installer
1 接下来开始安装:

2选择安装语言:

3 继续下一步:

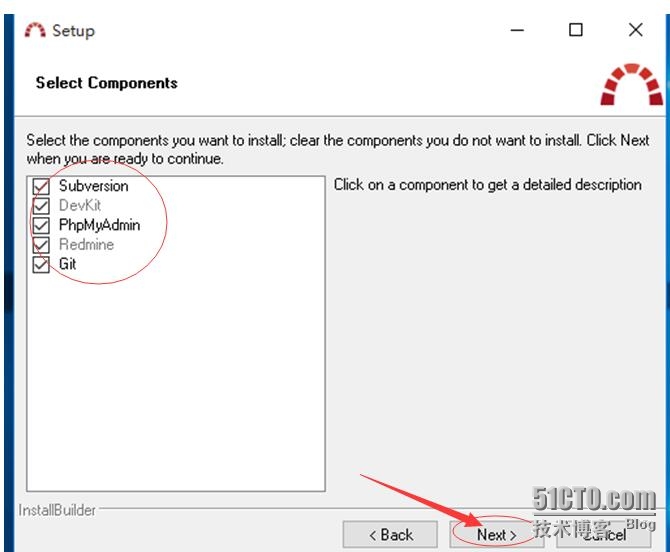
4 选择安装插件默认就可以,继续下一步:
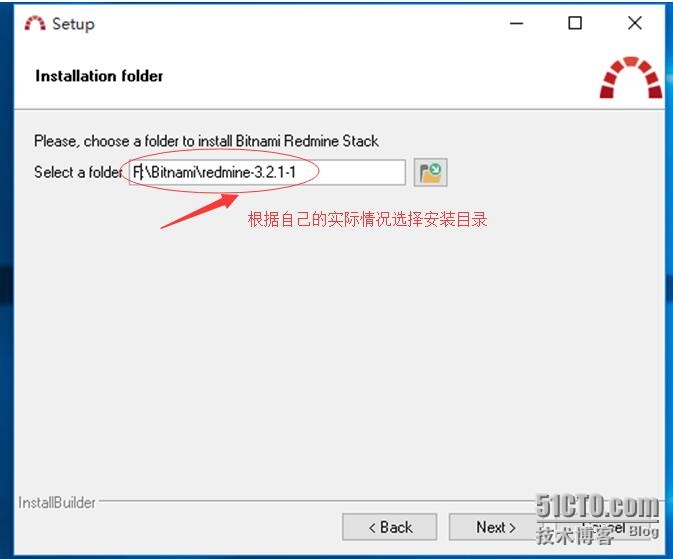
5 选择安装路径:
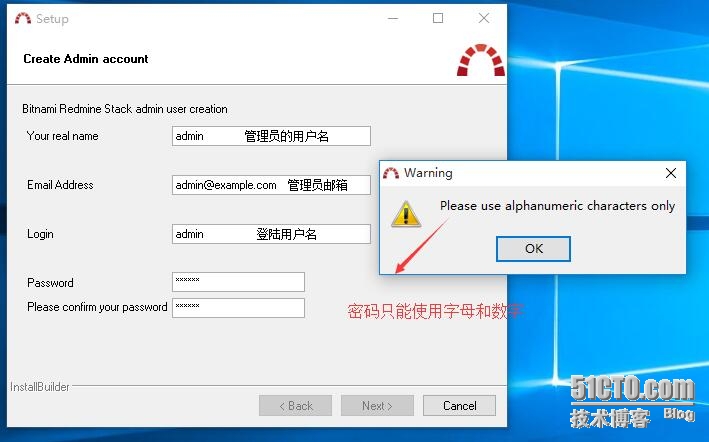
6 设置登陆Redmine管理员的用户名和密码:
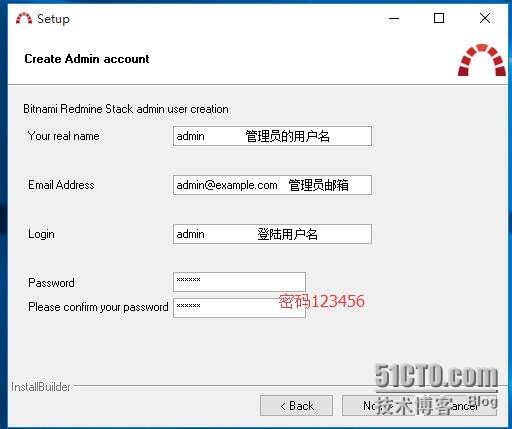
7 如果出现如此说明你的密码不符合规则,请重新输入密码;
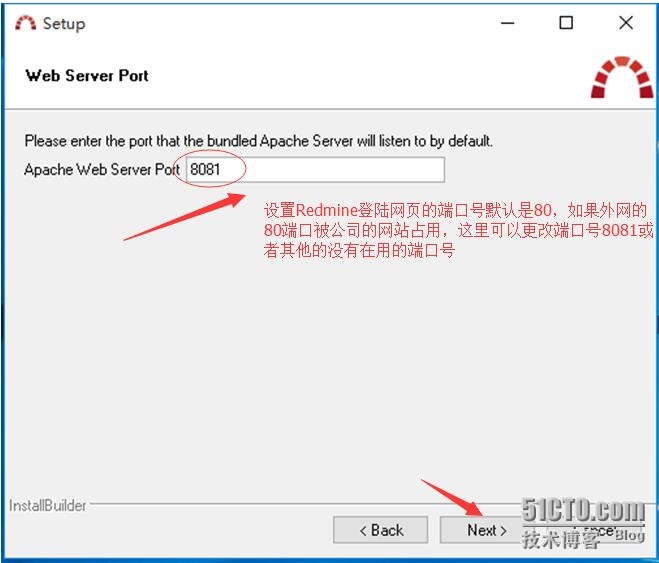
8 设置端口默认是80
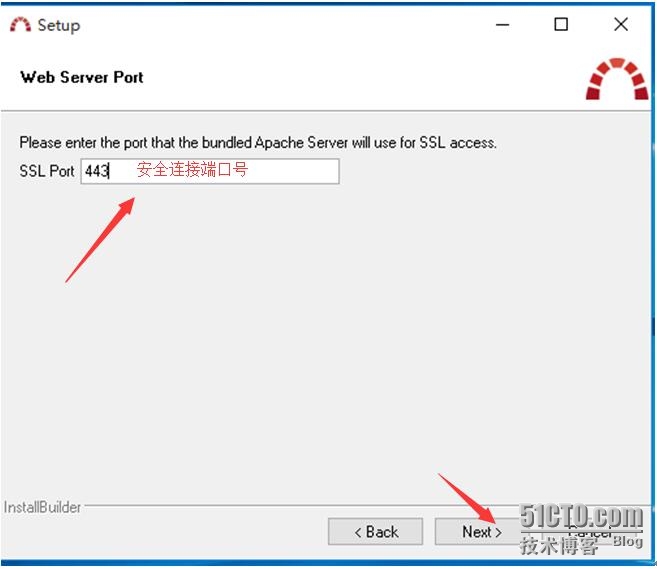
9设置加密端口号默认443:
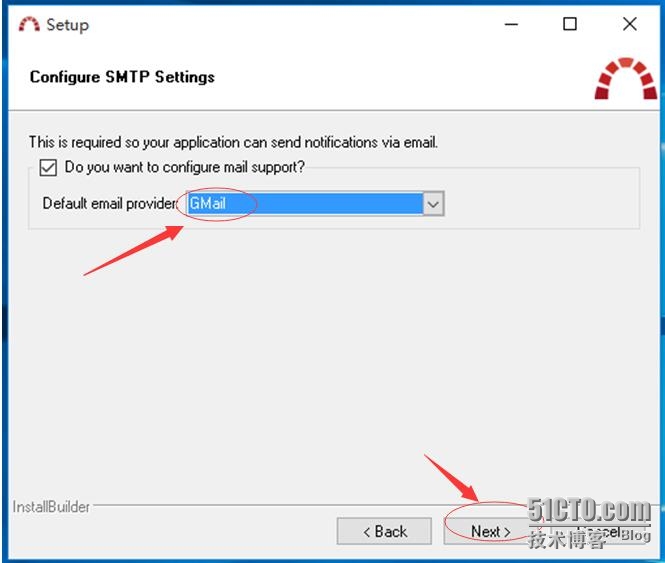
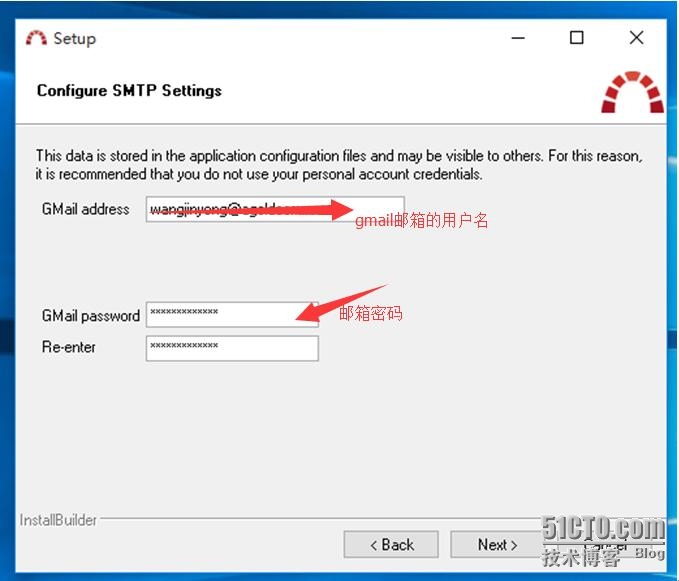
10 设置邮件通知Gmail邮箱:
11设置如下:
12去掉学习对号继续下一步:

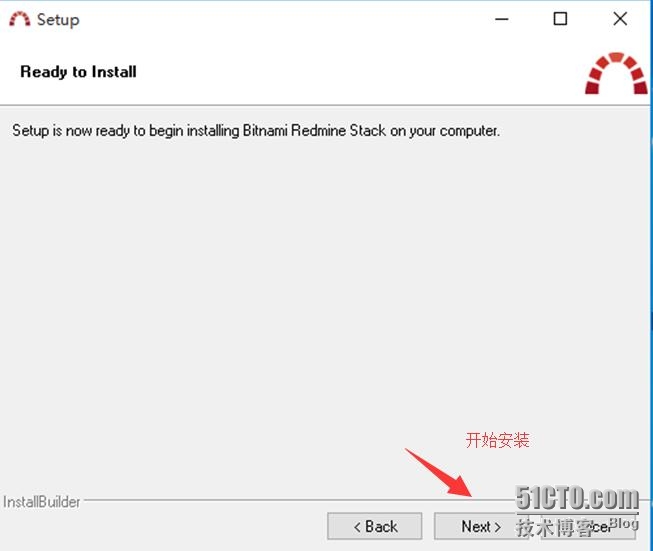
13 继续安装:
14 安装及其等待中:

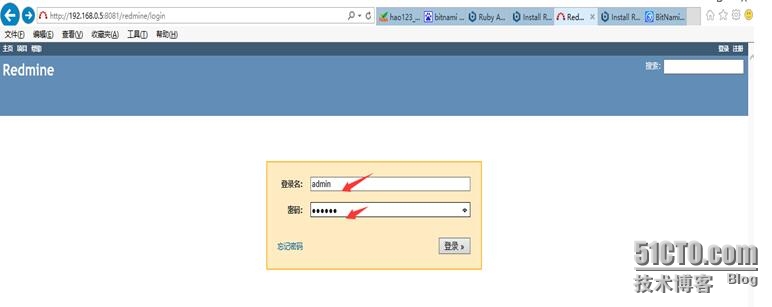
15 安装完成输入地址登陆,如果安装时选择的是默认安装,就不要加默认端口号80:
《一》用ip或者localhost 登陆如下:
http://192.168.0.5:8081/redmine
或者
http://localhost:8081/redmine
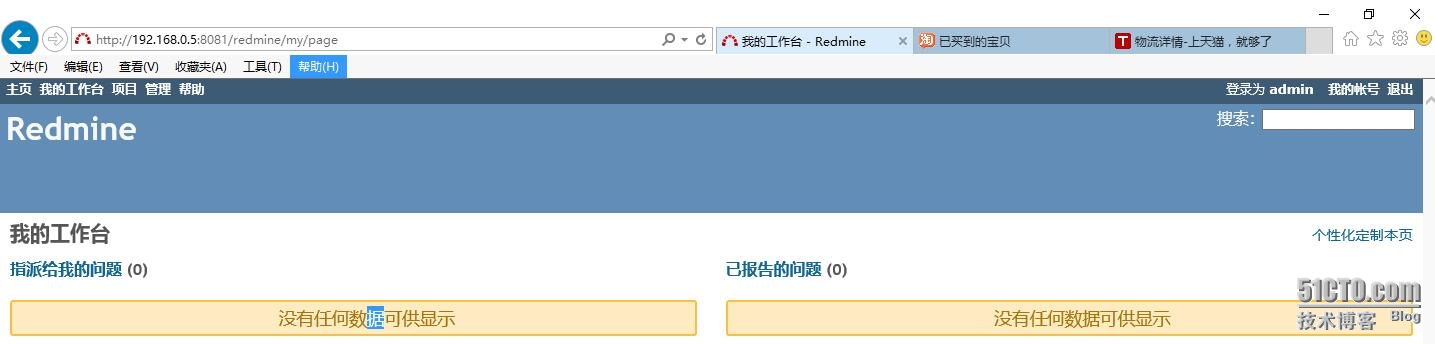
16 正常登陆完成
Bitnami redmine常见问题与配置
《一》Bitnami redmine默认用的是80端口如何手动更改端口号;
下面以把端口号8081更改为3000为列:
需要更能两个文件
第一个:httpd.conf文件
F:\Bitnami\redmine-3.2.1-1\apache2\conf\httpd.conf下找到这行
#Listen 12.34.56.78:8081
Listen 8081
更改为
#Listen 12.34.56.78:3000
Listen 3000
在把下面
# If your host doesn't have a registered DNS name, enter its IP address here.
#
ServerName localhost:8081
更改为
# If your host doesn't have a registered DNS name, enter its IP address here.
#
ServerName localhost:3000
第二个文件:bitnami.conf文件
F:\Bitnami\redmine-3.2.1-1\apache2\conf\bitnami
# Default Virtual Host configuration.
<IfVersion < 2.3 >
NameVirtualHost *:8081
NameVirtualHost *:443
</IfVersion>
<VirtualHost _default_:8081>
DocumentRoot "F:/Bitnami/redmine-3.2.1-1/apache2/htdocs"
<Directory "F:/Bitnami/redmine-3.2.1-1/apache2/htdocs">
Options Indexes FollowSymLinks
AllowOverride All
<IfVersion < 2.3 >
Order allow,deny
Allow from all
</IfVersion>
<IfVersion >= 2.3 >
Require all granted
</IfVersion>
</Directory>
更改为:
# Default Virtual Host configuration.
<IfVersion < 2.3 >
NameVirtualHost *:3000
NameVirtualHost *:443
</IfVersion>
<VirtualHost _default_:3000>
DocumentRoot "F:/Bitnami/redmine-3.2.1-1/apache2/htdocs"
<Directory "F:/Bitnami/redmine-3.2.1-1/apache2/htdocs">
Options Indexes FollowSymLinks
AllowOverride All
<IfVersion < 2.3 >
Order allow,deny
Allow from all
</IfVersion>
<IfVersion >= 2.3 >
Require all granted
</IfVersion>
</Directory>
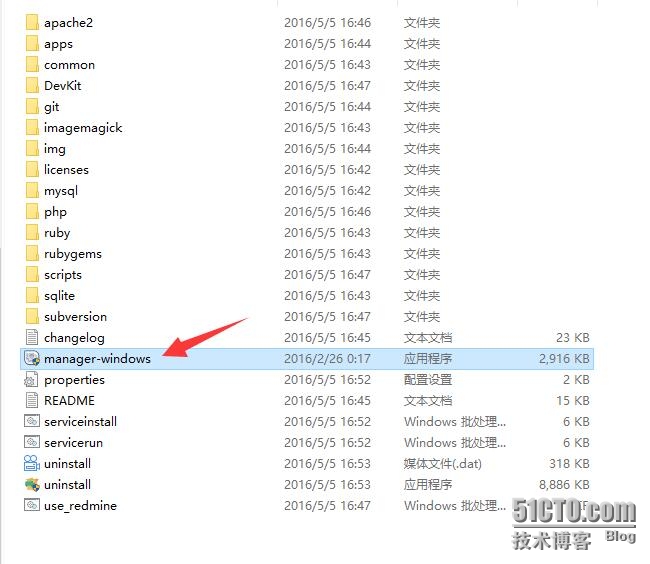
1 重新启动服务,安装目录下点击 manager-windows
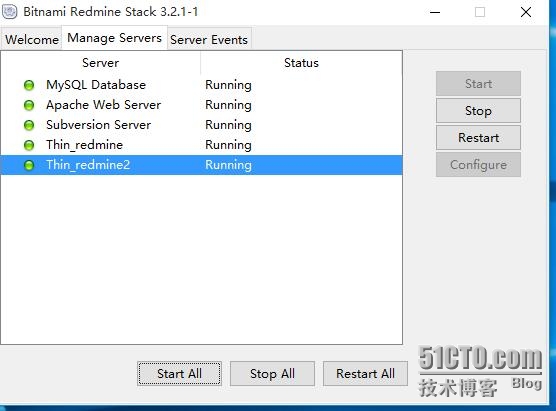
2 重启服务
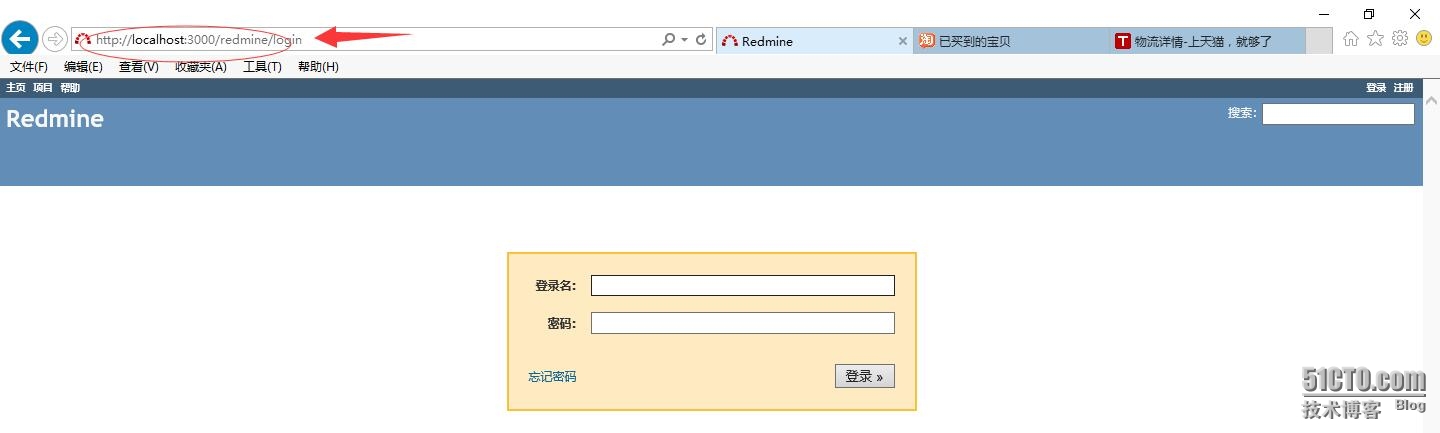
3 输入http://localhost:8081/redmine 可以看到端口号成功更改为:3000
第二 登陆界面字体太小,如何更改?
1 找到下面的CSS文件
F:\Bitnami\redmine-3.2.1-1\apps\redmine\htdocs\public\stylesheets\application.css
更改文件12px—更改为15px
html {overflow-y:scroll;}
body { font-family: Verdana, sans-serif; font-size: 12px; color:#333; margin: 0; padding: 0; min-width: 900px; }
h1, h2, h3, h4 {font-family: "Trebuchet MS", Verdana, sans-serif;padding: 2px 10px 1px 0px;margin: 0 0 10px 0;}
#content h1, h2, h3, h4 {color: #555;}
h2, .wiki h1 {font-size: 20px;}
h3, .wiki h2 {font-size: 16px;}
h4, .wiki h3 {font-size: 13px;}
h4 {border-bottom: 1px dotted #bbb;}
pre, code {font-family: Consolas, Menlo, "Liberation Mono", Courier, monospace;}
html {overflow-y:scroll;}
body { font-family: Verdana, sans-serif; font-size: 15px; color:#333; margin: 0; padding: 0; min-width: 900px; }
h1, h2, h3, h4 {font-family: "Trebuchet MS", Verdana, sans-serif;padding: 2px 10px 1px 0px;margin: 0 0 10px 0;}
#content h1, h2, h3, h4 {color: #555;}
h2, .wiki h1 {font-size: 20px;}
h3, .wiki h2 {font-size: 16px;}
h4, .wiki h3 {font-size: 13px;}
h4 {border-bottom: 1px dotted #bbb;}
pre, code {font-family: Consolas, Menlo, "Liberation Mono", Courier, monospace;}
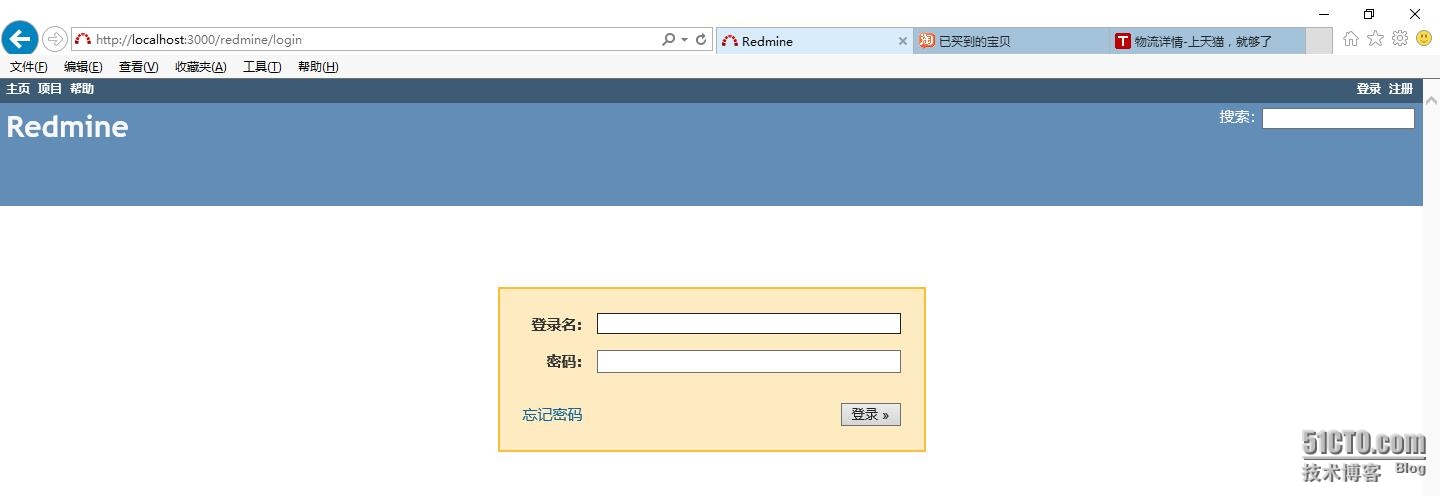
2 看看字体是不是变大了:
https://bitnami.com/stack/redmine/installer
1 接下来开始安装:
2选择安装语言:
3 继续下一步:
4 选择安装插件默认就可以,继续下一步:
5 选择安装路径:
6 设置登陆Redmine管理员的用户名和密码:
7 如果出现如此说明你的密码不符合规则,请重新输入密码;
8 设置端口默认是80
9设置加密端口号默认443:
10 设置邮件通知Gmail邮箱:
11设置如下:
12去掉学习对号继续下一步:
13 继续安装:
14 安装及其等待中:
15 安装完成输入地址登陆,如果安装时选择的是默认安装,就不要加默认端口号80:
《一》用ip或者localhost 登陆如下:
http://192.168.0.5:8081/redmine
或者
http://localhost:8081/redmine
16 正常登陆完成
Bitnami redmine常见问题与配置
《一》Bitnami redmine默认用的是80端口如何手动更改端口号;
下面以把端口号8081更改为3000为列:
需要更能两个文件
第一个:httpd.conf文件
F:\Bitnami\redmine-3.2.1-1\apache2\conf\httpd.conf下找到这行
#Listen 12.34.56.78:8081
Listen 8081
更改为
#Listen 12.34.56.78:3000
Listen 3000
在把下面
# If your host doesn't have a registered DNS name, enter its IP address here.
#
ServerName localhost:8081
更改为
# If your host doesn't have a registered DNS name, enter its IP address here.
#
ServerName localhost:3000
第二个文件:bitnami.conf文件
F:\Bitnami\redmine-3.2.1-1\apache2\conf\bitnami
# Default Virtual Host configuration.
<IfVersion < 2.3 >
NameVirtualHost *:8081
NameVirtualHost *:443
</IfVersion>
<VirtualHost _default_:8081>
DocumentRoot "F:/Bitnami/redmine-3.2.1-1/apache2/htdocs"
<Directory "F:/Bitnami/redmine-3.2.1-1/apache2/htdocs">
Options Indexes FollowSymLinks
AllowOverride All
<IfVersion < 2.3 >
Order allow,deny
Allow from all
</IfVersion>
<IfVersion >= 2.3 >
Require all granted
</IfVersion>
</Directory>
更改为:
# Default Virtual Host configuration.
<IfVersion < 2.3 >
NameVirtualHost *:3000
NameVirtualHost *:443
</IfVersion>
<VirtualHost _default_:3000>
DocumentRoot "F:/Bitnami/redmine-3.2.1-1/apache2/htdocs"
<Directory "F:/Bitnami/redmine-3.2.1-1/apache2/htdocs">
Options Indexes FollowSymLinks
AllowOverride All
<IfVersion < 2.3 >
Order allow,deny
Allow from all
</IfVersion>
<IfVersion >= 2.3 >
Require all granted
</IfVersion>
</Directory>
1 重新启动服务,安装目录下点击 manager-windows
2 重启服务
3 输入http://localhost:8081/redmine 可以看到端口号成功更改为:3000
第二 登陆界面字体太小,如何更改?
1 找到下面的CSS文件
F:\Bitnami\redmine-3.2.1-1\apps\redmine\htdocs\public\stylesheets\application.css
更改文件12px—更改为15px
html {overflow-y:scroll;}
body { font-family: Verdana, sans-serif; font-size: 12px; color:#333; margin: 0; padding: 0; min-width: 900px; }
h1, h2, h3, h4 {font-family: "Trebuchet MS", Verdana, sans-serif;padding: 2px 10px 1px 0px;margin: 0 0 10px 0;}
#content h1, h2, h3, h4 {color: #555;}
h2, .wiki h1 {font-size: 20px;}
h3, .wiki h2 {font-size: 16px;}
h4, .wiki h3 {font-size: 13px;}
h4 {border-bottom: 1px dotted #bbb;}
pre, code {font-family: Consolas, Menlo, "Liberation Mono", Courier, monospace;}
html {overflow-y:scroll;}
body { font-family: Verdana, sans-serif; font-size: 15px; color:#333; margin: 0; padding: 0; min-width: 900px; }
h1, h2, h3, h4 {font-family: "Trebuchet MS", Verdana, sans-serif;padding: 2px 10px 1px 0px;margin: 0 0 10px 0;}
#content h1, h2, h3, h4 {color: #555;}
h2, .wiki h1 {font-size: 20px;}
h3, .wiki h2 {font-size: 16px;}
h4, .wiki h3 {font-size: 13px;}
h4 {border-bottom: 1px dotted #bbb;}
pre, code {font-family: Consolas, Menlo, "Liberation Mono", Courier, monospace;}
2 看看字体是不是变大了:

相关文章推荐
- Redmine git_http_controller.rb任意命令执行漏洞
- [游戏资讯]《极品飞车16:亡命狂飙》配置需求公布
- 配置文件神器 typesafe conf 用法简介
- 配置文件神器 typesafe conf 用法简介
- 路由器备份配置
- 路由器的基本配置
- 路由器基础配置及传输协议
- 经典配置 Vlan篇
- 备份线路的配置
- 交换机如何配置 新手配置交换机详细教程
- 如何进行系统配置
- 路由器的配置与调试
- DOS下内存的配置
- IIS配置文件隐患
- Windows下Postgresql数据库的下载与配置方法
- redis中修改配置文件中的端口号 密码方法
- 解析如何在sqlserver代理中配置邮件会话
- C#自定读取配置文件类实例
- 运行Node.js的IIS扩展iisnode安装配置笔记