android山寨卫士开发笔记-001
2016-03-15 21:42
731 查看
山寨卫士开发笔记-001
1、目录结构:
新建包package com.liujing.shanzhaisafe.welcome;包含欢迎页面、主页面、主页面适配器。
目录结构如下图:

2.1、欢迎页面布局文件:
欢迎页面在xml布局文件我们只需要一个相对简单的RelativeLayout布局文件,布局代码如下:
(上面代码需要注意一点,在欢迎界面有一个动画,所以这里我们要给布局文件一个id)
2.2、欢迎页面java代码:
package com.liujing.shanzhaisafe.welcome;

import android.app.Activity;
import android.content.Intent;
import android.os.Bundle;
import android.view.Window;
import android.view.animation.AlphaAnimation;
import android.view.animation.Animation;
import android.view.animation.AnimationSet;
import android.view.animation.ScaleAnimation;
import android.widget.RelativeLayout;

import com.liujing.shanzhaisafe.R;

public class SplashActivity extends Activity {

@Override
protected void onCreate(Bundle savedInstanceState) {
super.onCreate(savedInstanceState);
requestWindowFeature(Window.FEATURE_NO_TITLE);
setContentView(R.layout.activity_splash);
RelativeLayout rl = (RelativeLayout) findViewById(R.id.RelativeLayout_splash);

//渐进变大动画,从中心点开始变大
ScaleAnimation sa1 = new ScaleAnimation(0, 1, 0, 1,
Animation.RELATIVE_TO_SELF, 0.5f,
Animation.RELATIVE_TO_SELF, 0.5f);

//透明动画,透明度从0.2到1
Animation sa2 = new AlphaAnimation(0.2f, 1f);

/*
设置动画集合让两个动画同时显示
*/
AnimationSet as = new AnimationSet(true);
as.setDuration(2500);
as.addAnimation(sa1);
as.addAnimation(sa2);
rl.startAnimation(as);

/*
设置动画监听事件,动画结束后启动HomeActivity
*/
as.setAnimationListener(new Animation.AnimationListener() {
@Override
public void onAnimationStart(Animation animation) {

}

@Override
public void onAnimationEnd(Animation animation) {
Intent intent = new Intent(SplashActivity.this,HomeActivity.class);
startActivity(intent);
finish();
}

@Override
public void onAnimationRepeat(Animation animation) {

}
});

}
}
上面代码中我们需要注意的地方有二个:
1)这段代码中我们创建了两个动画分别表示,位移以及透明度动画。特别需要注意的时这里使用AnimationSet的addAnimation将动画放到一个集合中,这样可以使两个动画同时显示。

2)这里我们设置了一个动画监听事件,并且复写onAnimationEnd中的语句,让动画结束时,自动跳转程序的主页面中。代码如下:

3主页面
主页面布局如下图: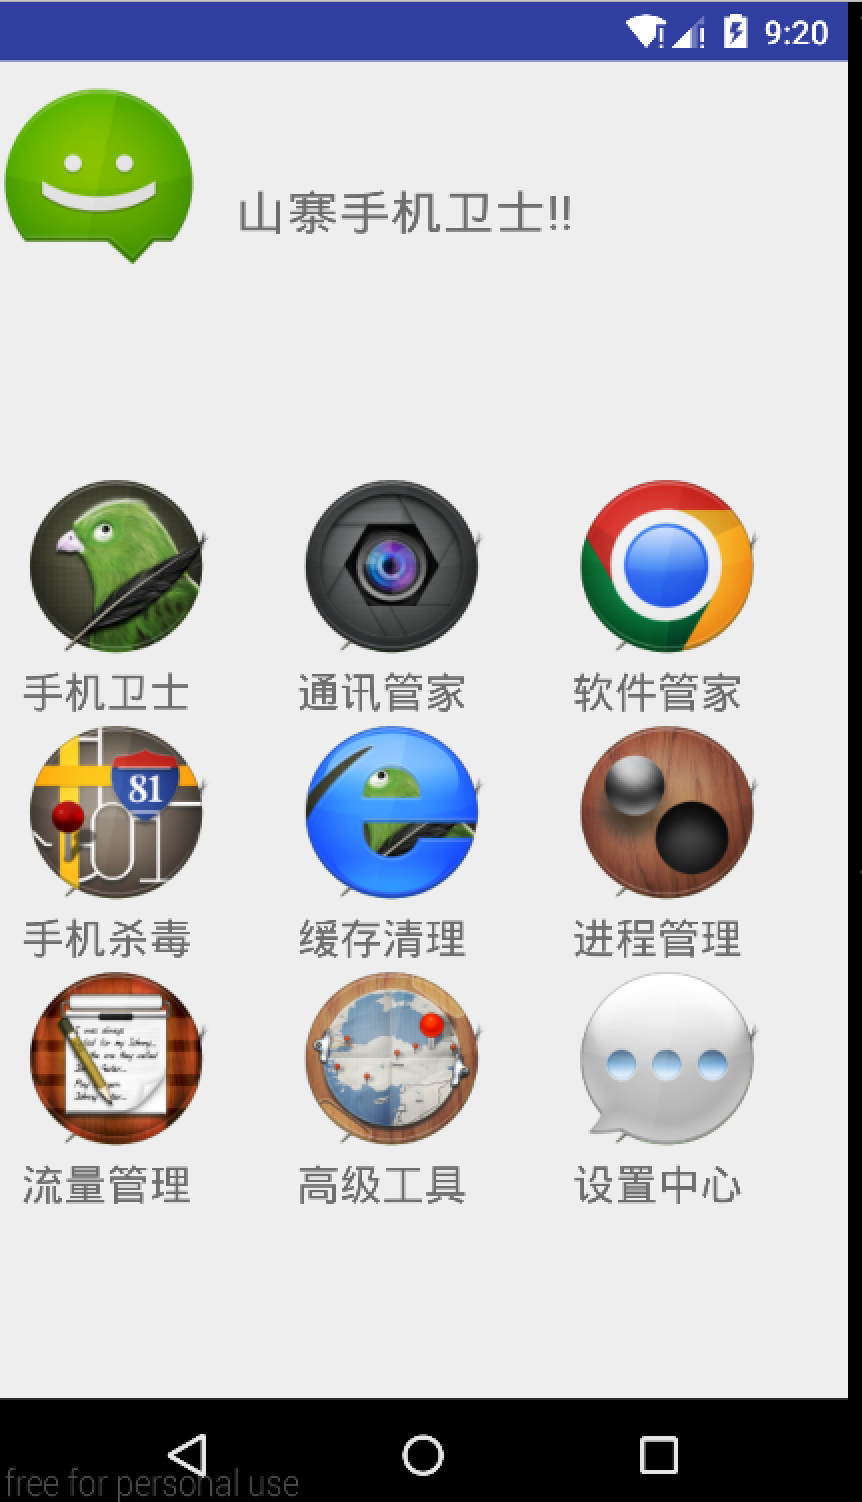
3.1主页面布局文件:
根据界面这里我们选择LinearLayout布局嵌套的方式进行:布局结果可以看成上下两部分:

上半部分:
依然使用LinearLayout水平摆放就好了;
下半部分:
下面部分注意我们使用GridView并通过android:numColumns=”3”指定每行显示数量为三个。
布局代码如下:
<?xml version="1.0" encoding="utf-8"?>
<LinearLayout xmlns:android="http://schemas.android.com/apk/res/android"
android:id="@+id/HomeActivity"
android:layout_width="match_parent"
android:layout_height="match_parent"
android:layout_gravity="center"
android:orientation="vertical">

<LinearLayout
android:id="@+id/ll"
android:layout_width="match_parent"
android:layout_height="wrap_content"
android:layout_marginTop="10dp"
android:orientation="horizontal">

<ImageView
android:layout_width="wrap_content"
android:layout_height="wrap_content"
android:background="@drawable/homewelcome" />

<TextView
android:id="@+id/tv_ad"
android:layout_width="wrap_content"
android:layout_height="wrap_content"
android:gravity="center"
android:paddingTop="40dp"
android:layout_marginLeft="15dp"
android:text="山寨手机卫士!!"
android:textScaleX="1.1"
android:textSize="20sp"
android:typeface="normal" />
</LinearLayout>
<RelativeLayout
android:layout_width="match_parent"
android:layout_height="match_parent">
<GridView
android:id="@+id/gv_home"
android:layout_centerInParent="true"
android:layout_marginLeft="10dp"
android:layout_marginRight="10dp"
android:gravity="center"
android:horizontalSpacing="10dp"
android:numColumns="3"
android:layout_width="wrap_content"
android:layout_height="wrap_content">

</GridView>
</RelativeLayout>

</LinearLayout>
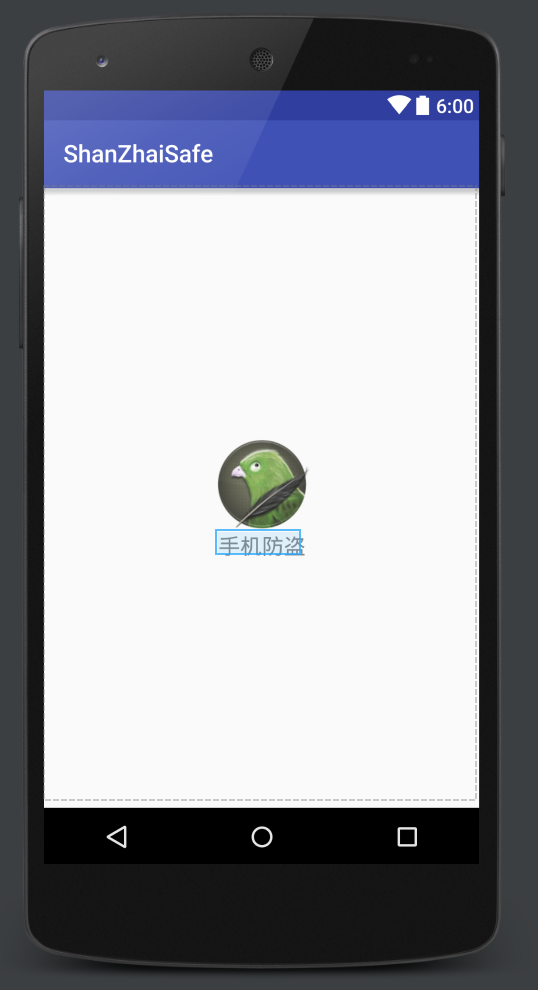
主布局写好之后,类似于listview我们就要对每个编写item布局文件,很简单结构:
3.4主页面java代码:
首先第一个我们需要考虑让每个功能图标正确显示在主页面上首先开始写适配器代码:package com.liujing.shanzhaisafe.welcome;
import android.content.Context;
import android.view.View;
import android.view.ViewGroup;
import android.widget.BaseAdapter;
import android.widget.ImageView;
import android.widget.TextView;
import com.liujing.shanzhaisafe.R;
/**
* Created by liujing on 16/3/14.
*/
public class HomeAdapter extends BaseAdapter {
int[] image = {R.drawable.shoujifangdao, R.drawable.tongxunweishi, R.drawable.ruanjianguanjia,
R.drawable.shoujishadu, R.drawable.huancunqingli, R.drawable.jinchengguanli,
R.drawable.liuliangtongji, R.drawable.gaojigongju, R.drawable.shezhizhongxing};
String[] names = {"手机卫士", "通讯管家", "软件管家",
"手机杀毒", "缓存清理", "进程管理",
"流量管理", "高级工具", "设置中心"};
private Context context;
public HomeAdapter(Context context) {
this.context = context;
}
/**
* 一共九个项目这里直接返回9
*
* @return
*/
@Override
public int getCount() {
return 9;
}
@Override
public Object getItem(int position) {
return null;
}
@Override
public long getItemId(int position) {
return 0;
}
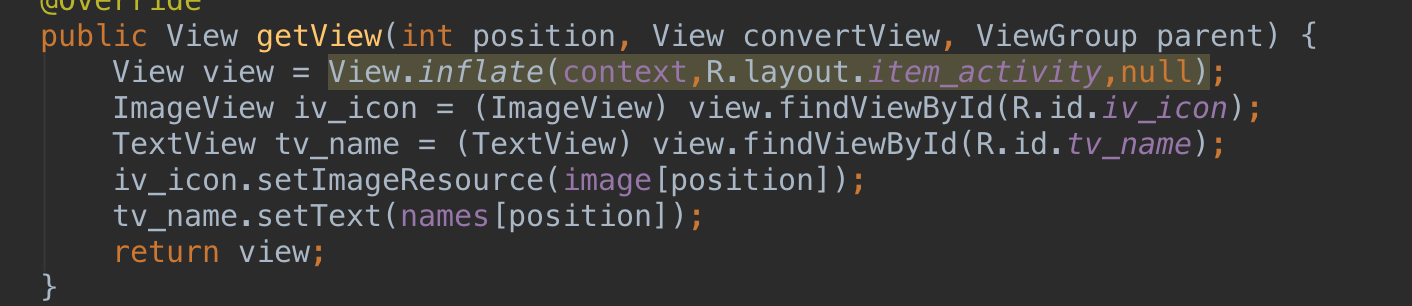
@Override
public View getView(int position, View convertView, ViewGroup parent) {
View view = View.inflate(context,R.layout.item_activity,null);
ImageView iv_icon = (ImageView) view.findViewById(R.id.iv_icon);
TextView tv_name = (TextView) view.findViewById(R.id.tv_name);
iv_icon.setImageResource(image[position]);
tv_name.setText(names[position]);
return view;
}
}上面代码需要多熟悉适配器的具体实现代码:
回到主页面代码如下:
package com.liujing.shanzhaisafe.welcome;

import android.app.Activity;
import android.content.Intent;
import android.os.Bundle;
import android.view.KeyEvent;
import android.view.View;
import android.view.Window;
import android.widget.AdapterView;
import android.widget.GridView;
import android.widget.Toast;

import com.liujing.shanzhaisafe.R;

/**
* Created by liujing on 16/3/13.
*/
public class HomeActivity extends Activity {
private GridView gv_home;
long mExTime = 0;

@Override
protected void onCreate(Bundle savedInstanceState) {
super.onCreate(savedInstanceState);
requestWindowFeature(Window.FEATURE_NO_TITLE);
setContentView(R.layout.activity_home);
gv_home = (GridView) findViewById(R.id.gv_home);

gv_home.setAdapter(new HomeAdapter(HomeActivity.this));

//setOnItemClickListener
gv_home.setOnItemClickListener(new AdapterView.OnItemClickListener() {
@Override
public void onItemClick(AdapterView<?> parent, View view, int position, long id) {
switch (position){
//手机防盗
case 0:
//                        if(isSetUoPassword()){
//                            //弹出密码输入框
//                        }else {
//                            //弹出设置密码对话框
//                        }
break;
//通讯卫士
case 1:
break;
//软件管家
case 2:
break;
//手机杀毒
case 3:
break;
//缓存清理
case 4:
break;
//进程管理
case 5:
break;
//流量统计
case 6:
break;
//高级工具
case 7:
break;
//设置中心
case 8:
break;
}
}
});
}

/**
* 开启新的activity
* @param cls
*/
public void startActivity(Class<?> cls){
Intent intent = new Intent(HomeActivity.this,cls);
startActivity(intent);
}
/**
* 按两次返回键退出程序
*/
@Override
public boolean onKeyDown(int keyCode, KeyEvent event) {
if(keyCode==KeyEvent.KEYCODE_BACK){
if(System.currentTimeMillis()-mExTime<2000){
System.exit(0);
}else{
Toast.makeText(HomeActivity.this,"再按一次退出",Toast.LENGTH_SHORT).show();
mExTime = System.currentTimeMillis();
}
return true;
}
return super.onKeyDown(keyCode, event);
}
}
这里需要注意一下方法:
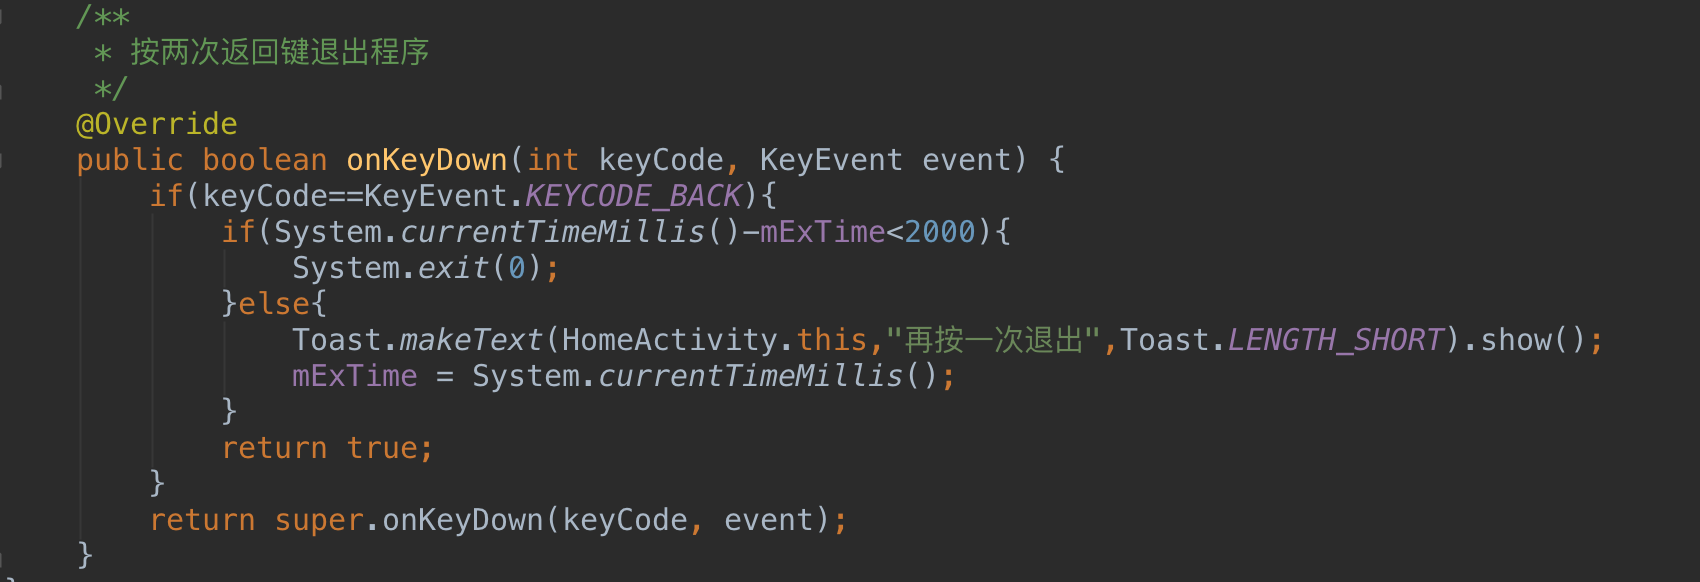
复写onKeyDown方法,这里表示按下了返回键keyCode==KeyEvent.KEYCODE_BACK,
下面进行两次判断,如果两次返回键的时间间隔小于2秒就退出程序,否则吐司先显示一个退出提示。

相关文章推荐
- 使用C++实现JNI接口需要注意的事项
- Android IPC进程间通讯机制
- Android Manifest 用法
- [转载]Activity中ConfigChanges属性的用法
- Android之获取手机上的图片和视频缩略图thumbnails
- Android之使用Http协议实现文件上传功能
- Android学习笔记(二九):嵌入浏览器
- android string.xml文件中的整型和string型代替
- i-jetty环境搭配与编译
- android之定时器AlarmManager
- android wifi 无线调试
- Android Native 绘图方法
- Android java 与 javascript互访(相互调用)的方法例子
- android 代码实现控件之间的间距
- android FragmentPagerAdapter的“标准”配置
- Android"解决"onTouch和onClick的冲突问题
- android:installLocation简析
- android searchView的关闭事件
- SourceProvider.getJniDirectories