[置顶] Android UI顶部导航栏模板
2016-02-17 15:35
459 查看
刚学了UI模板新东西,代码简单,很值得思考,特来分享。主要内容是顶部标题栏。
在values下新建atts.xml编写自定义
declare告诉系统这是自定义控件;righttext此处t小写因为 Eclipse报错”rightText” has already been defined在这用小写了。
以上为自定义标题栏ui 内容是:左边内容 标题 右边内容。
因为颜色表达不固定 :如@color、#**等 所以指定为reference或colorr
创建Topbar.class继承RelativeLayout:初始化各个类,color为int属性,为控件赋予属性值、TypedArray找到atts.xml的控件。为控件设置属性,将定义传进来,方法与layout相似,代码如下:`package com.zkd.drawingboard;
import android.content.Context;
import android.content.res.TypedArray;
import android.graphics.drawable.Drawable;
import android.util.AttributeSet;
import android.view.Gravity;
import android.view.View;
import android.view.ViewGroup;
import android.widget.Button;
import android.widget.RelativeLayout;
import android.widget.TextView;
import android.widget.Toast;
public class Topbar extends RelativeLayout {
}
`
接下来就在Activity中布局UI,我用的Eclipse,Studio有一处代码不同。引用自定义控件一定要声明出来、xmlns:custom=”http://schemas.android.com/apk/res/com.zkd.drawingboard”–:custom不要与系统相同
在其他class引用控件,并且实现不同场景点击效果不同,真正实现模板,运用接口回调机制实现不同情景下不同点击效果,之后就行设置监听事件一样在不同class中设置点击事件。`
private LayoutParams leftParams, rightParams, titleParams;
private topbarClickListener listener;
public interface topbarClickListener {
}
public void setOnTopbarClickListener(topbarClickListener listener) {
this.listener = listener;
}
// 设置点击事件
leftButton.setOnClickListener(new OnClickListener() {
`
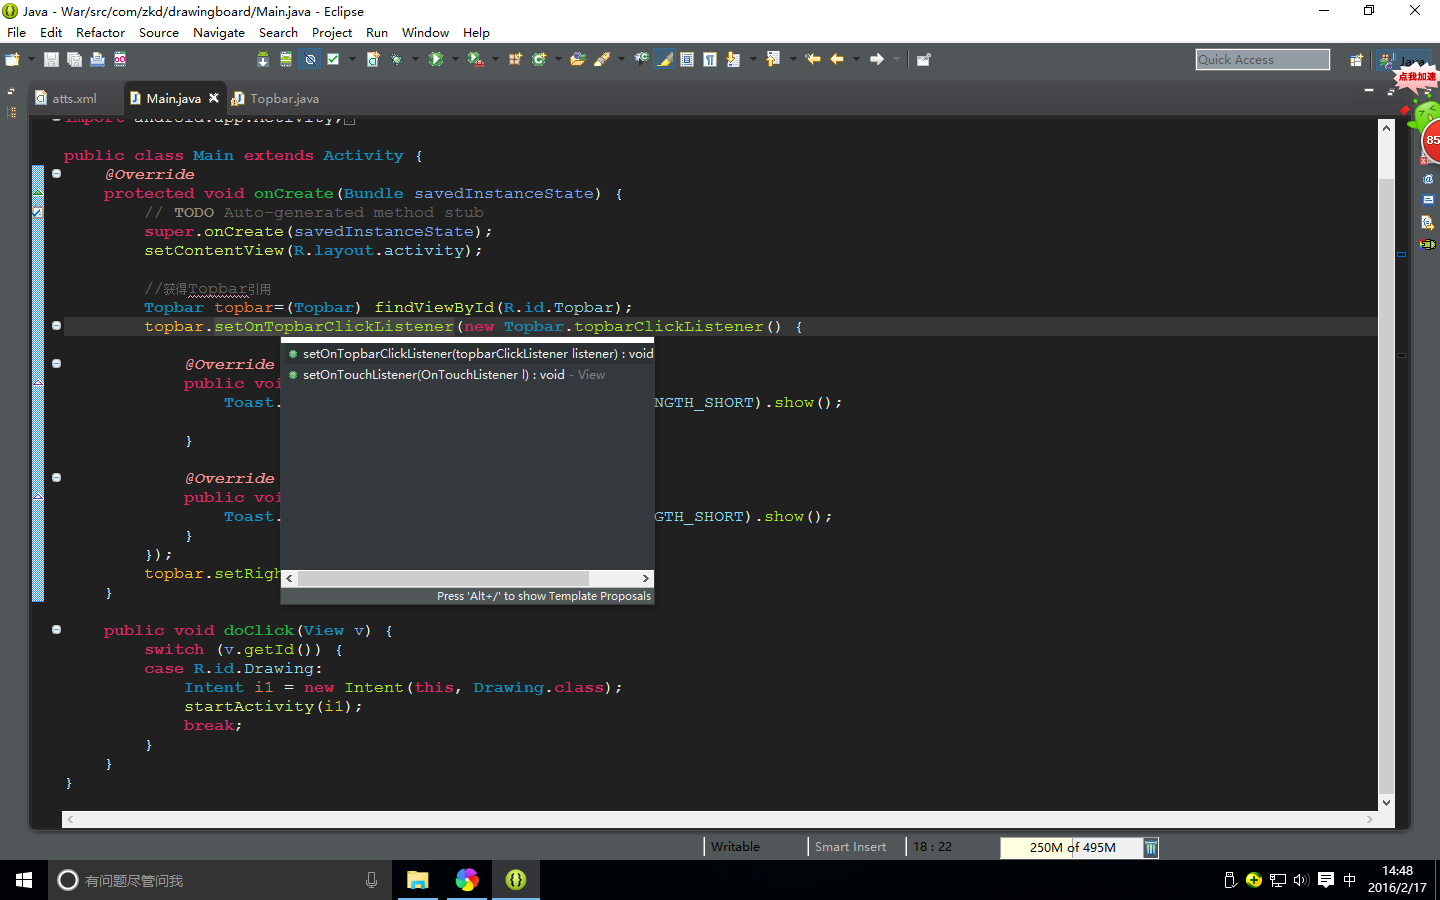
在其他class中引用`//获得Topbar引用
Topbar topbar=(Topbar) findViewById(R.id.Topbar);
topbar.setOnTopbarClickListener(new Topbar.topbarClickListener() {
此时就像设置点击事件一样实现不同界面下的点击事件
之后你就可以根据实际需求自己操作了,比如在一些页面隐藏右边按钮、在Topbar.class添加代码
在class实现 topbar.setRightIsvisable(false); //右边按钮隐藏
总结:代码简单,但是思想很重要,我们不可能学会所有方法,但是我们可以根据android系统套用,就像以上根据系统监听事件自定义监听事件,之后在不同class下就可以直接设置监听事件实现不同点击效果。
在values下新建atts.xml编写自定义
<resources>

<declare-styleable name="Topbar">
<attr name="title" format="string" />
<attr name="titleTextSize" format="dimension" />
<attr name="titleTextColor" format="color" />
<attr name="titleBackground" format="color" />
<attr name="leftText" format="string" />
<attr name="rightText" format="string" />
<attr name="leftTextColor" format="color" />
<attr name="leftBackground" format="reference|color" />
<attr name="righttext" format="string" />
<attr name="rightTextColor" format="color" />
<attr name="rightBackground" format="reference|color" />
</declare-styleable>

</resources>
declare告诉系统这是自定义控件;righttext此处t小写因为 Eclipse报错”rightText” has already been defined在这用小写了。
以上为自定义标题栏ui 内容是:左边内容 标题 右边内容。
因为颜色表达不固定 :如@color、#**等 所以指定为reference或colorr
创建Topbar.class继承RelativeLayout:初始化各个类,color为int属性,为控件赋予属性值、TypedArray找到atts.xml的控件。为控件设置属性,将定义传进来,方法与layout相似,代码如下:`package com.zkd.drawingboard;
import android.content.Context;
import android.content.res.TypedArray;
import android.graphics.drawable.Drawable;
import android.util.AttributeSet;
import android.view.Gravity;
import android.view.View;
import android.view.ViewGroup;
import android.widget.Button;
import android.widget.RelativeLayout;
import android.widget.TextView;
import android.widget.Toast;
public class Topbar extends RelativeLayout {
private Button leftButton, rightButton;
private TextView tvTitle;

private int leftTextColor;// 颜色为int属性
private Drawable leftBackground;
private String leftText;

private int rightTextColor;
private Drawable rightBackground;
private String rightText;

private float titleTextSize;
private int titleTextColor;
private int titleBackground;
private String title;

public Topbar(Context context, AttributeSet attrs) {
super(context, attrs);
TypedArray ta = context.obtainStyledAttributes(attrs,
R.styleable.Topbar);// 找到xml文件,返回TypedArray,包含了所有定义属性
// 赋予属性值
leftTextColor = ta.getColor(R.styleable.Topbar_leftTextColor, 0);
leftBackground = ta.getDrawable(R.styleable.Topbar_leftBackground);
leftText = ta.getString(R.styleable.Topbar_leftText);

rightTextColor = ta.getColor(R.styleable.Topbar_rightTextColor, 0);
rightBackground = ta.getDrawable(R.styleable.Topbar_rightBackground);
rightText = ta.getString(R.styleable.Topbar_righttext);

titleBackground=ta.getColor(R.styleable.Topbar_titleBackground, 0);
titleTextSize = ta.getDimension(R.styleable.Topbar_titleTextSize, 0);
titleTextColor = ta.getColor(R.styleable.Topbar_titleTextColor, 0);
title = ta.getString(R.styleable.Topbar_title);

ta.recycle();// 回收资源,避免缓存资源浪费

leftButton = new Button(context);
rightButton = new Button(context);
tvTitle = new TextView(context);
// 设置属性,将定义传进来
leftButton.setTextColor(leftTextColor);
leftButton.setBackground(leftBackground);
leftButton.setText(leftText);

rightButton.setTextColor(rightTextColor);
rightButton.setBackground(rightBackground);
rightButton.setText(rightText);

tvTitle.setText(title);
tvTitle.setTextColor(titleTextColor);
tvTitle.setTextSize(titleTextSize);
tvTitle.setGravity(Gravity.CENTER);// 居中显示
tvTitle.setBackgroundColor(titleBackground);

setBackgroundColor(0xFFF59563);//设置整体背景颜色
// 放进Layout,定义属性--与xml相似
leftParams = new LayoutParams(ViewGroup.LayoutParams.WRAP_CONTENT,
LayoutParams.WRAP_CONTENT);
leftParams.addRule(RelativeLayout.ALIGN_PARENT_LEFT, TRUE);// 左对齐TRUE为RelativeLayout的常量

addView(leftButton, leftParams);// 将leftButton以params放进去

rightParams = new LayoutParams(ViewGroup.LayoutParams.WRAP_CONTENT,
LayoutParams.WRAP_CONTENT);
rightParams.addRule(RelativeLayout.ALIGN_PARENT_RIGHT, TRUE);

addView(rightButton, rightParams);

titleParams = new LayoutParams(ViewGroup.LayoutParams.WRAP_CONTENT,
LayoutParams.MATCH_PARENT);
titleParams.addRule(RelativeLayout.CENTER_IN_PARENT, TRUE);// 居中,TRUE为RelativeLayout的常量

addView(tvTitle, titleParams);

}
}
`
接下来就在Activity中布局UI,我用的Eclipse,Studio有一处代码不同。引用自定义控件一定要声明出来、xmlns:custom=”http://schemas.android.com/apk/res/com.zkd.drawingboard”–:custom不要与系统相同
<?xml version="1.0" encoding="utf-8"?>
<RelativeLayout xmlns:android="http://schemas.android.com/apk/res/android"
xmlns:custom="http://schemas.android.com/apk/res/com.zkd.drawingboard"
android:layout_width="match_parent"
android:layout_height="match_parent">

<!--
xmlns:custom="http://schemas.android.com/apk/res-auto"   studio引用自定义控件
-->

<com.zkd.drawingboard.Topbar
android:id="@+id/Topbar"
android:layout_width="match_parent"
android:layout_height="40dp"
custom:leftBackground="#515151"
custom:leftText="Back"
custom:leftTextColor="#FFFFFF"
custom:rightBackground="#515151"
custom:rightText="More"
custom:rightTextColor="#FFFFFF"
custom:title="标题"
custom:titleBackground="#515151"
custom:titleTextColor="#FFFFFF"
custom:titleTextSize="8sp" >
</com.zkd.drawingboard.Topbar>
</RelativeLayout>
在其他class引用控件,并且实现不同场景点击效果不同,真正实现模板,运用接口回调机制实现不同情景下不同点击效果,之后就行设置监听事件一样在不同class中设置点击事件。`
private LayoutParams leftParams, rightParams, titleParams;
private topbarClickListener listener;
public interface topbarClickListener {
public void leftClick();

public void rightClick();
}
public void setOnTopbarClickListener(topbarClickListener listener) {
this.listener = listener;
}
// 设置点击事件
leftButton.setOnClickListener(new OnClickListener() {
@Override
public void onClick(View v) {
listener.leftClick();
}
});
rightButton.setOnClickListener(new OnClickListener() {

@Override
public void onClick(View v) {
listener.rightClick();

}
});
`
在其他class中引用`//获得Topbar引用
Topbar topbar=(Topbar) findViewById(R.id.Topbar);
topbar.setOnTopbarClickListener(new Topbar.topbarClickListener() {
@Override
public void rightClick() {
Toast.makeText(Main.this, "RIGHT", Toast.LENGTH_SHORT).show();

}

@Override
public void leftClick() {
Toast.makeText(Main.this, "LEFT", Toast.LENGTH_SHORT).show();
}
});`
此时就像设置点击事件一样实现不同界面下的点击事件
之后你就可以根据实际需求自己操作了,比如在一些页面隐藏右边按钮、在Topbar.class添加代码
// 用这个方法控制右边Button是否显示出来

public void setRightIsvisable(boolean flag) {

if (flag) {

rightButton.setVisibility(View.VISIBLE);

} else {

rightButton.setVisibility(View.GONE);

}

}
在class实现 topbar.setRightIsvisable(false); //右边按钮隐藏
总结:代码简单,但是思想很重要,我们不可能学会所有方法,但是我们可以根据android系统套用,就像以上根据系统监听事件自定义监听事件,之后在不同class下就可以直接设置监听事件实现不同点击效果。

相关文章推荐
- 1101. Quick Sort (25)
- 使用Java的BlockingQueue实现生产者-消费者
- ZooKeeper实现分布式队列Queue
- iOS开发:设置UITextView的placeholder
- 分治法(divide & conquer algorithm)的理解
- invalidate()与postInvalidate()
- UIImagePickerController全面使用详解
- ios UIColor 自定义颜色
- 消息队列(Message Queue)基本概念
- Easyui下关于propertygrid中的批量check
- 获取UITableView指定行在指定视图中的位置
- spoj1182Sorted bit squence【数位dp】
- UITableViewCell左右侧滑动出现多个按钮
- CoreBluetooth - 中心模式
- UITableViewCell分割线左侧不能到达边缘的解决方案
- iOSUIBezierPath
- UIImagePickerController使用小结
- UIView的bounds和frame学习
- error :Java.exe finished with non-zero exit value 1(或2)
- 关于FineUI使用问题的一点记录。