Android测试环境配置
2016-01-19 10:46
417 查看
测试是软件开发中非常重要的一部分,Android中是使用
添加测试依赖
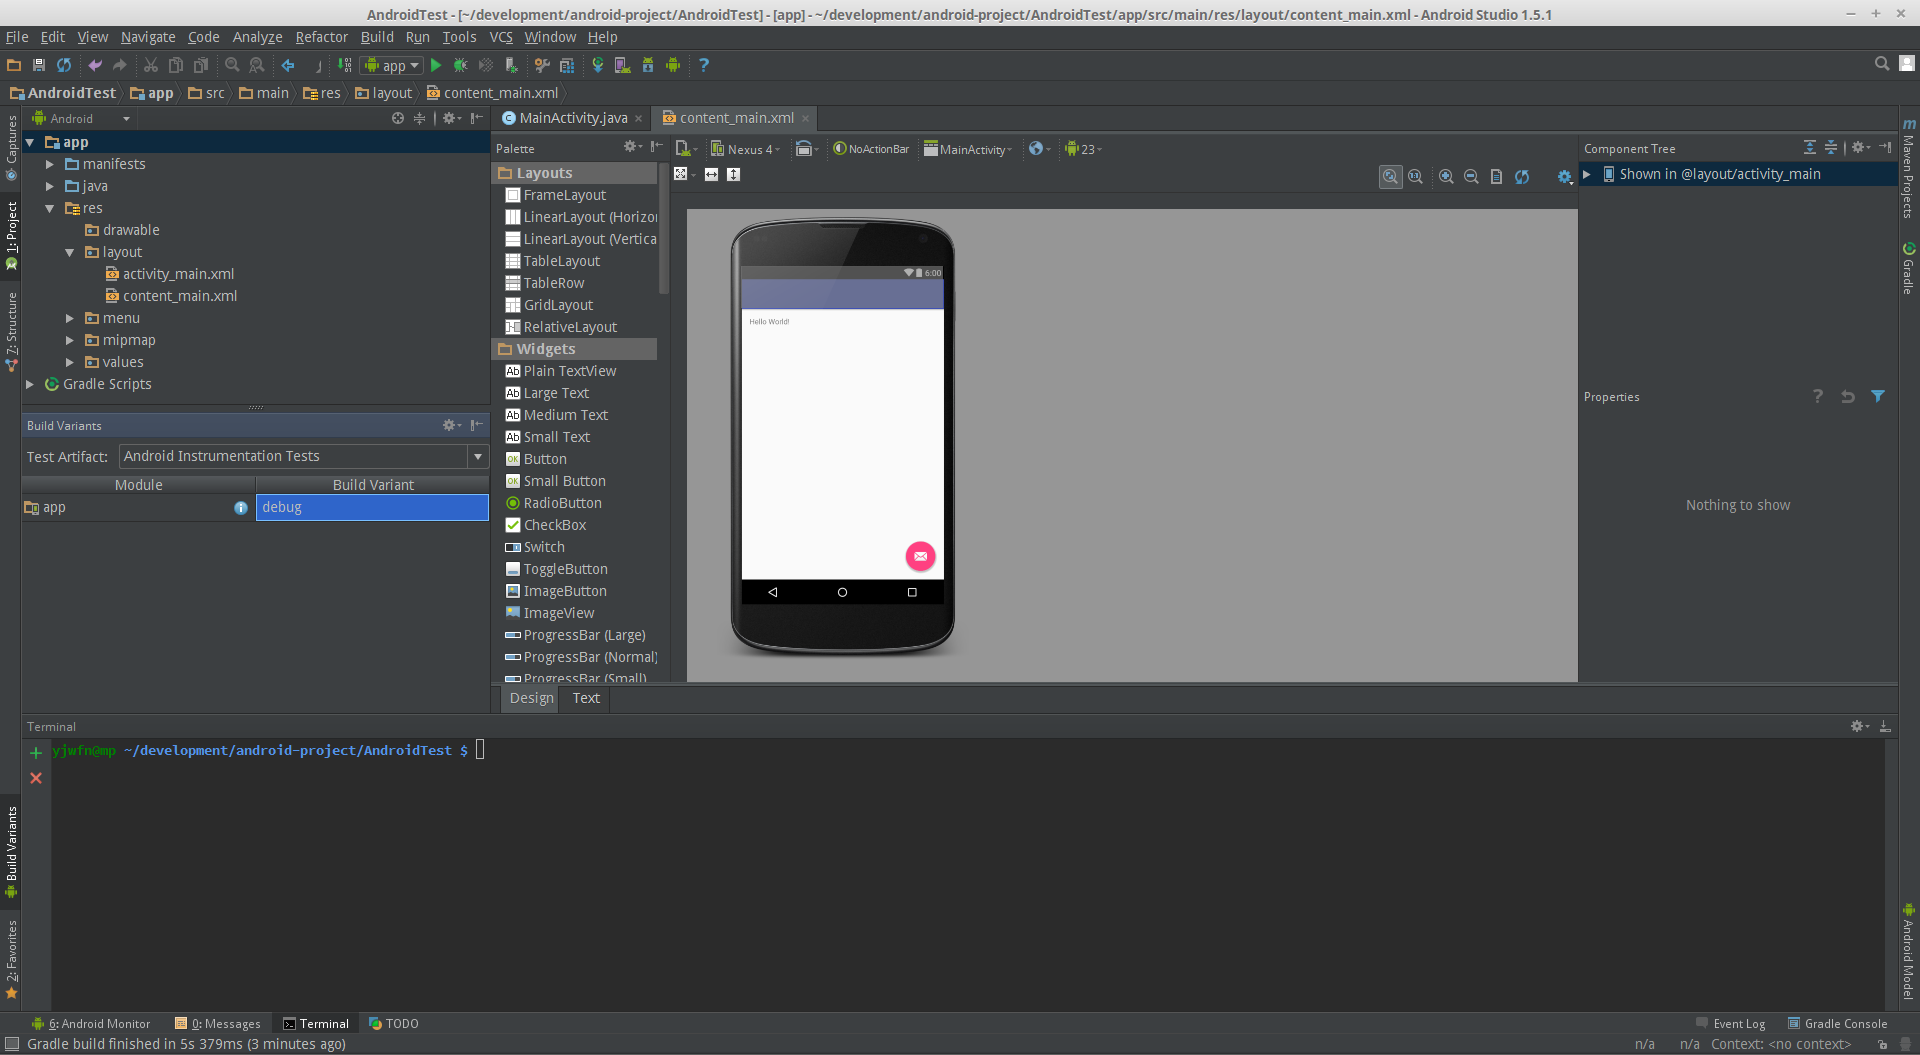
切换Build Variant
建立测试源文件
使用testCompile添加依赖:
使用androidTestCompile添加依赖
运行Instrumented测试时还需要在
src
androidTest
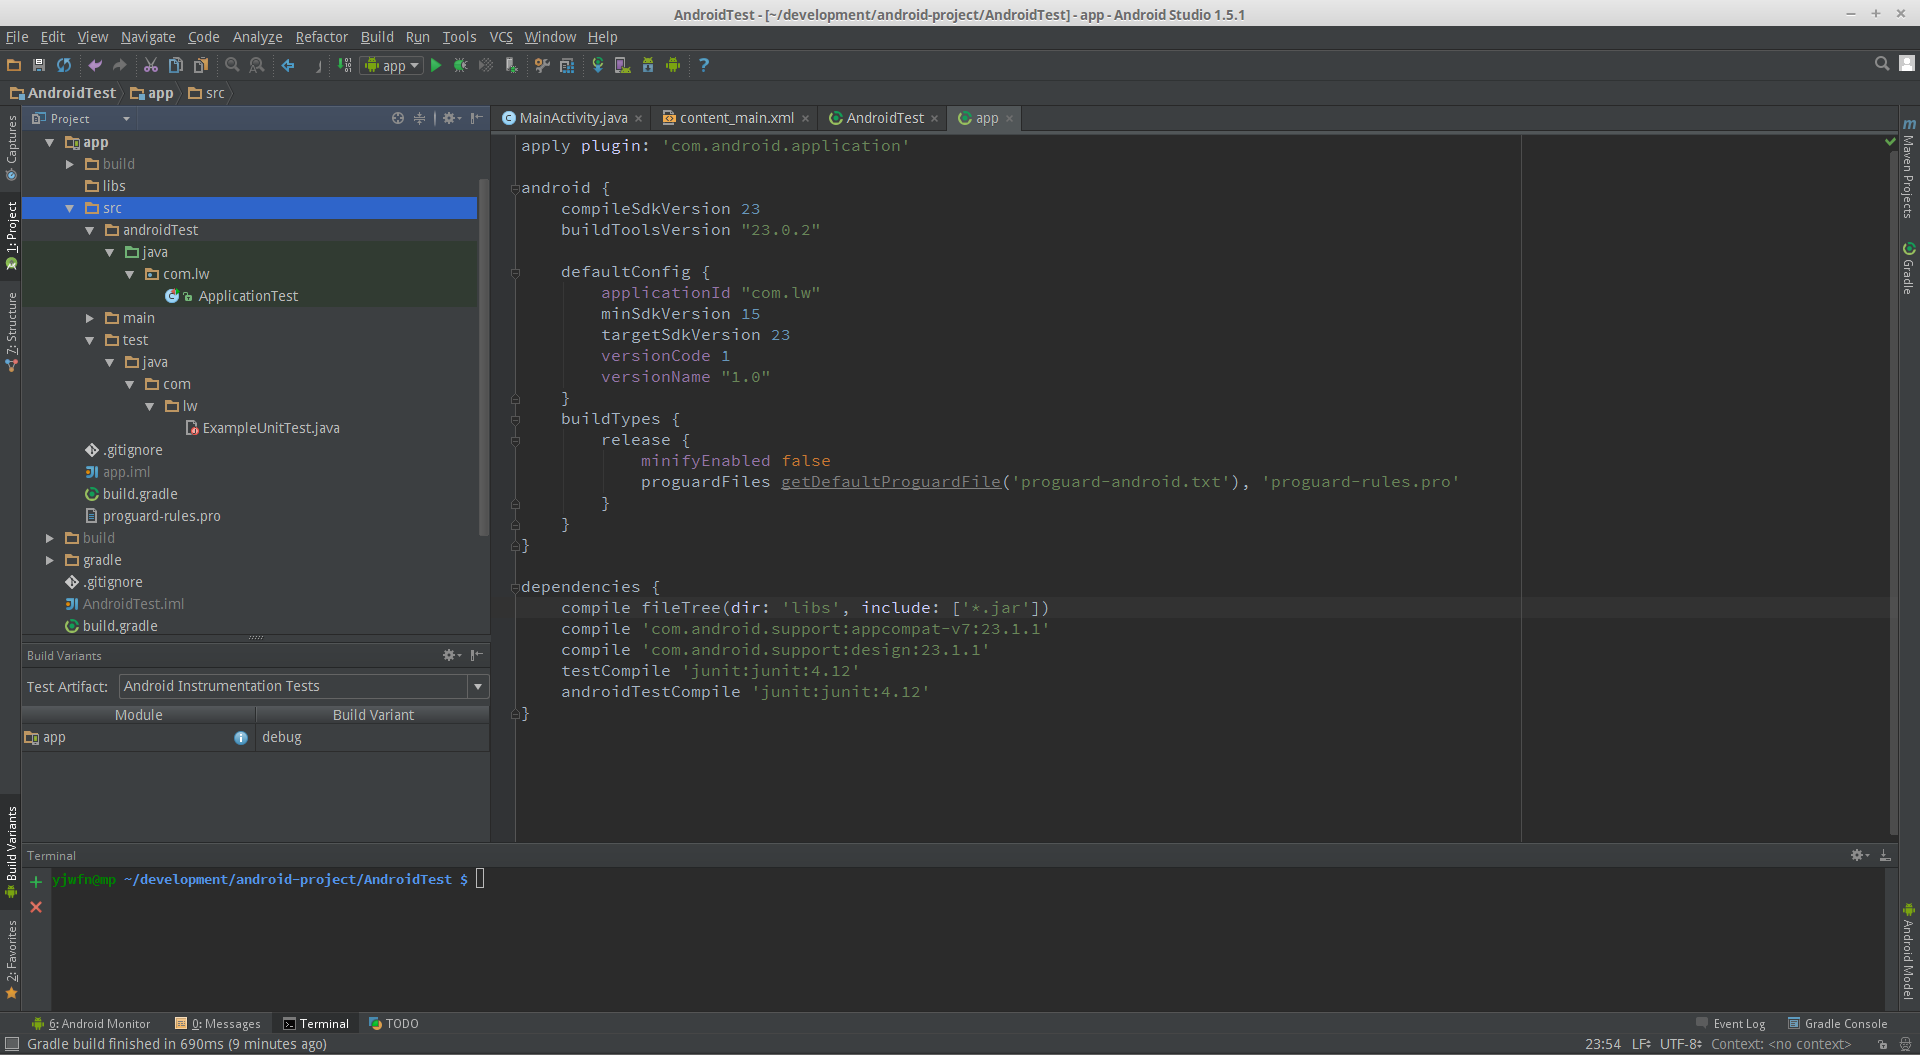
本地测试源文件目录结构:
src
test
可以看到上图的src/test目录下的源文件是错误的这是因为现在我的Build Variant的Test ArtifactId是Android Instrumentation Tests切换到Unit Tests就可以了。
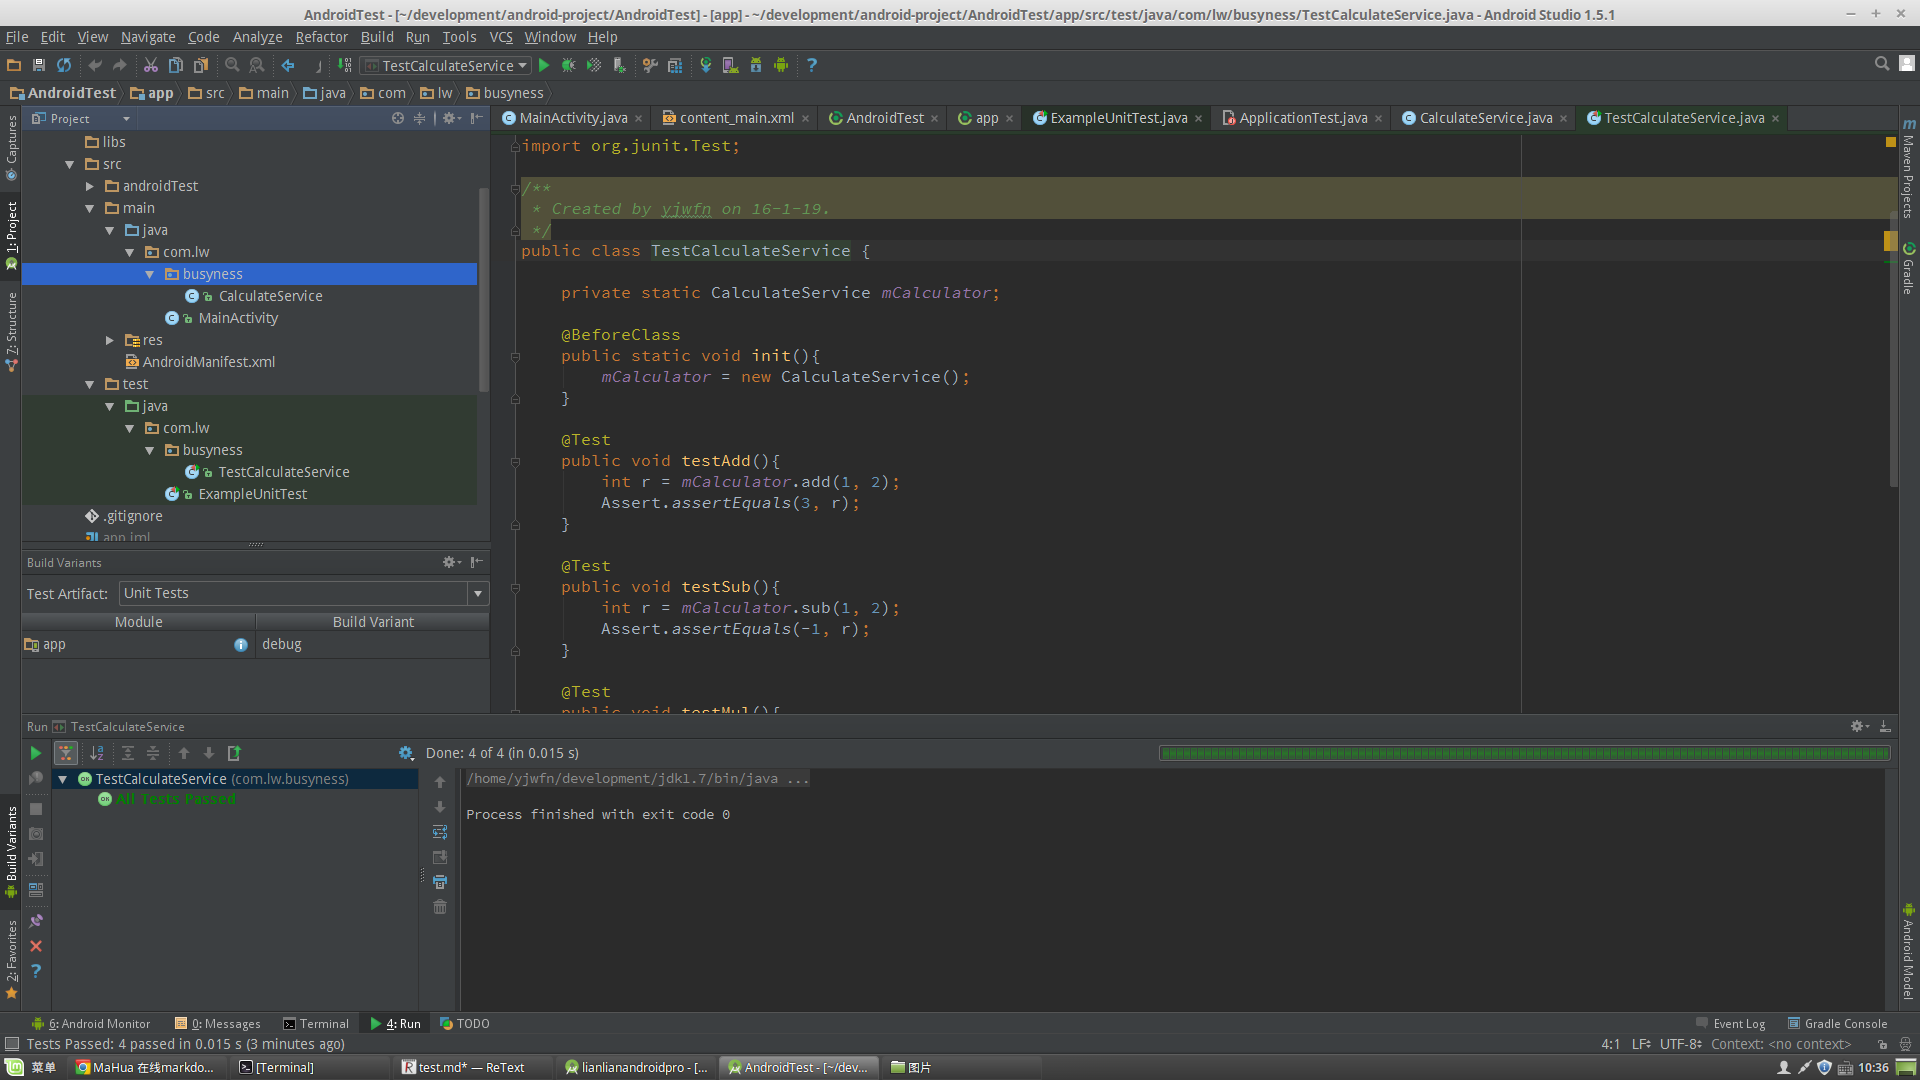
新建测试源文件src/test/java/com/lw/busyness/TestCalculateService.java
最后运行这个测试,在TestCalculateService类上右击选择
junit测试框架,本文使用的是
junit4和
Android Studio。Android测试主要分两类本地测试和Instrumented测试,本地测试其实就是普通的Java程序测试,它运行在本地的JVM。Instrumented测试则需要一台Android设备来运行测试。
环境配置
本地测试与Instrumented测试在测试之前都需要配置测试环境以下是两种测试配置的步骤(Android Studio默认是Instrumented测试):添加测试依赖
切换Build Variant
建立测试源文件
添加依赖
注意Android Studio引入测试依赖包含两个关键字分别是testCompile和androidTestCompile。testCompile是声明本地测试的依赖,androidTestCompile是声明Instrumented测试依赖。使用testCompile添加依赖:
testCompile 'junit:junit:4.12'
使用androidTestCompile添加依赖
androidTestCompile 'junit:junit:4.12'
dependencies {
compile fileTree(dir: 'libs', include: ['*.jar'])
compile 'com.android.support:appcompat-v7:23.1.1'
compile 'com.android.support:design:23.1.1'
testCompile 'junit:junit:4.12'
androidTestCompile 'junit:junit:4.12'
}
运行Instrumented测试时还需要在
build.gradle中添加:
android {
defaultConfig {
testInstrumentationRunner "android.support.test.runner.AndroidJUnitRunner"
}
}
切换Build Variant
Android Studio默认的Build Variant是Android Instrumentation Tests。
建立测试源文件
Instrumented测试文件目录结构:src
androidTest
本地测试源文件目录结构:
src
test
可以看到上图的src/test目录下的源文件是错误的这是因为现在我的Build Variant的Test ArtifactId是Android Instrumentation Tests切换到Unit Tests就可以了。
编写测试
现在编写一个简单本地测试,假设目录src/main/java/com/lw/busyness/中现在有一个CalculateService类内容如下:public class CalculateService {
public int add(int a, int b){
return a + b;
}
public int sub(int a, int b){
return a -b;
}
public int mul(int a, int b){
return a * b;
}
public int div(int a, int b){
return a * b;
}
}新建测试源文件src/test/java/com/lw/busyness/TestCalculateService.java
public class TestCalculateService {

private static CalculateService mCalculator;

@BeforeClass
public static void init(){
mCalculator = new CalculateService();
}

@Test
public void testAdd(){
int r = mCalculator.add(1, 2);
Assert.assertEquals(3, r);
}

@Test
public void testSub(){
int r = mCalculator.sub(1, 2);
Assert.assertEquals(-1, r);
}

@Test
public void testMul(){
int r = mCalculator.mul(1, 2);
Assert.assertEquals(2, r);
}

@Test
public void testDiv(){
int r = mCalculator.div(1, 2);
Assert.assertEquals(0, r);
}

@AfterClass
public static void terminate(){
mCalculator = null;
}
}
最后运行这个测试,在TestCalculateService类上右击选择
Run TestCalculateService可以看到测试全部通过。
总结
这篇章主要介绍了Android的两种测试方法和各自的配置。关于如何去分别编写这两种测试讲的不多,可以去junit官网查看相应的使用说明。

相关文章推荐
- Android性能优化典范
- android自带图片资源图标一览,android.R.drawable
- Android应用内打开QQ聊天框
- android shape的使用
- Android--AndroidManifest 中original-package标签
- android之android studio的NDK环境搭建
- Android Studio常用插件
- Android百度地图实现搜索和定位及自定义图标绘制并点击时弹出泡泡
- Android开发笔记(五十二)通知推送Notification
- (Android图片内存优化)Picasso加载图片 教程。。详细版
- Android高德地图开发(3)——路况+定位
- Android Studio 打包发布流程
- Android开发环境搭建ADT-Bundle及Hello World
- Android常用的一些make命令(转载)--不错
- Android开发学习笔记:数据存取之SQLite浅析
- android 5.1 TelecomService启动过程
- Android Google Map学习一(获取最近一次的位置)
- Android 用adb pull或push 拷贝手机文件到到电脑上,拷贝手机数据库到电脑上,拷贝电脑数据库到手机上
- Android高德地图开发(2)——地图显示+自定义控件
- Android Studio 操作基础