喝酒不骑马的Android自学日记(12)-Fragment动态加载和静态加载
2016-01-11 00:10
519 查看
喝酒不骑马的Android自学日记(12)-Fragment动态加载和静态加载***2016年1月10日
Fragment基础
Fragment是一个模块化和可重用的一种组件。在大屏幕设备上应用更为广泛。因为它定义了自己的布局,以及可以通过使用它自己的生命周期回调方法定义了他自己的行为,我们可以将Fragment包含到多个Activity中去。
Fragment可以作为Activity界面中的一部分,一个Activity中可以同时出现多个Fragment。在Activity运行中,可以添加、移除或者替换Fragment。Fragment可以响应自己的输入事件,并且有自己的生命周期,而它们的生命周期同时也会受到宿主Activity生命周期的影响。
onCreateView()方法
Fragment在第一次绘制它的界面时,系统将调用这个方法,返回值为View,如果不显示UI,则返回null。
加载方式:
①静态加载
②动态加载
静态加载:
在layout中声明Fragment。注意,<fragment>中的android:name属性指定了在layout中实例化的Fragment类。
标识Fragment的方法:
android:id属性提供唯一id
android:tag属性提供唯一字符串
Layout布局文件如何转换成View对象
inflater.inflate(resource,root,attachToRoot);
resource:Fragment需要加载的布局文件
root:加载layout的ViewGroup
attactToRoot:布尔型变量,false不返回。
当一个布局文件通过静态加载的方式把fragment文件加载到Activity文件中时,fragment中的布局文件对于activity也可用,可以直接调用。

动态加载:
将Fragment添加到一个Activity layout中
add():添加一个Fragment(指定要添加的fragment和插入的View)
处理Fragment事务
根据用户交互的情况,对Fragment进行添加、移除、替换、以及执行其他动作,提交给Activity的每一套变化被称作一个事务。
FramentManager fragmentManager = getFragmentManager();
FramentTransaction beginTransaction = fragmentManager.beginTransaction();
每一个事务都是同时执行一套变化,可以在一个事务中设置想要的变化,包括add(),remove(),replace(),然后提交给Activity,必须调用commit()方法。
如果允许用户通过按下back键返回到前一个Fragment状态,调用commit()之前可以加入addToBackStack()方法。
beginTransaction.add(containerViewId,fragment);
//containerViewId是把当前的fragment加载到哪个布局
beginTransaction.addToBackStack(null);
这个方法是摁返回键时,fragment显示之前的状态。
但是实际上,我用这个方法之后,摁返回键无效,还是没用它一样跳回到桌面。
后来百度下,因为如果当前的类继承的ActionBarActivity,而FragmentManager来自 android.app.FragmentManager,这样addToBackStack(null)无效,按返回键会一次退出。
如果FragmentManager来自 android.app.FragmentManager,把继承类改为Activity,这样addToBackStack(null)也是有效的,按返回键的时候会返回上一个碎片。
我继承的是AppcompatActivity这个类,所以无效。改成Activity,方法可以使用了。
代码:
MainActivity
MainActivity2
MyFragment
MyFragment2
main2.xml
2016年1月10日
---------------------------------------------------
Fragment基础
Fragment是一个模块化和可重用的一种组件。在大屏幕设备上应用更为广泛。因为它定义了自己的布局,以及可以通过使用它自己的生命周期回调方法定义了他自己的行为,我们可以将Fragment包含到多个Activity中去。
Fragment可以作为Activity界面中的一部分,一个Activity中可以同时出现多个Fragment。在Activity运行中,可以添加、移除或者替换Fragment。Fragment可以响应自己的输入事件,并且有自己的生命周期,而它们的生命周期同时也会受到宿主Activity生命周期的影响。
onCreateView()方法
Fragment在第一次绘制它的界面时,系统将调用这个方法,返回值为View,如果不显示UI,则返回null。
加载方式:
①静态加载
②动态加载
静态加载:
在layout中声明Fragment。注意,<fragment>中的android:name属性指定了在layout中实例化的Fragment类。
标识Fragment的方法:
android:id属性提供唯一id
android:tag属性提供唯一字符串
Layout布局文件如何转换成View对象
inflater.inflate(resource,root,attachToRoot);
resource:Fragment需要加载的布局文件
root:加载layout的ViewGroup
attactToRoot:布尔型变量,false不返回。
当一个布局文件通过静态加载的方式把fragment文件加载到Activity文件中时,fragment中的布局文件对于activity也可用,可以直接调用。
动态加载:
将Fragment添加到一个Activity layout中
add():添加一个Fragment(指定要添加的fragment和插入的View)
处理Fragment事务
根据用户交互的情况,对Fragment进行添加、移除、替换、以及执行其他动作,提交给Activity的每一套变化被称作一个事务。
FramentManager fragmentManager = getFragmentManager();
FramentTransaction beginTransaction = fragmentManager.beginTransaction();
每一个事务都是同时执行一套变化,可以在一个事务中设置想要的变化,包括add(),remove(),replace(),然后提交给Activity,必须调用commit()方法。
如果允许用户通过按下back键返回到前一个Fragment状态,调用commit()之前可以加入addToBackStack()方法。
beginTransaction.add(containerViewId,fragment);
//containerViewId是把当前的fragment加载到哪个布局
beginTransaction.addToBackStack(null);
这个方法是摁返回键时,fragment显示之前的状态。
但是实际上,我用这个方法之后,摁返回键无效,还是没用它一样跳回到桌面。
后来百度下,因为如果当前的类继承的ActionBarActivity,而FragmentManager来自 android.app.FragmentManager,这样addToBackStack(null)无效,按返回键会一次退出。
如果FragmentManager来自 android.app.FragmentManager,把继承类改为Activity,这样addToBackStack(null)也是有效的,按返回键的时候会返回上一个碎片。
我继承的是AppcompatActivity这个类,所以无效。改成Activity,方法可以使用了。
代码:
MainActivity
package com.example.martin.fragment;
import android.app.FragmentManager;
import android.app.FragmentTransaction;
import android.content.Intent;
import android.os.Bundle;
import android.support.v7.app.AppCompatActivity;
import android.widget.RadioGroup;
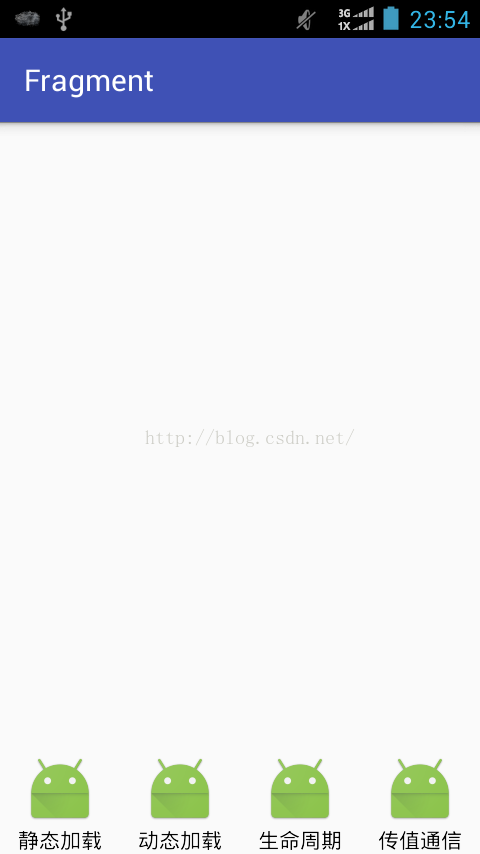
public class MainActivity extends AppCompatActivity implements RadioGroup.OnCheckedChangeListener {
private RadioGroup group;
@Override
protected void onCreate(Bundle savedInstanceState) {
super.onCreate(savedInstanceState);
setContentView(R.layout.activity_main);
group = (RadioGroup) findViewById(R.id.radiogroup);
group.setOnCheckedChangeListener(this);
}
@Override
public void onCheckedChanged(RadioGroup group, int checkedId) {
switch (checkedId){
case R.id.first:
Intent intent = new Intent(this,MainActivity2.class);
startActivity(intent);
break;
case R.id.second:
//开启事务
MyFragment2 fragment2 = new MyFragment2();
FragmentManager fragmentManager = getFragmentManager();
FragmentTransaction beginTransaction = fragmentManager.beginTransaction();
beginTransaction.add(R.id.frame,fragment2);
beginTransaction.addToBackStack(null);
beginTransaction.commit();//提交
break;
case R.id.third:
break;
case R.id.fouth:
break;
}
}
}MainActivity2
package com.example.martin.fragment;
import android.app.Activity;
import android.os.Bundle;
import android.view.View;
import android.widget.Button;
import android.widget.TextView;
/**
* Created by Martin on 2016/1/10.
*/
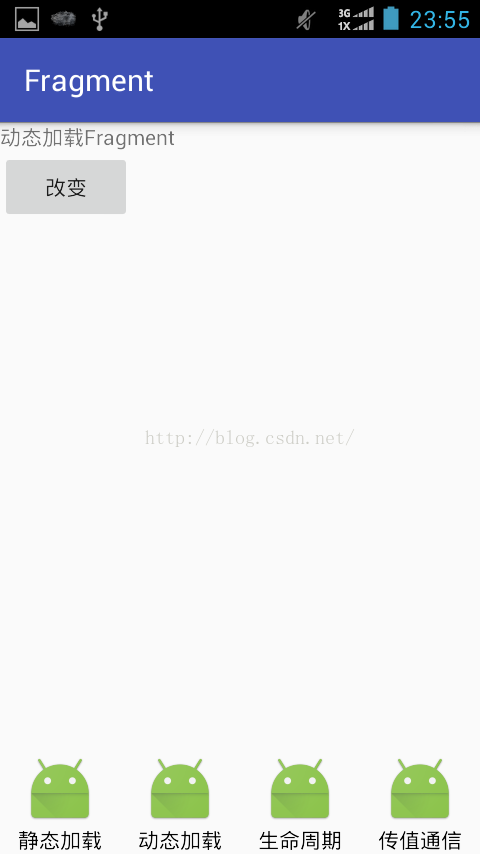
public class MainActivity2 extends Activity {
private TextView tv;
@Override
protected void onCreate(Bundle savedInstanceState) {
super.onCreate(savedInstanceState);
setContentView(R.layout.main2);
Button button = (Button) findViewById(R.id.button);
tv = (TextView) findViewById(R.id.text);
button.setText("改变");
button.setOnClickListener(new View.OnClickListener() {
@Override
public void onClick(View v) {
tv.setText("TextView改变了");
}
});
}
}MyFragment
package com.example.martin.fragment;

import android.app.Fragment;
import android.os.Bundle;
import android.support.annotation.Nullable;
import android.view.LayoutInflater;
import android.view.View;
import android.view.ViewGroup;
import android.widget.TextView;

/**
* Created by Martin on 2016/1/10.
*/
public class MyFragment extends Fragment {
@Nullable
@Override
public View onCreateView(LayoutInflater inflater, ViewGroup container, Bundle savedInstanceState) {
//Layout布局文件转换成View对象
/*
inflater.inflate(resource,root,attachToRoot);
resource:Fragment需要加载的布局文件
root:加载layout的ViewGroup
attactToRoot:布尔型变量,false不返回。
*/
View view = inflater.inflate(R.layout.fragment, container, false);
TextView text = (TextView) view.findViewById(R.id.text);//因为布局文件加载到view里,所以在findViewById前加上view.
text.setText("静态加载Fragment");
return view;
}
}
MyFragment2
package com.example.martin.fragment;

import android.app.Fragment;
import android.os.Bundle;
import android.support.annotation.Nullable;
import android.view.LayoutInflater;
import android.view.View;
import android.view.ViewGroup;
import android.widget.TextView;

/**
* Created by Martin on 2016/1/10.
*/
public class MyFragment2 extends Fragment {
@Nullable
@Override
public View onCreateView(LayoutInflater inflater, ViewGroup container, Bundle savedInstanceState) {
//Layout布局文件转换成View对象
/*
inflater.inflate(resource,root,attachToRoot);
resource:Fragment需要加载的布局文件
root:加载layout的ViewGroup
attactToRoot:布尔型变量,false不返回。
*/
View view = inflater.inflate(R.layout.fragment, container, false);
TextView text = (TextView) view.findViewById(R.id.text);//因为布局文件加载到view里,所以在findViewById前加上view.
text.setText("动态加载Fragment");
return view;
}
}
main2.xml
<?xml version="1.0" encoding="utf-8"?>
<LinearLayout xmlns:android="http://schemas.android.com/apk/res/android"
android:orientation="vertical" android:layout_width="match_parent"
android:layout_height="match_parent">

<fragment
android:layout_width="wrap_content"
android:layout_height="wrap_content"
android:name="com.example.martin.fragment.MyFragment"
android:id="@+id/fragment"></fragment>

</LinearLayout>
2016年1月10日
---------------------------------------------------

相关文章推荐
- 使用C++实现JNI接口需要注意的事项
- Android IPC进程间通讯机制
- Android Manifest 用法
- [转载]Activity中ConfigChanges属性的用法
- Android之获取手机上的图片和视频缩略图thumbnails
- Android之使用Http协议实现文件上传功能
- Android学习笔记(二九):嵌入浏览器
- android string.xml文件中的整型和string型代替
- i-jetty环境搭配与编译
- android之定时器AlarmManager
- android wifi 无线调试
- Android Native 绘图方法
- Android java 与 javascript互访(相互调用)的方法例子
- android 代码实现控件之间的间距
- android FragmentPagerAdapter的“标准”配置
- Android"解决"onTouch和onClick的冲突问题
- android:installLocation简析
- android searchView的关闭事件
- SourceProvider.getJniDirectories