plist文件及UITableView的高级应用
2015-12-16 20:01
507 查看
课程要点:plist文件的新建与读取给UITableView设置变化的值单元格的删除、插入及刷新plist文件的新建与读取新建plist
 plist文件还有另外一种展现形式
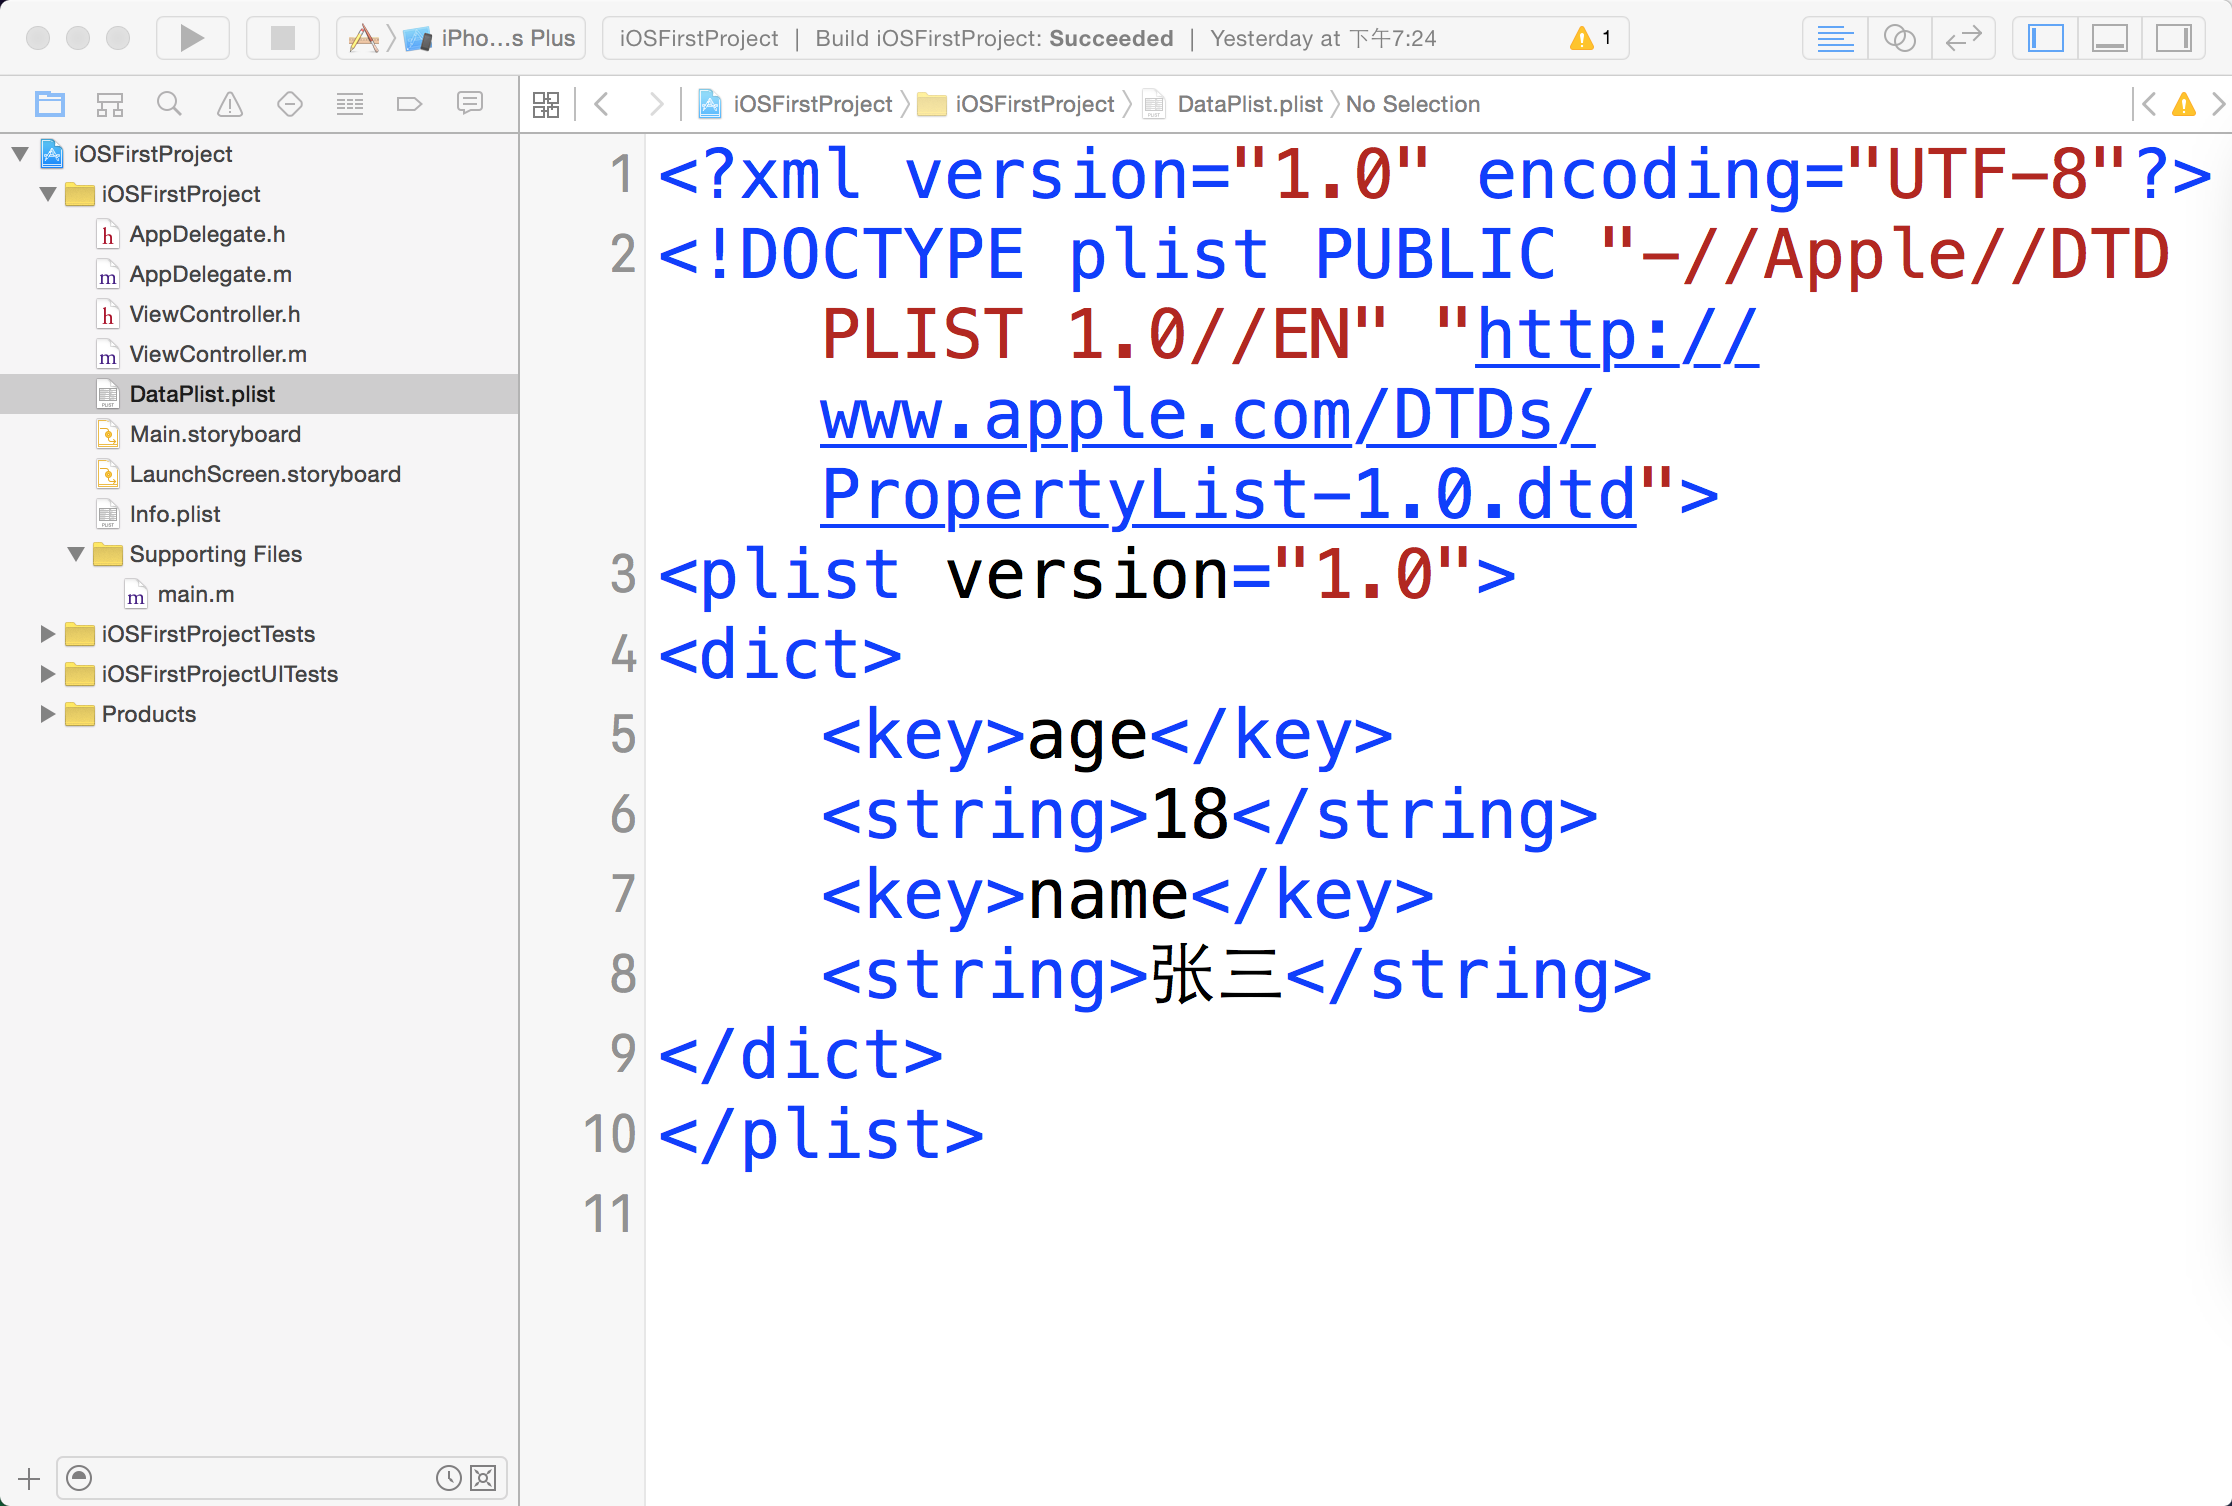 这种形式下我可以通过改变代码或者增加代码给plist修改或增加数据。读取plist数据
plist文件还有另外一种展现形式这种形式下我可以通过改变代码或者增加代码给plist修改或增加数据。读取plist数据<?xml version="1.0" encoding="UTF-8"?> <!DOCTYPE plist PUBLIC "-//Apple//DTD PLIST 1.0//EN" "http://www.apple.com/DTDs/PropertyList-1.0.dtd"> <plist version="1.0"> <dict> <key>DataArray</key> <array> <dict> <key>age</key> <integer>16</integer> <key>name</key> <string>王五</string> </dict> <dict> <key>name</key> <string>张三</string> <key>age</key> <integer>18</integer> </dict> <dict> <key>name</key> <string>李四</string> <key>age</key> <integer>19</integer> </dict> <dict> <key>age</key> <integer>16</integer> <key>name</key> <string>赵六</string> </dict> </array> </dict> </plist>读取plist文件分两步 1、找到plist文件在boundle中的路径, 2、使用字典读取该文件 boundles:iOS的应用都是通过bundle进行封装的,对应的bundle类型是Application类型,平时我们通过XCode编译出来的Target(即我们开发的应用),其实就是一个Application类型bundle,即一个文件夹!
//获取到新建plist文件的路径。 第一个参数是文件的名字 第二个参数是文件的后缀
NSString *path = [[NSBundle mainBundle] pathForResource:@"DataPlist" ofType:@"plist"];
//通过字典获取到plist文件的内容(plist文件的最顶层是字典)
NSDictionary *dict = [[NSDictionary alloc]initWithContentsOfFile:path];
//输出内容
NSLog(@"数据=%@",dict);
运行后控制台输出:
7713:503574] 数据={
DataArray =     (
{
age = 16;
name = "\U738b\U4e94";
},
{
age = 18;
name = "\U5f20\U4e09";
},
{
age = 19;
name = "\U674e\U56db";
},
{
age = 16;
name = "\U8d75\U516d";
}
);
}获取到plist文件中的DataArray数组。//通过mutableCopy将不可变数组,转变为可变数组 NSMutableArray *dataArray = [dict[@"DataArray"] mutableCopy]; NSLog(@"DataArray=%@",dataArray);
给UITableView设置变化的值
//
//  ViewController.m
//  Plist文件以及cell的增加与删除
//
//  Created by 王立广 on 15/12/14.
//  Copyright © 2015年 王立广. All rights reserved.
//

#import "ViewController.h"

@interface ViewController ()<UITableViewDataSource,UITableViewDelegate>
{
//UITableView的数据源
NSMutableArray *dataArray;

UITableView *_tableView;
}
@end

@implementation ViewController

- (void)viewDidLoad {
[super viewDidLoad];

//获取到plist文件路径
NSString *path = [[NSBundle mainBundle] pathForResource:@"DataPlist" ofType:@"plist"];
//通过字典获取到plist文件中的字典
NSDictionary *dict = [[NSDictionary alloc]initWithContentsOfFile:path];

NSLog(@"数据=%@",dict);

//将plist文件中的数组赋值给工程中的数据源数组
dataArray = [dict[@"DataArray"] mutableCopy];

_tableView = [[UITableView alloc]initWithFrame:CGRectMake(0, 50, 414, 480) style:UITableViewStylePlain];

_tableView.delegate = self;
_tableView.dataSource = self;

_tableView.backgroundColor = [UIColor grayColor];

[self.view addSubview:_tableView];

}

//给tableView设置行数
- (NSInteger)tableView:(UITableView *)tableView numberOfRowsInSection:(NSInteger)section{

//数据源数组里面有几个元素,里面就有几行
return dataArray.count;
}

//每次将要显示cell,就会调用这个方法,在这个方法内设置一个cell并返回就会就将cell放到tableView上面,
- (UITableViewCell *)tableView:(UITableView *)tableView cellForRowAtIndexPath:(NSIndexPath *)indexPath{

/*
* 这个方法会传进来两个参数

* tableView:就是咱们正在操作的tableView

* indexPath:这个值有两个属性section和row,分别标明这个cell位于第几段第几行

*/

static NSString *cellID = @"cellID";

UITableViewCell *cell = [tableView dequeueReusableCellWithIdentifier:cellID];

if (cell == nil) {

cell = [[UITableViewCell alloc]initWithStyle:UITableViewCellStyleSubtitle reuseIdentifier:cellID];
}

cell.backgroundColor = [UIColor yellowColor];

//利用传进来的indexpath参数,来分别取数组里相应的字典,在通过key值得到咱们真正需要的数据
cell.textLabel.text = dataArray[indexPath.row][@"name"];
cell.detailTextLabel.text = [dataArray[indexPath.row][@"age"] stringValue];

return cell;

}

@end
单元格的删除、插入及刷新
UITableView有两种模式
1、正常模式
2、编辑模式
1)插入状态
2)删除状态

左边是正常模式,中间是编辑模式下的删除状态,只要点击红色的减号,单元格右边就会出现删除按钮,如第三张图片所示。
1、获取到tableView编译模式,tableView是UITableView的一个对象
tableView.iSEditing
2、给tableVIew设置编辑模式
[tableView setEditing:YES animated:YES];
3、只要进入编辑模式,系统就会自动调用这个方法来询问是要进入编辑模式下的删除状态还是插入状态。如果不实现这个方法,系统默认是删除状态。
- (UITableViewCellEditingStyle)tableView:(UITableView *)tableView editingStyleForRowAtIndexPath:(NSIndexPath *)indexPath{

//这两种你可以都试试,看一下效果,但最终要选择删除模式,
return UITableViewCellEditingStyleDelete;
//    return UITableViewCellEditingStyleInsert;

} 4、进入编辑模式后,通过上面的代理方法进入相应的状态,此时不管你点击的是删除按钮还是插入按钮,都会进入下面这个方法。实现这个方法直接右划也可以出现右边的删除按钮- (void)tableView:(UITableView *)tableView commitEditingStyle:(UITableViewCellEditingStyle)editingStyle forRowAtIndexPath:(NSIndexPath *)indexPath{
/*
如果点击的是删除按钮,editingStyle参数就是UITableViewCellEditingStyleDelete
如果点击的是插入按钮,editingStyle参数就是UITableViewCellEditingStyleInsert
indexPath:能够获得你点击是哪一行哪一段。
*/
//通过判断你点击的是删除还是插入做不同的操作
if (editingStyle == UITableViewCellEditingStyleDelete) {
//删除dataArray中相应cell的数据
[dataArray removeObjectAtIndex:indexPath.row];
//删除cell
[tableView deleteRowsAtIndexPaths:@[indexPath]withRowAnimation:UITableViewRowAnimationTop];
}else if (editingStyle == UITableViewCellEditingStyleInsert){
NSMutableDictionary *tempDict = [NSMutableDictionary dictionary];tempDict[@"name"] = @"小闪";
        tempDict[@"age"] = @(18);

//在数据源数组中增加一个字典
[dataArray insertObject:tempDict atIndex:indexPath.row];
//插入一个cell[tableView insertRowsAtIndexPaths:@[indexPath] withRowAnimation:UITableViewRowAnimationBottom];
}

}
完整代码如下:
//
//  ViewController.m
//  Plist文件以及cell的增加与删除
//
//  Created by 王立广 on 15/12/14.
//  Copyright © 2015年 王立广. All rights reserved.
//

#import "ViewController.h"

@interface ViewController ()<UITableViewDataSource,UITableViewDelegate>
{
//UITableView的数据源
NSMutableArray *dataArray;

UITableView *_tableView;
}
@end

@implementation ViewController

- (void)viewDidLoad {
[super viewDidLoad];

//获取到plist文件路径
NSString *path = [[NSBundle mainBundle] pathForResource:@"DataPlist" ofType:@"plist"];

//通过字典获取到plist文件中的字典
NSDictionary *dict = [[NSDictionary alloc]initWithContentsOfFile:path];

NSLog(@"数据=%@",dict[@"DataArray"][1][@"name
e465
"]);

//将plist文件中的数组赋值给工程中的数据源数组
dataArray = [dict[@"DataArray"] mutableCopy];

_tableView = [[UITableView alloc]initWithFrame:CGRectMake(0, 50, 414, 480) style:UITableViewStylePlain];

_tableView.delegate = self;
_tableView.dataSource = self;

_tableView.backgroundColor = [UIColor grayColor];

[self.view addSubview:_tableView];

//在底部添加toolBar
UIToolbar *toolBar = [[UIToolbar alloc]initWithFrame:CGRectMake(0, 680, 414, 56)];

toolBar.backgroundColor = [UIColor grayColor];

[self.view addSubview:toolBar];

UIBarButtonItem *trash = [[UIBarButtonItem alloc]initWithBarButtonSystemItem:UIBarButtonSystemItemTrash target:self action:@selector(trash)];

//在toolBar上面加一个删除按钮
toolBar.items = @[trash];

}

- (void)trash{

//tableView.iSEditing获得tableView是否属于编辑模式,通过取反来改变tableView的编辑模式
BOOL kbool = !_tableView.isEditing;

// tableView setEditing给tableView设置编辑模式
[_tableView setEditing:kbool animated:YES];
}

//只要进入编辑模式,系统就会自动调用这个方法来询问是要进入编辑模式下的删除状态还是插入状态。如果不实现这个方法,系统默认是删除状态。
- (UITableViewCellEditingStyle)tableView:(UITableView *)tableView editingStyleForRowAtIndexPath:(NSIndexPath *)indexPath{

//这两种你可以都试试,看一下效果
return UITableViewCellEditingStyleDelete;
//    return UITableViewCellEditingStyleInsert;

}

//进入编辑模式后,通过上面的代理方法进入相应的状态,此时不管你点击的是删除按钮还是插入按钮,都会进入下面这个方法。实现这个方法直接右划也可以出现右边的删除按钮
- (void)tableView:(UITableView *)tableView commitEditingStyle:(UITableViewCellEditingStyle)editingStyle forRowAtIndexPath:(NSIndexPath *)indexPath{
/*
如果点击的是删除按钮,editingStyle参数就是UITableViewCellEditingStyleDelete
如果点击的是插入按钮,editingStyle参数就是UITableViewCellEditingStyleInsert
indexPath:能够获得你点击是哪一行哪一段。
*/
//通过判断你点击的是删除还是插入做不同的操作
if (editingStyle == UITableViewCellEditingStyleDelete) {
//删除dataArray中相应cell的数据
[dataArray removeObjectAtIndex:indexPath.row]; //删除cell时,没有执行cellForRowAtIndexPath方法[tableView deleteRowsAtIndexPaths:@[indexPath]withRowAnimation:UITableViewRowAnimationTop];
}else if (editingStyle == UITableViewCellEditingStyleInsert){
NSMutableDictionary *tempDict = [NSMutableDictionary dictionary];tempDict[@"name"] = @"小闪";
tempDict[@"age"] = @(18);
//在数据源数组中增加一个字典
 [dataArray insertObject:tempDict atIndex:indexPath.row];

//插入一个cell
[tableView insertRowsAtIndexPaths:@[indexPath] withRowAnimation:UITableViewRowAnimationBottom];
}

}

//给tableView设置行数
- (NSInteger)tableView:(UITableView *)tableView numberOfRowsInSection:(NSInteger)section{
//数据源数组里面有几个元素,里面就有几行
return dataArray.count;
}

//每次将要显示cell,就会调用这个方法,在这个方法内设置一个cell并返回就会就将cell放到tableView上面,
- (UITableViewCell *)tableView:(UITableView *)tableView cellForRowAtIndexPath:(NSIndexPath *)indexPath{

//用static修饰的变量只会初始化一次。
static NSString *cellID = @"cellID";

/*
* 这个方法会传进来两个参数

* tableView:就是咱们正在操作的tableView

* indexPath:这个值有两个属性section和row,分别标明这个cell位于第几段第几行

*/

UITableViewCell *cell = [tableView dequeueReusableCellWithIdentifier:cellID];

if (cell == nil) {

cell = [[UITableViewCell alloc]initWithStyle:UITableViewCellStyleSubtitle reuseIdentifier:cellID];
}

cell.backgroundColor = [UIColor yellowColor];
cell.textLabel.text = dataArray[indexPath.row][@"name"];
cell.detailTextLabel.text = [dataArray[indexPath.row][@"age"] stringValue];

return cell;

}

@end
PS:咱们在删除cell的同时也在数组中删除了cell所对应的数据。并没有删除plist文件中的内容。 单元格的刷新 改动有三: 1、将存放plist数据的字典设置为全局变量 2、在toolBar上新增了一个refresh按钮 3、在refresh按钮的触发方法里,重新给数据源数组赋值,然后使用UITableView的reloadData方法刷新表格。 PS:reloadData刷新的意思是tableView的所有代理方法重走。重新计算多少行,重新设置cell等等。。。。
////  ViewController.m//  Plist文件以及cell的增加与删除////  Created by 王立广 on 15/12/14.//  Copyright © 2015年 王立广. All rights reserved.//#import "ViewController.h"@interface ViewController ()<UITableViewDataSource,UITableViewDelegate>{//UITableView的数据源NSMutableArray *dataArray;UITableView *_tableView;//从plist文件中取出来的字典NSDictionary *dict;}@end@implementation ViewController- (void)viewDidLoad {[super viewDidLoad];//获取到plist文件路径NSString *path = [[NSBundle mainBundle] pathForResource:@"DataPlist" ofType:@"plist"];//通过字典获取到plist文件中的字典dict = [[NSDictionary alloc]initWithContentsOfFile:path];NSLog(@"数据=%@",dict[@"DataArray"][1][@"name"]);//将plist文件中的数组赋值给工程中的数据源数组dataArray = [dict[@"DataArray"] mutableCopy];_tableView = [[UITableView alloc]initWithFrame:CGRectMake(0, 50, 414, 480) style:UITableViewStylePlain];_tableView.delegate = self;_tableView.dataSource = self;_tableView.backgroundColor = [UIColor grayColor];[self.view addSubview:_tableView];//在底部添加toolBarUIToolbar *toolBar = [[UIToolbar alloc]initWithFrame:CGRectMake(0, 680, 414, 56)];toolBar.backgroundColor = [UIColor grayColor];[self.view addSubview:toolBar];UIBarButtonItem *trash = [[UIBarButtonItem alloc]initWithBarButtonSystemItem:UIBarButtonSystemItemTrash target:self action:@selector(trash)];    UIBarButtonItem *refresh = [[UIBarButtonItem alloc]initWithBarButtonSystemItem:UIBarButtonSystemItemRefresh target:self action:@selector(refresh)];//在toolBar上面加一个删除按钮 toolBar.items = @[trash,refresh];}- (void)refresh{dataArray = [dict[@"DataArray"] mutableCopy];[_tableView reloadData];}- (void)trash{//tableView.iSEditing获得tableView是否属于编辑模式,通过取反来改变tableView的编辑模式BOOL kbool = !_tableView.isEditing;// tableView setEditing给tableView设置编辑模式[_tableView setEditing:kbool animated:YES];}//只要进入编辑模式,系统就会自动调用这个方法来询问是要进入编辑模式下的删除状态还是插入状态。如果不实现这个方法,系统默认是删除状态。- (UITableViewCellEditingStyle)tableView:(UITableView *)tableView editingStyleForRowAtIndexPath:(NSIndexPath *)indexPath{//这两种你可以都试试,看一下效果,return UITableViewCellEditingStyleDelete;//    return UITableViewCellEditingStyleInsert;}//进入编辑模式后,通过上面的代理方法进入相应的状态,此时不管你点击的是删除按钮还是插入按钮,都会进入下面这个方法。实现这个方法直接右划也可以出现右边的删除按钮- (void)tableView:(UITableView *)tableView commitEditingStyle:(UITableViewCellEditingStyle)editingStyle forRowAtIndexPath:(NSIndexPath *)indexPath{

/*
如果点击的是删除按钮,editingStyle参数就是UITableViewCellEditingStyleDelete

如果点击的是插入按钮,editingStyle参数就是UITableViewCellEditingStyleInsert

indexPath:能够获得你点击是哪一行哪一段。

*/

//通过判断你点击的是删除还是插入做不同的操作
if (editingStyle == UITableViewCellEditingStyleDelete) {
//删除dataArray中相应cell的数据
[dataArray removeObjectAtIndex:indexPath.row];//删除cell时,没有执行cellForRowAtIndexPath方法[tableView deleteRowsAtIndexPaths:@[indexPath]withRowAnimation:UITableViewRowAnimationTop];}else if (editingStyle == UITableViewCellEditingStyleInsert){NSMutableDictionary *tempDict = [NSMutableDictionary dictionary];
tempDict[@"name"] = @"小闪";
        tempDict[@"age"] = @(18);

//在数据源数组中增加一个字典
[dataArray insertObject:tempDict atIndex:indexPath.row];
//插入一个cell [tableView insertRowsAtIndexPaths:@[indexPath] withRowAnimation:UITableViewRowAnimationBottom];
}

}//给tableView设置行数- (NSInteger)tableView:(UITableView *)tableView numberOfRowsInSection:(NSInteger)section{//数据源数组里面有几个元素,里面就有几行return dataArray.count;}//每次将要显示cell,就会调用这个方法,在这个方法内设置一个cell并返回就会就将cell放到tableView上面,- (UITableViewCell *)tableView:(UITableView *)tableView cellForRowAtIndexPath:(NSIndexPath *)indexPath{//用static修饰的变量只会初始化一次。static NSString *cellID = @"cellID";/** 这个方法会传进来两个参数* tableView:就是咱们正在操作的tableView* indexPath:这个值有两个属性section和row,分别标明这个cell位于第几段第几行*/UITableViewCell *cell = [tableView dequeueReusableCellWithIdentifier:cellID];if (cell == nil) {cell = [[UITableViewCell alloc]initWithStyle:UITableViewCellStyleSubtitle reuseIdentifier:cellID];}cell.backgroundColor = [UIColor yellowColor];cell.textLabel.text = dataArray[indexPath.row][@"name"];cell.detailTextLabel.text = [dataArray[indexPath.row][@"age"] stringValue];return cell;}- (CGFloat)tableView:(UITableView *)tableView heightForRowAtIndexPath:(NSIndexPath *)indexPath{return 59;}@end

相关文章推荐
- 100 个最佳 Ubuntu 应用(中)
- 在 AppImage、Flathub 和 Snapcraft 平台上搜索 Linux 应用
- 24 个必备的 Linux 应用程序
- 注册表趣味应用小集
- 远程控制技术的应用
- 路由器访问列表的应用
- xDSL技术及其应用
- 基于XML的桌面应用
- SQL Server 2008 R2 应用及多服务器管理
- ExtJS 2.0实用简明教程之应用ExtJS
- JSP应用的安全问题
- 前端开发必须知道的JS之闭包及应用
- Geohash的原理、算法和具体应用探究
- PHP开发中AJAX技术的简单应用
- PHP答题类应用接口实例
- ASP.NET过滤器的应用方法介绍
- Android编程实现将应用强制安装到手机内存的方法
- 让Android应用不被杀死(killer)的方法
- Android提高之蓝牙传感应用实例
- Android应用中加入微信分享简单方法