iOS环信3.0集成 (三)单聊集成
2015-12-13 19:02
531 查看
环信3.0集成相关教程
1、iOS环信3.0集成 (一)SDK的集成
2、iOS环信3.0集成 (二)UI文件集成
3、iOS环信3.0集成 (三)单聊集成
视频教程地址
编译一下,看下效果。
添加完成之后,编译一下,把报错的地方全部注释掉,有很多地方需要注释掉,这些地方是因为有些我们不需要的文件没有添加进来。
注释好的GifImage和chat文件,下载后无需注释无关代码,可直接使用。(点击下载)
我们编译一下,来看下效果:
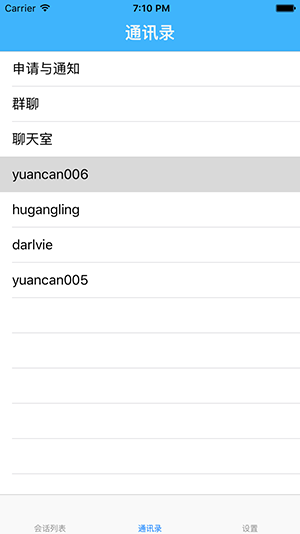
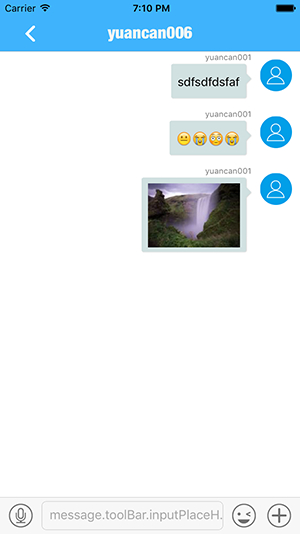
OK,单聊已经集成成功。
DEMO下载
1、iOS环信3.0集成 (一)SDK的集成
2、iOS环信3.0集成 (二)UI文件集成
3、iOS环信3.0集成 (三)单聊集成
视频教程地址
一、搭建基本框架
1、新建三个UIViewController
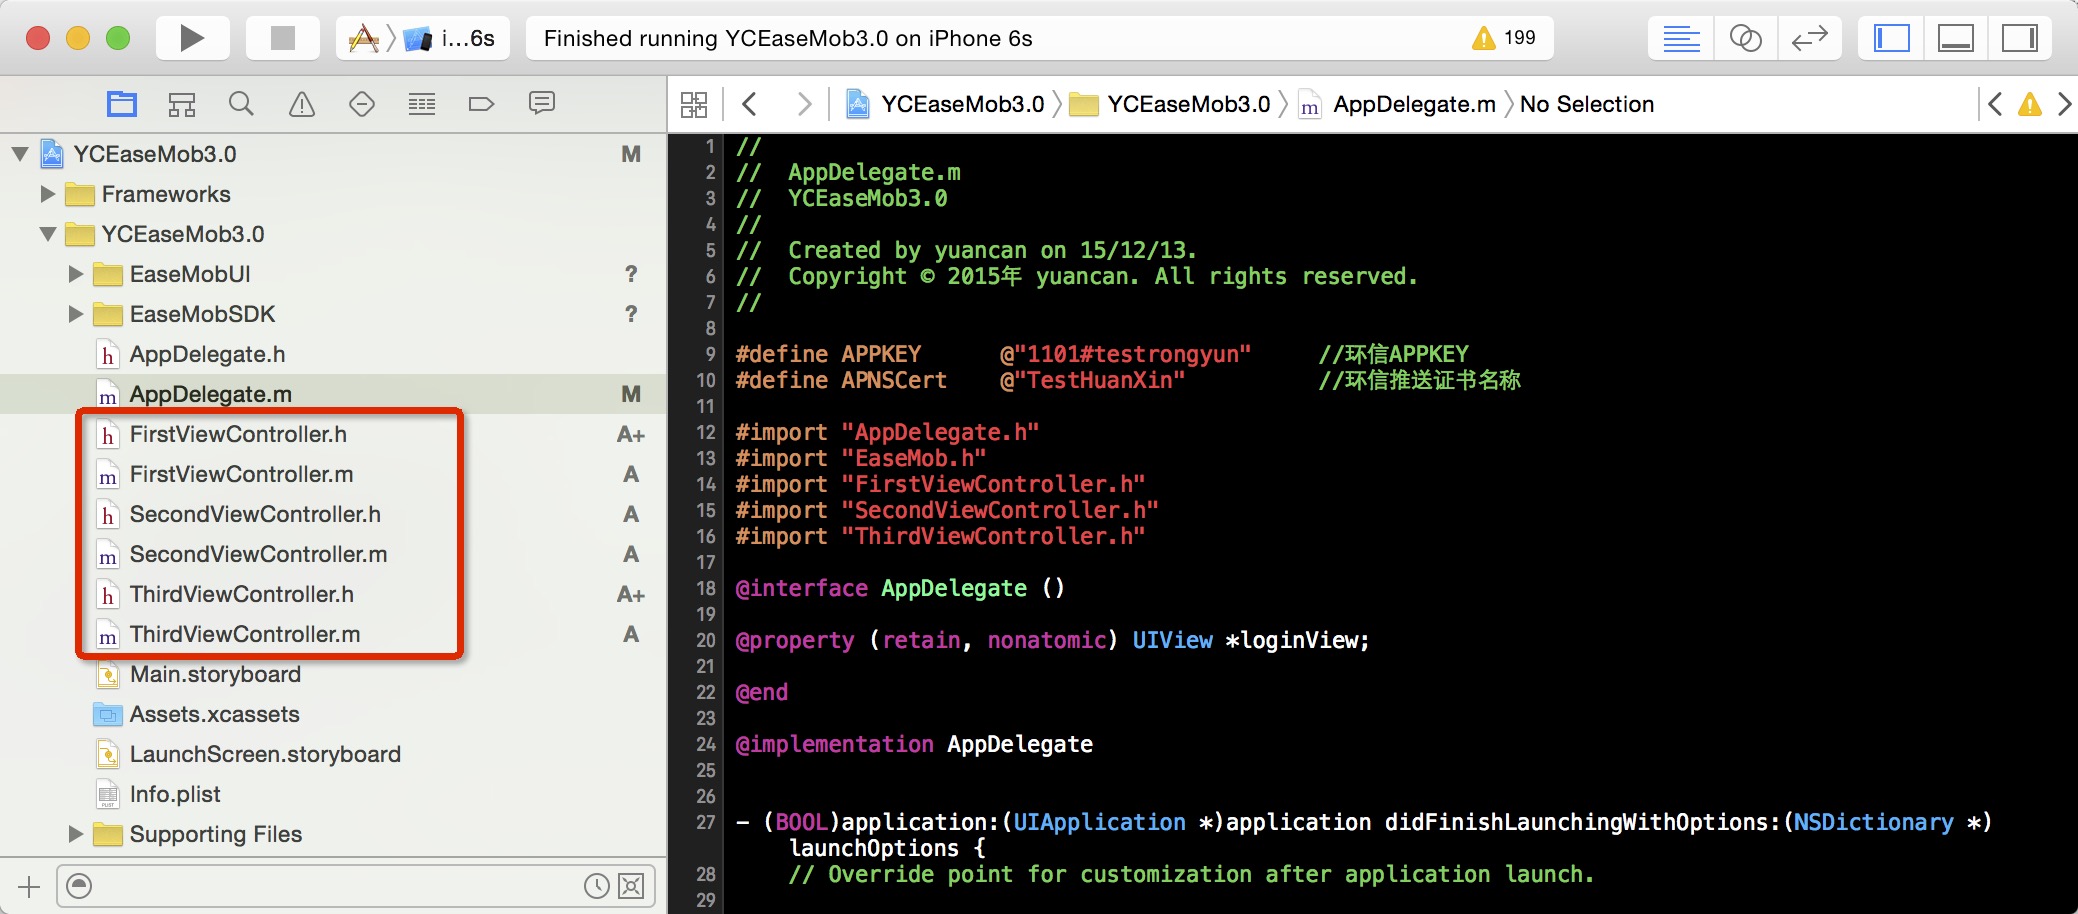
新建三个ViewController,继承UIViewController,分别命名为:FirstViewController,SecondViewController,ThirdViewController。如下图所示:
2、添加登陆方法
在AppDelegate.m中添加如下代码:#define APPKEY @"1101#testrongyun" //环信APPKEY
#define APNSCert @"TestHuanXin" //环信推送证书名称
#import "AppDelegate.h"
#import "EaseMob.h"
#import "FirstViewController.h"
#import "SecondViewController.h"
#import "ThirdViewController.h"
@interface AppDelegate ()
@end
@implementation AppDelegate
- (BOOL)application:(UIApplication *)application didFinishLaunchingWithOptions:(NSDictionary *)launchOptions {
// Override point for customization after application launch.
//初始化环信SDK
[[EaseMob sharedInstance] registerSDKWithAppKey:APPKEY apnsCertName:APNSCert];
//异步登陆的方法
[[EaseMob sharedInstance].chatManager asyncLoginWithUsername:@"yuancan001" password:@"123" completion:^(NSDictionary *loginInfo, EMError *error) {
if (!error && loginInfo) {
NSLog(@"登陆成功");
[self setUpNav];
}
} onQueue:nil];
return YES;
}
- (void)setUpNav
{
FirstViewController *firstVC = [[FirstViewController alloc] init];
SecondViewController *secondVC = [[SecondViewController alloc] init];
ThirdViewController *thirdVC = [[ThirdViewController alloc] init];
firstVC.title = @"会话列表";
secondVC.title = @"通讯录";
thirdVC.title = @"设置";
UITabBarController *tabBar = [[UITabBarController alloc] init];
tabBar.viewControllers = @[[[UINavigationController alloc] initWithRootViewController:firstVC],
[[UINavigationController alloc] initWithRootViewController:secondVC],
[[UINavigationController alloc] initWithRootViewController:thirdVC]];
self.window.rootViewController = tabBar;
self.window.backgroundColor = [UIColor whiteColor];
}
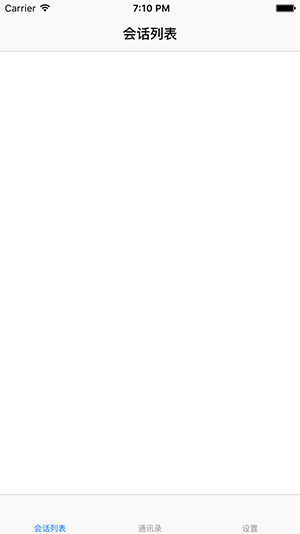
@end编译一下,看下效果。

二、添加与聊天有关的文件
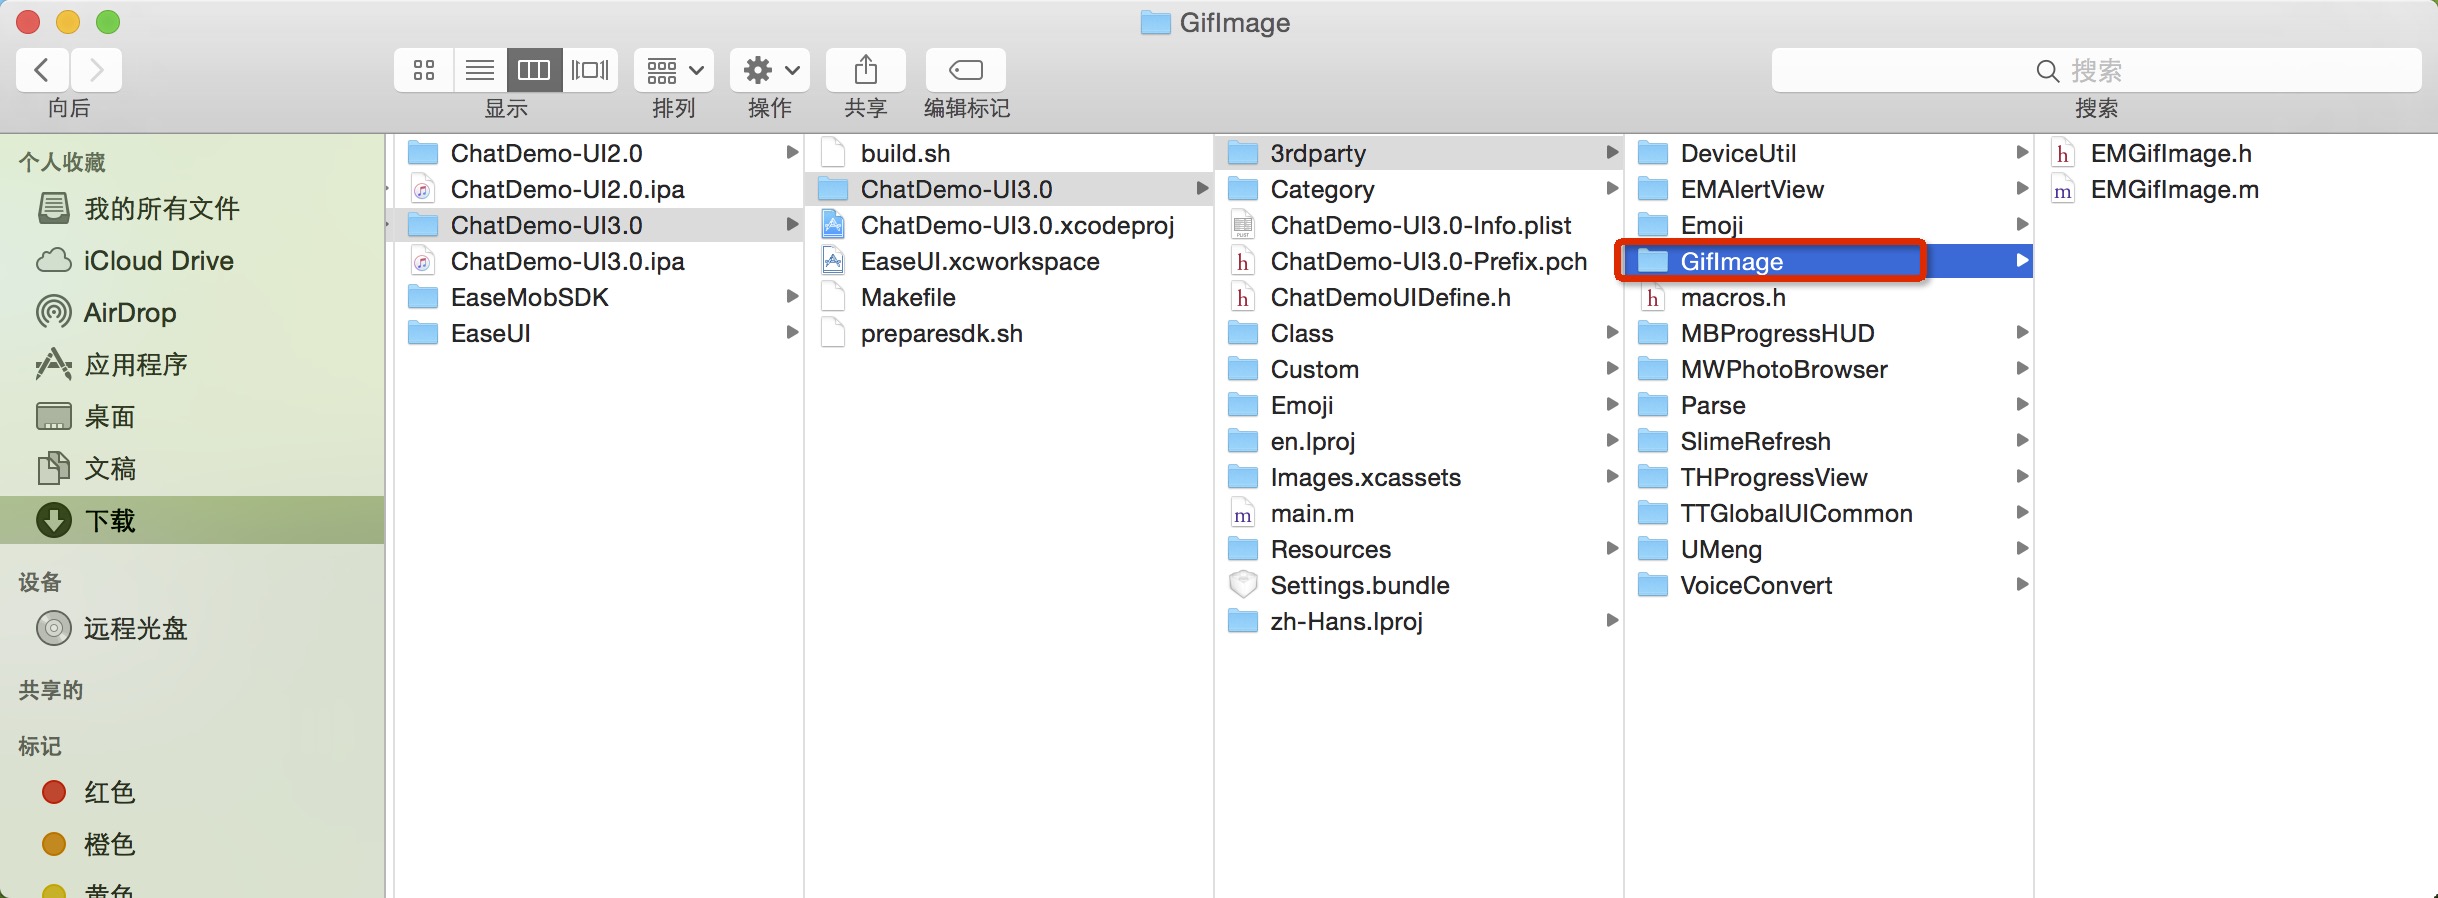
1、添加GifImage文件

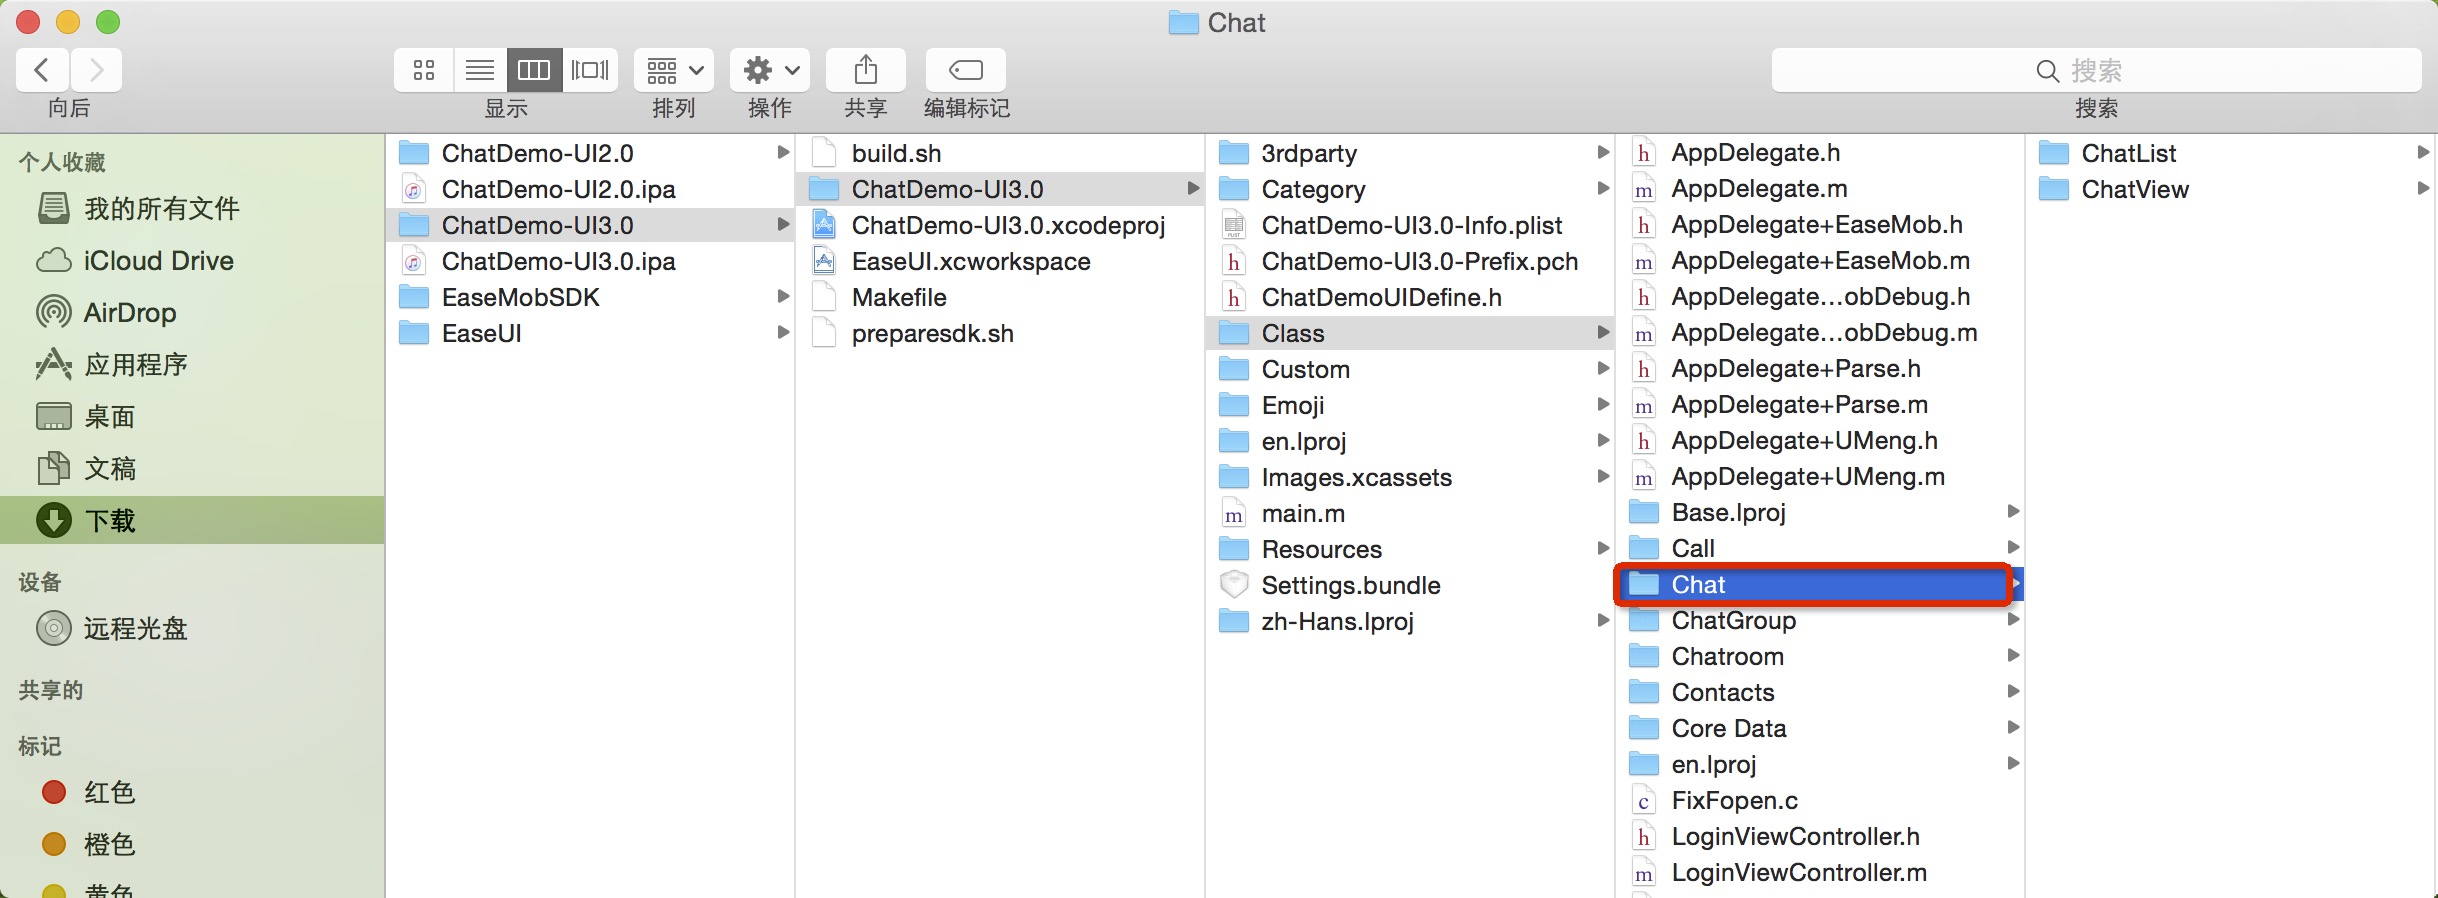
2、添加chat文件

添加完成之后,编译一下,把报错的地方全部注释掉,有很多地方需要注释掉,这些地方是因为有些我们不需要的文件没有添加进来。
注释好的GifImage和chat文件,下载后无需注释无关代码,可直接使用。(点击下载)
三、实现单聊
在SecondViewController.m中添加如下代码:#import "SecondViewController.h"
#import "ChatViewController.h"
@interface SecondViewController ()<UITableViewDataSource,UITableViewDelegate>
{
NSArray *arrSystem;
NSArray *arrFriends;
}
@property (retain, nonatomic) UITableView *tableView;
@end
@implementation SecondViewController
- (void)viewDidLoad {
[super viewDidLoad];
arrSystem = @[@"申请与通知",@"群聊",@"聊天室"];
_tableView = [[UITableView alloc] initWithFrame:self.view.frame];
_tableView.delegate = self;
_tableView.dataSource = self;
[self.view addSubview:_tableView];
//获取好友列表
[[EaseMob sharedInstance].chatManager asyncFetchBuddyListWithCompletion:^(NSArray *buddyList, EMError *error) {
if (!error) {
NSLog(@"获取成功 -- %@",buddyList);
arrFriends = [NSArray arrayWithArray:buddyList];
[_tableView reloadData];
}
} onQueue:nil];
}
#pragma mark - UITableViewDelegate & UITableViewDataSource
- (NSInteger)numberOfSectionsInTableView:(UITableView *)tableView {
return 2;
}
- (NSInteger)tableView:(UITableView *)tableView numberOfRowsInSection:(NSInteger)section {
if (section == 0) {
return arrSystem.count;
} else {
return arrFriends.count;
}
}
- (UITableViewCell *)tableView:(UITableView *)tableView cellForRowAtIndexPath:(NSIndexPath *)indexPath {
static NSString *identifier = @"CELL";
UITableViewCell *cell = [tableView dequeueReusableCellWithIdentifier:identifier];
if (cell == nil) {
cell = [[UITableViewCell alloc] initWithStyle:UITableViewCellStyleDefault reuseIdentifier:identifier];
}
switch (indexPath.section) {
case 0:
{
cell.textLabel.text = [arrSystem objectAtIndex:indexPath.row];
cell.imageView.image = [UIImage imageNamed:@"groupPublicHeader"];
break;
}
case 1:
{
EMBuddy *eMBuddy = [arrFriends objectAtIndex:indexPath.row];
cell.textLabel.text = eMBuddy.username;
cell.imageView.image = [UIImage imageNamed:@"chatListCellHead"];
break;
}
default:
break;
}
return cell;
}
- (void)tableView:(UITableView *)tableView didSelectRowAtIndexPath:(NSIndexPath *)indexPath {
EMBuddy *buddy = [arrFriends objectAtIndex:indexPath.row];
ChatViewController *chatVC = [[ChatViewController alloc] initWithConversationChatter:buddy.username conversationType:eConversationTypeChat];
chatVC.title = buddy.username; //好友的名字
chatVC.hidesBottomBarWhenPushed = YES;
[self.navigationController pushViewController:chatVC animated:YES];
}我们编译一下,来看下效果:


OK,单聊已经集成成功。
DEMO下载
相关文章推荐
- 峰回路转,Firefox 浏览器即将重返 iOS 平台
- 峰回路转,Firefox 浏览器即将重返 iOS 平台
- 不可修补的 iOS 漏洞可能导致 iPhone 4s 到 iPhone X 永久越狱
- iOS 12.4 系统遭黑客破解,漏洞危及数百万用户
- 每日安全资讯:NSO,一家专业入侵 iPhone 的神秘公司
- [转][源代码]Comex公布JailbreakMe 3.0源代码
- 讲解iOS开发中基本的定位功能实现
- js判断客户端是iOS还是Android等移动终端的方法
- IOS开发环境windows化攻略
- 浅析iOS应用开发中线程间的通信与线程安全问题
- 检测iOS设备是否越狱的方法
- .net平台推送ios消息的实现方法
- 探讨Android与iOS,我们将何去何从?
- Android、iOS和Windows Phone中的推送技术详解
- IOS 改变键盘颜色代码
- 举例详解iOS开发过程中的沙盒机制与文件
- Android和IOS的浏览器中检测是否安装某个客户端的方法
- 分享一个iOS下实现基本绘画板功能的简单方法
- javascript实现阻止iOS APP中的链接打开Safari浏览器
