android SQLite存储简单范例+详细注释(增删查改)
2015-10-19 22:08
579 查看
笔者近期做数据库,在adb shell的su权限上花了特别多的时间,一直在纠结为什么自己的荣耀6手机不能一键root,期间使用了5款一键root的软件,并且也考虑过了手机解锁,然而却忽视了android自带的AVD(模拟器)。
想起来之后真是打自己一顿的心都有了,在此也是提醒各位一起学习的读者,手机上碰到诸如数据库data读取之类的权限的时候,实在没办法可以使用虚拟机,虽然比较慢,但是基本是不会遇到乱七八糟的问题的。
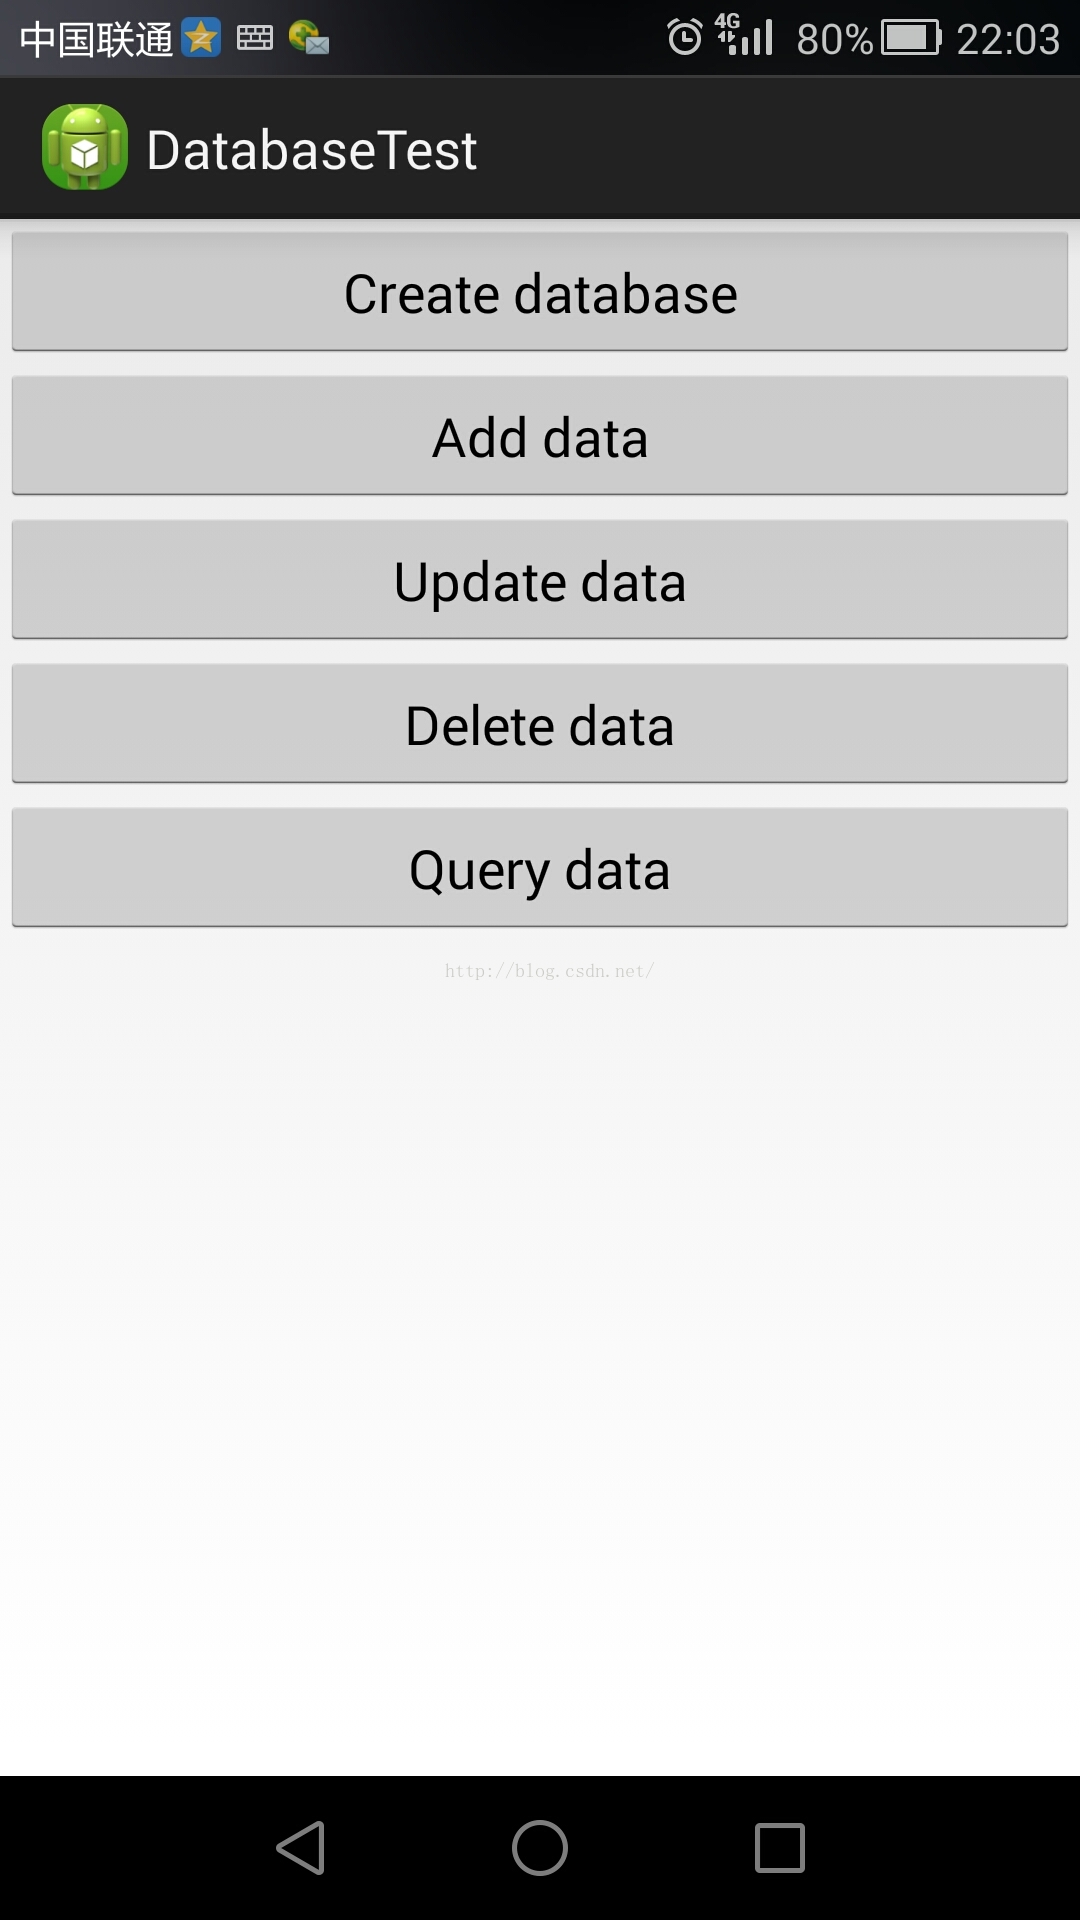
好了也是进入此篇正题,还是先给出效果吧:
代码:
MainActivity:
MyDatabaseHelper:
activity_main:
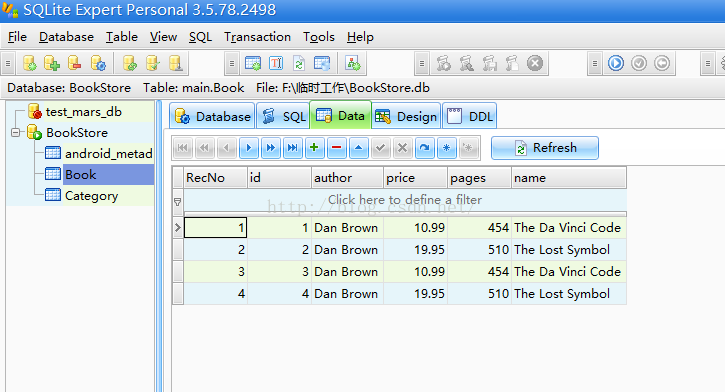
最后附上BookStore.db在SQLiteExpertPers中显示的效果:(当然对数据库的查询也是可以使用cmd指令的,但是由于笔者对此方面并不熟悉,所以也不在文章中班门弄斧了。)
至于SQLiteExpertPers的简单使用请访问我的下一篇博客。
想起来之后真是打自己一顿的心都有了,在此也是提醒各位一起学习的读者,手机上碰到诸如数据库data读取之类的权限的时候,实在没办法可以使用虚拟机,虽然比较慢,但是基本是不会遇到乱七八糟的问题的。
好了也是进入此篇正题,还是先给出效果吧:
代码:
MainActivity:
import android.app.Activity;
import android.content.ContentValues;
import android.database.Cursor;
import android.database.sqlite.SQLiteDatabase;
import android.os.Bundle;
import android.util.Log;
import android.view.View;
import android.view.View.OnClickListener;
import android.widget.Button;

public class MainActivity extends Activity {

private MyDatabaseHelper dbHelper;

@Override
protected void onCreate(Bundle savedInstanceState) {
super.onCreate(savedInstanceState);
setContentView(R.layout.activity_main);
dbHelper = new MyDatabaseHelper(this, "BookStore.db", null, 2);

Button createDatabase = (Button) findViewById(R.id.create_database);
createDatabase.setOnClickListener(new OnClickListener() {
@Override
public void onClick(View v) {
dbHelper.getWritableDatabase();//创建数据库
}
});

//此处insert,delete,update等中都用到了简单的SQL语言
//对SQL完全没有基础的新手在此处可能会花比较多的时间,需耐心
Button addData = (Button) findViewById(R.id.add_data);
addData.setOnClickListener(new OnClickListener() {
@Override
public void onClick(View v) {
SQLiteDatabase db = dbHelper.getWritableDatabase();//获取数据库对象
ContentValues values = new ContentValues();
//开始组装第一条数据
values.put("name", "The Da Vinci Code");
values.put("author", "Dan Brown");
values.put("pages", 454);
values.put("price", 16.96);
db.insert("Book", null, values);//插入第一条数据
values.clear();//请空数据
//开始组装第二条数据
values.put("name", "The Lost Symbol");
values.put("author", "Dan Brown");
values.put("pages", 510);
values.put("price", 19.95);
db.insert("Book", null, values);//插入第二条数据
}
});

//更新数据(说白了就是修改原来的数据)
Button updateData = (Button) findViewById(R.id.update_data);
updateData.setOnClickListener(new OnClickListener() {
@Override
public void onClick(View v) {
SQLiteDatabase db = dbHelper.getWritableDatabase();
ContentValues values = new ContentValues();
values.put("price", 10.99);
//此处涉及了一点SQL
//修改name=The Da Vinci Code的一列中的price,改为10.99
db.update("Book", values, "name = ?",
new String[] { "The Da Vinci Code" });
}
});

Button deleteButton = (Button) findViewById(R.id.delete_data);
deleteButton.setOnClickListener(new OnClickListener() {
@Override
public void onClick(View v) {
SQLiteDatabase db = dbHelper.getWritableDatabase();
//删除pagers>500的列
db.delete("Book", "pages > ?", new String[] { "500" });
}
});

Button queryButton = (Button) findViewById(R.id.query_data);
queryButton.setOnClickListener(new OnClickListener() {
@Override
public void onClick(View v) {
SQLiteDatabase db = dbHelper.getWritableDatabase();

//查询Book表中所有的数据,cursor为当前执行对象的游标
Cursor cursor = db.query("Book", null, null, null, null, null,
null);
//如果数据库中有数据就往下执行
if (cursor.moveToFirst()) {
do {
//遍历Cursor对象,去除数据并打印
String name = cursor.getString(cursor
.getColumnIndex("name"));
String author = cursor.getString(cursor
.getColumnIndex("author"));
int pages = cursor.getInt(cursor
.getColumnIndex("pages"));
double price = cursor.getDouble(cursor
.getColumnIndex("price"));

Log.d("MainActivity", "book name is " + name);
Log.d("MainActivity", "book author is " + author);
Log.d("MainActivity", "book pages is " + pages);
Log.d("MainActivity", "book price is " + price);
} while (cursor.moveToNext());
}
cursor.close();//关闭cursor
}
});

}

}
MyDatabaseHelper:
import android.content.Context;
import android.database.sqlite.SQLiteDatabase;
import android.database.sqlite.SQLiteDatabase.CursorFactory;
import android.database.sqlite.SQLiteOpenHelper;
import android.widget.Toast;

public class MyDatabaseHelper extends SQLiteOpenHelper {

//为要创建的数据库设置列名
public static final String CREATE_BOOK = "create table Book ("
+ "id integer primary key autoincrement, "
+ "author text, "
+ "price real, "
+ "pages integer, "
+ "name text)";

public static final String CREATE_CATEGORY = "create table Category ("
+ "id integer primary key autoincrement, "
+ "category_name text, "
+ "category_code integer)";

private Context mContext;

public MyDatabaseHelper(Context context, String name,
CursorFactory factory, int version) {
super(context, name, factory, version);

//获取当前context用于toast的显示
mContext = context;
}

@Override
public void onCreate(SQLiteDatabase db) {
db.execSQL(CREATE_BOOK);
db.execSQL(CREATE_CATEGORY);
Toast.makeText(mContext, "Create succeeded", Toast.LENGTH_SHORT).show();
}

@Override
public void onUpgrade(SQLiteDatabase db, int oldVersion, int newVersion) {

//如果已经存在这两张表,则删除它们,并且用Creat重新创建
db.execSQL("drop table if exists Book");
db.execSQL("drop table if exists Category");
onCreate(db);
}

}
activity_main:
<LinearLayout xmlns:android="http://schemas.android.com/apk/res/android"
android:layout_width="match_parent"
android:layout_height="match_parent"
android:orientation="vertical" >

<Button
android:id="@+id/create_database"
android:layout_width="match_parent"
android:layout_height="wrap_content"
android:text="Create database"
/>

<Button
android:id="@+id/add_data"
android:layout_width="match_parent"
android:layout_height="wrap_content"
android:text="Add data"
/>

<Button
android:id="@+id/update_data"
android:layout_width="match_parent"
android:layout_height="wrap_content"
android:text="Update data"
/>

<Button
android:id="@+id/delete_data"
android:layout_width="match_parent"
android:layout_height="wrap_content"
android:text="Delete data"
/>

<Button
android:id="@+id/query_data"
android:layout_width="match_parent"
android:layout_height="wrap_content"
android:text="Query data"
/>

</LinearLayout>
最后附上BookStore.db在SQLiteExpertPers中显示的效果:(当然对数据库的查询也是可以使用cmd指令的,但是由于笔者对此方面并不熟悉,所以也不在文章中班门弄斧了。)
至于SQLiteExpertPers的简单使用请访问我的下一篇博客。

相关文章推荐
- 使用C++实现JNI接口需要注意的事项
- Android IPC进程间通讯机制
- Android Manifest 用法
- [转载]Activity中ConfigChanges属性的用法
- Android之获取手机上的图片和视频缩略图thumbnails
- Android之使用Http协议实现文件上传功能
- Android学习笔记(二九):嵌入浏览器
- android string.xml文件中的整型和string型代替
- i-jetty环境搭配与编译
- android之定时器AlarmManager
- android wifi 无线调试
- Android Native 绘图方法
- Android java 与 javascript互访(相互调用)的方法例子
- android 代码实现控件之间的间距
- android FragmentPagerAdapter的“标准”配置
- Android"解决"onTouch和onClick的冲突问题
- android:installLocation简析
- android searchView的关闭事件